Colin's EK Hatch

We may earn a small commission from affiliate links and paid advertisements. Terms

I got new rings for cylinder #2 last week and finished up the bottom end.

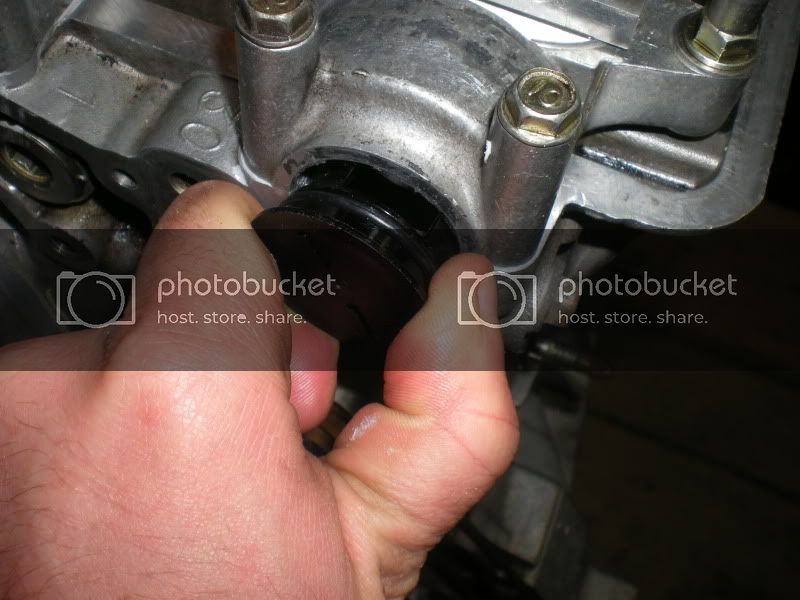
Here is a rod/piston in the compressor. Note I put some corr tube over the rod bolts to prevent them from scratching the crank during installation. I took care to lubing the shit out of everything before ramming it in.
DSCN1987.jpg


Pic of the piston going in. I used a hammer handle to apply pressure down. The 2x4 is used to make sure the compressor stays down on the block.
DSCN1990.jpg


Getting ready to install one of the rod caps. Note lots of lube
DSCN1994.jpg


Gotta make sure the rod and rod caps go together like this:
DSCN1996.jpg


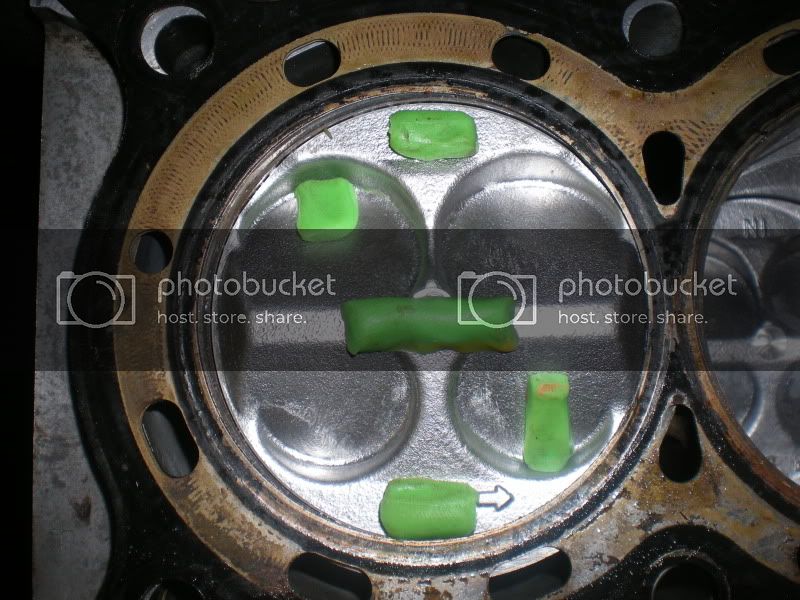
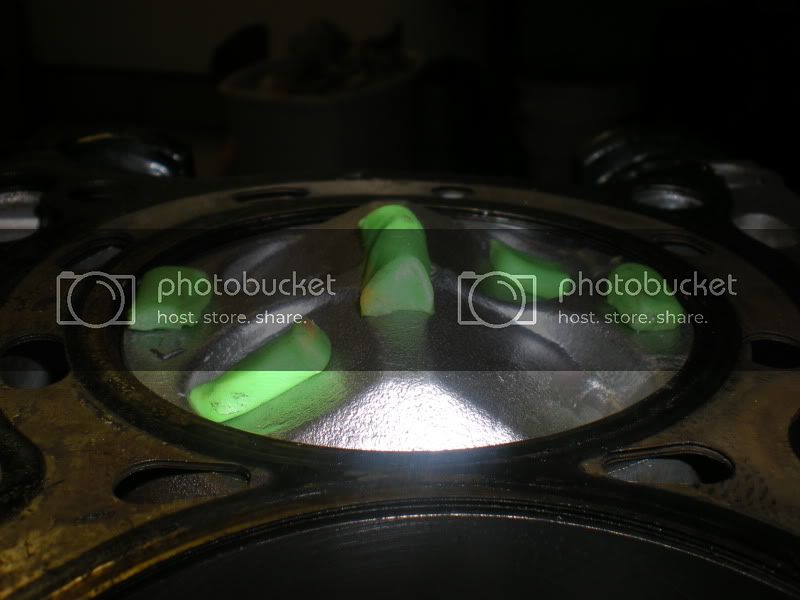
Everything is now in place. Note the orientation of the pistons.
DSCN1997.jpg


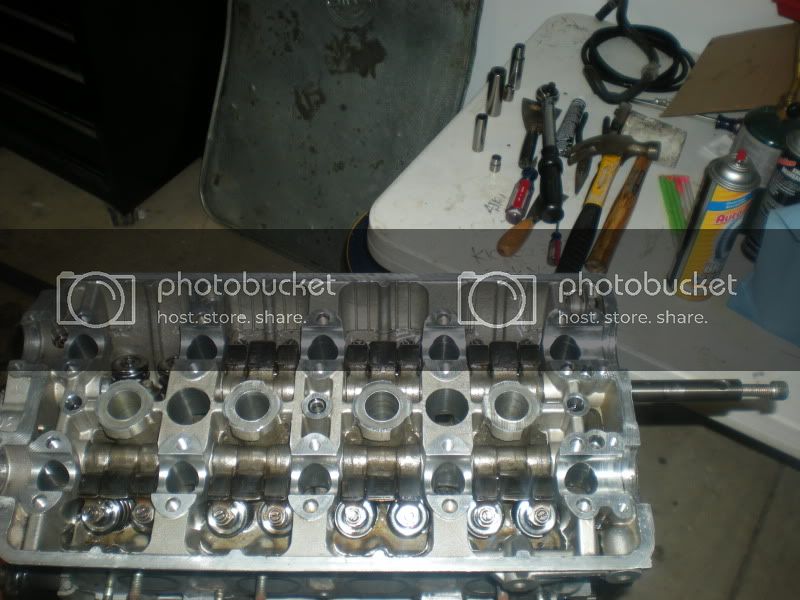
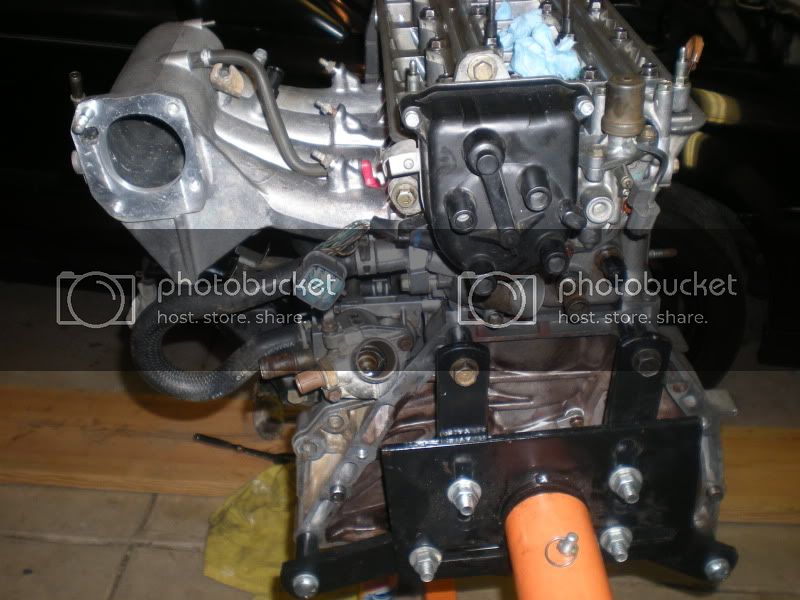
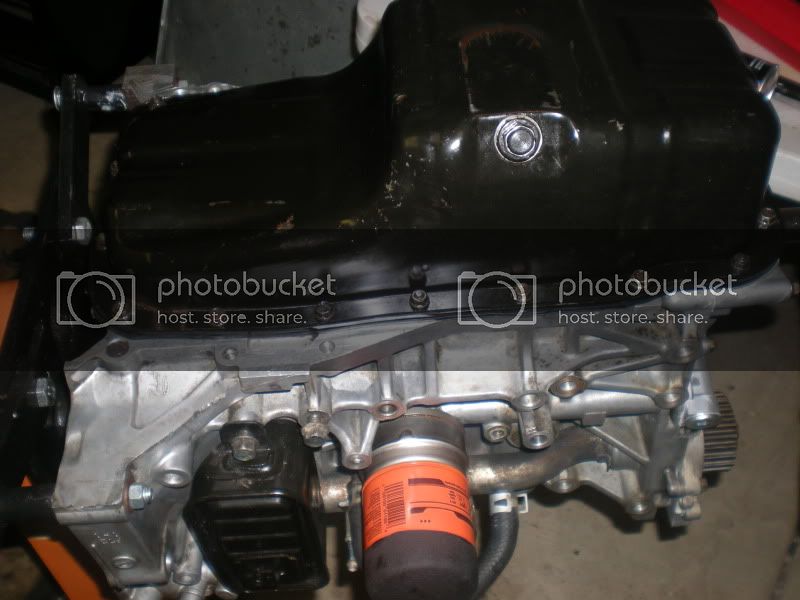
Annnnd a few minutes later the bottom end is put together:)
DSCN2002.jpg

DSCN2003.jpg
 
Claying teh motor

I ended up going with a run of the mill set of Skunk2 Stage2 cams. The Pro1's are indefinitely on back order and Pro2's are a little too big for my street 1.8 liter (IMHO). These babies have been around for over 10 years, so there is massive support out there for them. The primary lobes are closely based on the ITR primaries, so idle and around town driveability should be good. The PCT pistons I am using are taller than stock pistons. For this reason, piston to valve clearances are a true concern. I'll need to clay the motor to see how aggressive I can get.
DSCN2016.jpg
 
Last edited:
I arranged pieces of clay in the #4 piston like so.
DSCN2005.jpg

DSCN2006.jpg


I used an old b18b head gasket for the exercise. When I put the motor together for real, I'll be using a thick, .056" gasket to lower compression down to 11.7 (from 12.6:1). This will effectively retard cam timing, so I'll have to compensate down the road.
DSCN2007.jpg


I loosely assembled everything. No need to torque to full spec. I did follow the tightening sequencing for everything.
DSCN2008.jpg
 
With this being a vtec engine, I need to check clearances when the most aggressive vtec lobes are in use. The only way to do this is to rearrange the tiny little pistons in the rocker assembly. It is only needed to clay one of the cylinders, so I chose #4 because I only have to pull the rocker shafts out a little to get the rockers out.
DSCN2011.jpg


This is the normal orientation of the rockers. I used the magnet tool to get the little pistons out. In this pic, the pistons sit above their normal location.
DSCN2012.jpg


Now you swap the 2 pistons like so and install them.
DSCN2013.jpg

The large piston sticks out, so when you reassemble everything, the vtec rocker is now locked to the main rocker.
DSCN2014.jpg

DSCN2015.jpg
 
I got everything back together, and set the cam gears at +4 on the intake side and -2 on the exhaust side. This is the most aggressive I've seen done.
DSCN2018.jpg


After rotating the motor a few times I pulled everything apart and found this:
DSCN2020.jpg

TOO AGGRESSIVE on the settings! I'm really glad I didn't just slap this together and hope for the best.

Soooo, I had to reasemble everything again with a new set of clay. This time I used more clay to get a better reading.
DSCN2022.jpg


And then this happened when I was setting the belt tension:
DSCN2021.jpg


F*%$ me. I can't get the thing out, and I need to order a new bolt:(
 
Drilled out the tensioner bolt and kept going with the clearance checking.

+2in +2 ex (skunk quick settings) - OK
+3in -2 ex OK
+4in -3 ex OK

I don't see a reason to go further. I'm actually surprised how much clearance there is in there given the piston setup I have. I hope I'm not doing something wrong somehow:confused:. At the most aggressive settings, one of the valves came within 3/32" (.09"). of the piston. I can go as close as .035". I'm debating whether or not to keep going with this. Maybe go +6in -5ex for shits??? I really don't know much much I will need to deviate from the "quick settings"

By advancing the intake lobe and retarding the exhaust lobe, I am increasing valve overlap. This generally increases top end power but hurts idle and low end. My high compression (11.7:1) might actually be able to support this who knows???
 
Yup. Thats the logic behind my Camaro's 355. haha Also how I can use iron heads on the high compression build.
 
I continued claying today. I finished with +6in -6ex. That's the most aggressive I'd ever go. Here are the results:

BEFORE:
DSCN2032.jpg


AFTER: (Note one intake and one exhaust valve is not opening due to the temporary reworking of the rocker assy)
DSCN2033.jpg


MEASURE: Worst clearance is 2/32" or .06" on the exhaust valve. Still double the min allowable:)
DSCN2034.jpg
 
More overlap = can use higher compression. :)

That's what I thought. The extra overlap should also help reduce piston pressures during normal driving. I was a little worried about longevity (getting >50k out of this thing) with such high compression.

Once I get the car running, I'll tune idle and low load stuff myself. I'll try to see how aggressive I can get before drivability and idle takes a shit. Once I do that I'll take it to the dyno.
 
Cool. Maybe machine out the valve reliefs a bit more? :)

And don't worry about longevity- I ran a full point higher than that on 92 octane for 45k miles on stock cams, 0 degrees.
 
I ran a full point higher than that on 92 octane for 45k miles on stock cams, 0 degrees.

How did that thing run? Power #'s? I hope to hit 200 at the tires with this setup.
 
dyno_oldb20.jpg


dyno_civic_gsr2.jpg


Ran great, never had any problems until I mis-shifted and blew it apart. The first one is the 12.6:1 that ran for 45k miles. The second one is the 13:1 that I ran for about 5k. I did get a reading at 190/160, but somehow never got the dyno plot for it.

I was going for 250-260whp in the end, but never finished the head due to time/money concerns.
 
man I just came across a b18 for free was building a high compression y8 but seeing your power numbers calesta I wanna build the b18 now. ha ha

I'm glad to see so much progress! you're build is coming together quickly. can't wait to see your numbers.
 
Obd1 injector clips for my RC injectors. Shelled out $20 for these damn things:mad:
DSCN2036.jpg


Side profile of the .065" cometic HG
DSCN2039.jpg

DSCN2040.jpg

DSCN2041.jpg


Head on, camz going in. Made sure to lube the fuck out of everything before putting the shaft in.
DSCN2042.jpg

DSCN2043.jpg
 
New press-in seal on the dizzy side of the head. One of the more common oil leak spots on these motors.
DSCN2044.jpg


Set to TDC, slipped on a new belt, and set tension
DSCN2045.jpg


I got the cover on and found this sweet gap between the lower timing cover and oil pump. Any advise on this? My guess is that my JDM ITR cover isn't compatible with the new USDM oil pump I put on. USDM cars have a crank position sensor there, where as the JDM motors don't.
DSCN2046.jpg
 
Port matched ITR intake (by Maxbore) being bolted on. I also got some other random things back on the longblock:
DSCN2048.jpg

DSCN2050.jpg
 
Looks awesome. Everyones been rockin the $6 orange Fram filters lately. Where's the OEM love?
 
Back
Top