B16 engine rebuilding

We may earn a small commission from affiliate links and paid advertisements. Terms

hatukazi

ambitious...but rubbish
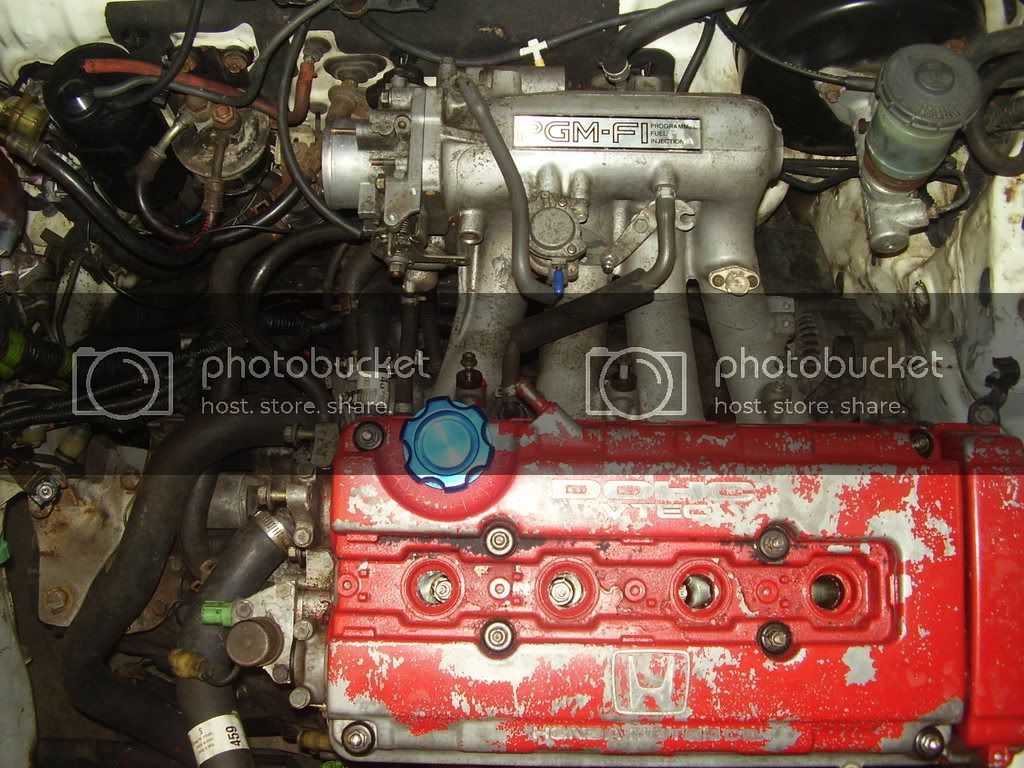
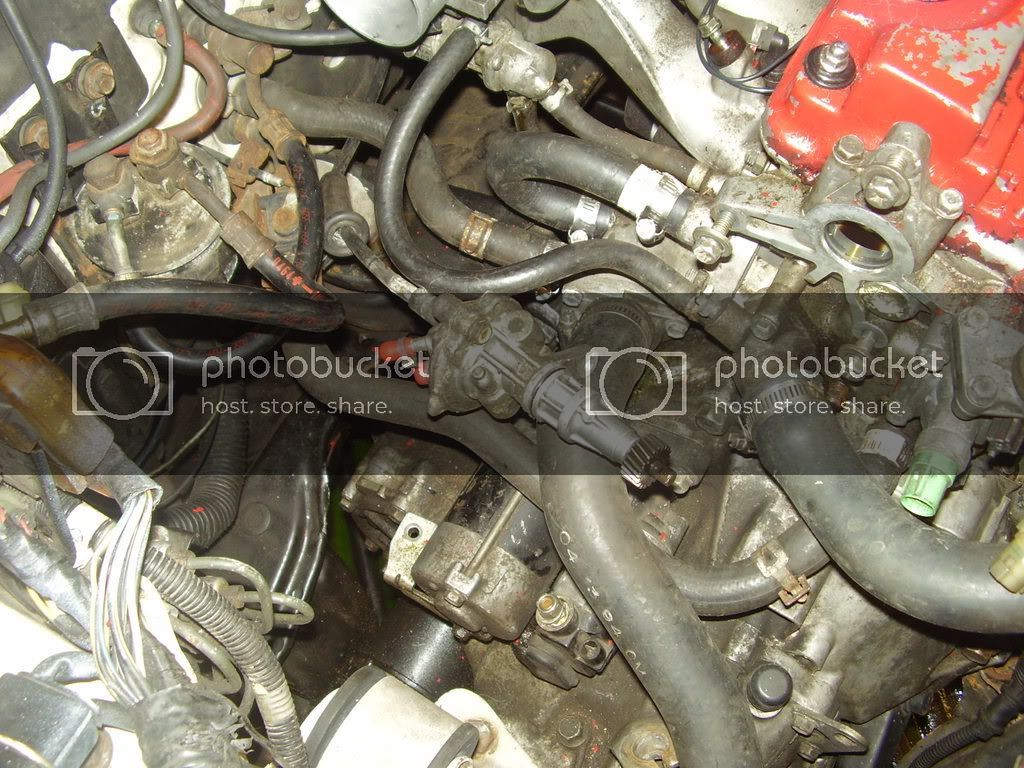
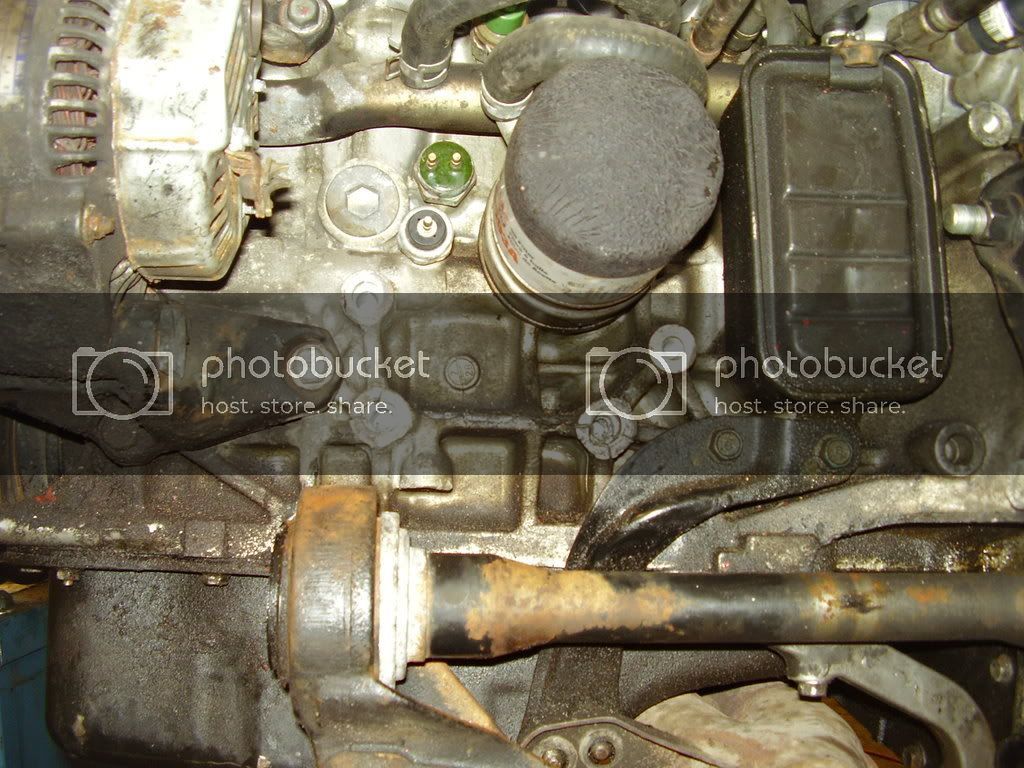
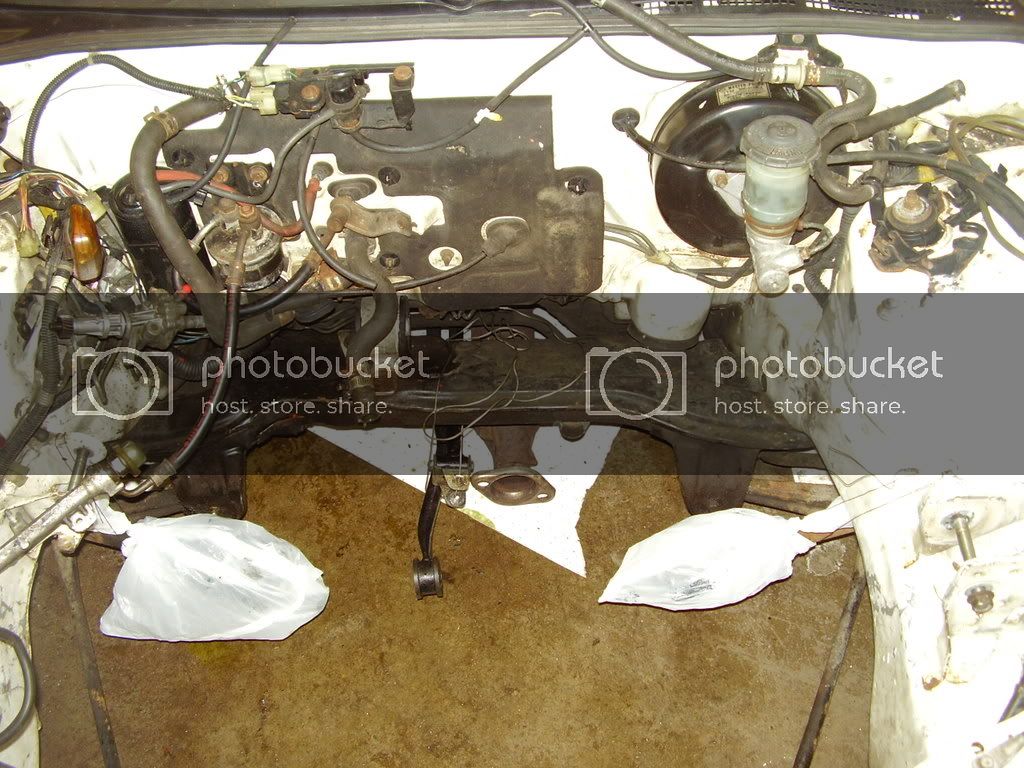
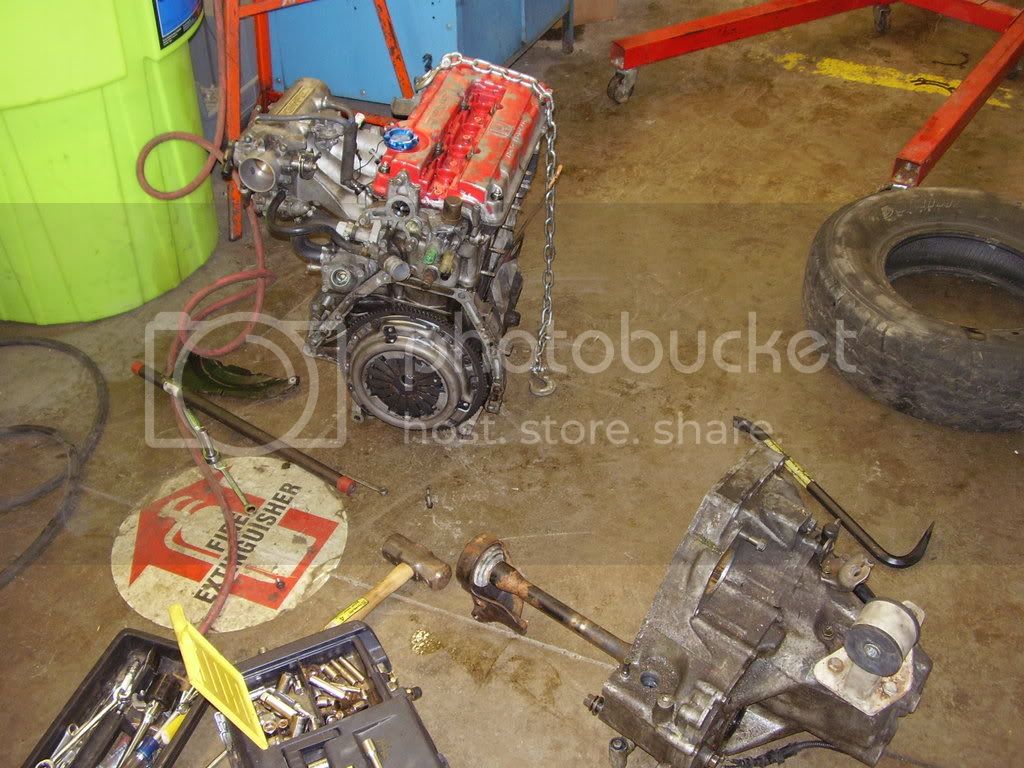
well I am taking the plunge and rebuilding my B16, I have a few questions.

this is a class project and we have to strip it down completely, all machine work is free:) so that's a bonus.

question 1,
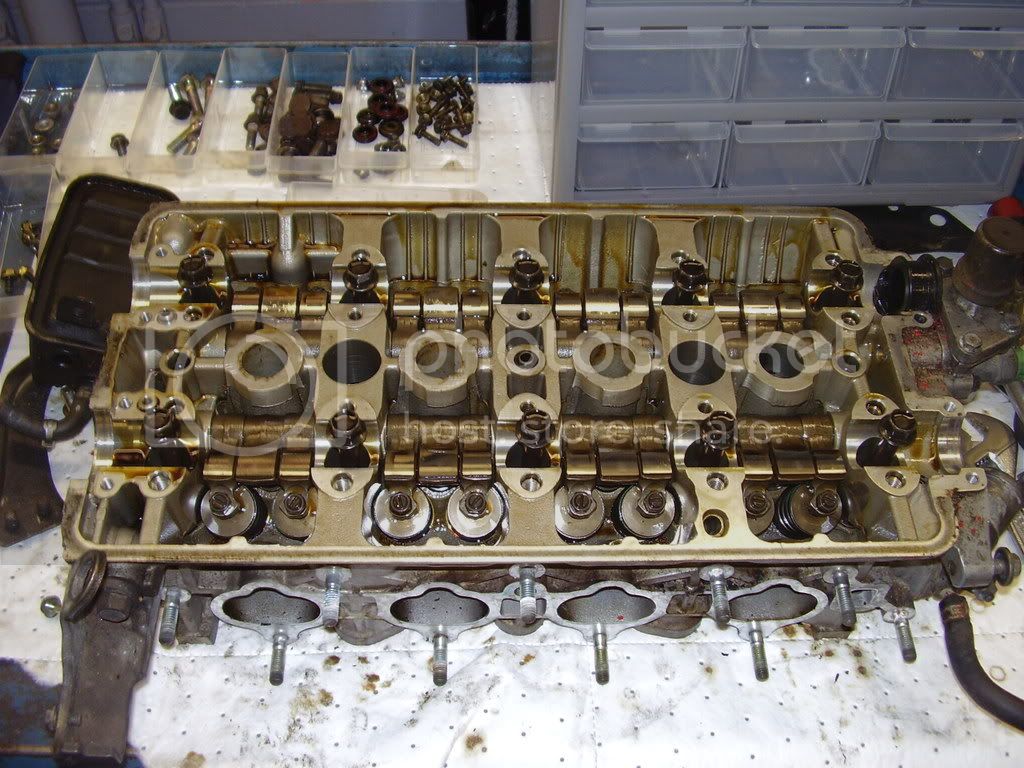
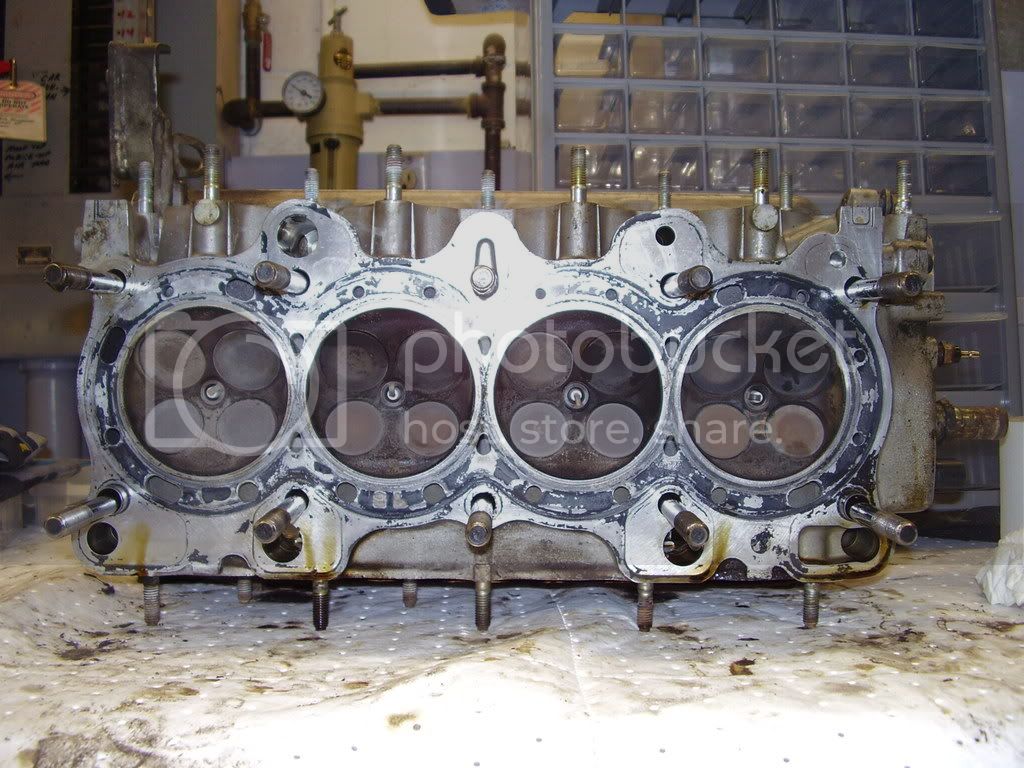
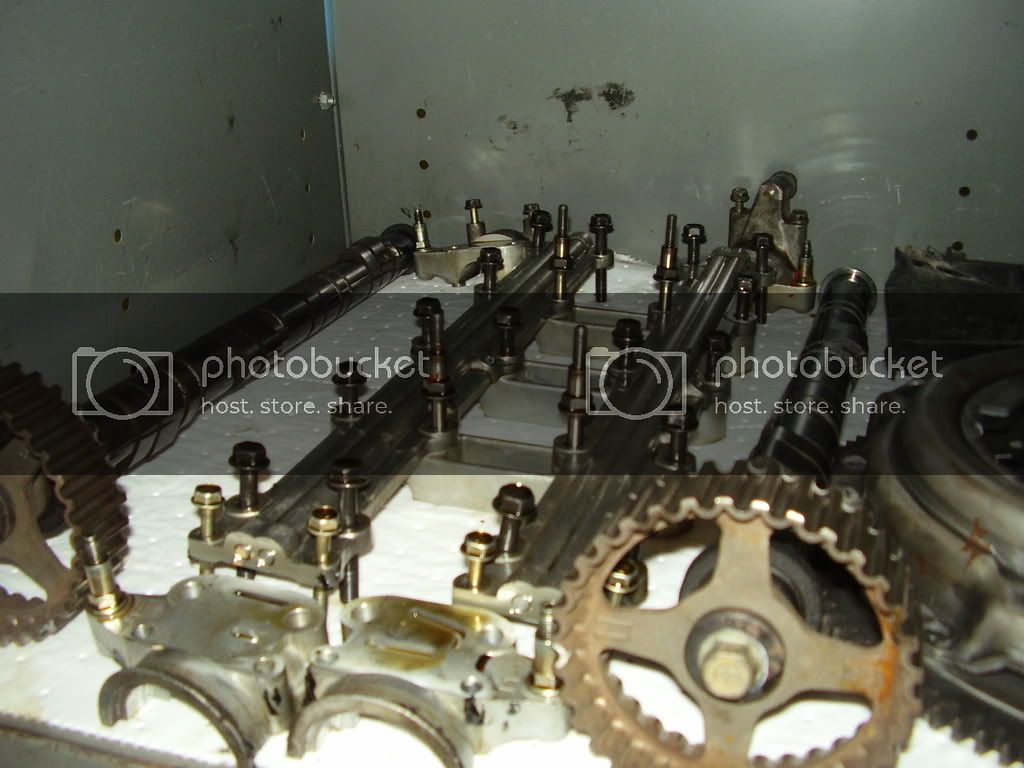
I have to strip my head for a valve job and I am worried about the lost motion assemblies, how to remove them for the jet-wash and not to get shavings in them from the valve seat machine.

question 2,
I will need a set of valves, king motorsports (I cant link to them specifically) has buddy club valves a whole set for $300, good deal? or can I do better?

question 3,
bearings, the block will be line honed so i will need new bearings, I want really good ones and this will be a daily driver so not a race set up, any suggestions?

question 4,
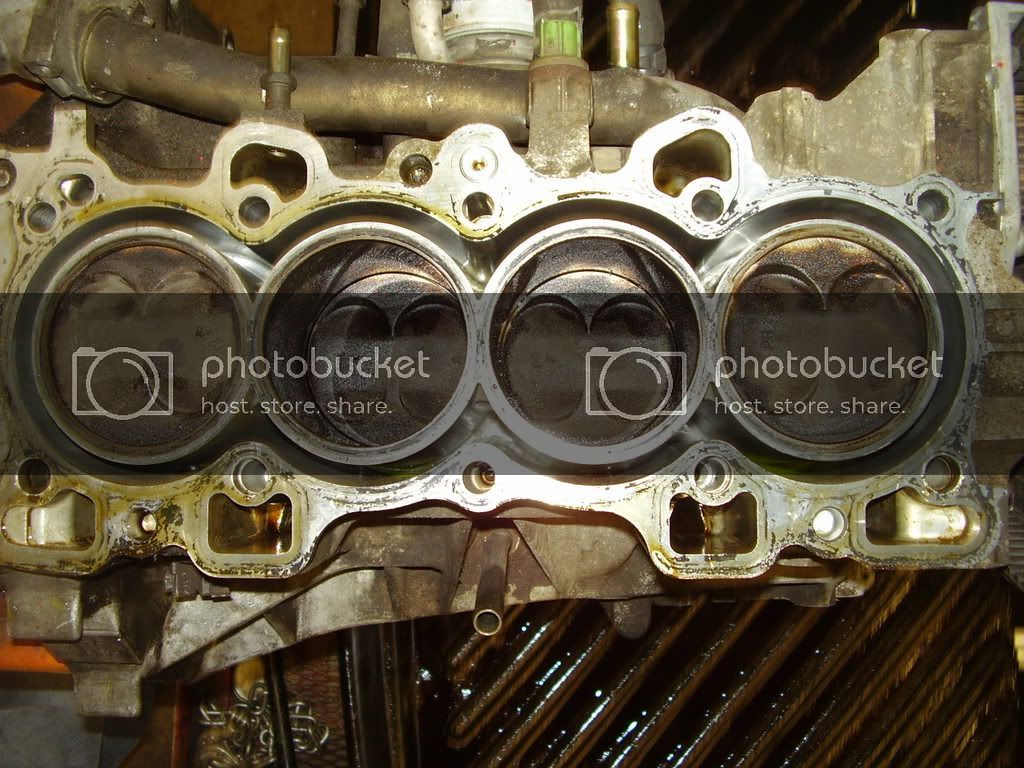
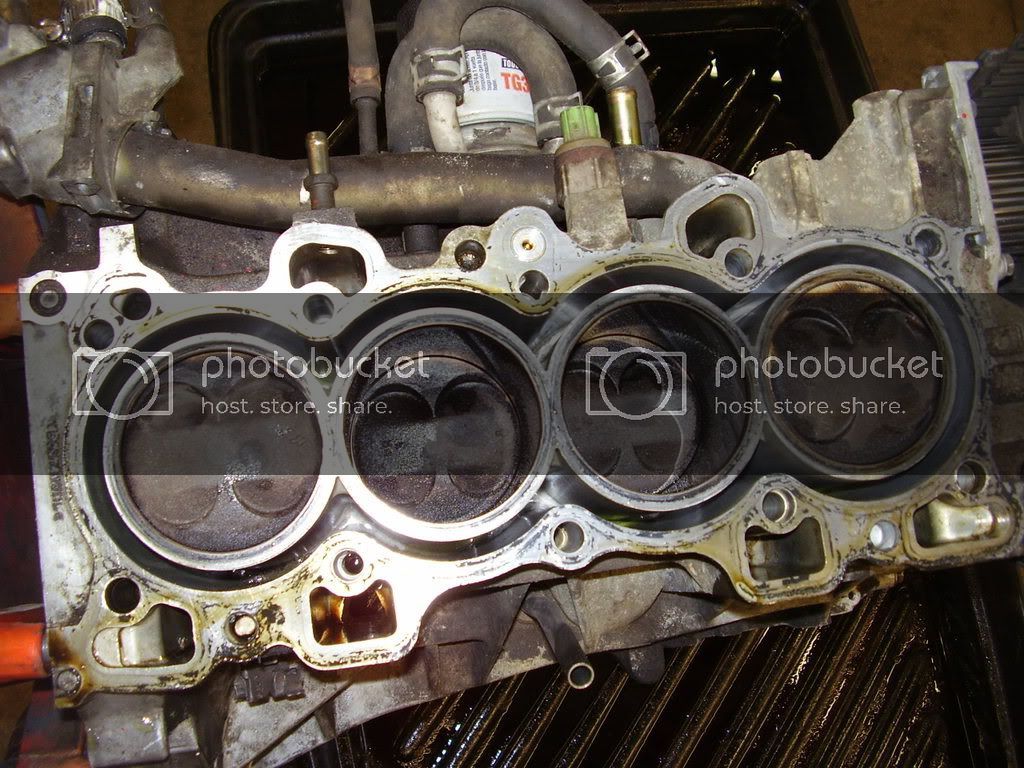
I am hoping to be able to re-use my stock pistons, but I will definatly need new rings, I was thinking total seal gapless, worth it?

#5,
Spoon Sports
worth $140?

#6,
are e-bay gasket kits a waste of money?, I know I dont want to use the head gasket that comes with them, but for like the oil pan and valve cover and o-rings and stuff I thought might be OK.

right now I am trying to get a bare bones estimate of how much I will need, I dont want to skimp, I want honda reliability this time (9 hondas and one has been reliable) but this time if it messes up it will be on me.

I will also be taking pictures and posting progress.

comments welcome and advice appreciated, wish me luck!
 
pics and (little) progress

first, thank you blanco for your help and advice.

well I thought I would have had the engine out today but not the case I am having trouble removing the axles from the tranny to lift out the engine, tomorrow I will try and remove the castle nuts from the outside of the axles and see if that helps.

started by removing the harness, I couldn't figure out the injector clips without breaking something so I took out the fuel rail and left the injectors connected to the harness.

I noticed I was missing a spacer for the fuel rail, I'm wondering now if that was starving my #1 injector and causing the miss I have been chasing since I bought the car.
011.jpg


after I unhooked the whole wire harness, I put it up on jackstands to fit the tray to drain the coolant, and unhooked to speedometer cable.
009.jpg

012.jpg


ran out of card for the rest of the day cuz the wife used my camera and didn't tell me, right now everything (except the axles) is unhooked and the engine is hanging from the hoist.

more tomorrow and I hope the engine is out without breaking anything.
 
I thought the castle nuts held the axle into the hubs, do I need to do something different?
 
I was, but your way worked out beautifully.

so it came out this morning....

removing the lower control arm worked great for removing the axles.

009-1.jpg


and out it comes, just like downtown, without the crowds.

010.jpg


new problem is the holes for the halfshaft cracked, hopefully I can weld and re-tap them.

007.jpg


well, back to class and time to begin the disassembly process, thanks again Blanco for the help and the link to the cylinder head stuff dont know if I'll get that far today, but definately plan to have the head off tomorrow.
 
well, after lunch I went back and worked some more, I also had a pleasant suprise. I found out the gut I bought the car from didn't lie to me about the exedy clutch and light flywheel, so I save some money right there.

first I wired up my shift linkage and axles to get the car ready to go out side, other people are waiting you know.

015.jpg


I am getting it ready to put up on the stand now, I seperated the tranny (you have to remove the inspection plate and the exhaust manifold to do that) and took off the clutch disc and pressure plate.

012-1.jpg

014.jpg

013.jpg


that's as far as I got today because I needed to buy a socket to take the flywheel off, more tomorrow.
 
Outstanding! Glad I could help, man.

Is it just the picture or does that flywheel look burnt up? If so, you'll want to get that turned or get a new friction surface along with a new clutch disk.

And I have that same WalMart toolbox. :D

my dad saw the pics and he said my flywheel looked like toast too, I didn't get pics of it but my clutch disc looks a little glazed in a couple spots I thought it was normal use because I never had problems with it.

I dont want to put it back in if it's messed up though.

and for less than $10 that toolbox is the best investment I've made yet. Ii's filled with most of a craftsman toolkit (some is missing because I have a son with a MINE complex)

I'm getting a roller toolbox in a week or so when I get my student loan and I can bring my little one home.
 
So is valve cover painting on the to do list? :p

yup, metallic blue.

I didn't get much done today because I felt like crap, got whatever the kids had last week, also forgot my camera. all I did was take off the flywheel and intake and put it up on the stand.

hope monday is better.
 
the "ear" behind my pass. wheel is bent, so I put the stands on the next best solid spot I could find. at least I knew it wouldn't fall on me, it was a little hard to navigate the hoist around them though.

anyway I made a little progress today, the head is off and it doesn't loook like my valves are bent (I was worried).

001.jpg

006-1.jpg


keeping everything in order makes for easier re-assembly later.

004.jpg


you have to remove the knock sensor and a coolant fitting to remove the thermoststat housing.

005-1.jpg


here is how the pistons are looking, not too much carbon buildup but the pattern isnt even, dont know if it means anything.

also I didn't see anywhere the head gasket was burned through, it looked OK.
003.jpg

002.jpg


tomorrow I try to remove the crank pulley and pistons, I found a block on craigslist for $75 gonna check that out this weekend so I dont have to weld on the one I already have.
 
Back
Top