Mac's 94 DB8 project thread AKA: Project Aeris.. ITR stuff, body work.. ect

We may earn a small commission from affiliate links and paid advertisements. Terms

Status
Not open for further replies.
Hold on there snizzler... I havn't got my Red Rota's yet either (ordering the wheels this afternoon) ;)
 
Alrighty!!!!!!

Time for the write up on all the work that took place on Sunday (yes, we did this in an afternoon, my dad and I.

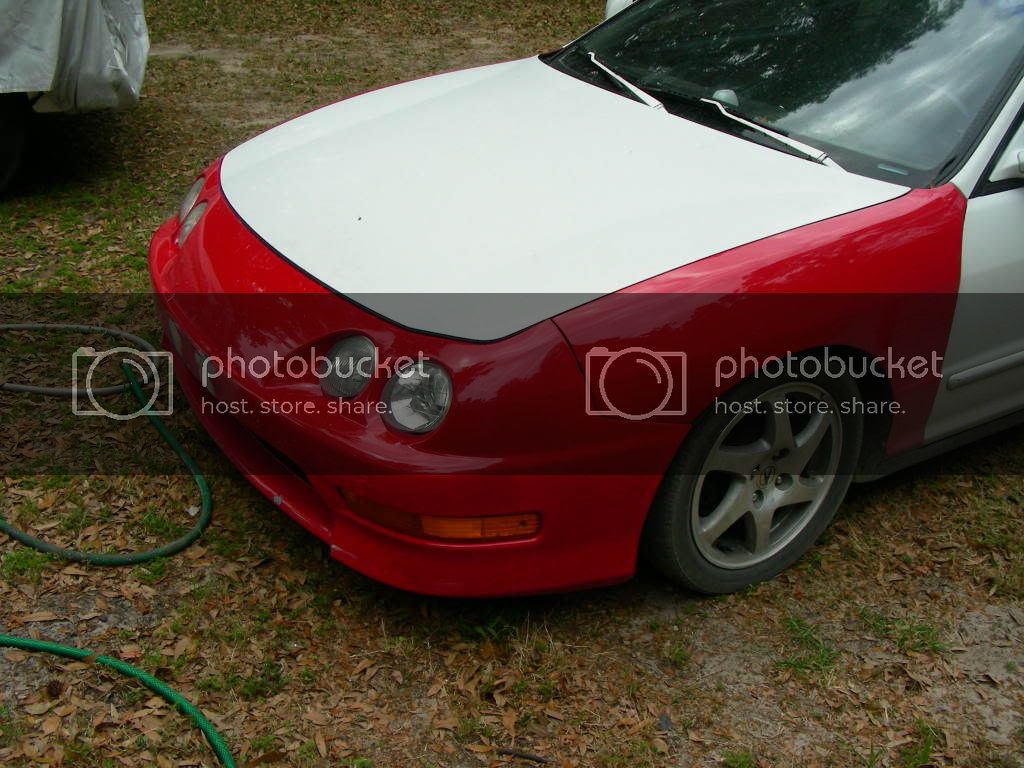
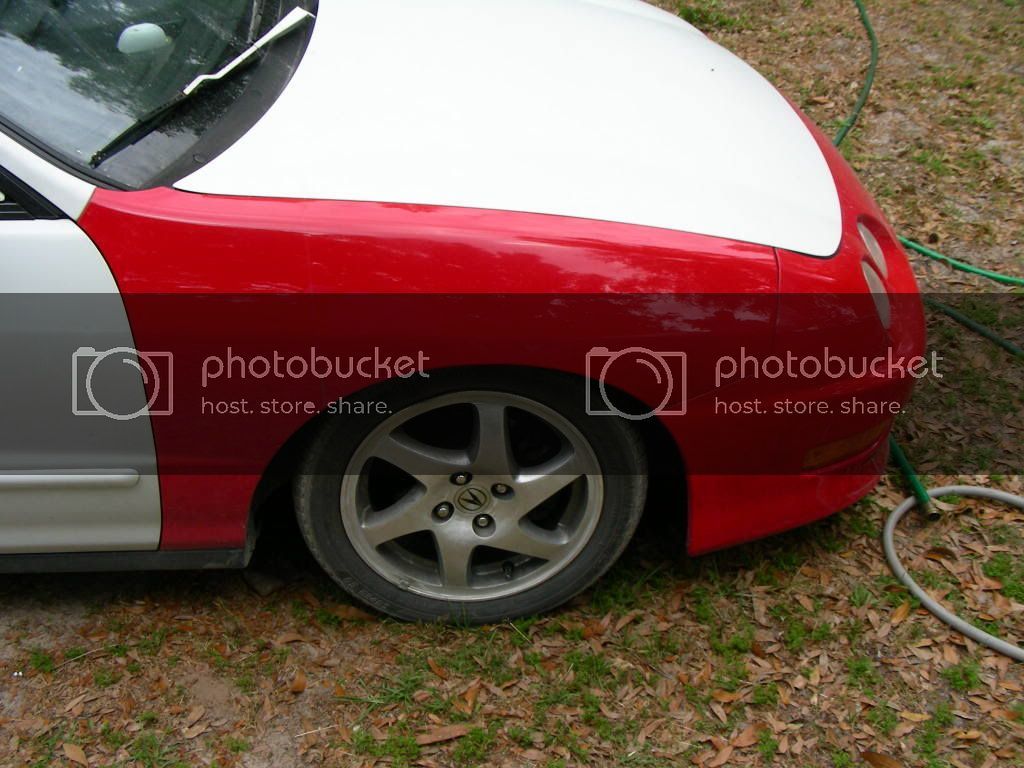
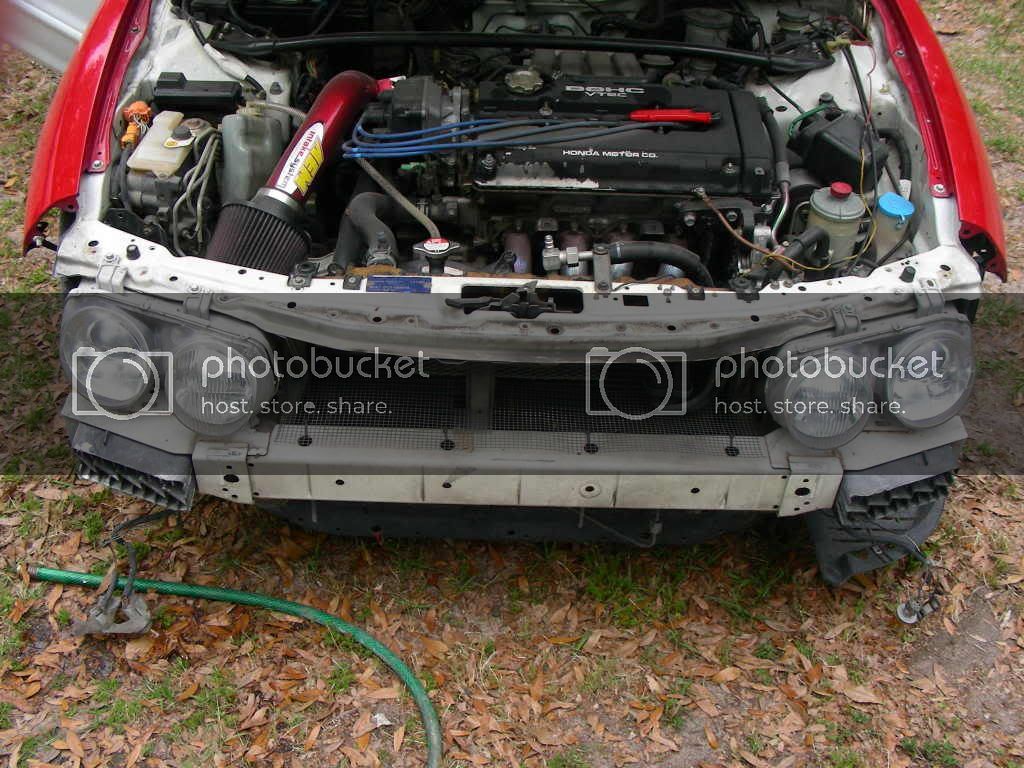
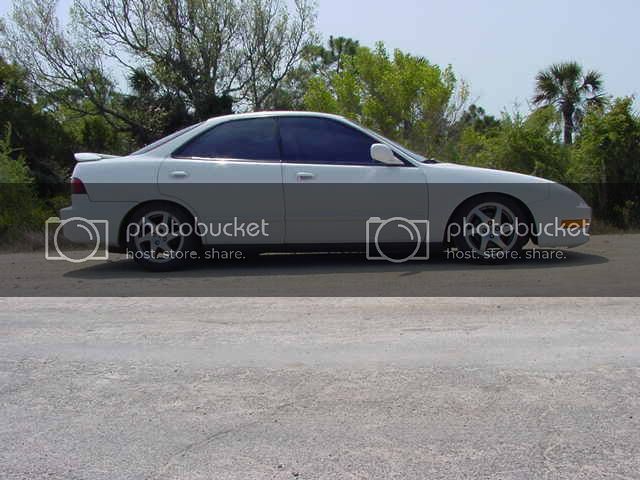
So, a couple pics of what I was starting out with:
DSCN2373.jpg

DSCN2374.jpg

DSCN2375.jpg


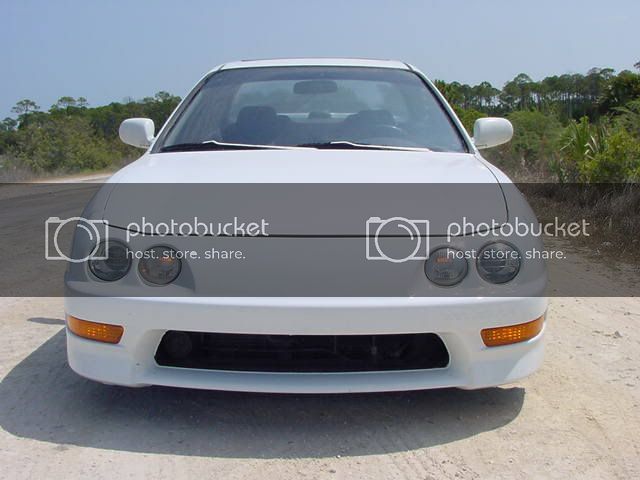
And the pic before the bumper was removed:
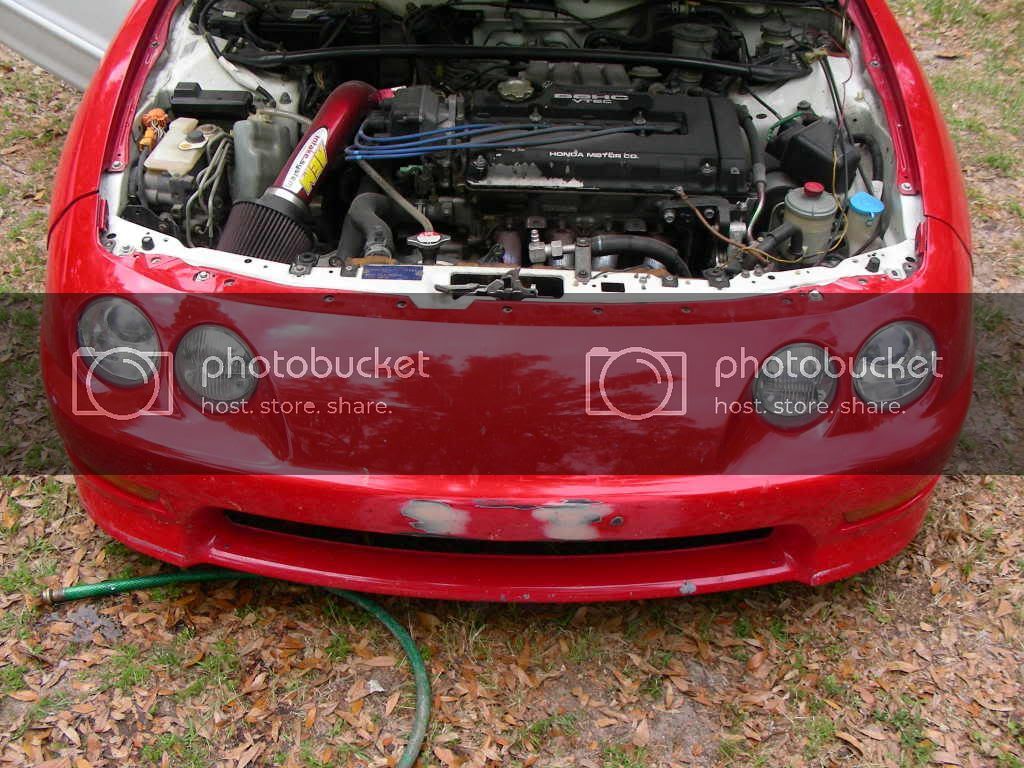
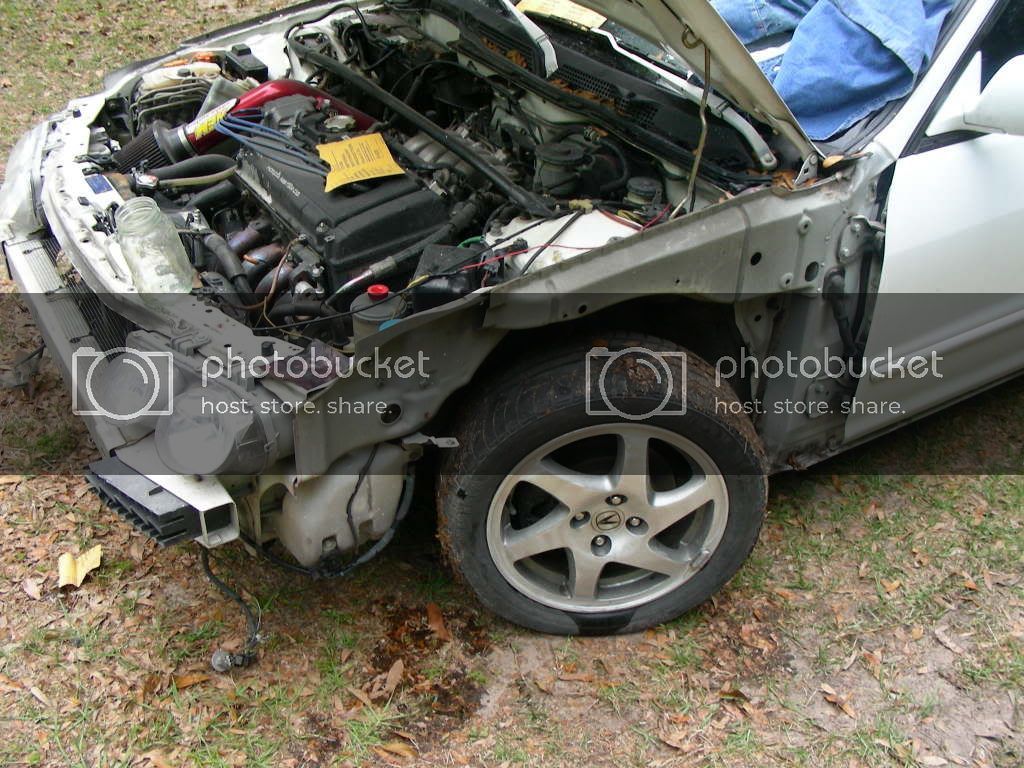
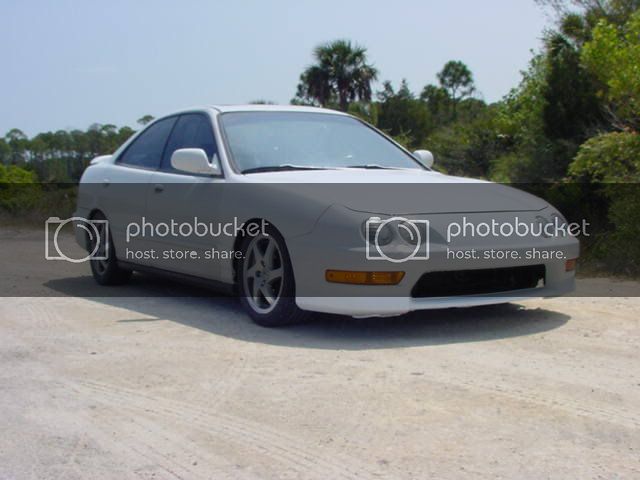
DSCN2377.jpg

And after!:
DSCN2378.jpg


She's naked :S:
DSCN2380.jpg


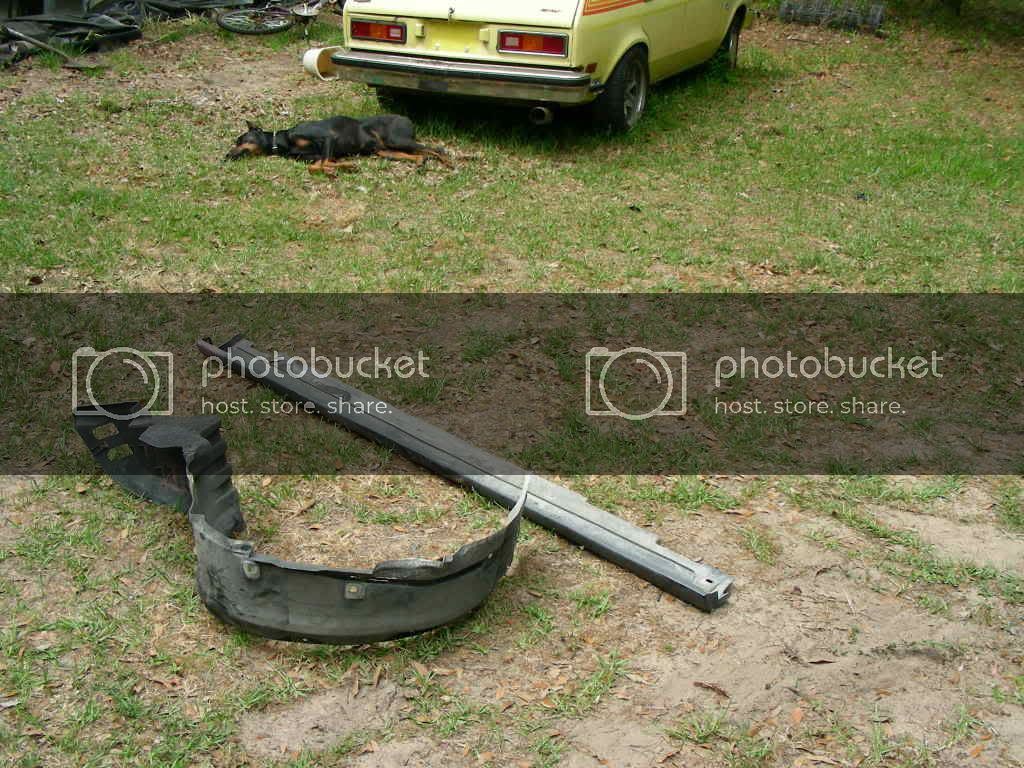
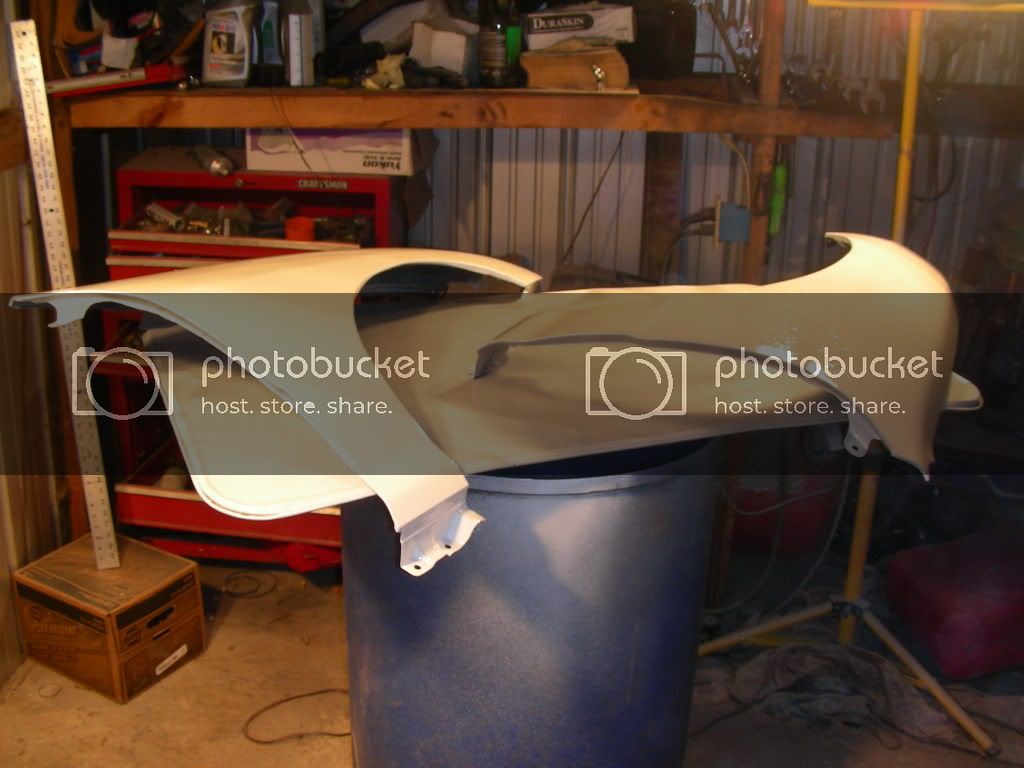
A pic with the side skirts removed:
DSCN2381.jpg


And a pic of the fender liner and side skirt.. Along with a dog thats been dead in the yard for a few days:
JK :p
Would you believe that lil Yellow piece of crap in the background raped my 13 second mustang??????? Power to weight ratio FTW!
DSCN2382.jpg


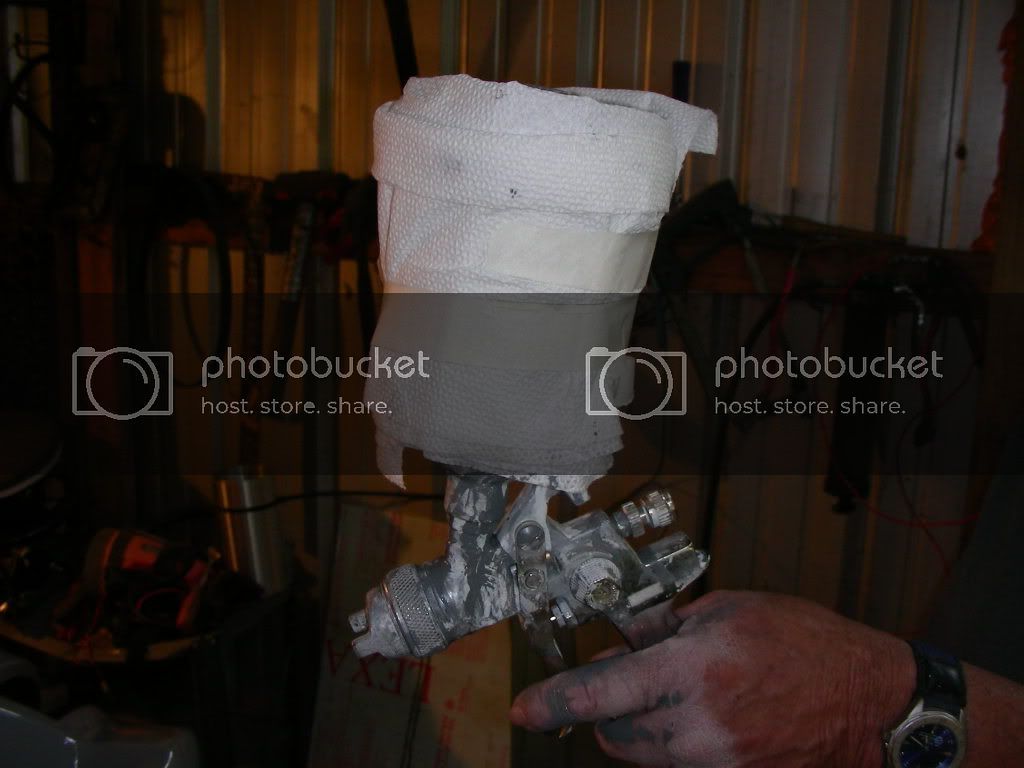
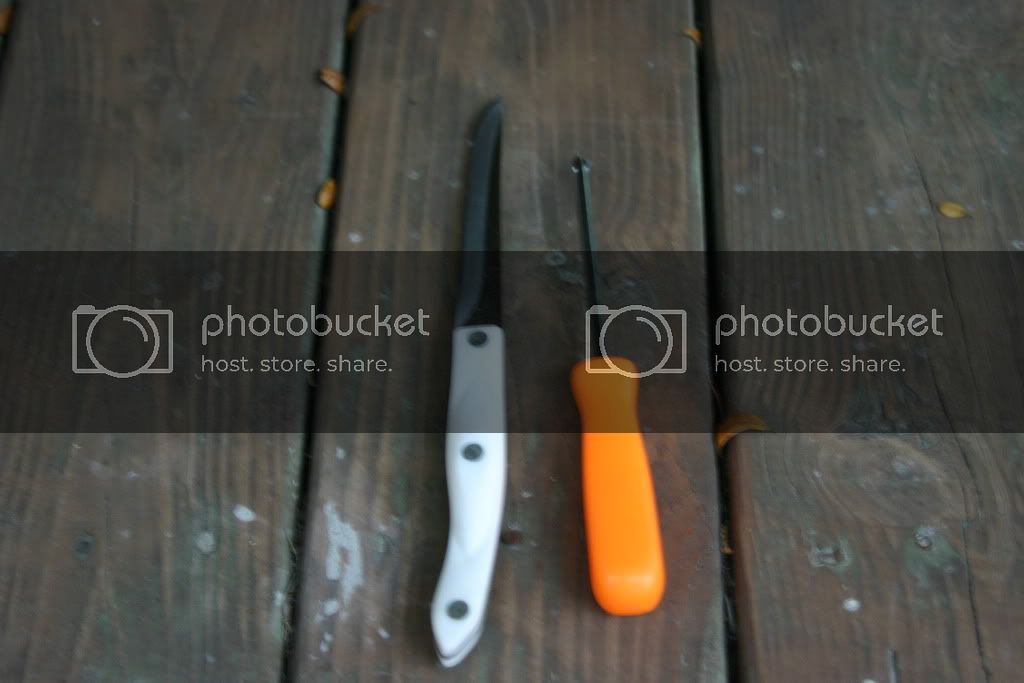
Now for the painting: The paint gun we were using is a lil el-cheapo thing, like $20.00 or something. Works great except the aint was leaking out around the top. Nothing some paper towels and tape could'nt fix!!
DSCN2386.jpg


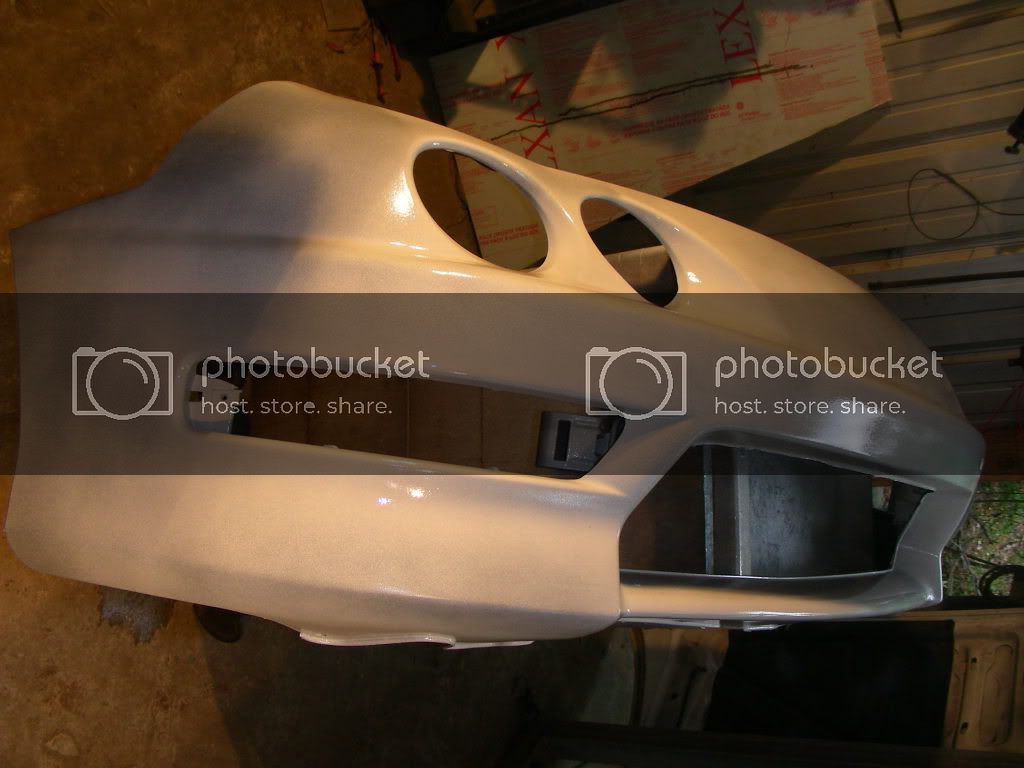
The finished product, seperate from my baby:
DSCN2393.jpg

DSCN2394.jpg


Now, we weren't going to paint the hood initially, but we later decided that the whole front end would look better if it all matched. SO, 15 mins of wet sanding and a lil prep on making sure paint doesn't get everywhere, and were ready to go.
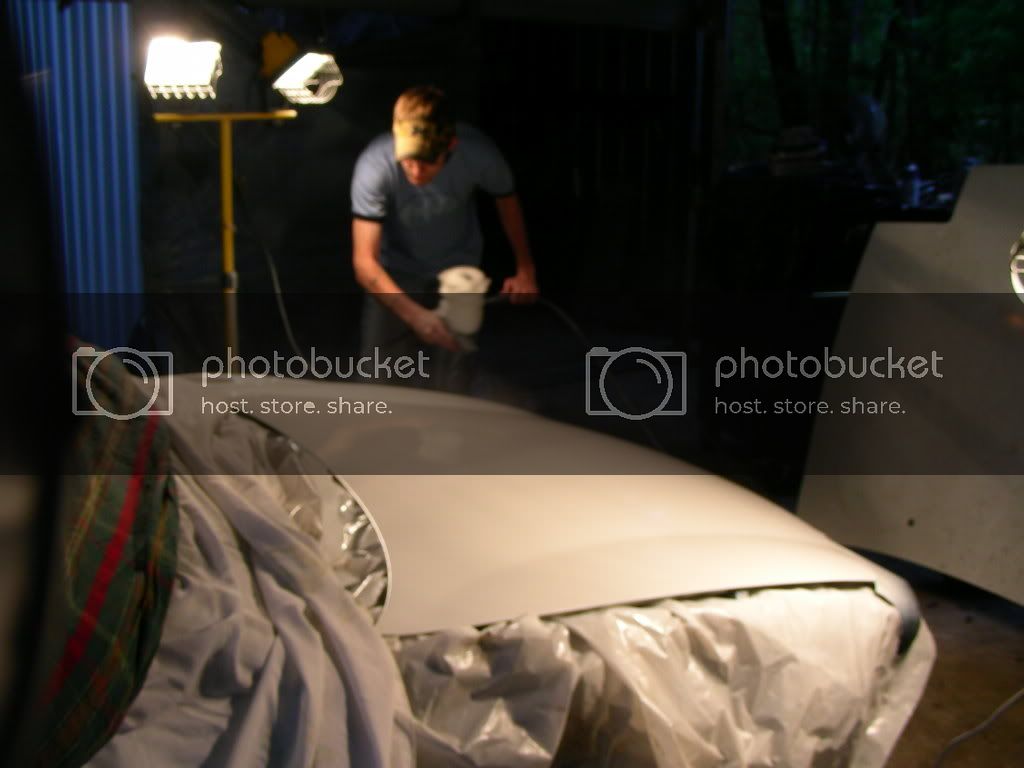
My dad painted the bumper and fenders, but I painted the hood.. AS you see here:
DSCN2401.jpg


So...
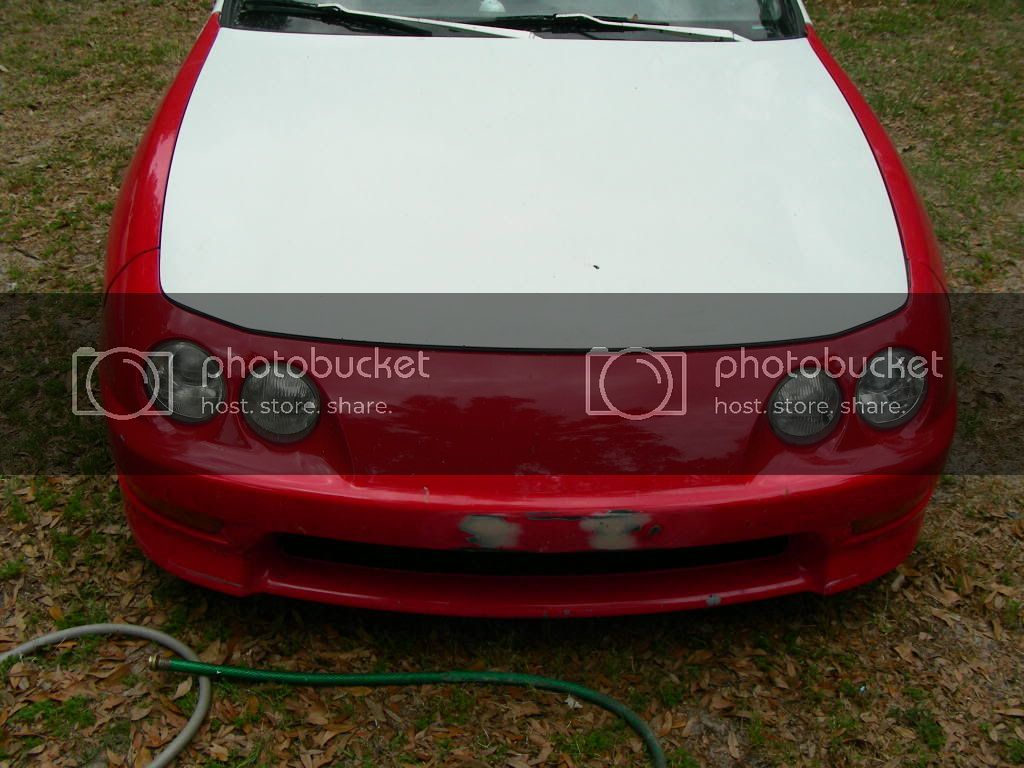
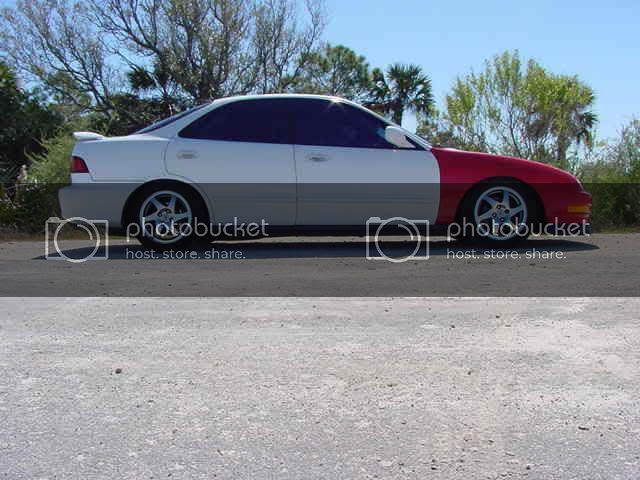
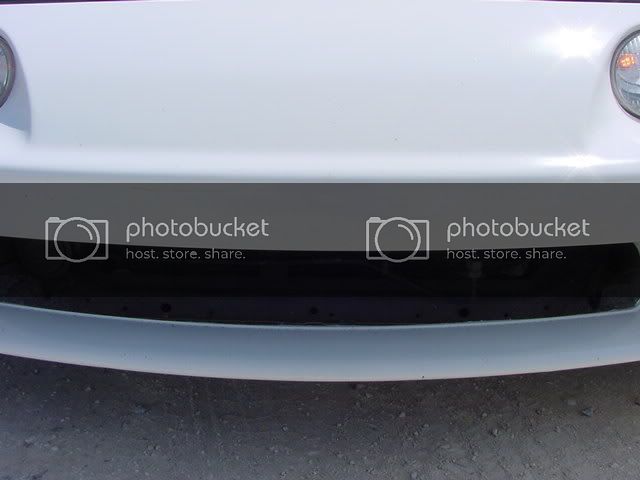
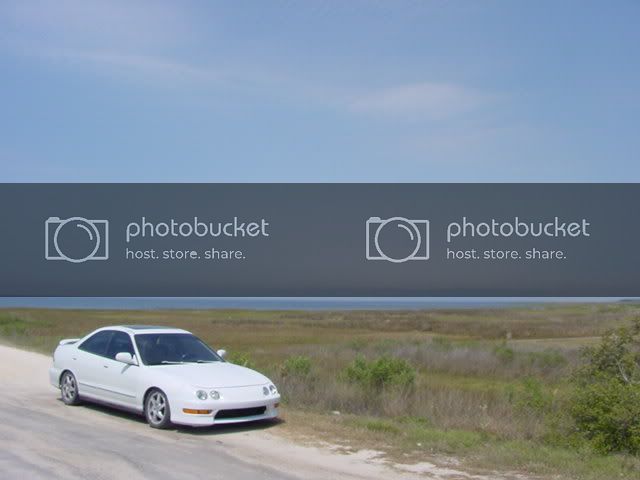
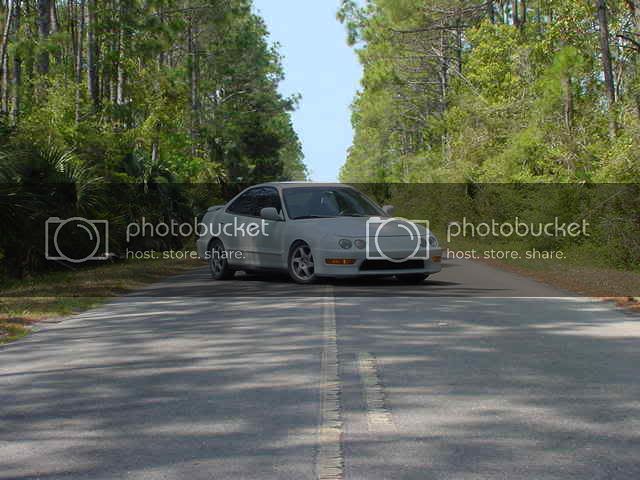
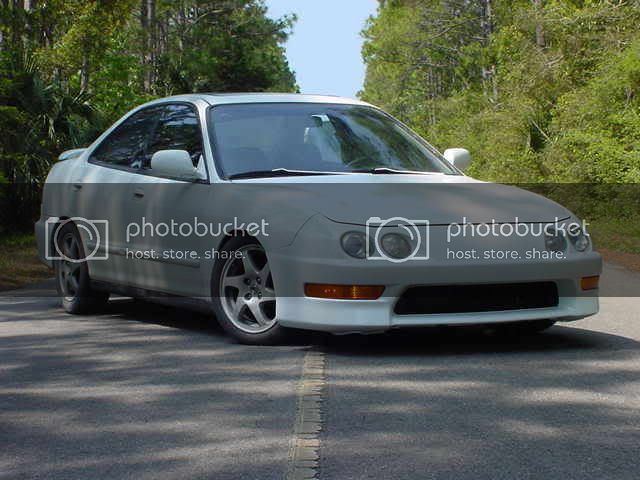
What does it look like all finished?
MVC-001S.jpg

MVC-010S-1.jpg

MVC-008S.jpg


Much better I think :)
MVC-009S.jpg

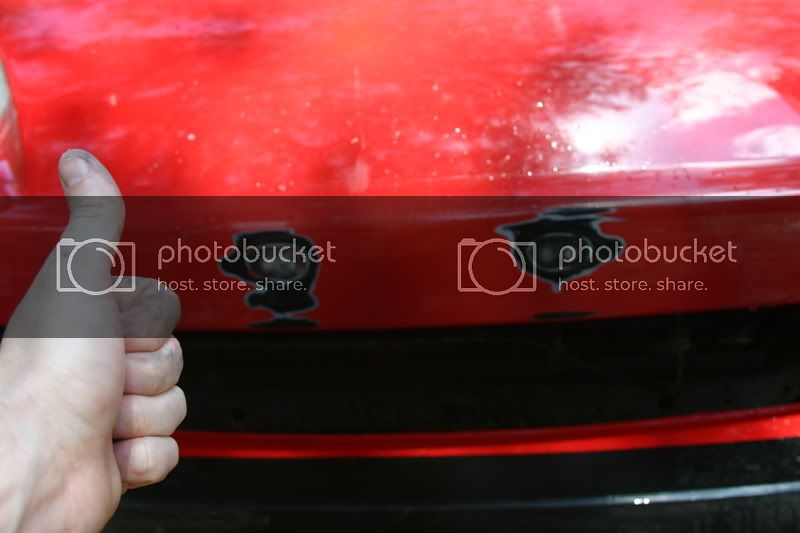
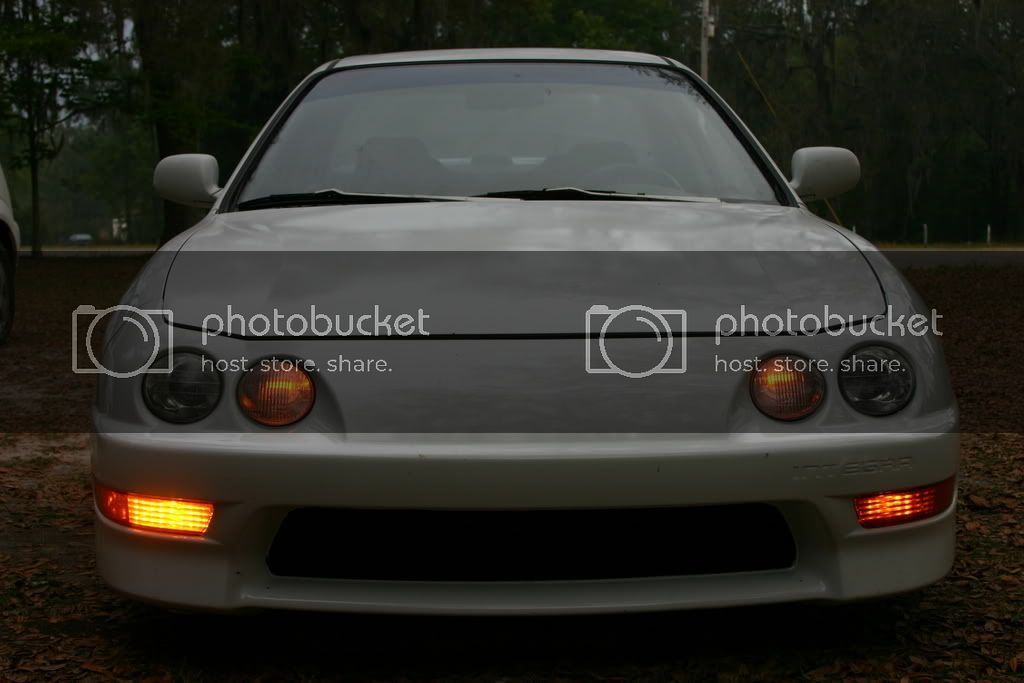
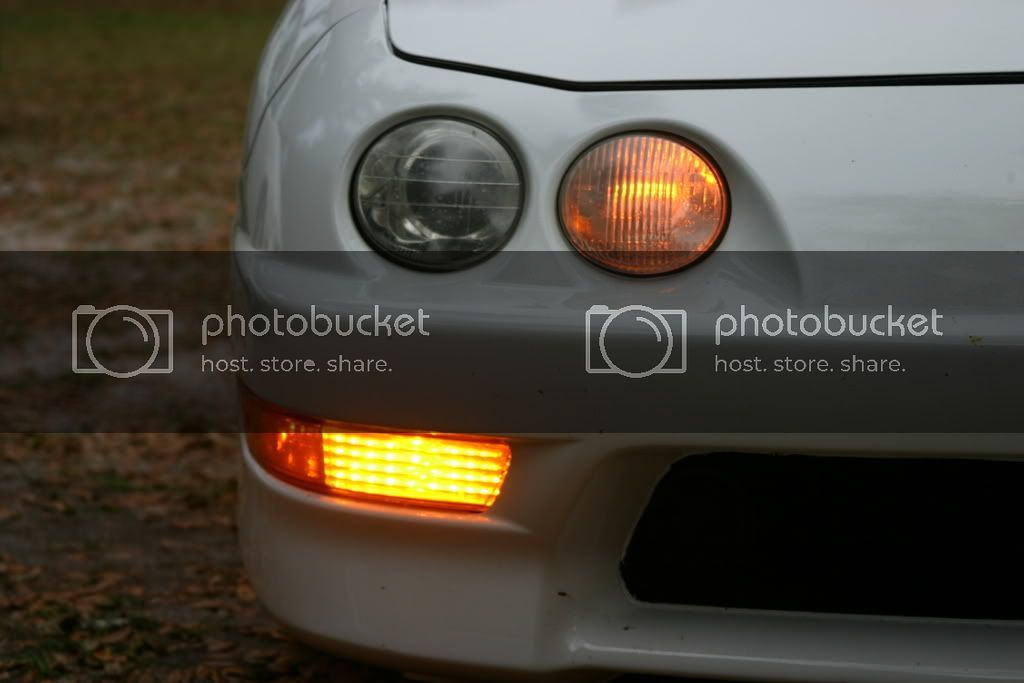
Remember my DIY shaved locense plates holes? Man it turned out so good!!!!!!!!
Before:
IMG_7824.jpg

After!!:
MVC-010S-3.jpg

MVC-011S.jpg

MVC-014S.jpg

MVC-015S.jpg

MVC-016S-2.jpg


I'm so freakin pleased with how it all came out. The paint though, is by nomeans perfect. I mean, come on, you saw where it was painted. There's some dust in the pant and whatnot and the overall rush of getting it done affected the overall quality. But, it's gonna eventually be repainted and the proper care and prep will be taken. :)

Now.. I'm gonna add this is because I think it's funny. Remember this pic of me painting, and I told you there were some details to them?
To refresh your mem (try not to stare at my butt too much, plz):
DSCN2403.jpg


<sighs> Those are my 14 yr old sisters pants :p <chuckles> With the fenders removed, it was a pain in the a$$ to wet sand them, so I just sanded them in my lap, which.. when your wet sanding, you get wet.

It was cold!!! My feet/legs were freezing. I went inside, asked for some pants.. And since I don't live with my parents anymore, they didn;t ahve any of mine. All that was there was my sisters.

:p

I like to think she's too big and that it's not me thats too small <chuckles> My buddies got a kick out of it as well as my wife and her friends. I will say though, that they acentuated my curves nicely.....

Ok, thats too gay, you guys enj0y the pics!! <laughs>
 
wow.. looks a ton better.. now to get the whole car color matched..

hehe, who am i to talk.. i drive the primered turd.. hahaha
 
haha!! HOMO!! jp. You gonna repaint the whole car to match the white? or jus the bumper/hood/fenders again?

Dude, I felt like such a freaking queer (no offense to anybody with that pursuasion) but it was definetly un-cool for such a macho, manlyiest of manly man guy like myself :p Plus, I wear very loose clothes and I felt like a freaking Emo (no offense again) with those pants on. Though I did like the boot cut, and they were the perfect length :eek:

And yes, everythign will be repainted, including the front end. It was done very quckly so it's not the greatest of paintjobs, but it doesn't look bad by any means and definetly serves it's purpose.

I'll get more pics after the rest of the car is buffed and we'll see how well the paint matches after that.

And I ordered my 16" GT3's TODAY!!! They should be here around Wed next week!!!!
Can't wait.
Though I have no tires so I"ll just oogle and whatnot :rolleyes:
 
Turn signal mod/ghetto fog light

I saw this on Ti Monday and thought it was kinda cool, though it will be contriversial* and I don't knwo if I'm gonna keep it or not. We'll see.

Step 1: Gather your weapons!
A screw driver and a knife, or some sort of sharp pointy object :p
IMG_8109.jpg


Step 2: Find your car ;) There she is =) So sexy in her whiteness :p
IMG_8093.jpg


Step 3: Remove your turn signal and disconnect the sockets. Easy enough.
IMG_8087.jpg


Step 4: Remove the the plug from the turn signal socket.
There are 3 wires..
A green on the outside
A black in the middle
and a red on the outside.
To remove the pins, take your knife (or pointy thing) and pry a little tab in the plug (you can kinda seem em) while pulling gently on the back of the wire. Kinda trickey but not hard at all. Your wanting to swap the places of the RED and GREEN wire. So, if the red is on the left and the green is on the right, you need to put the Green on the left and the red on the right.
Got that?
Here's what the plug looks like with the pics removed. And, so you know, I had to do this twice because I forgot which side I pulled the wires from and put em back in their original places :p
IMG_8089.jpg


Step 6: make sure the plugs are snapped back into place. Then place the plug back into the socket, the socket into the signal housing and the housing back into the bumper. You want to end up looking like the second picture posted :p

Step 7: Turn on your parking lights and marvel how bright it is now! As you can see, the passenger side is done, the driver side is not.
IMG_8090.jpg

Here's the passenger side:
IMG_8091.jpg

Here's the virgin drivers side (heheh, not for long!)
IMG_8092.jpg


Big difference huh? I'm diggin it pretty good ;)
Just repeat the steps for the other side and you end up with this:
No lights:
IMG_8093.jpg

Stock parking lights:
IMG_8086.jpg

Uber JDm-ness parking lights!:
IMG_8095.jpg


NOW.. The problem with this.. In laymans terms, your screwing with the circuitry of the lights, and your turn signal;s blick much dimmer and faster. This is what I referenced earlier abotu how I might not keep this. I have to see how it is in the daytime. if it's too dim and not safe, then I'll revert back to normal.
I may also try some yellow LED's and see how it works. I actually have em in City Light mod thingy, but I'm tired and don't feel liek swapping anything else out today. maybe tomorrow :p

SO, there you guys go. It looks cool but at a cost of safety. How much? Thats yoru decision.. Just be safe and don't do drugs and mess with prostitutes. <chuckles> Woudlnt that be funny if they had school slogans that said:
" Winners don't do prostitutes"
instead of
"Winners don't do drugs."

:p Geez, I'm tired. And I've got one more DIY left :S
On that note.. que the drum roll for..............
 
Uber manual LED fan switch!

I did this because whenever I was at the track, I had to have my ignition on w/my ac running so the fan was on, to cool off my car in-between runs.

Thats gay.

SO, I decided to wire up one of my fans manually.
Here's how ya do it.


Step 1: Buy an LED switch. I picked ine up from discount for a few $$$. I chose blue. maybe the retards that work at the one you will go to can figure out how to work a register so they can cash you out (ours are pretty dumb here in ole Perry).

Step 2: Gather tools
-- Wire crimpers
-- Several feet of wire
-- Your LED switch
-- Some terminals
-- Some pliers
-- Some black tape/electrical tape
-- test light <--- Very important

Step 3: Find your car: And often overlooked step but oh so very important! You don't need to be doing this to somebody elses car, ya know?

Step 4: Dive under teh hood and snag the yellow wire (least it was yellow on mine) for the fan. You want the power wire. Use your test light to check for power (simply find someplace to ground it and stick the point into the wire without poking a hole in your finger (happens all the time unfortunately :S) You want to cut the wire from its factory home and connect it to the several feet of wire you've bought. Your gonna want to run it through the firewall into the cabin.
I'm pointing at my wire :p
IMG_8096.jpg


Step 5: Break out your LED switch. The switch has 3 connections: Earth (your ground) Power (battery) and LED (guesss what it goes to?). Here's what you want to do:
Run you wire from the fan to the ... Crap guys.. I can't remember exactly how it was wired. I'll have to wait and finish this part untill I can check tomorrow for certian (have to tear apart my console :S)
So, for now, skip Step 5:p This is how it ends up looking:
IMG_8104.jpg

And here's where I got my power from: The 15amp fuze that runs the dig lighter/stero. That way I can't leave my fan onL Its goes off and on with teh ignition. I just have to turn on my accessories for it to work =) Nifty huh?
IMG_8105.jpg


Step 7: Ta daa!! Working LED. I drilled a little hole in one of the lil pieces in the arm rest (they pop out as you can see from the above pic) and the switch fits snugly into it. I'm liking it there too. When it's on, at night, it lights up the dash in front of it =)
Sexxxxxxxxyyy!!
IMG_8100.jpg


And there ya go. Sorry the DIY is inco,plete at the moemnt.. I"m really tired and I won't want to lead you astray with wrong information, so I'll figure it out tomorrow and update.
 
And my buddy came over and I showed him the turn signal mod thingy and I took some more pics at night.

I will say, it looks sick ;)
IMG_8110.jpg

IMG_8112.jpg

My friend being an idiot.
IMG_8113.jpg

IMG_8114.jpg


Sorry they are kinda blurry :S No tri-pod
IMG_8115.jpg

IMG_8116.jpg

IMG_8119.jpg

IMG_8120.jpg


There ya go!
Enj0y!
 
Dude, you're the DIY write-up king! Lol! Turn signals look sweet, and so does the fan switch. Keep it up!
 
dude if you were coming at me down the road, id be a dick and swerve at you for blinding me....

atleast real fogs are pointed down.
 
dude if you were coming at me down the road, id be a dick and swerve at you for blinding me....

atleast real fogs are pointed down.

I'm gonna find out how bad it is for other people this weekend... I may revert back cause I checked today and the blinkers don't seem to be bright enough in the sun :S
 
It's because he whores his crappy writeups on as many forums as he can.

JK man, I love your writeups.
 
Im still in school and it took me almost the entire class to catch up on this thread. It is an awesome build and should look real good when its done. The pics dont come in on the school computer so im going to have to go back over the thread when I get to work. Now that i posted i can sit back and wait for updates.
 
Status
Not open for further replies.
Back
Top