Celerity, (get ready for broad statements directed mostly towards "new" mechanics) first off, take your time and make sure you feel comfortable with where the wires are routed before you secure it all down tight. Think about what your moving/removing and how it will affect your system (if it will).
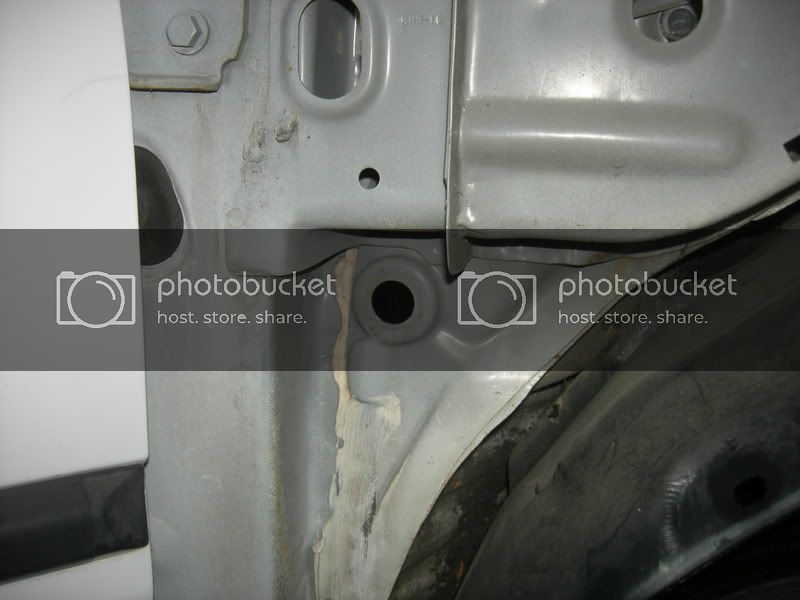
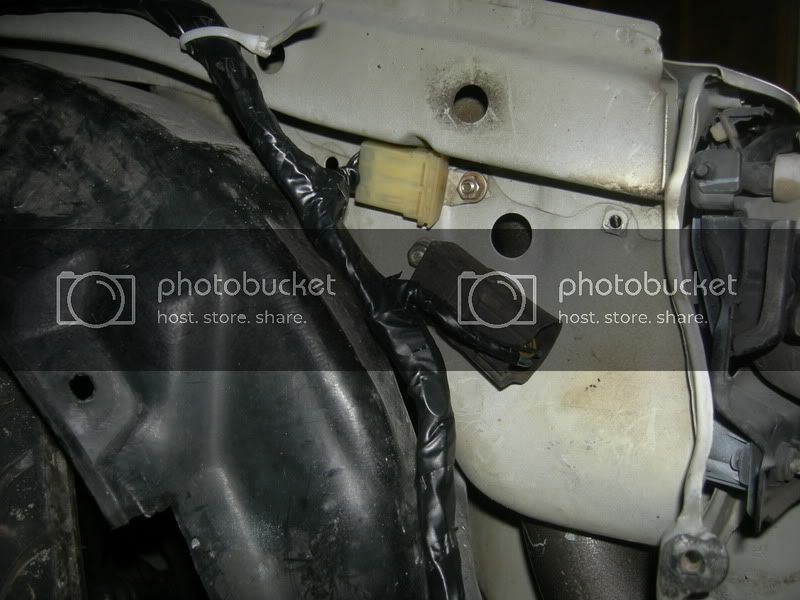
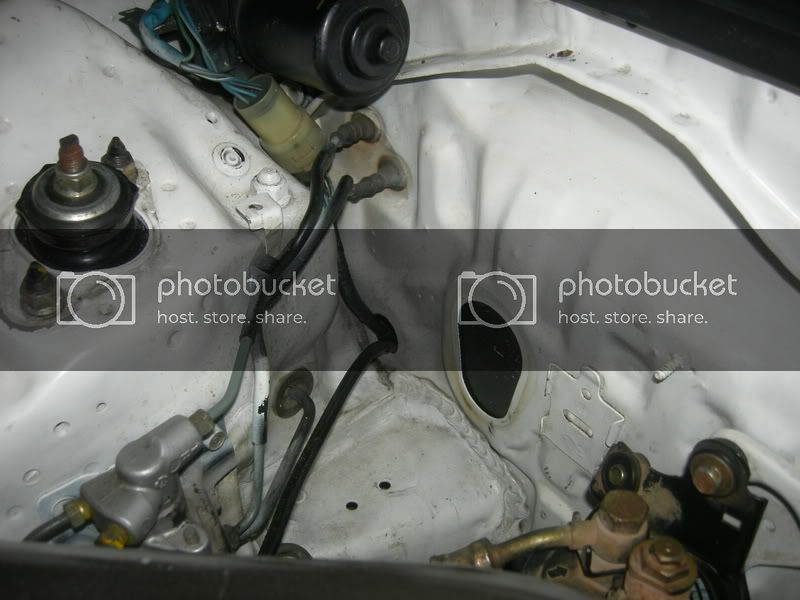
Where I ran my wires through (seen below, where they are running through now) is the SunRoof drain escape. Thats why my carpet would get a little wet, because it wasn't draining outside the cabin. I'll figure something out in the next few days on where to get that tube out of the car. Just make sure of stuff like that. Know what your doing before you do it.
PM me with questions as you go. I've done this 3 times to my car and I'm sure I can help you with some roadblock you have. Plus I have tons of pics in my Photobucket you can look through that might help.
write-up section of my PB
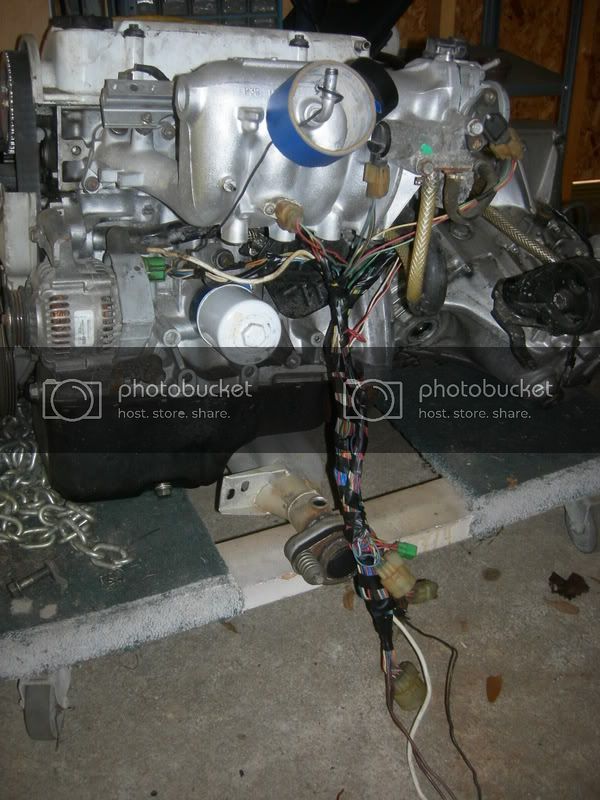
Oh, as far as the engine harness goes I did it something like this:
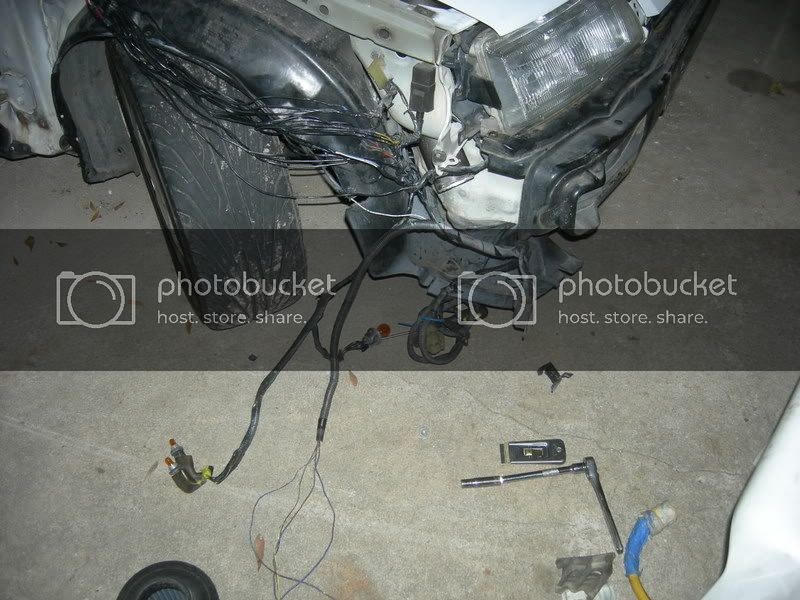
The headlight and AC wiring is the only stuff going through the fenders.
I'm not sure what you meant exactly, but hopefully that explains it.
BTW.
Honda-Tech.com: Appearance / Cosmetic: ♠ Shaved, Tucked, Customized Engine Bays - Pics, Theory, Discussion ♠
Thats your BEST FRIEND. Read that first page (reference info) MULTIPLE times. It helps. trust me.
===================================================
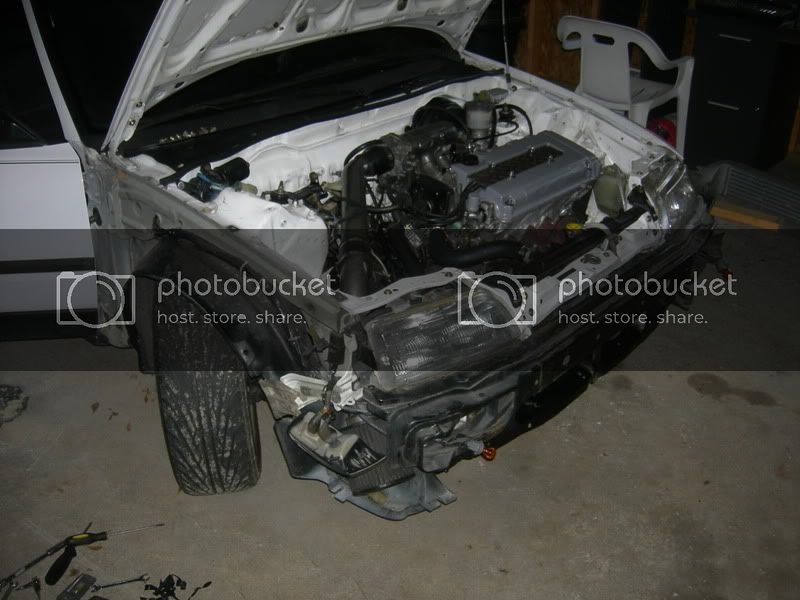
On to my car:
===================================================
I finished the wiring. I'm happy with how it turned out. I did good. Next up will be the Drivers side(gonna re-do it and hide the Resister Box)
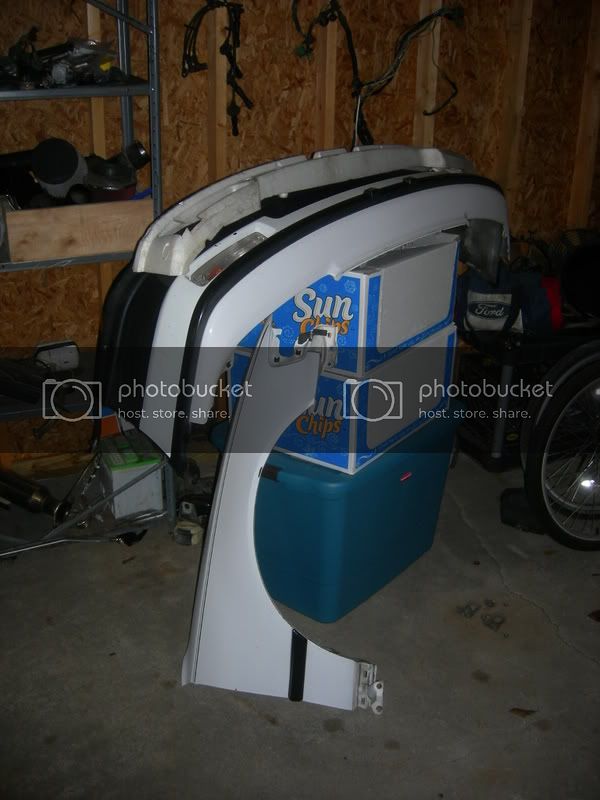
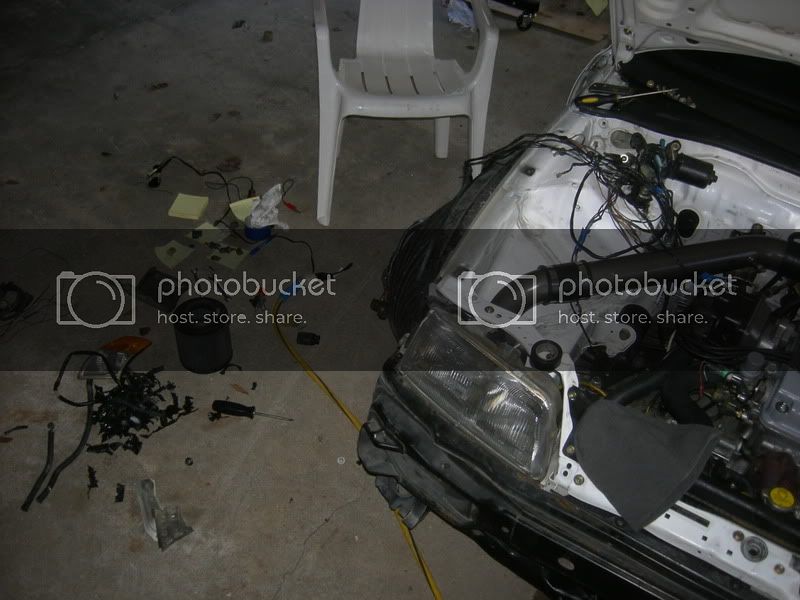
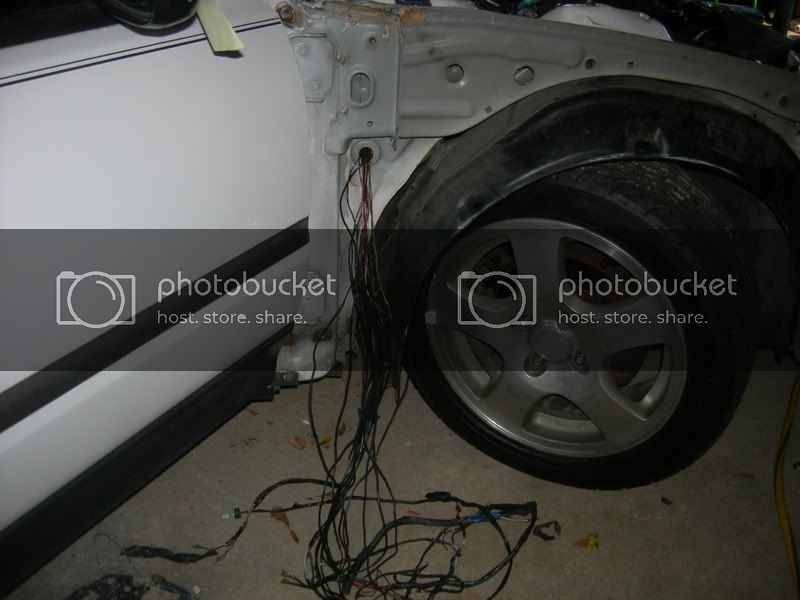
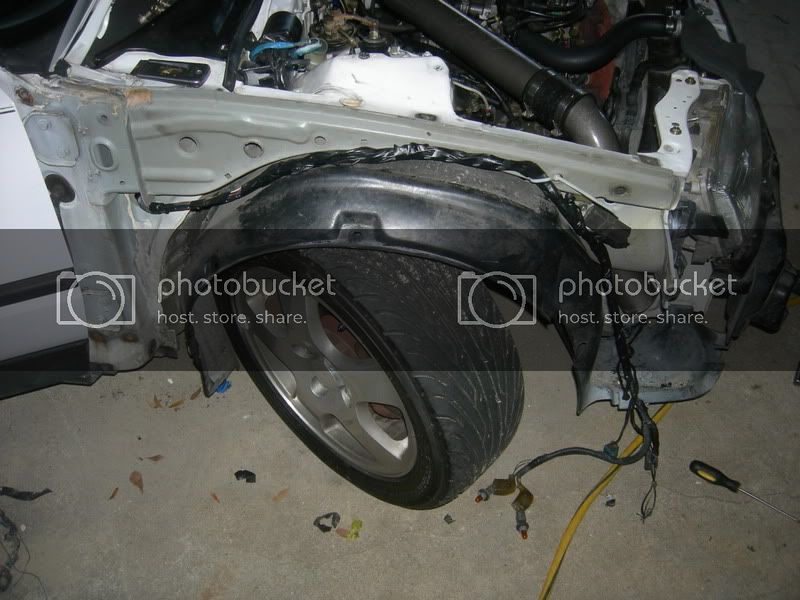
My mess:
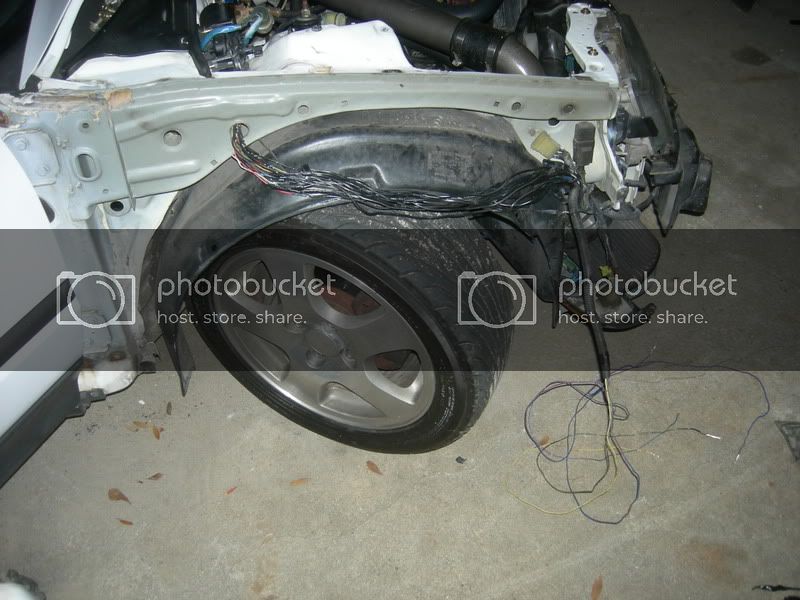
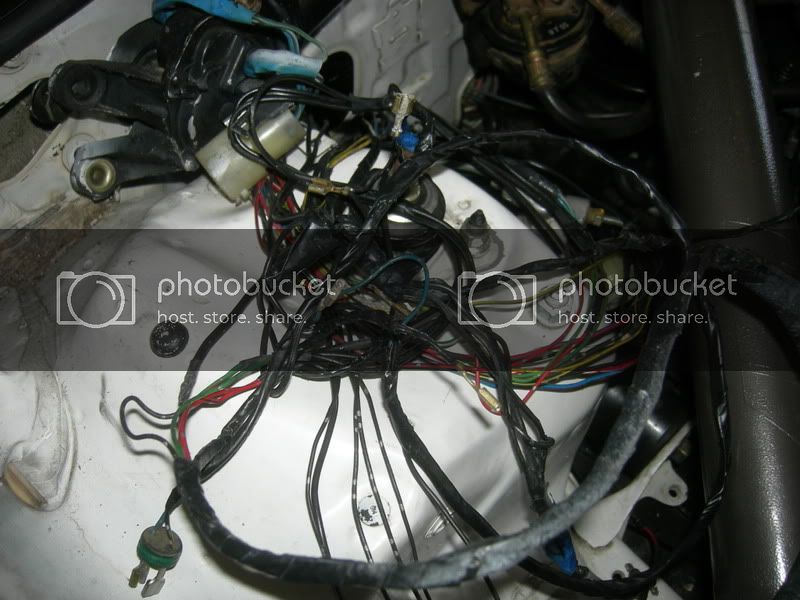
After depinning all the connectors(take notes kids... ) I got it pulled through the fenderwell.
Then got it all straightened out.
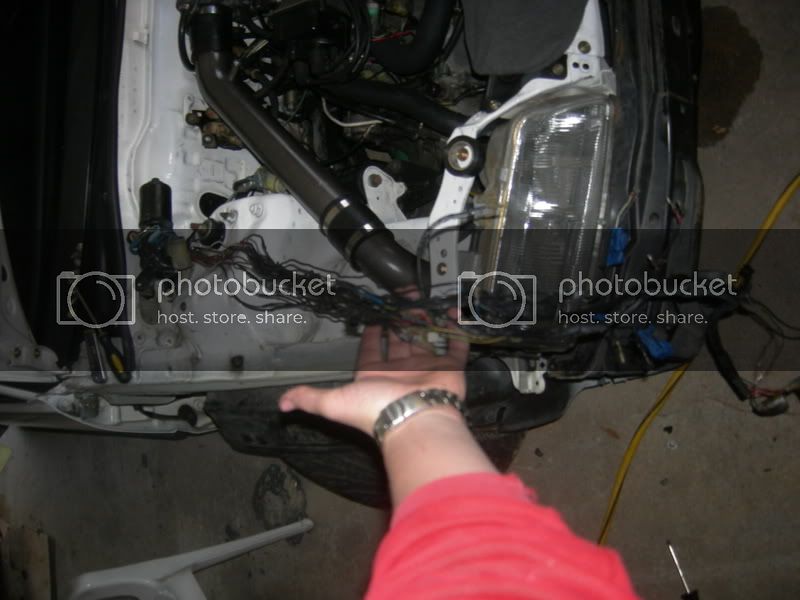
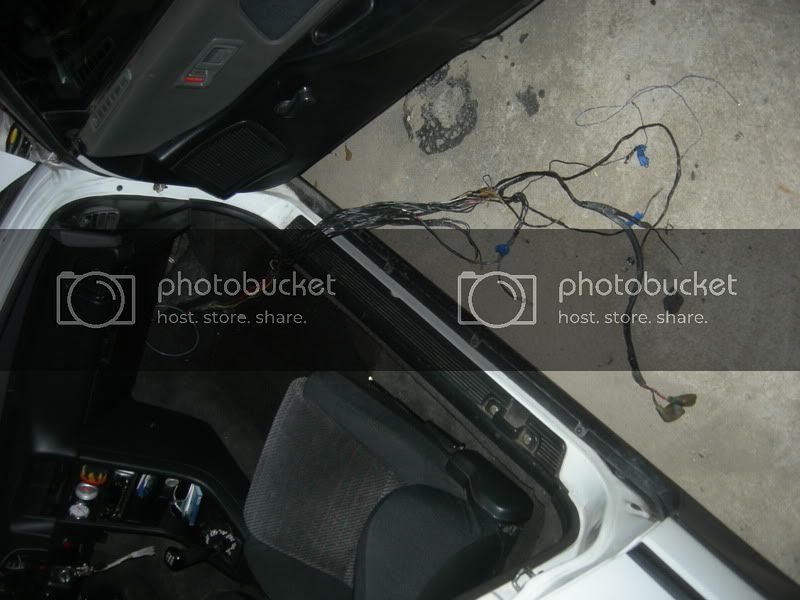
Then stuffed it through the firewall.
Again strung it out.
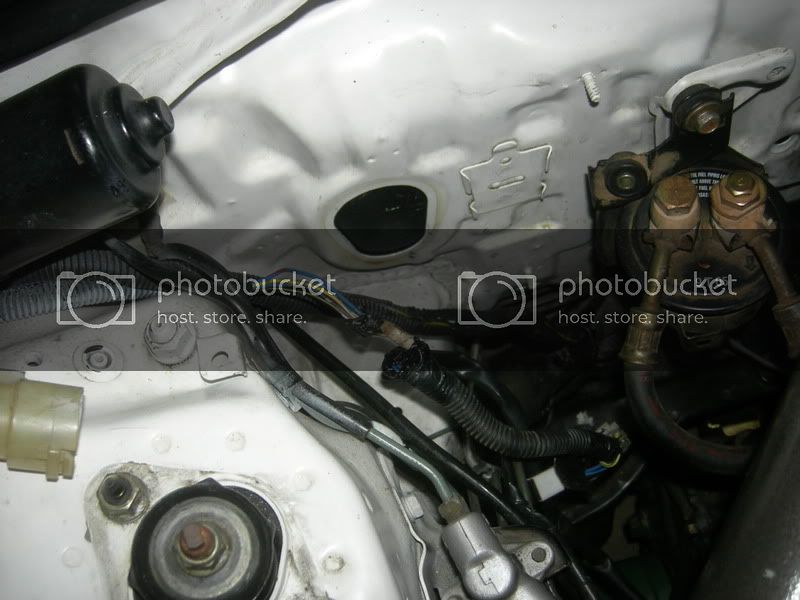
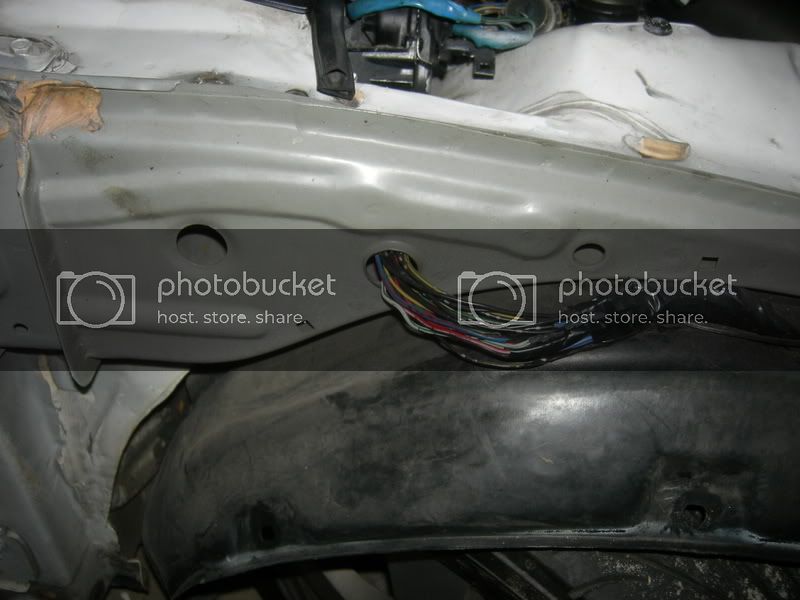
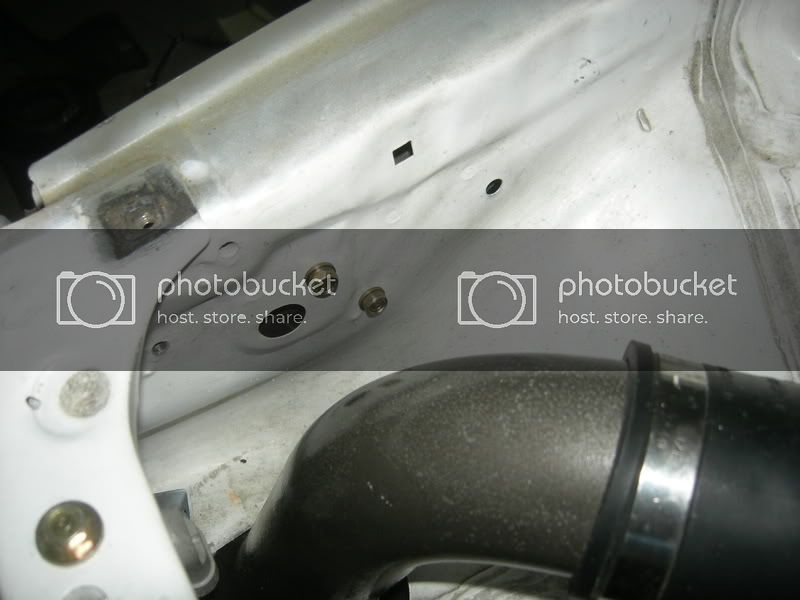
Then pulled it through this hole and taped it all up.
Resister box and common ground mounted. with BLINGIN hardware.
")
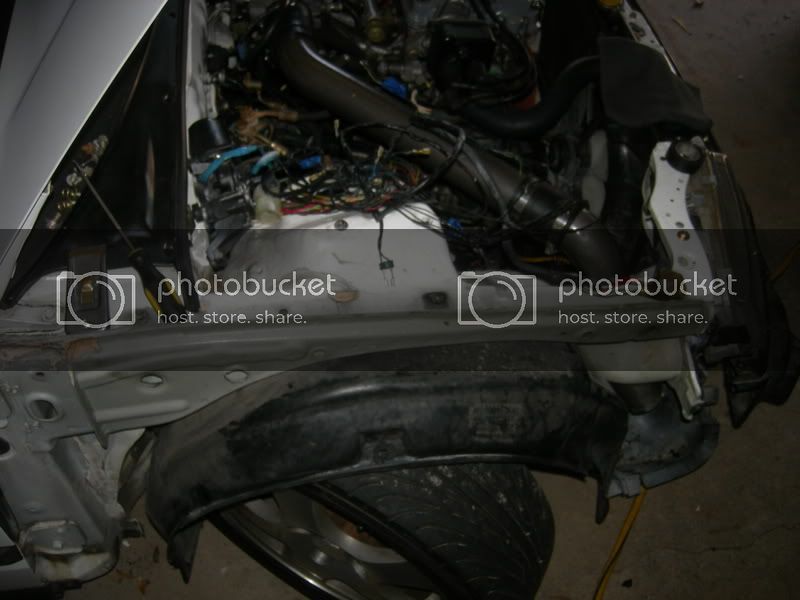
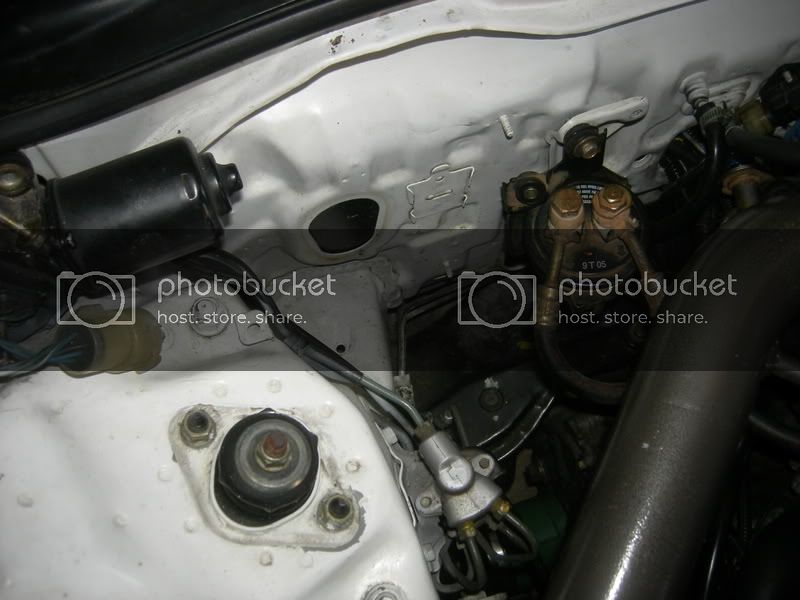
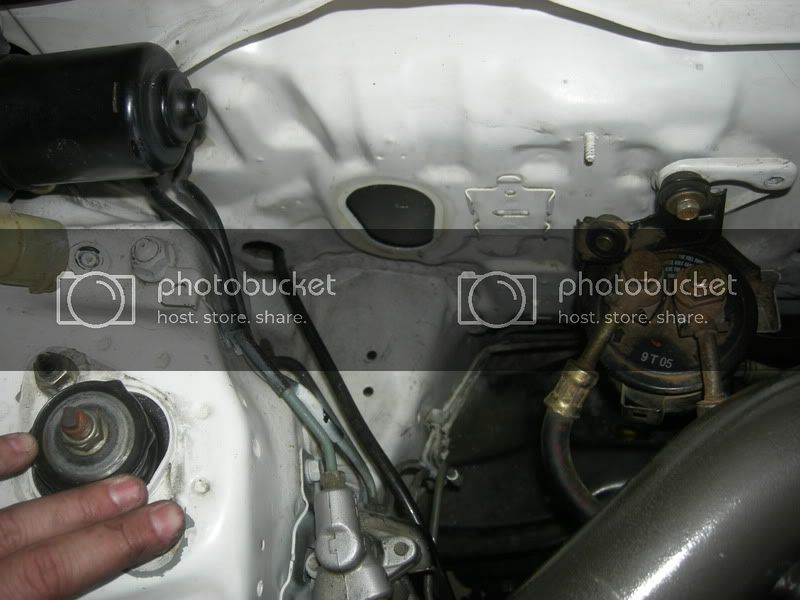
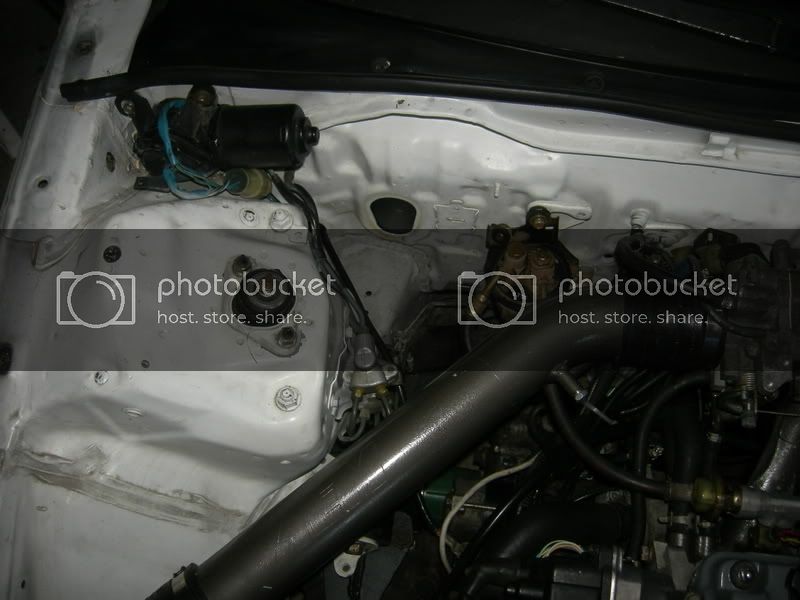
Heres how she looks:
Starter wire and wiper motor wires.
Theres so much more I could do, but I'm chuggin along getting it Right. It might take me 10 tries, but I'll get it perfect dang it!
-Andrew