Civichatch9one
New Member
since this is the place people are posting builds ill post here and close my old thread.
sooo i have been around here gathering info and lurking around. i decided to post up what i have been up to.
some history.
i bought this car about 5 years ago for 1k from my dads friend.
i basically grew up with this car because he was around alot. he was the only owner. so when i got it. i started having fun.
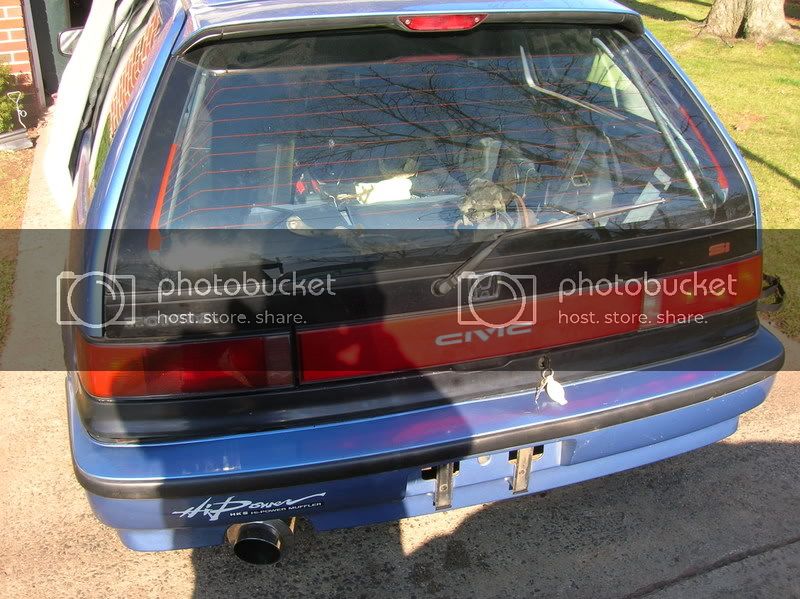
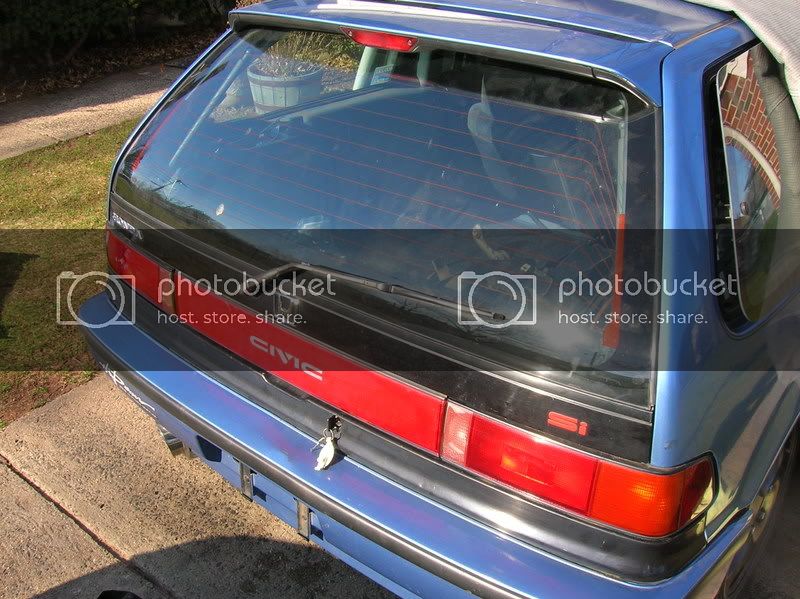
started off like some of us. a ricer. but not too much. i quickly got into the modding game. instead of just looks. (which i lacked lol) and joined a bunch of forums, which got me out of my ricer phase. okok enough talk here she is.

when i first got her i put 96 ex stock rims on as soon as i got it


after that i slid in the rain under a blazer crunchin up my hood so i had to get a new one and i couldn't afford a CF hood at the time so.... primer it is.


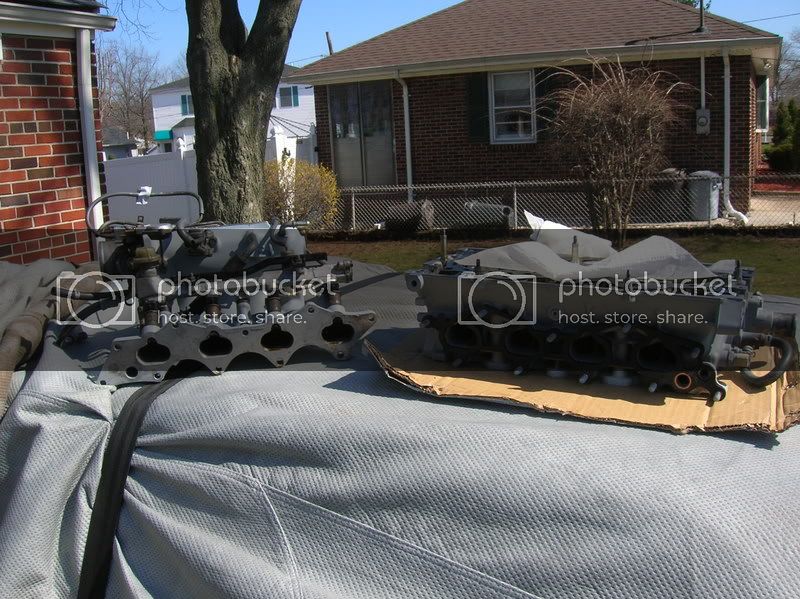
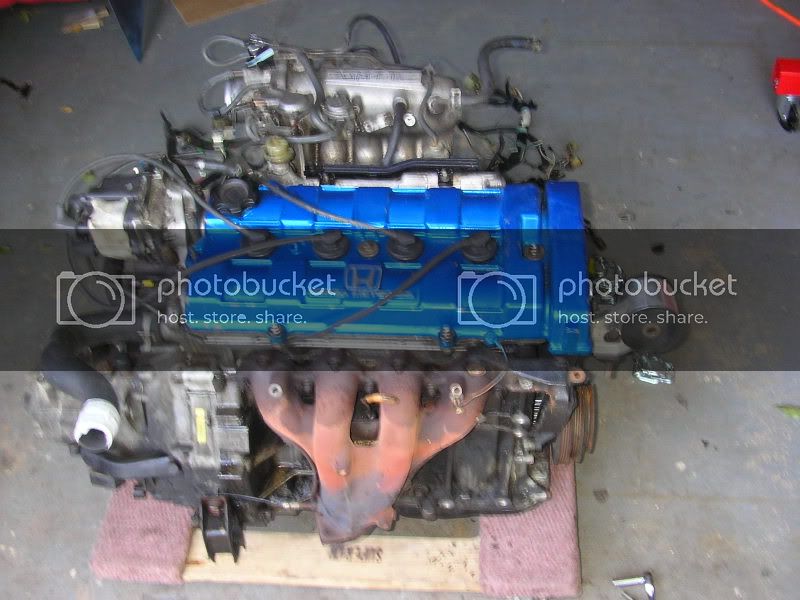
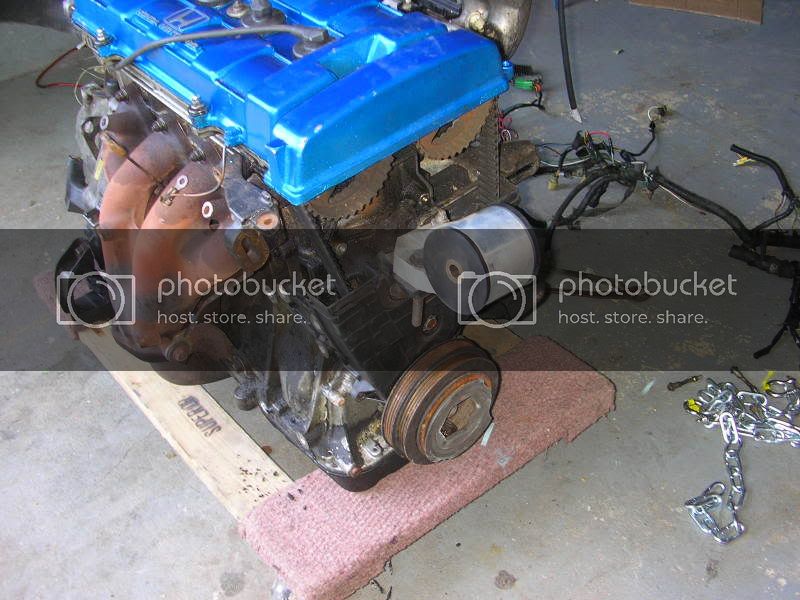
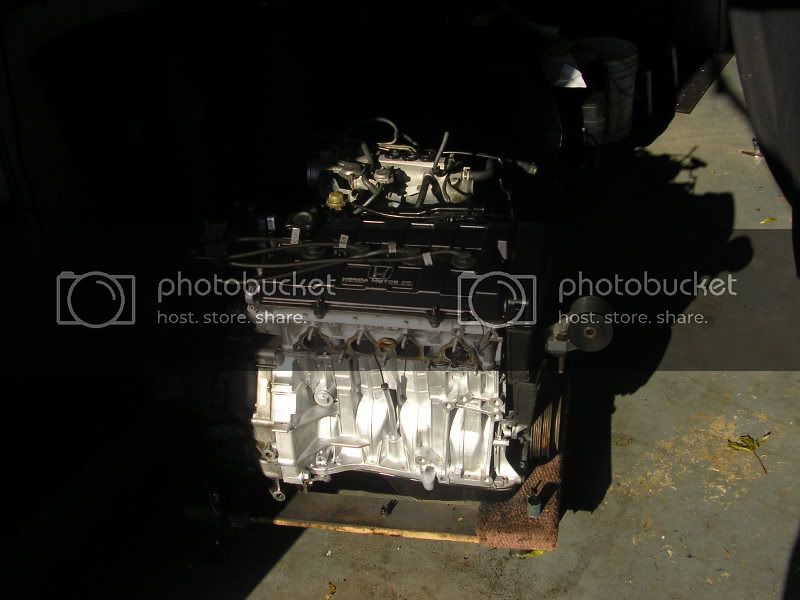
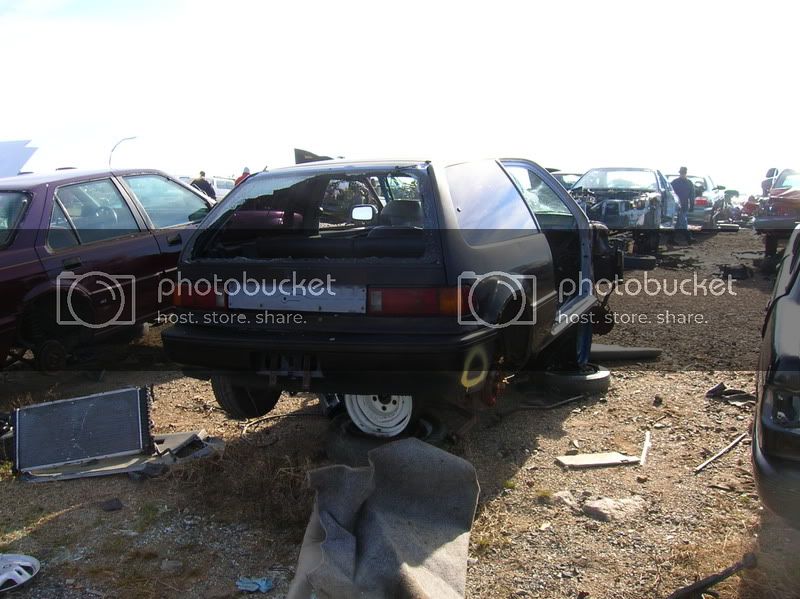
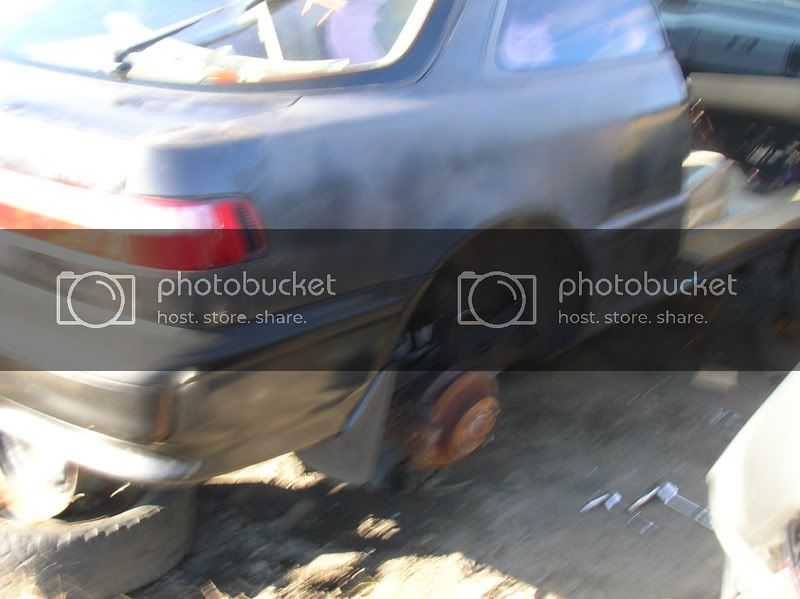
after a while 90hp gets alittle boring so i needed a bigger engine so i bought this 90 acura integra ls for parts


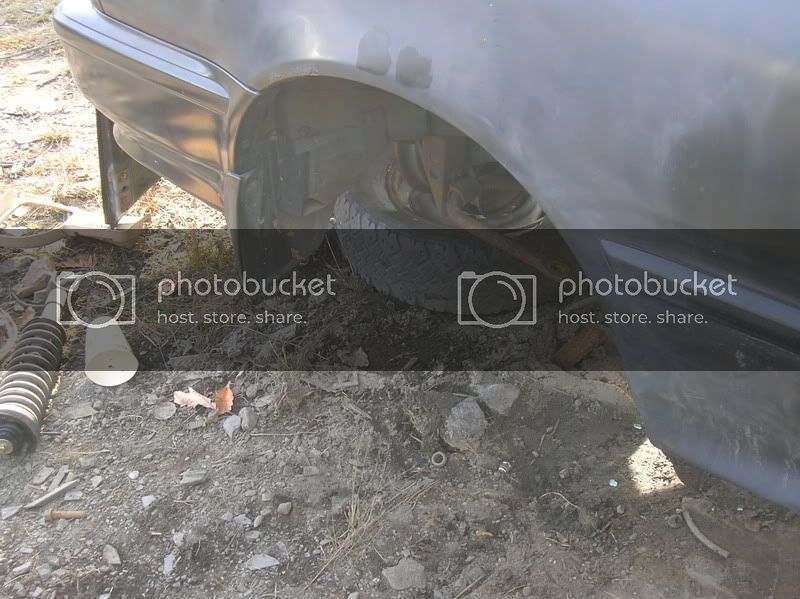
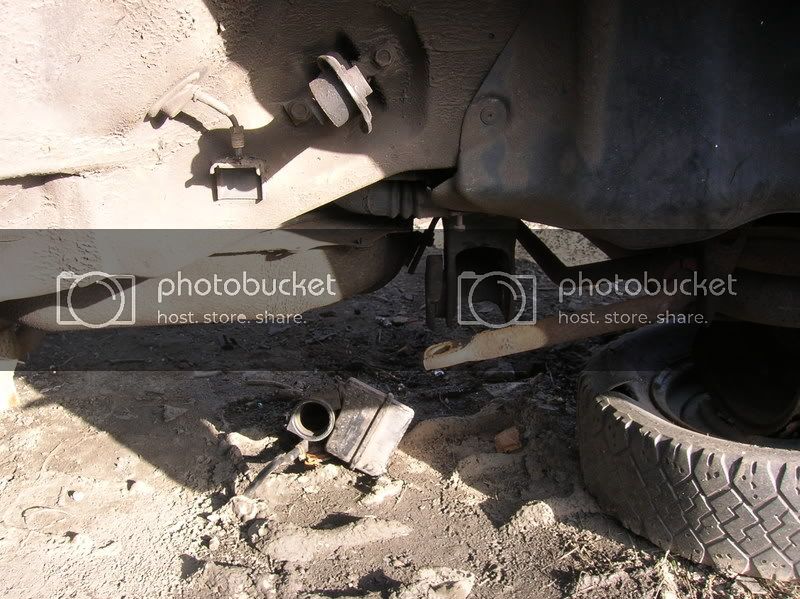
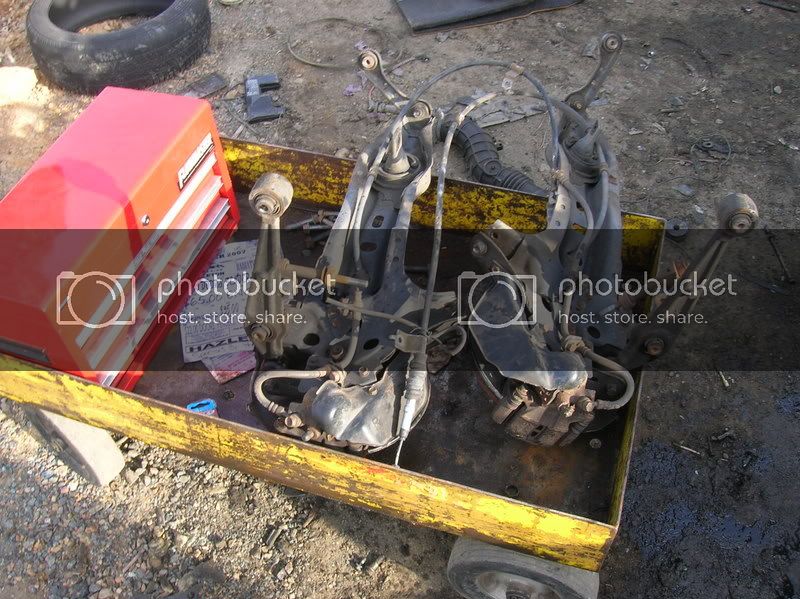
so i started ripping it apart oct 13 2003 it took me a couple weeks because i had to wait to borrow a lift from my friend finally everything is switched

i luckily blew the trans in my 1.5 a week before i started the swap, good timing

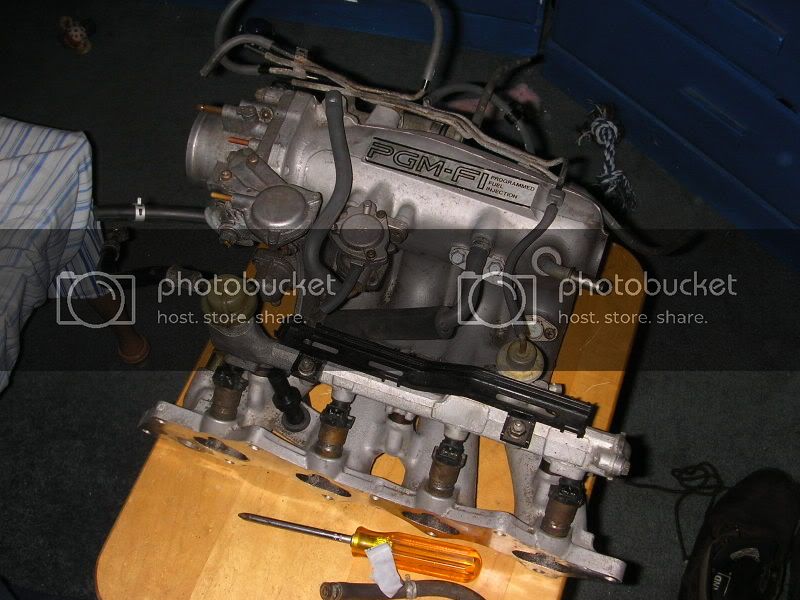
this is my 1.5 sohc in the acura just resting in there not installed


 old ass ripped seats

NEW

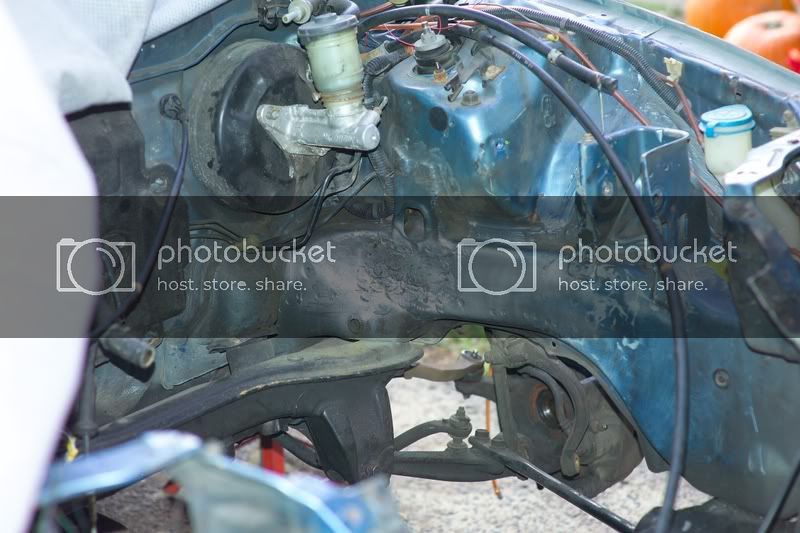
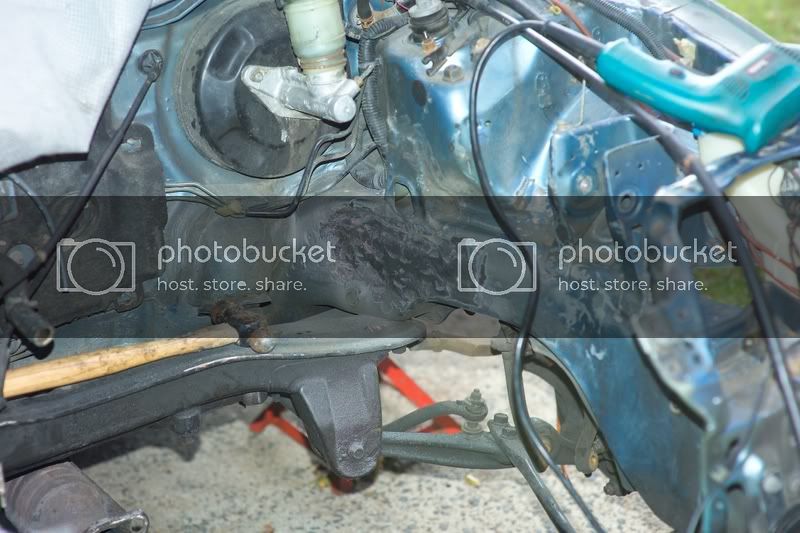
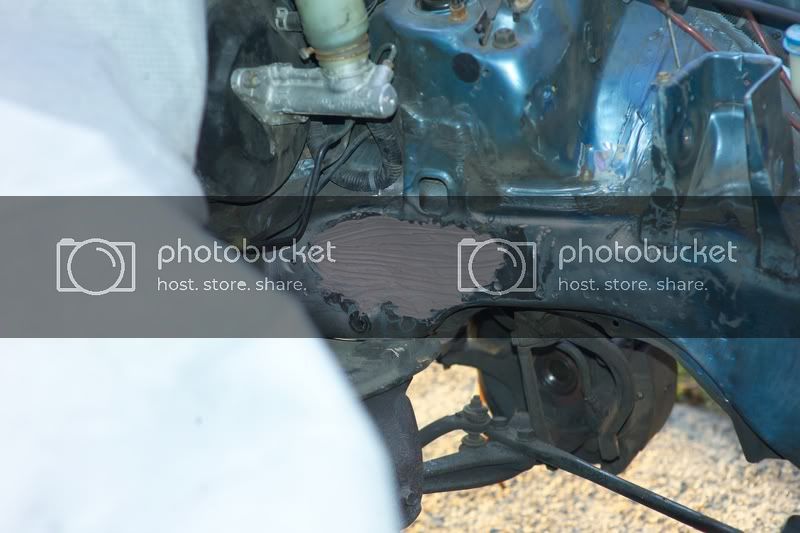
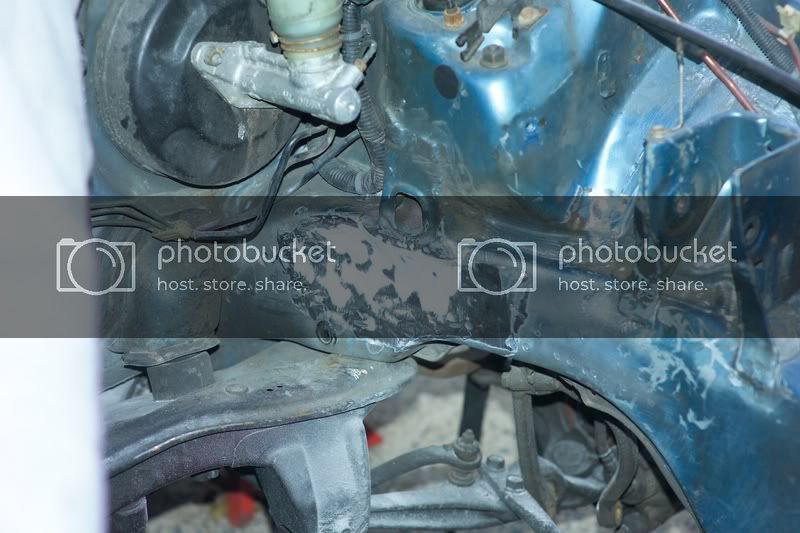
the only rust
 expand
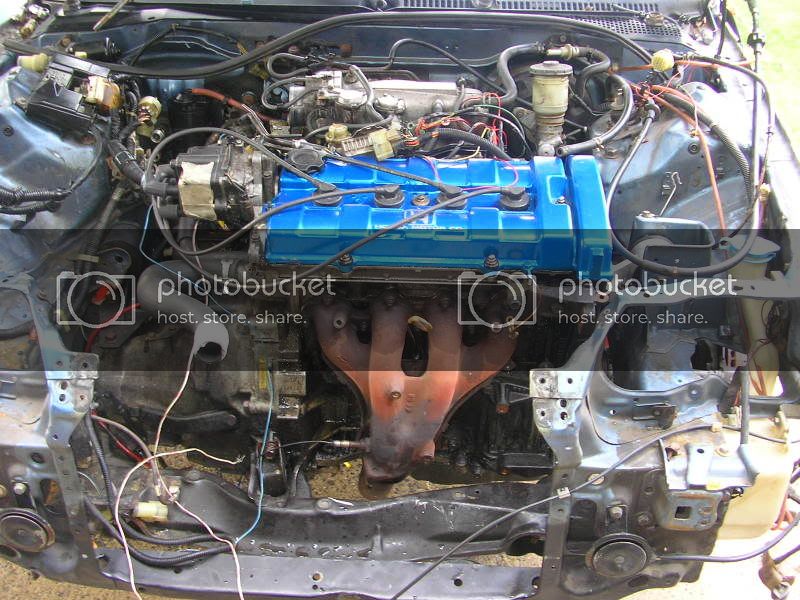
swapppp
 expand
 expand
 expand
The integra before


197k!!! and thats all from the original engine Everything was original on that engine clutch, trans etc.


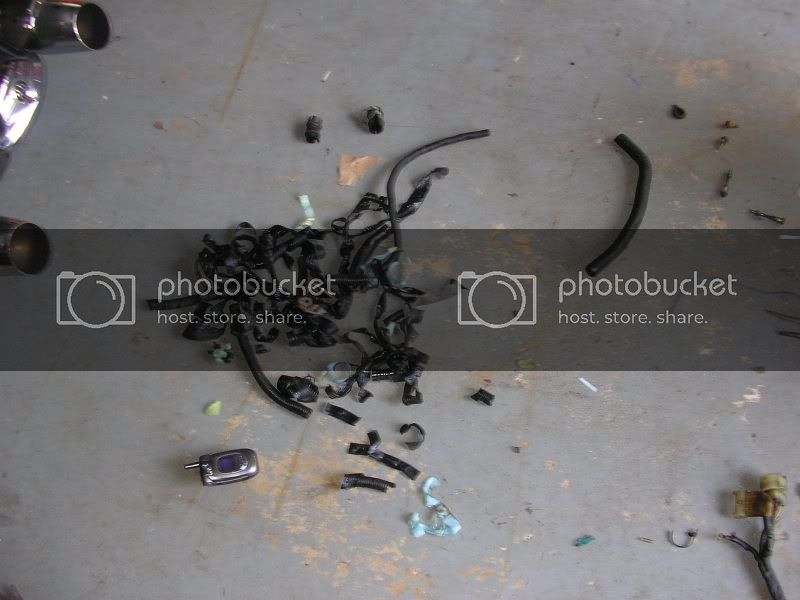
garbage lol


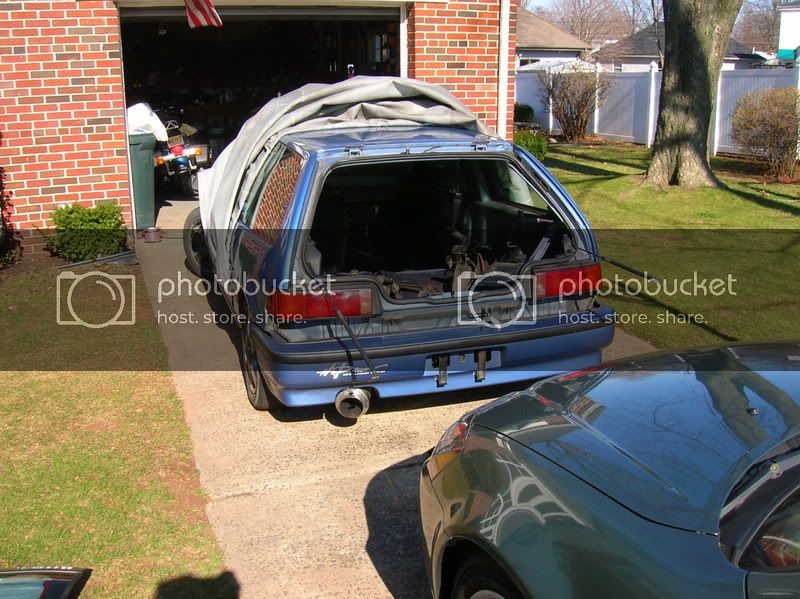
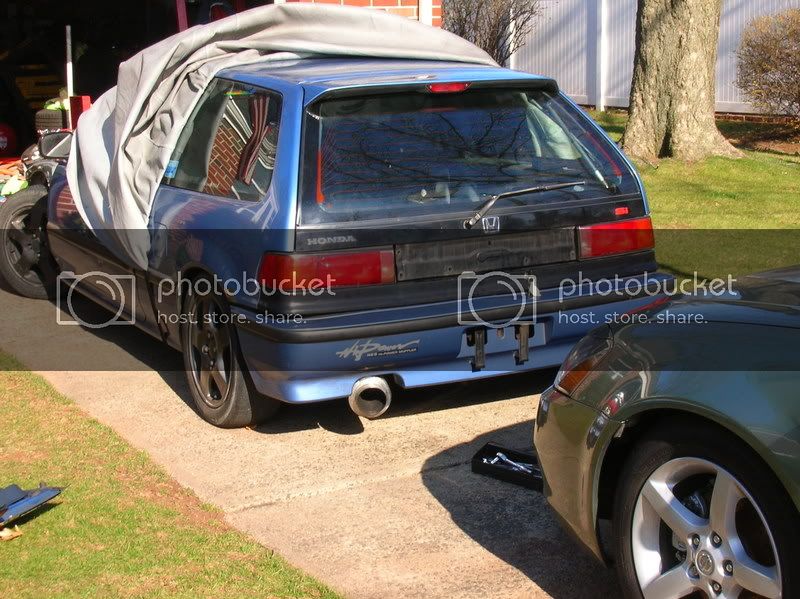
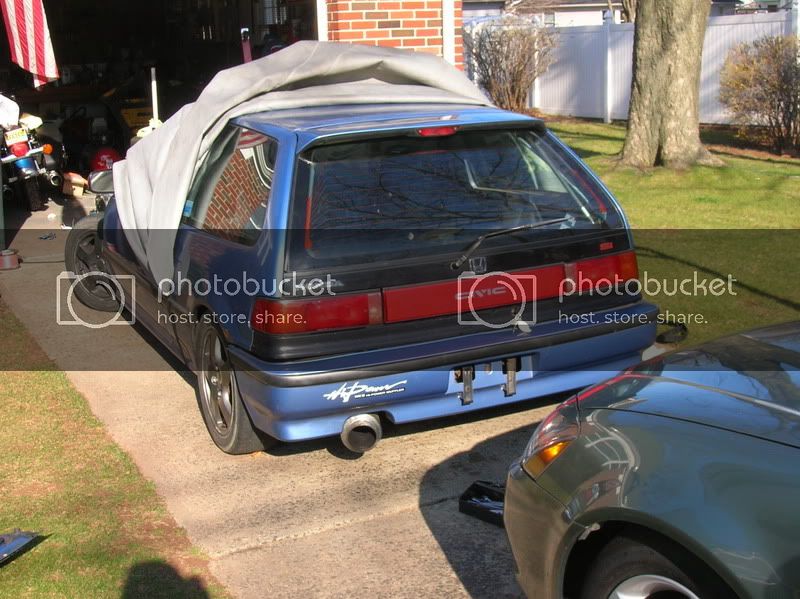
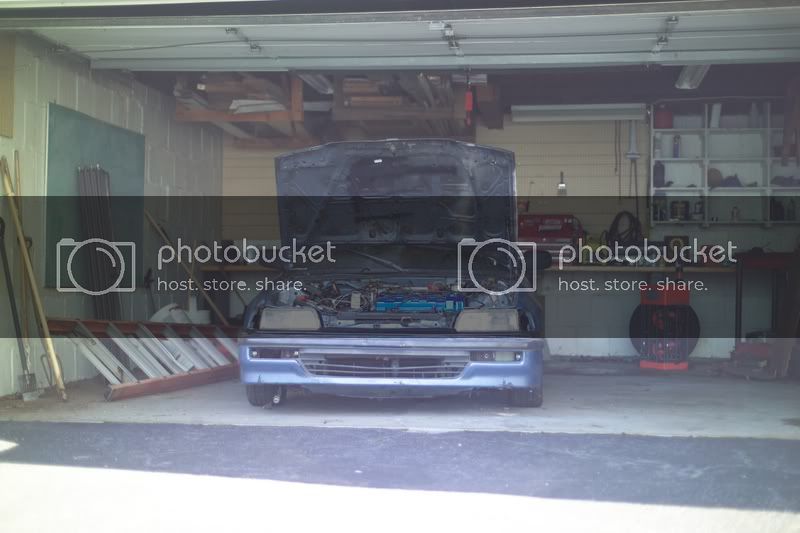
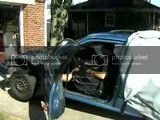
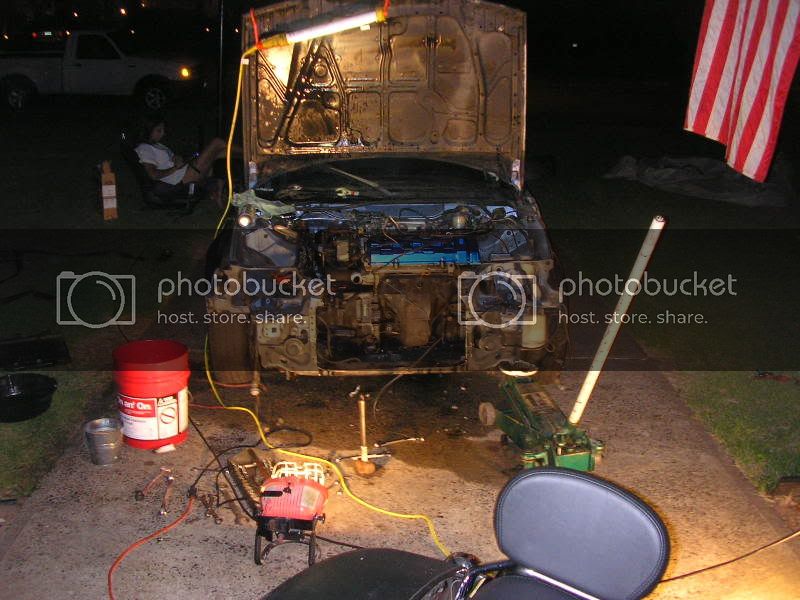
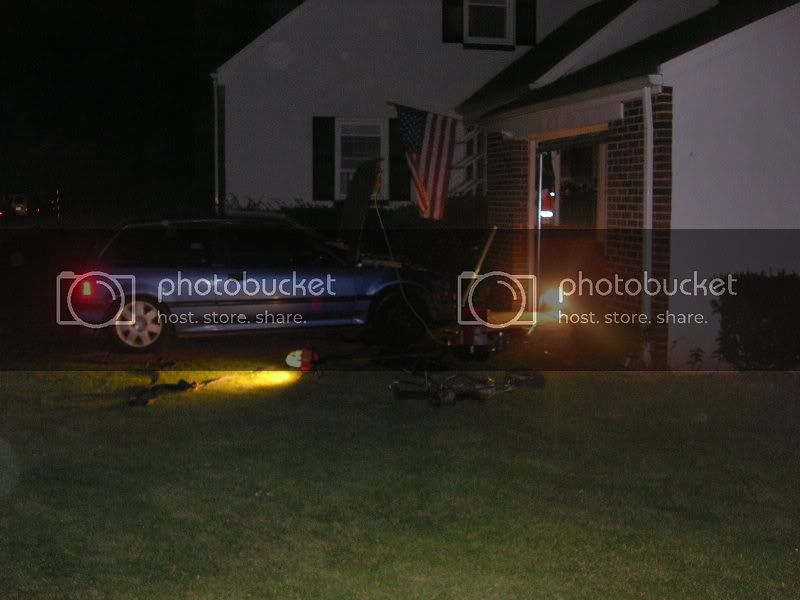
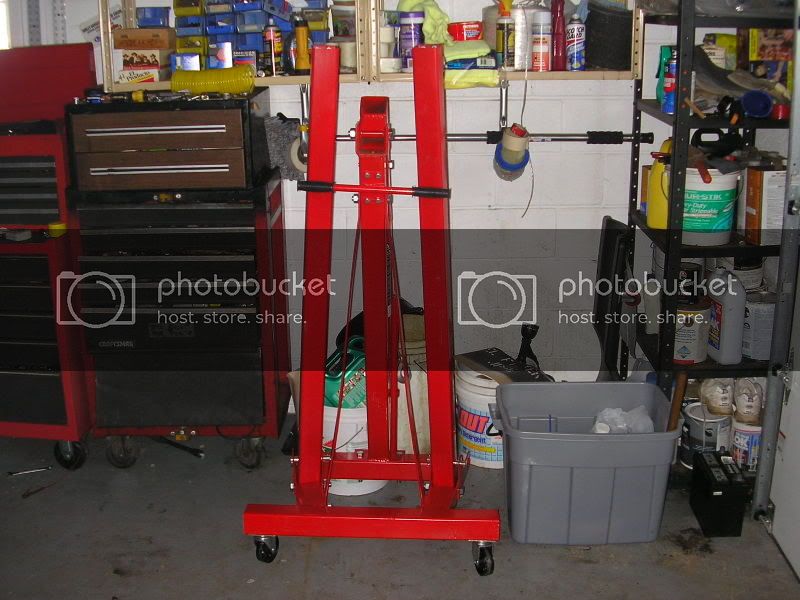
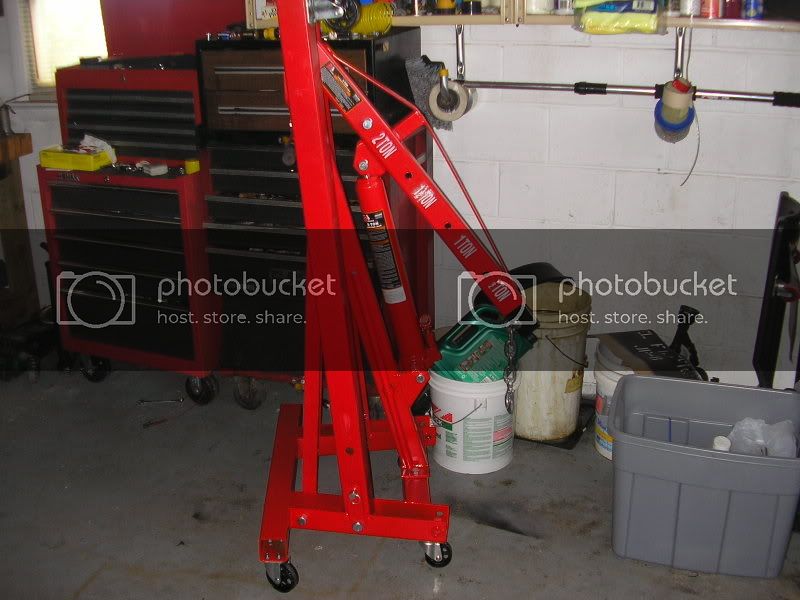
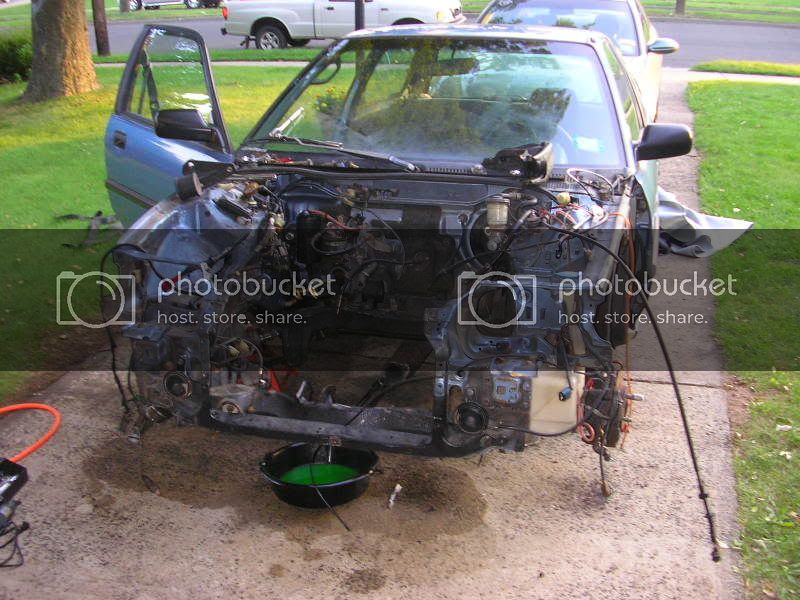
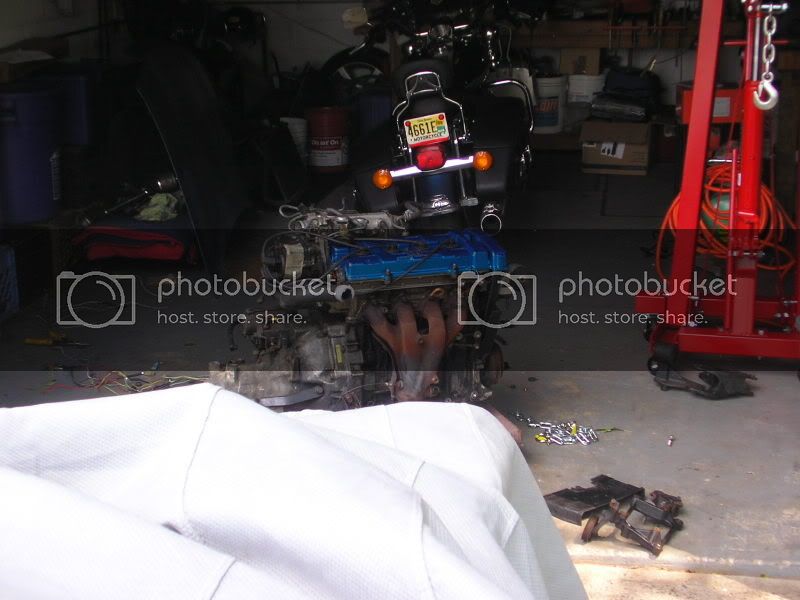
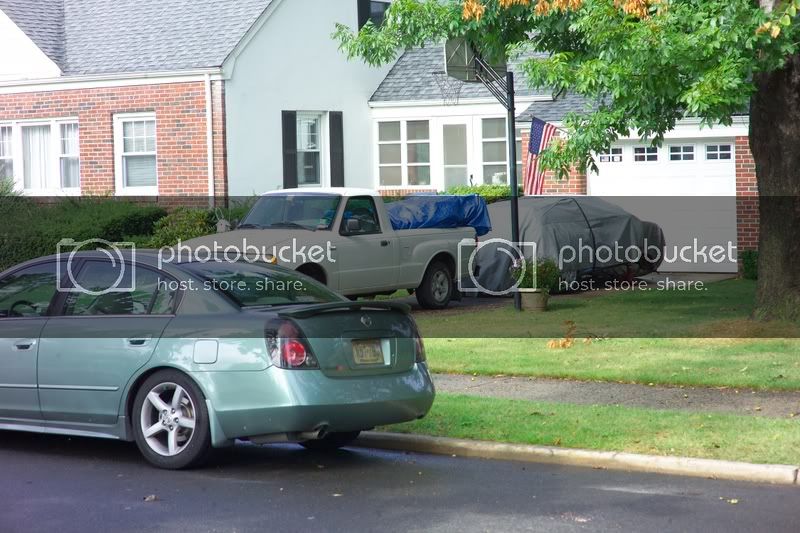
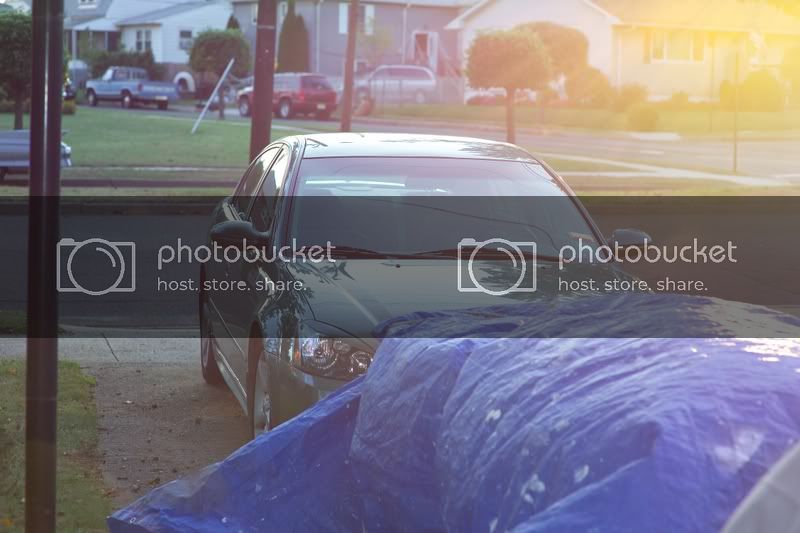
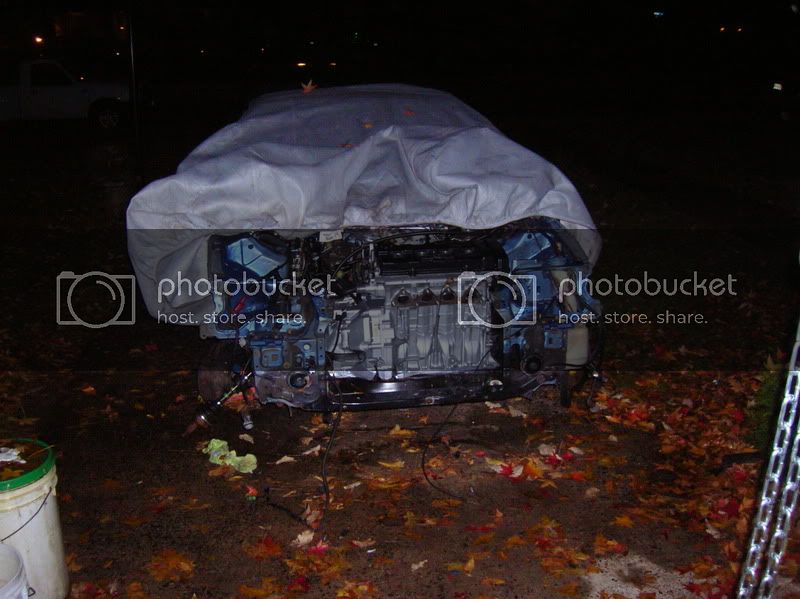
OK so now is about the break in my project where i gave up on the wiring. joined the air force and forgot about it while living in TX. so about June 20th i decided to finish. but at my house instead of my other garage at a rental property across town. so here is where that started off. prepping for tow.
4 year swap break ftl
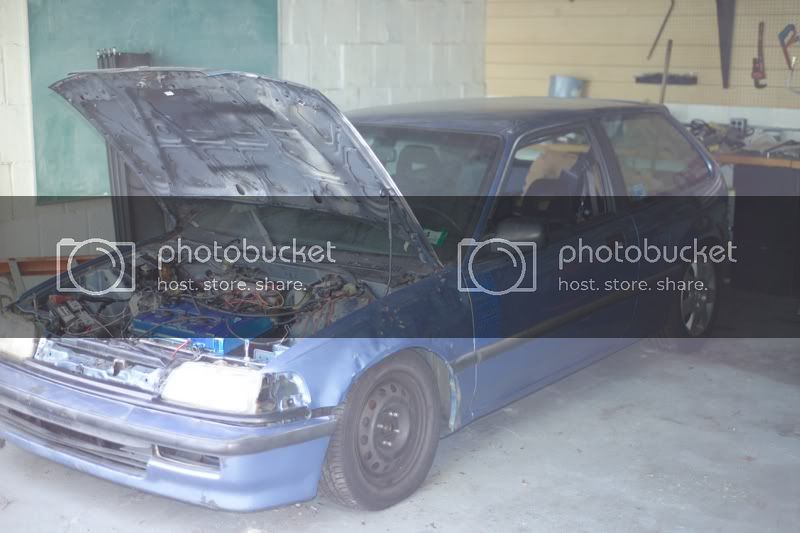
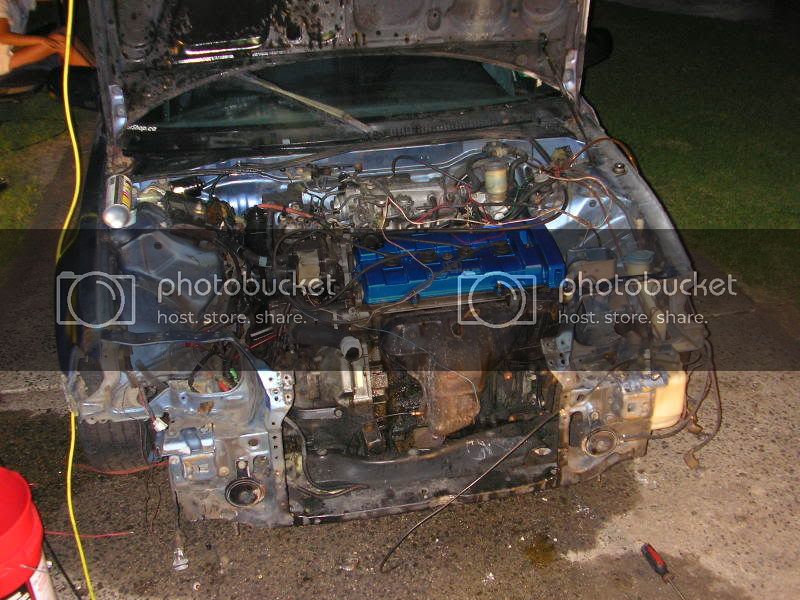
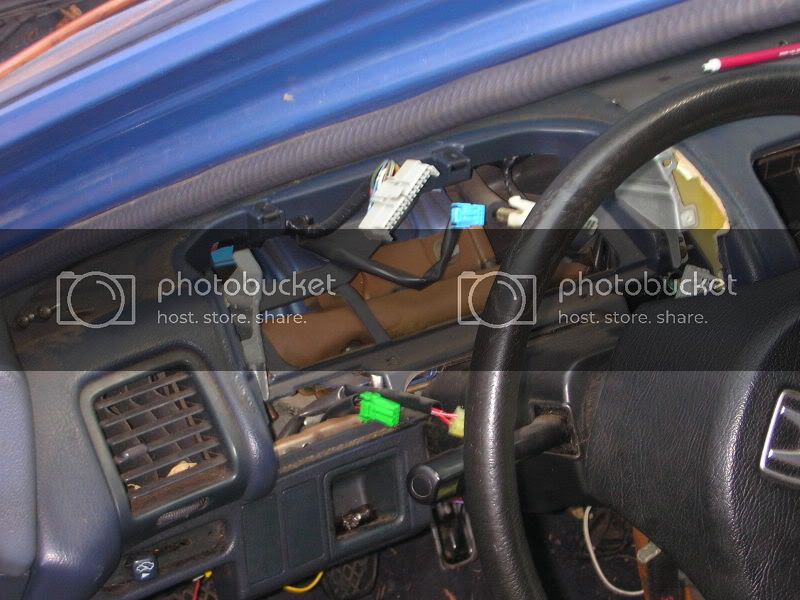
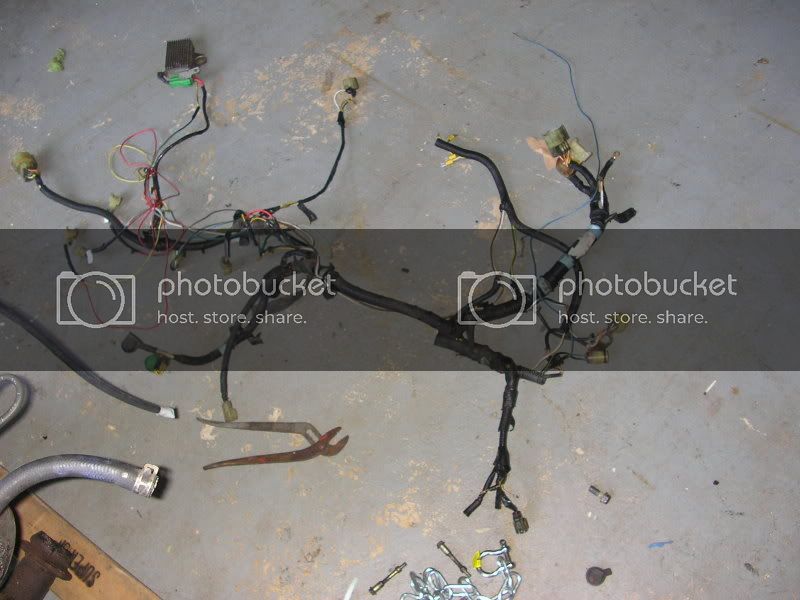
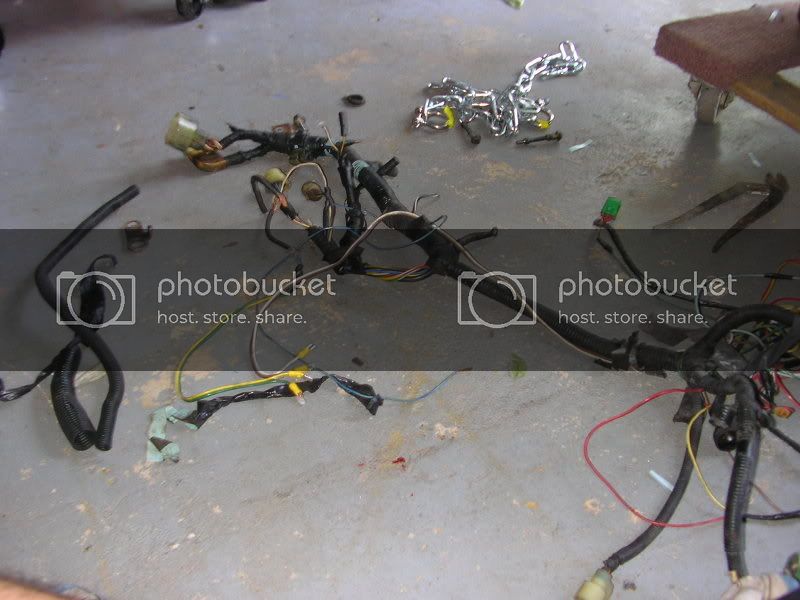
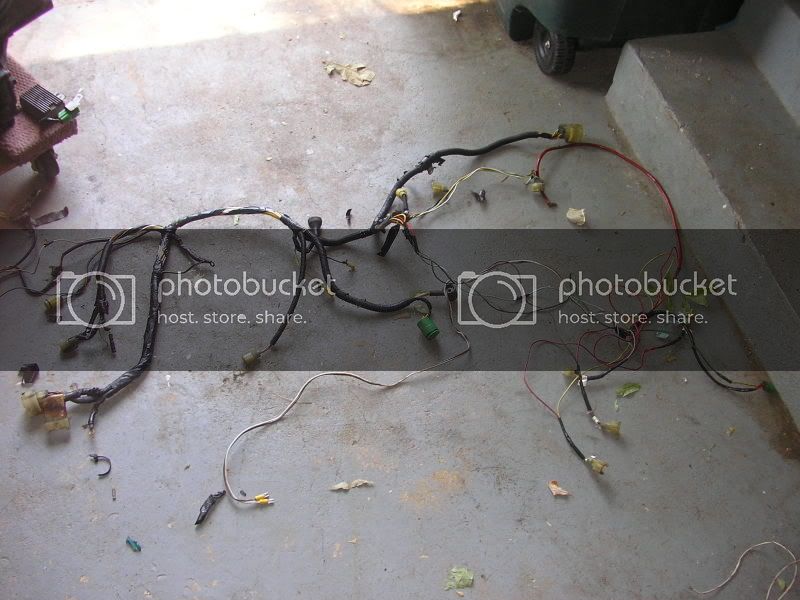
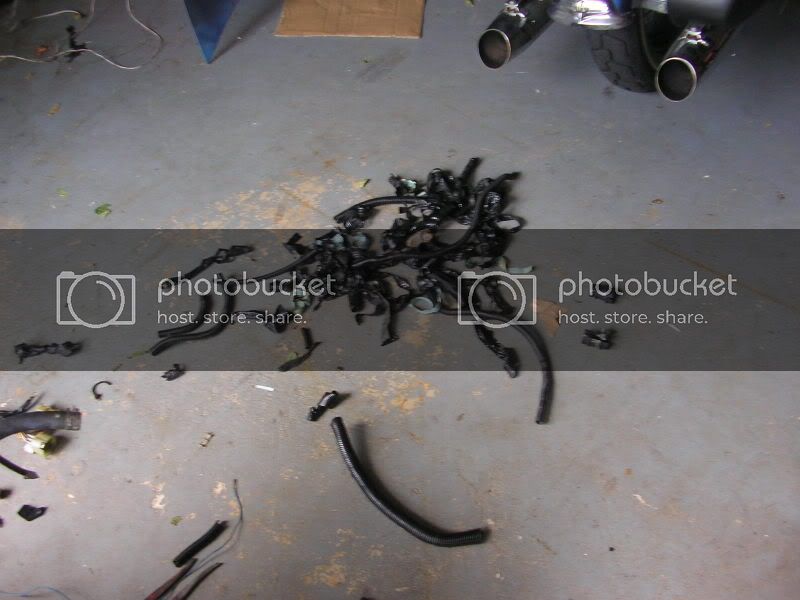
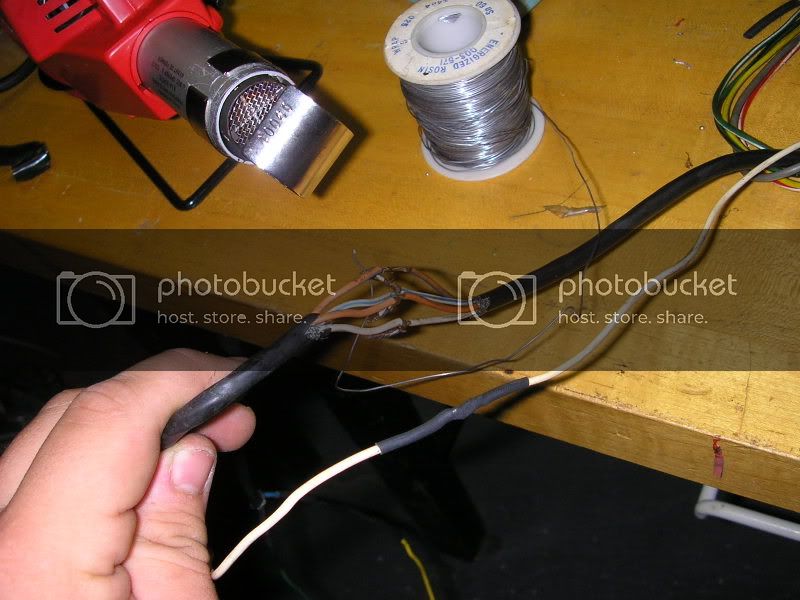
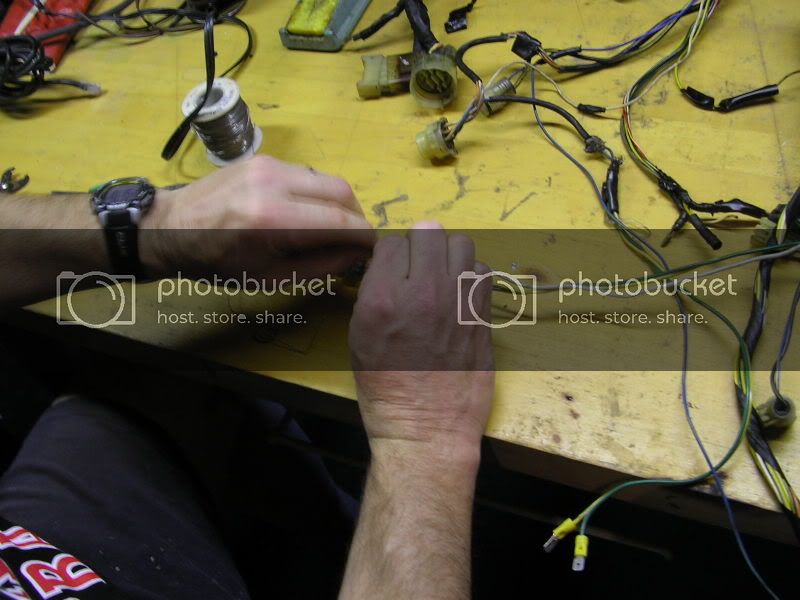
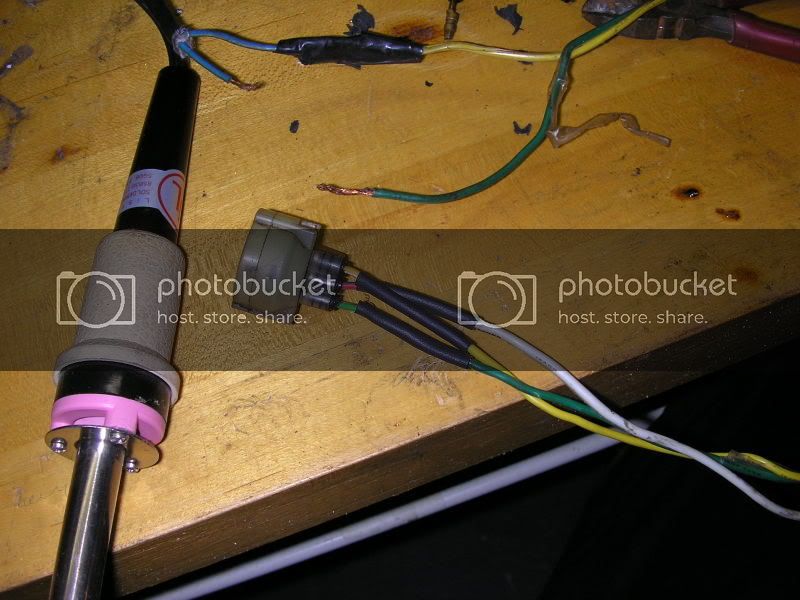
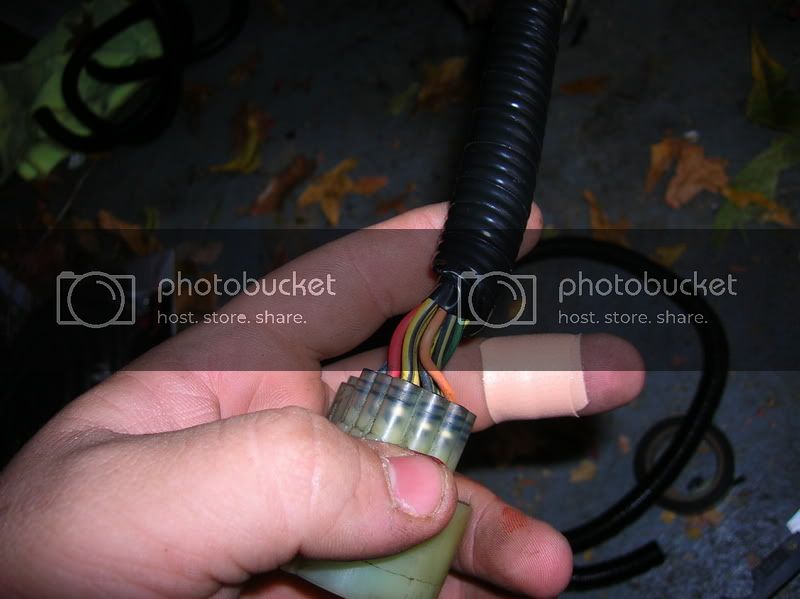
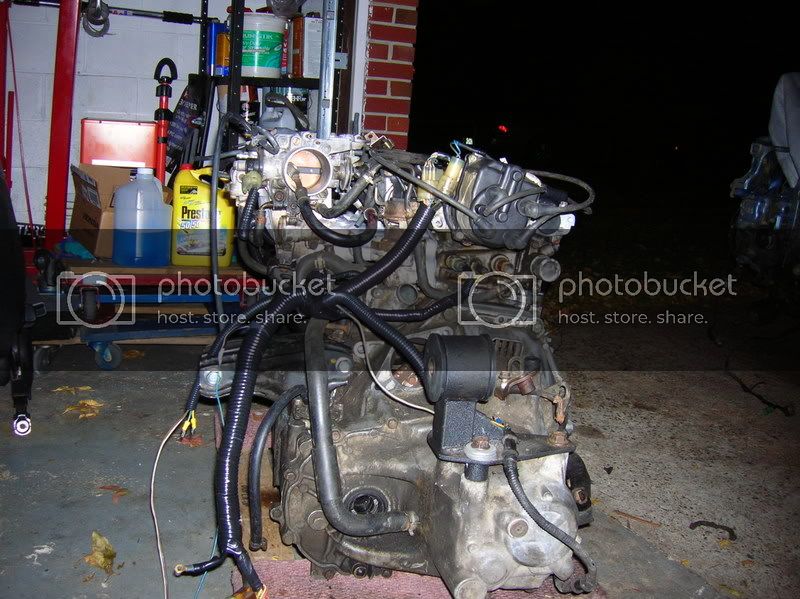
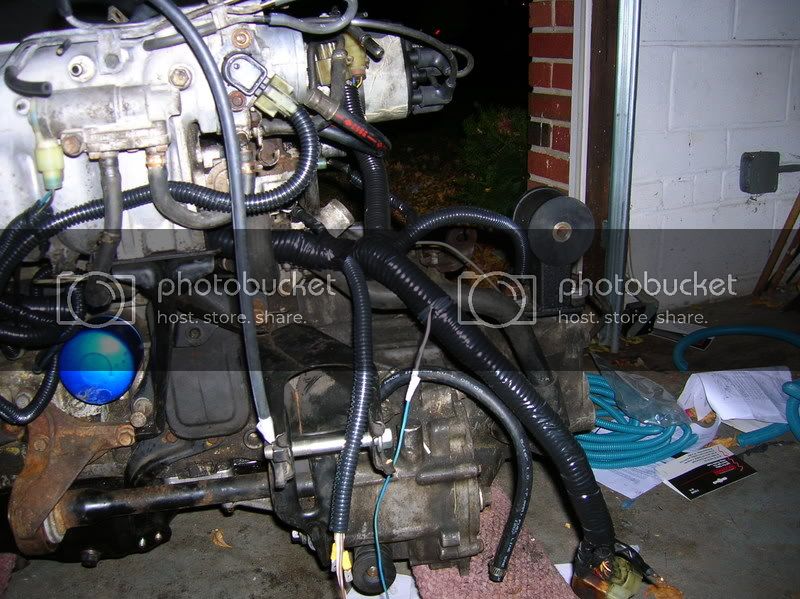
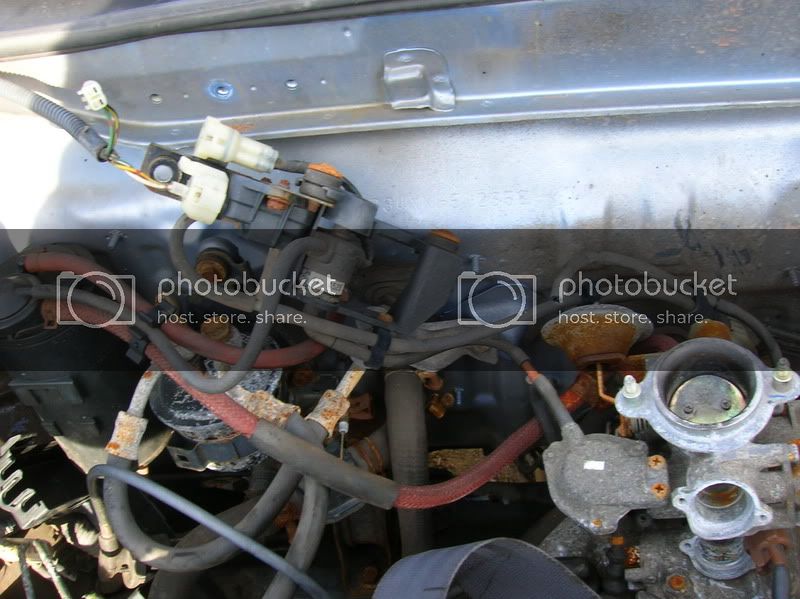
wow what a wire mess... don't worry not for much longer.
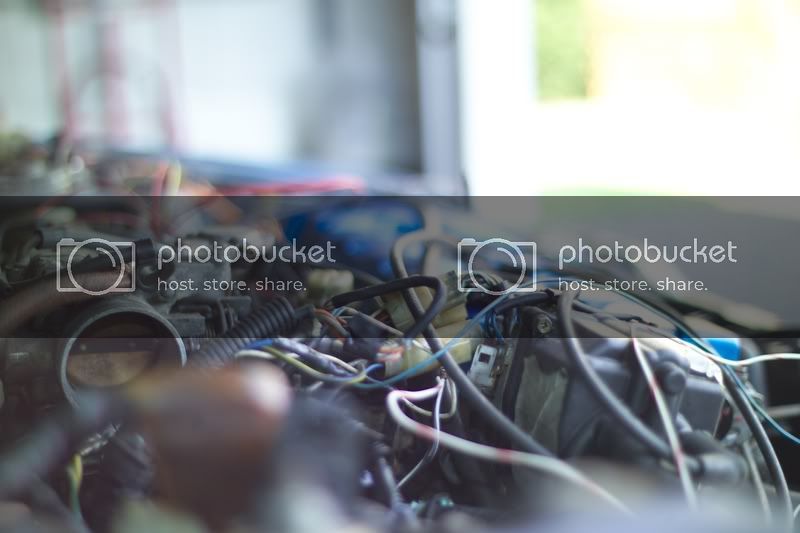
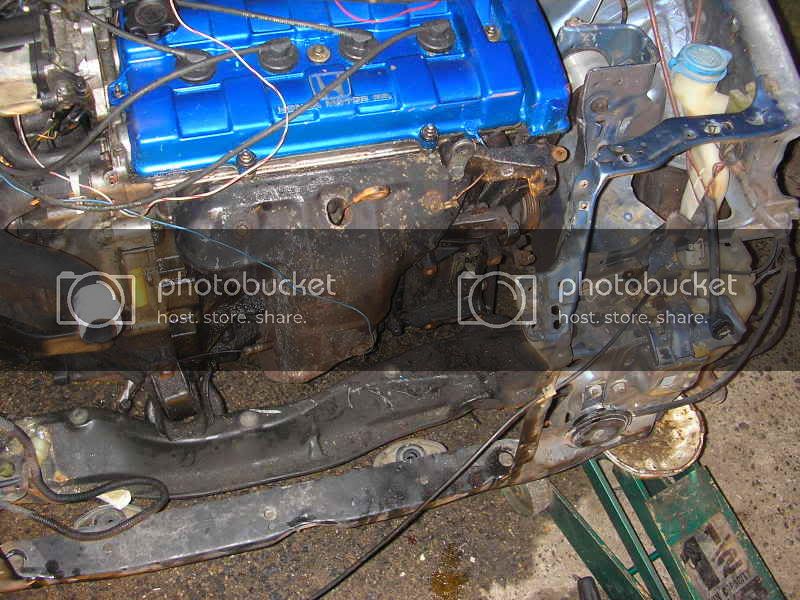
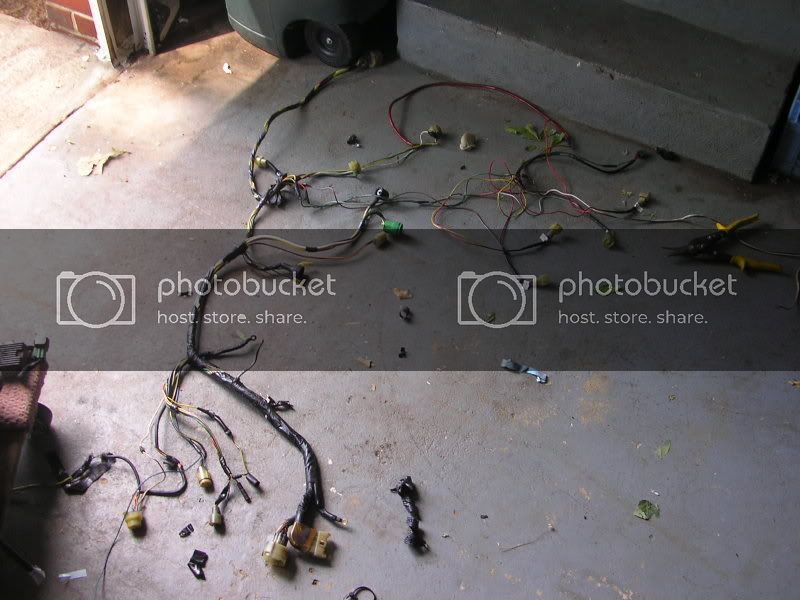
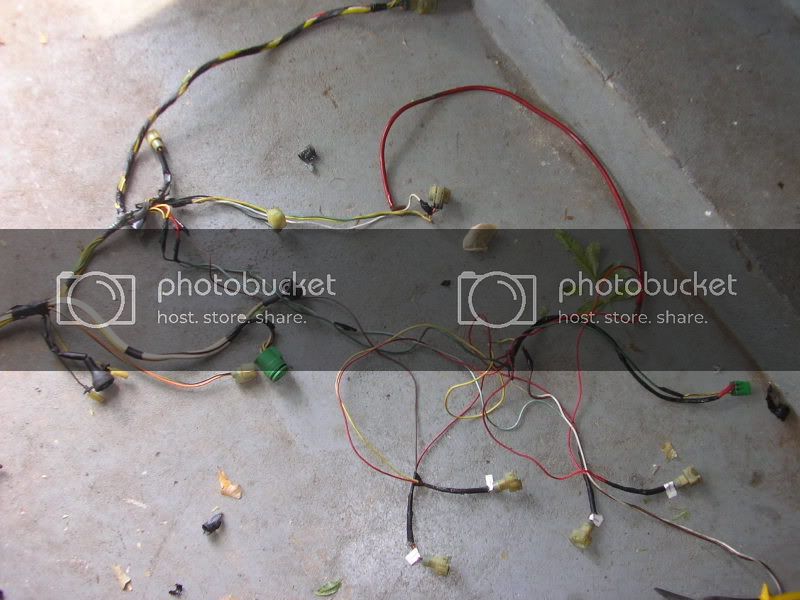
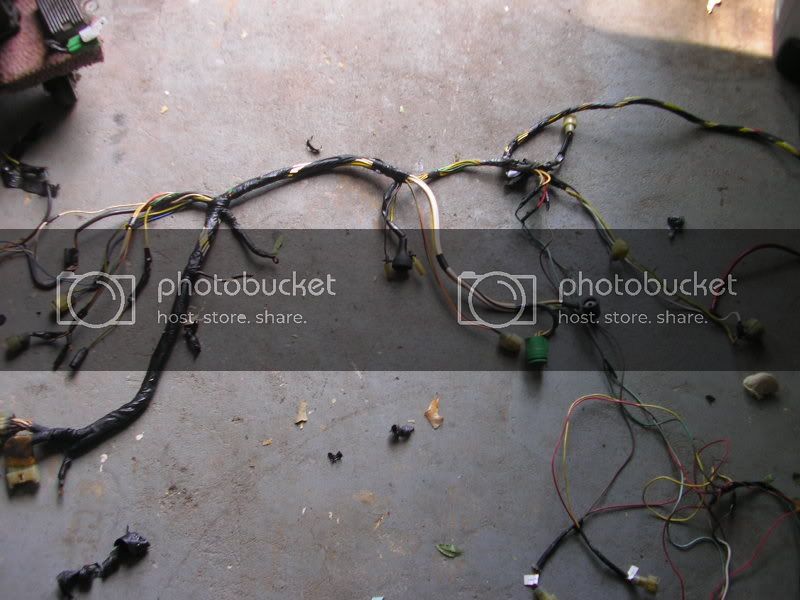
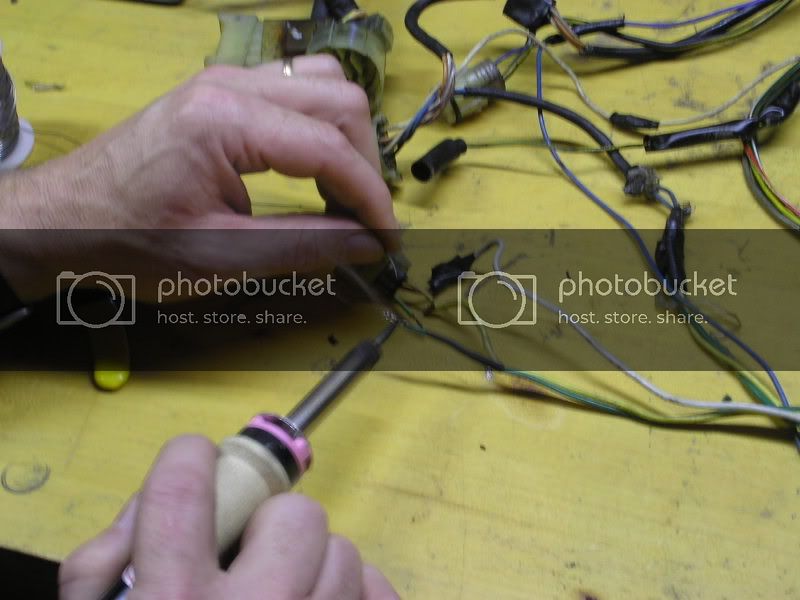
grew some balls and finished the wiring.
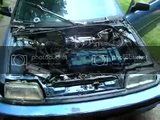

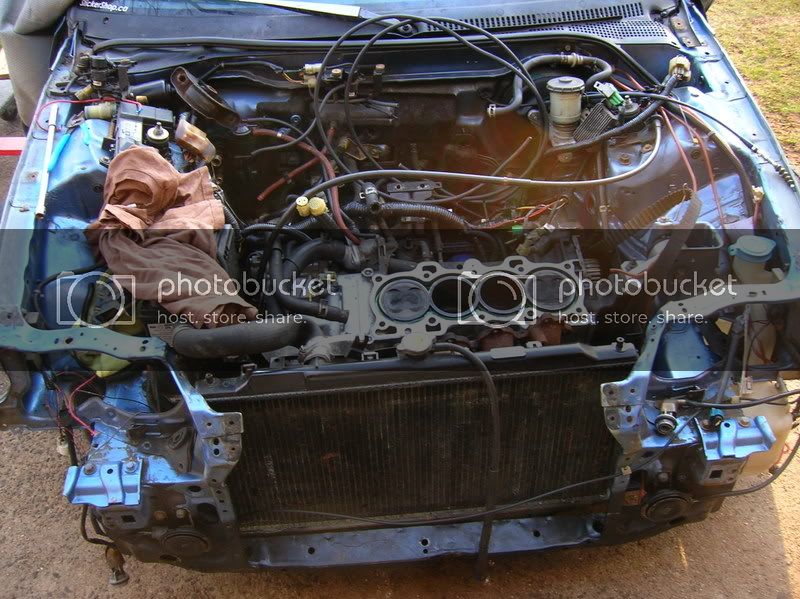
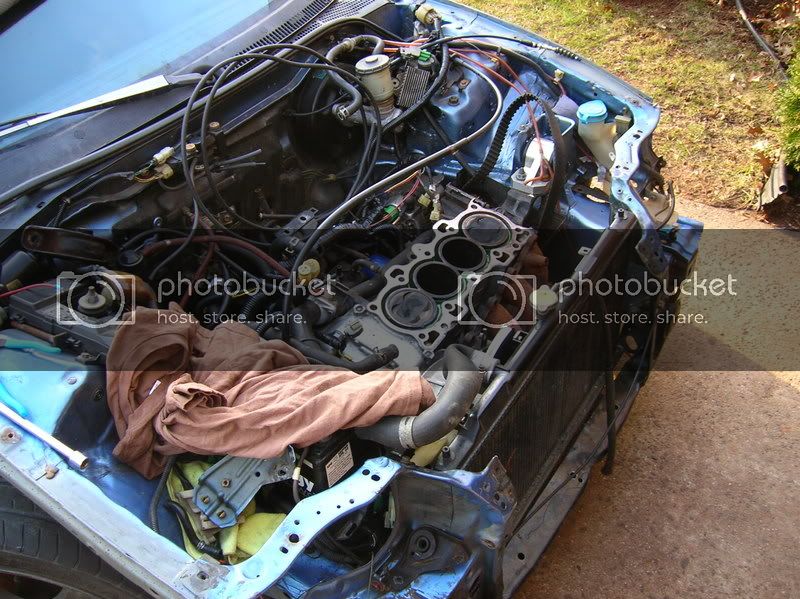
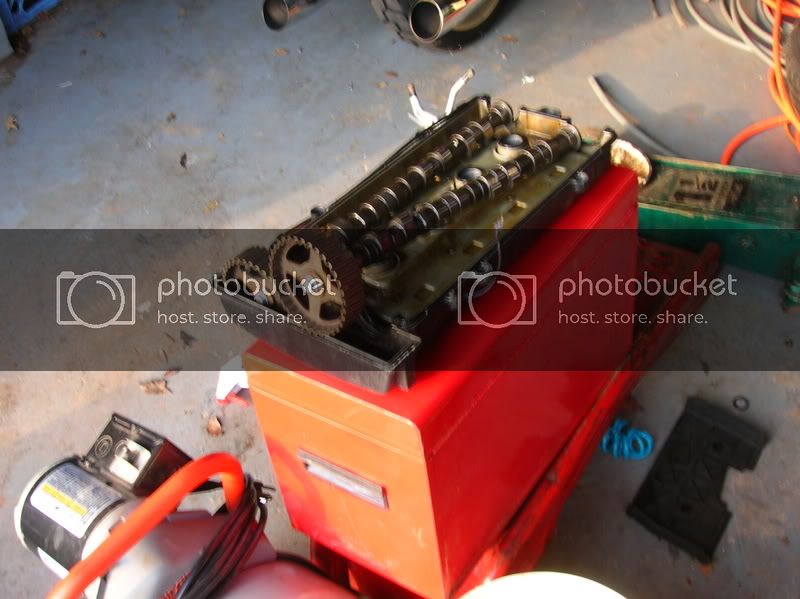
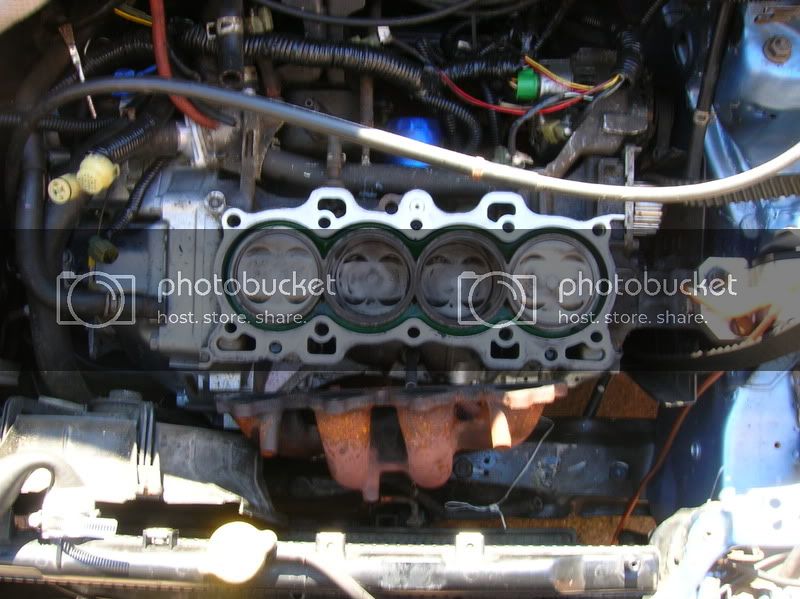
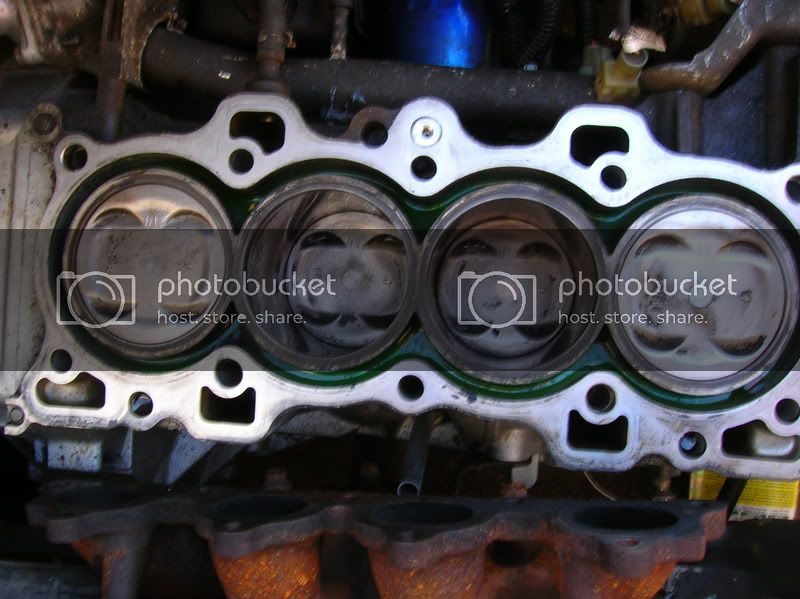
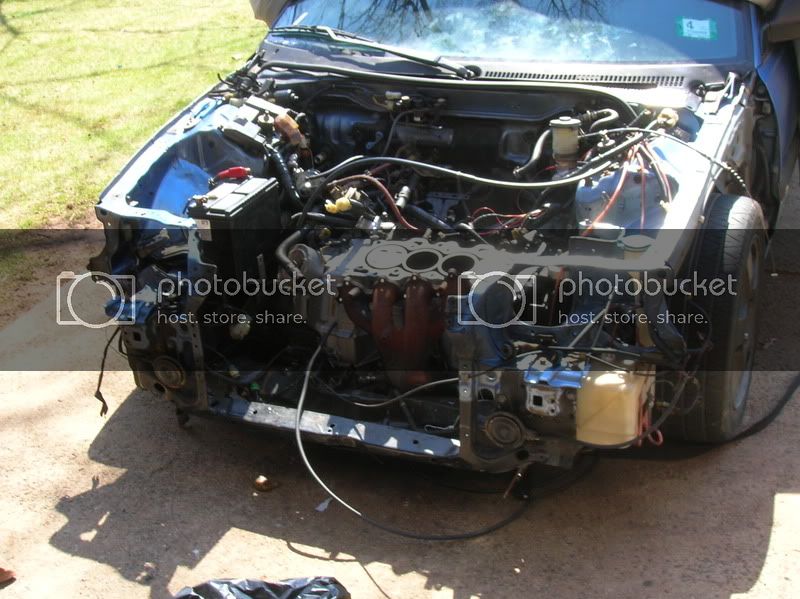
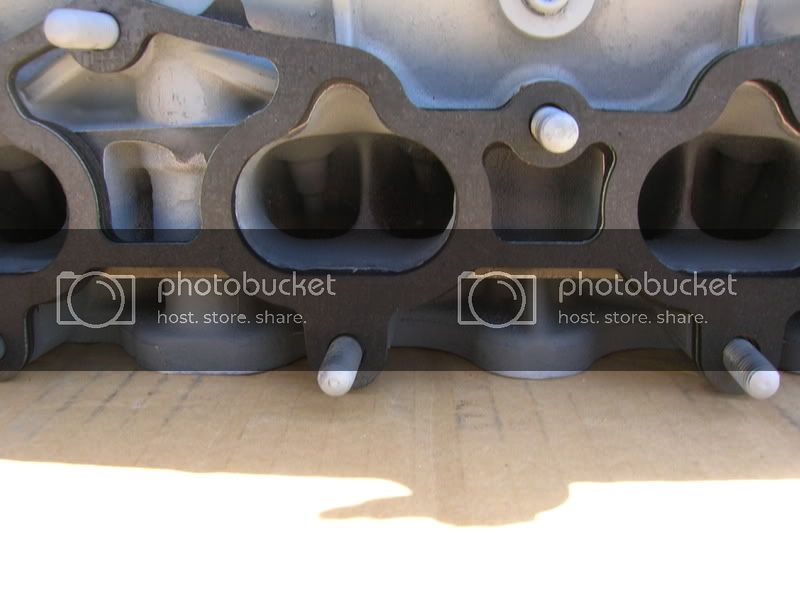
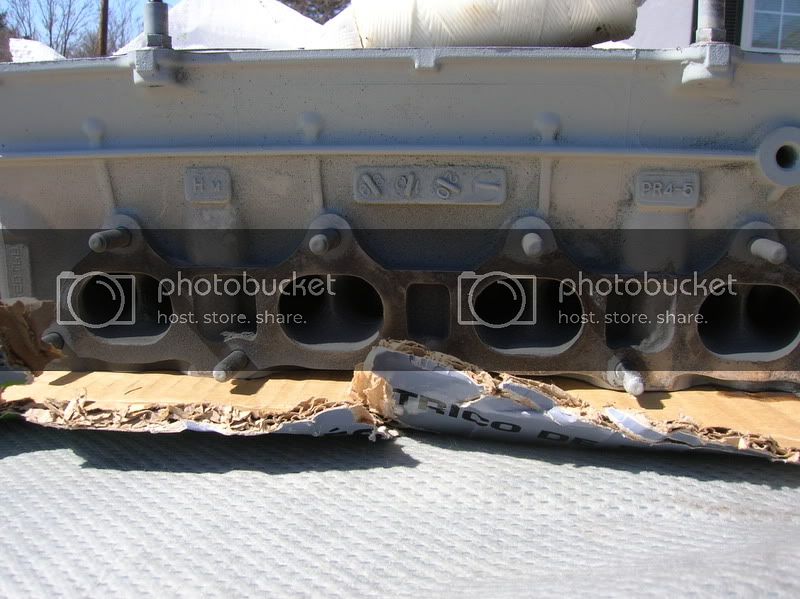
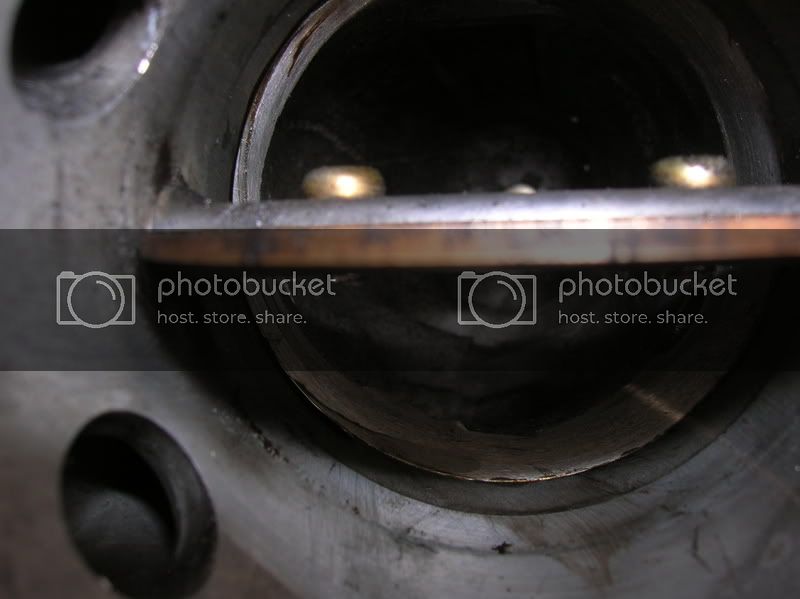
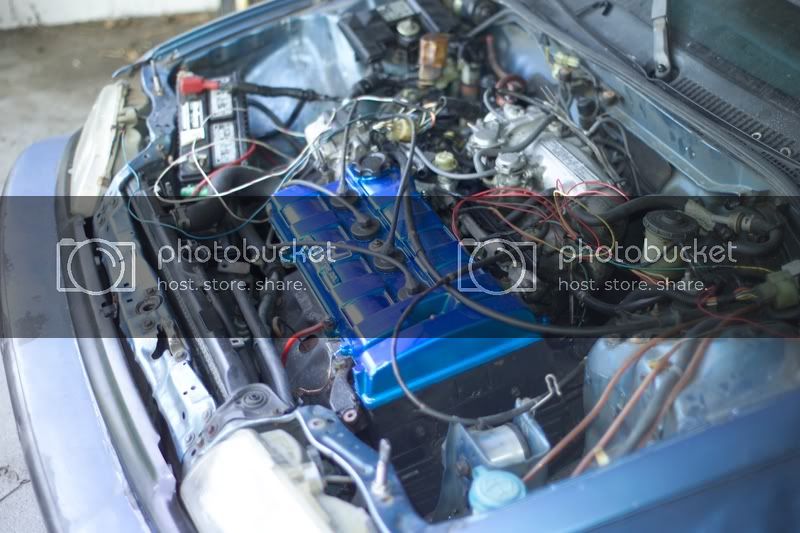
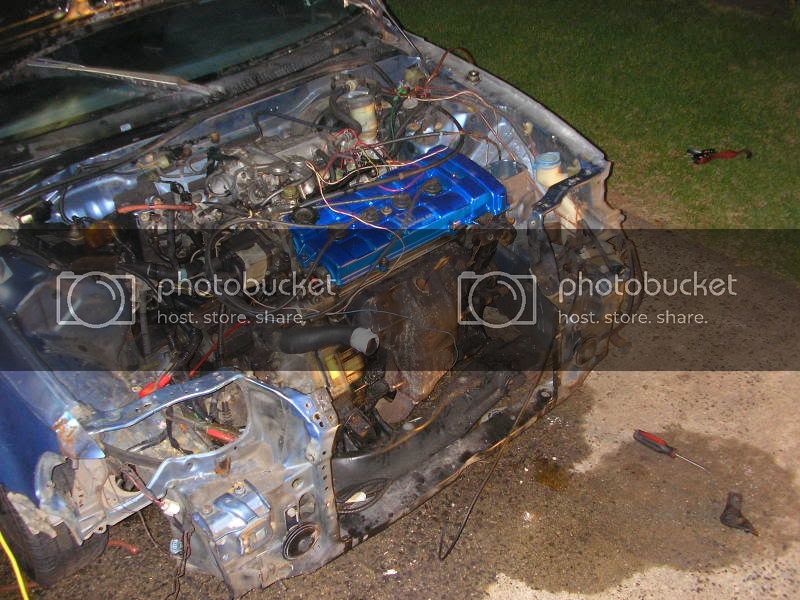
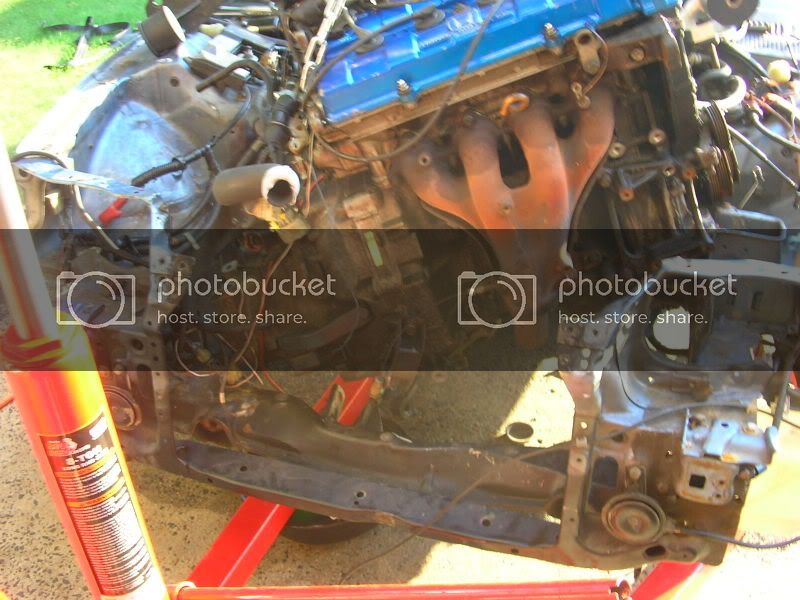
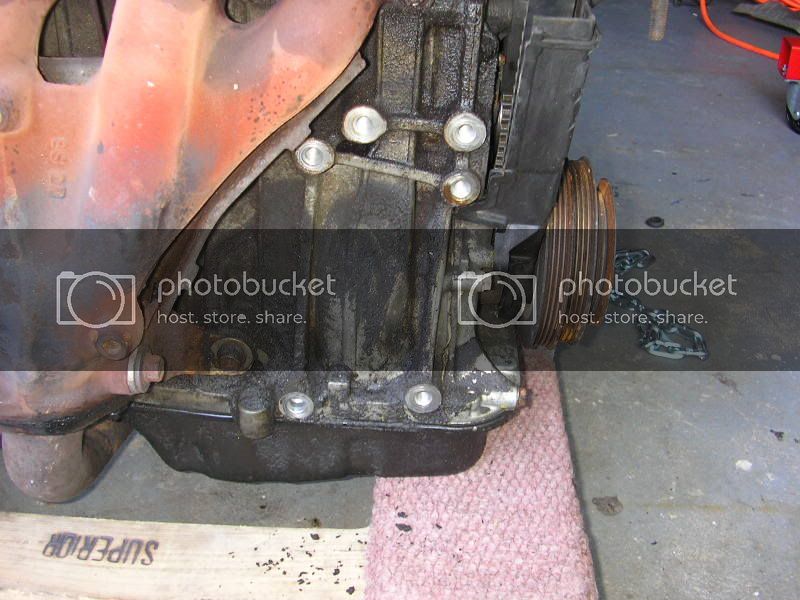
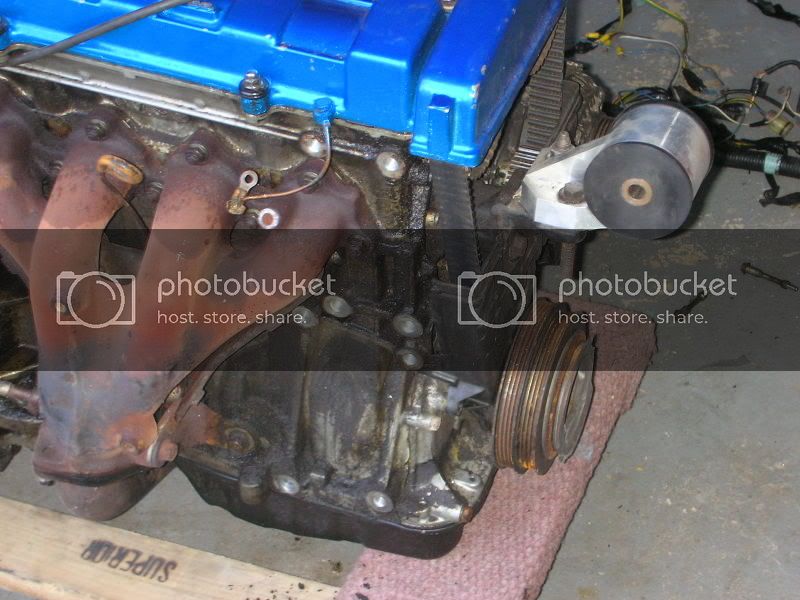
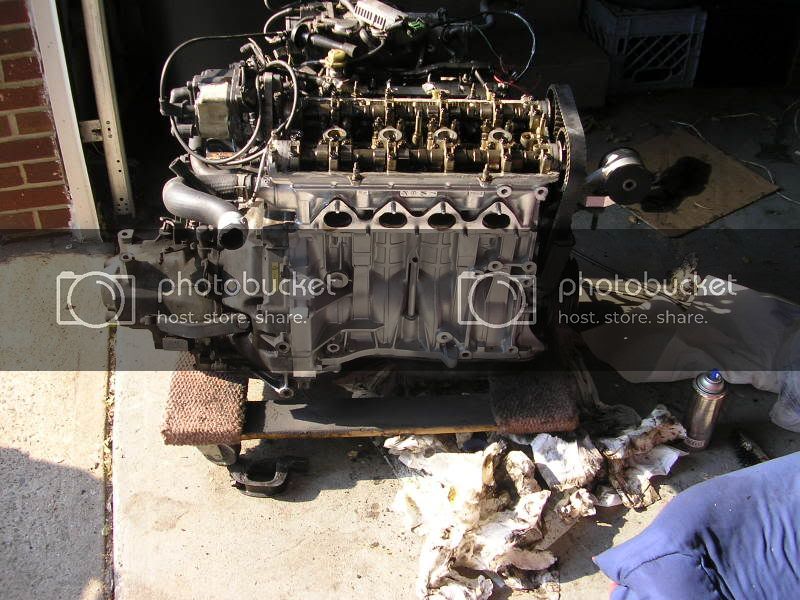
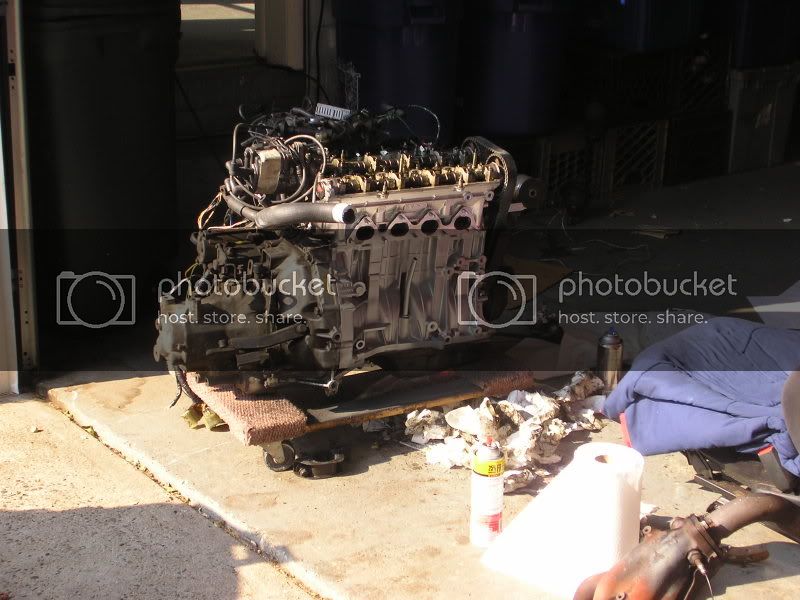
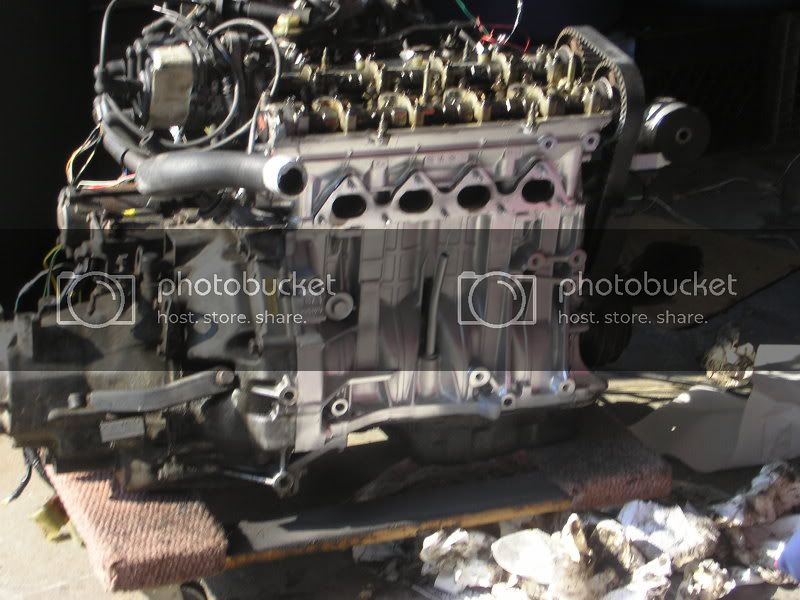
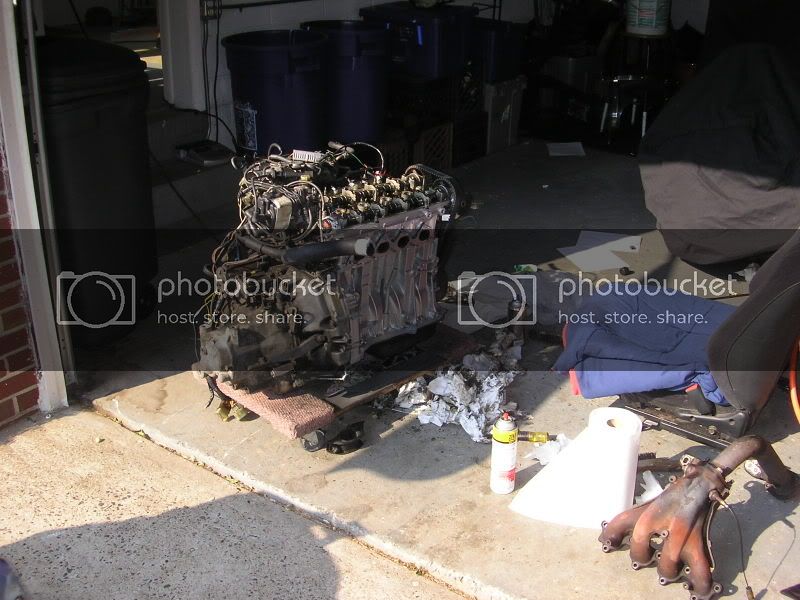
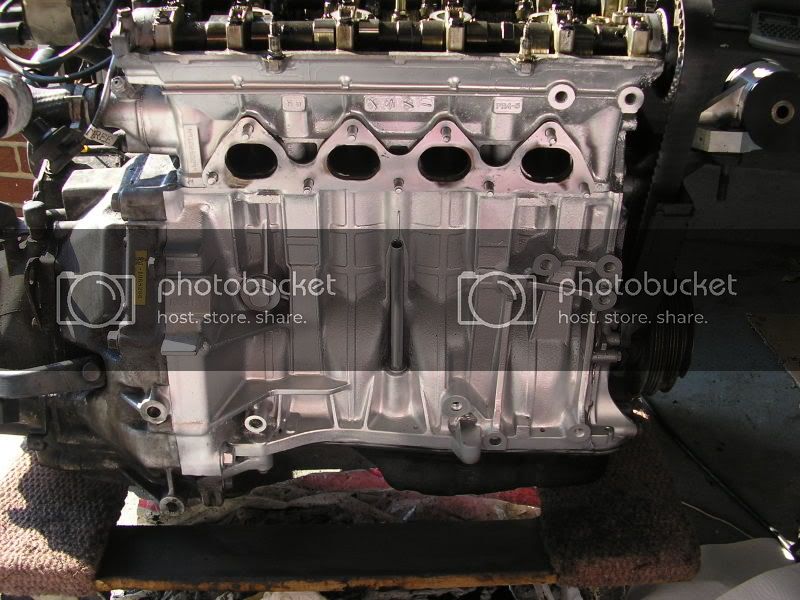
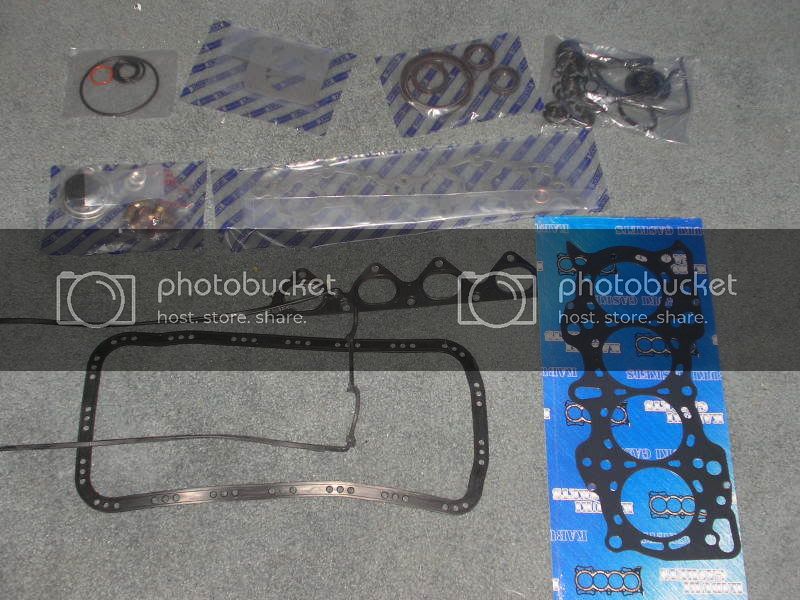
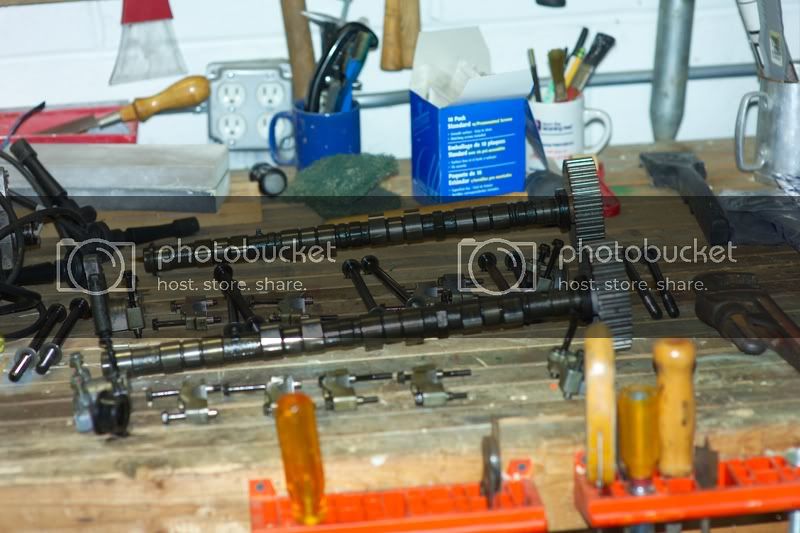
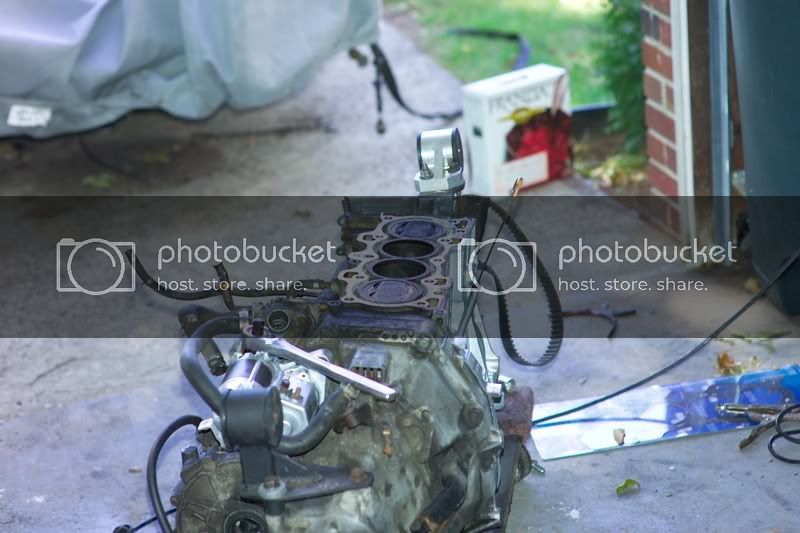
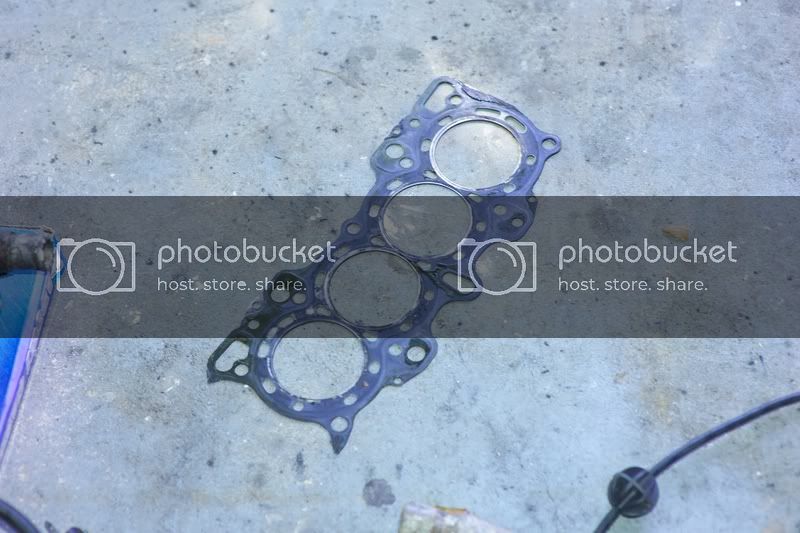
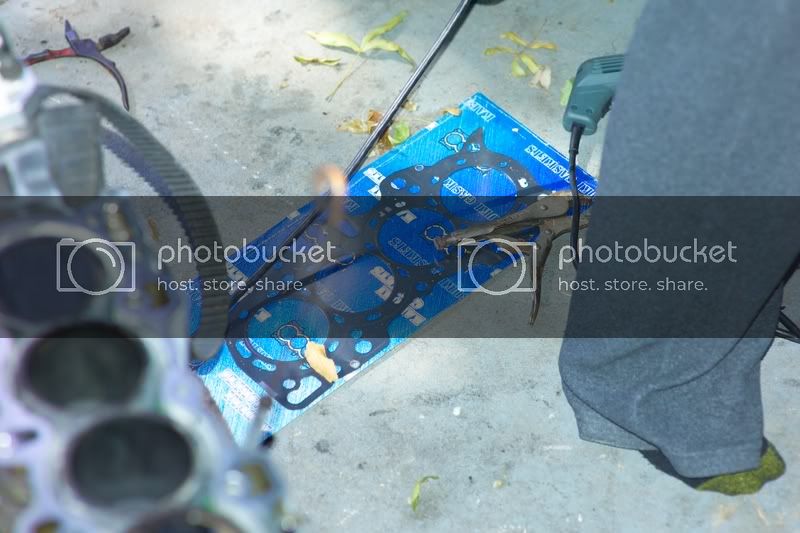
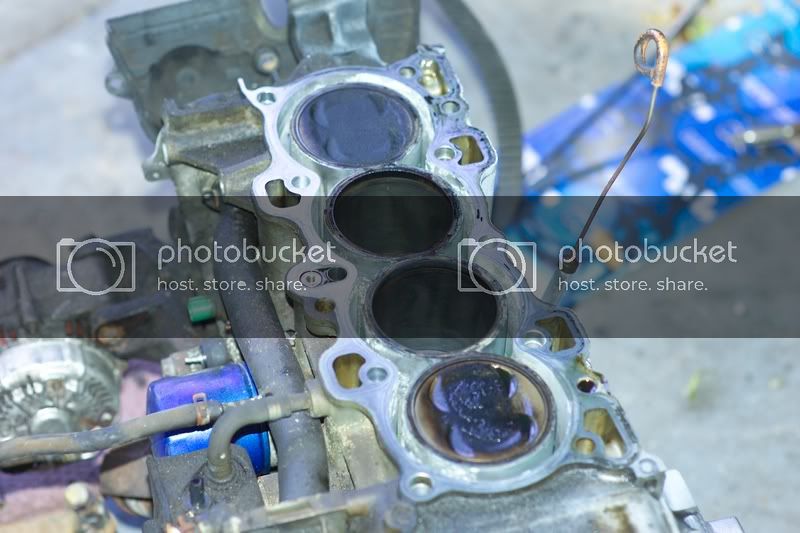
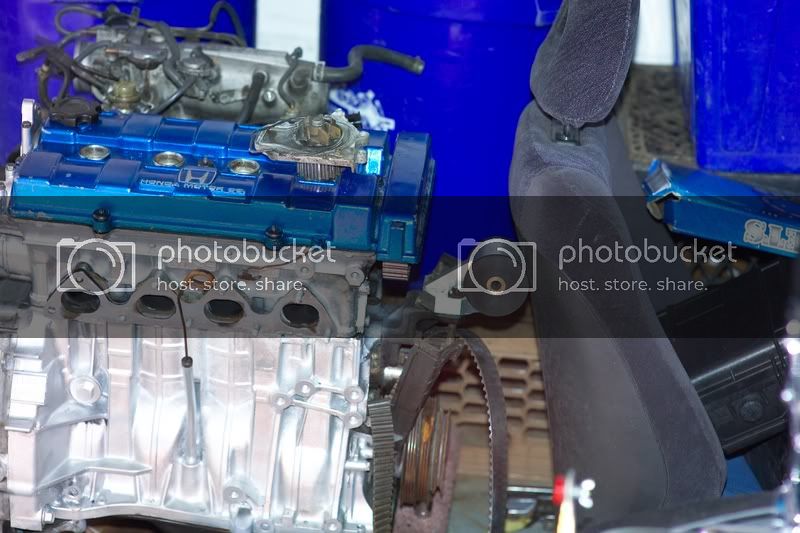
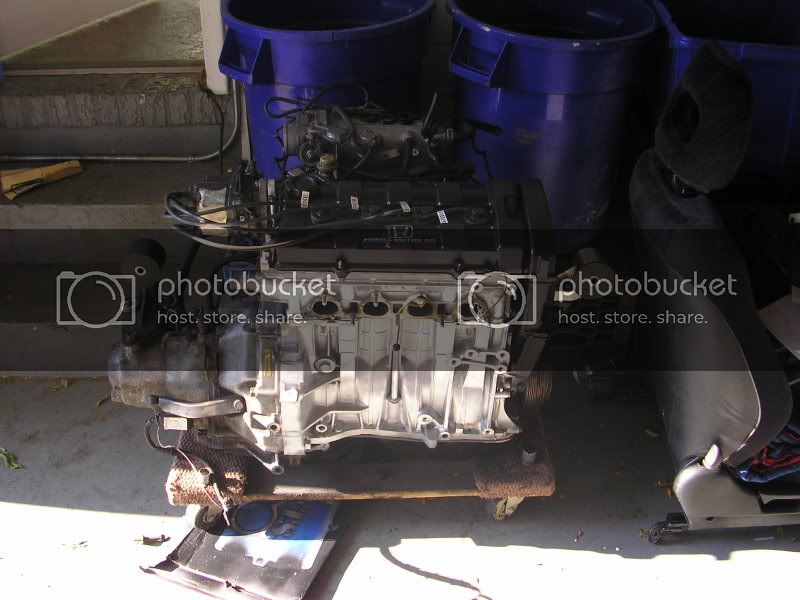
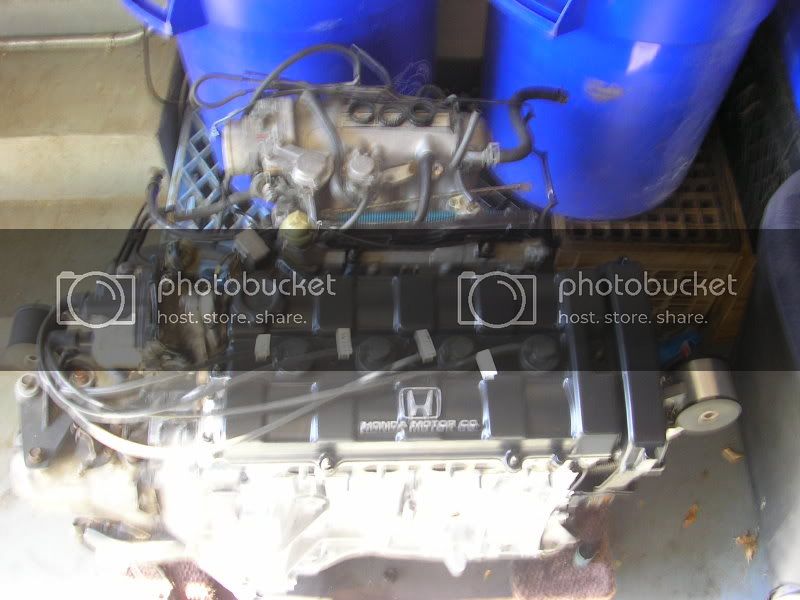
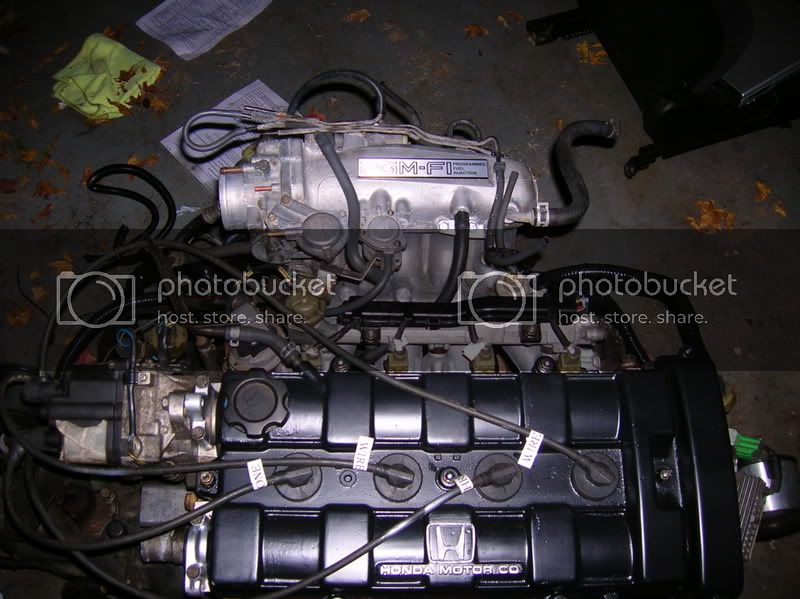
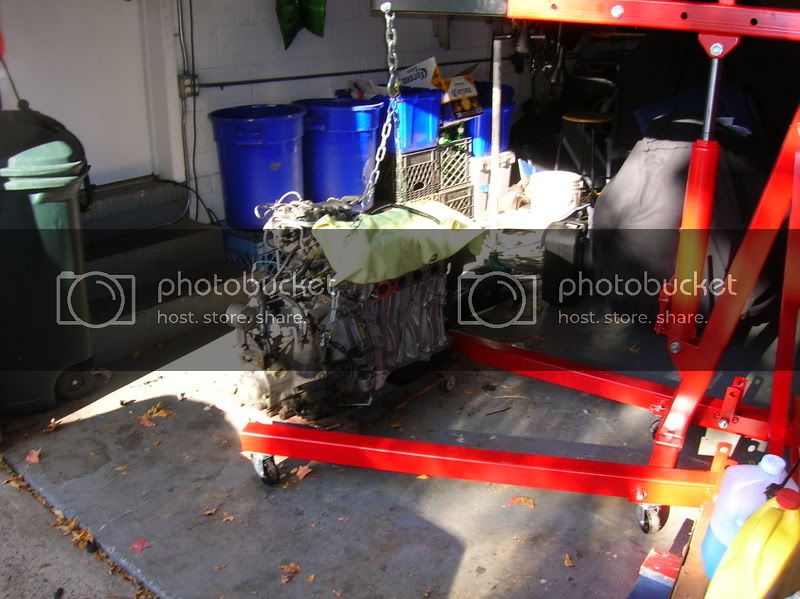
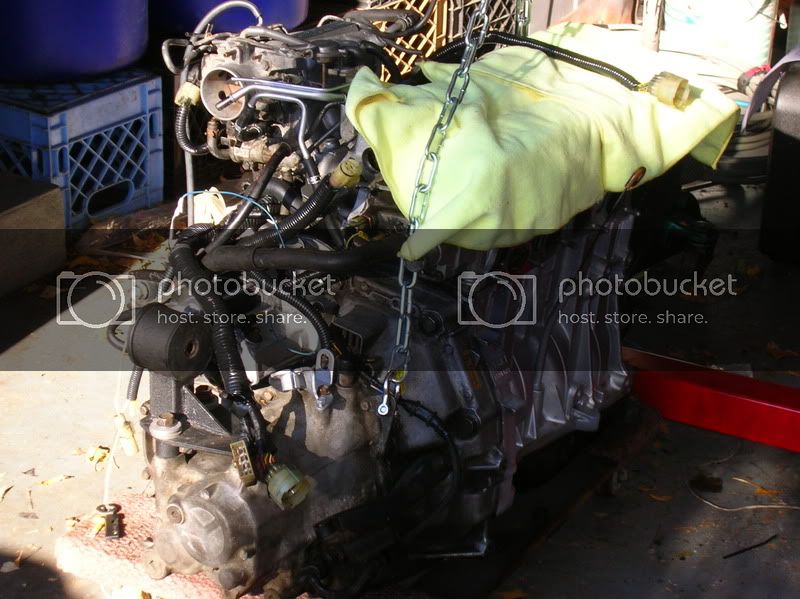
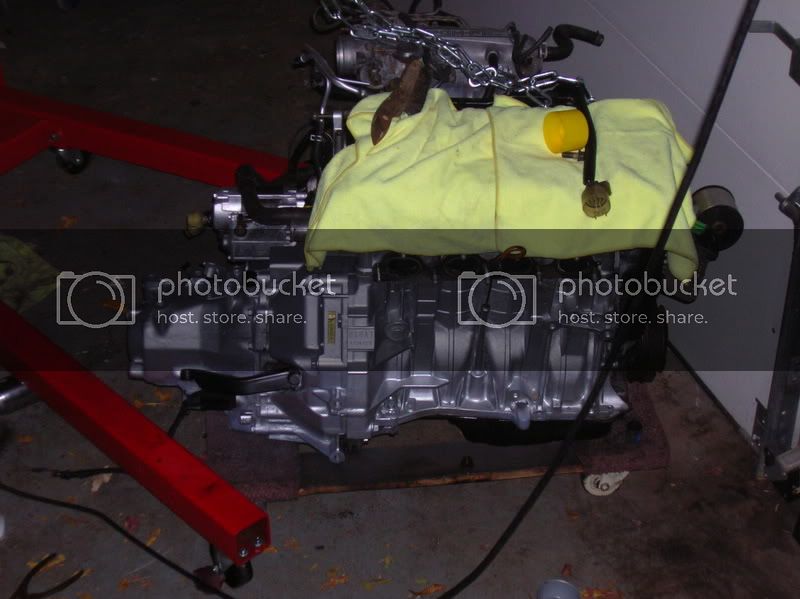
head gasket time
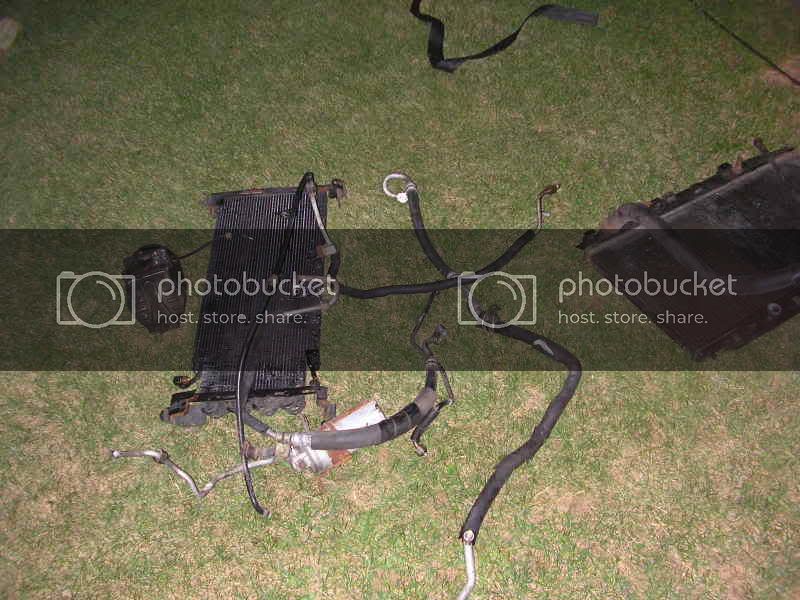
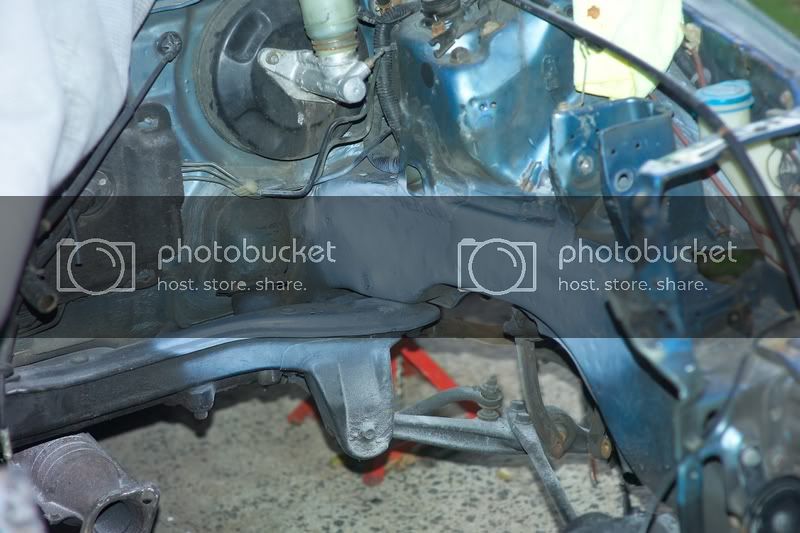
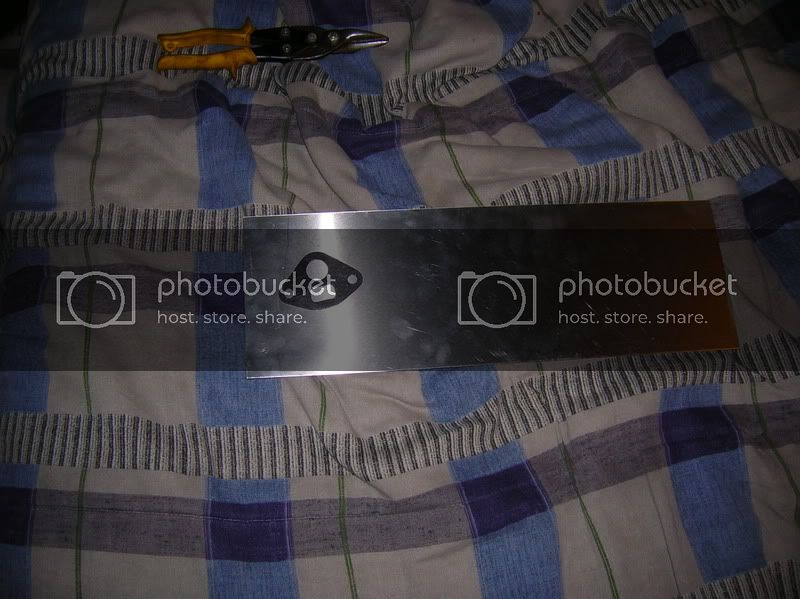
at this point i thought that my old habits as a mechanic where alittle shitty and that i would be more comfortable re doing it from scratch with a fresh gasketed motor. now with more knowledge i was ready. first no more ac.
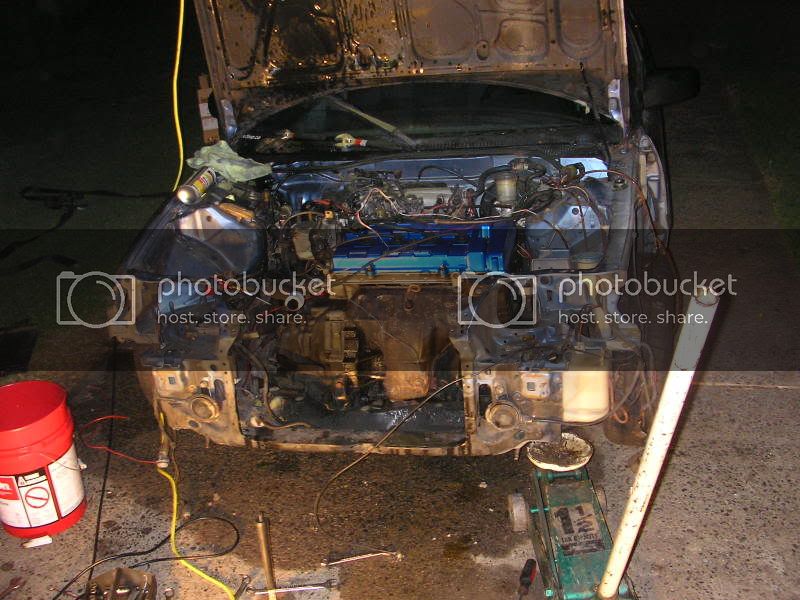
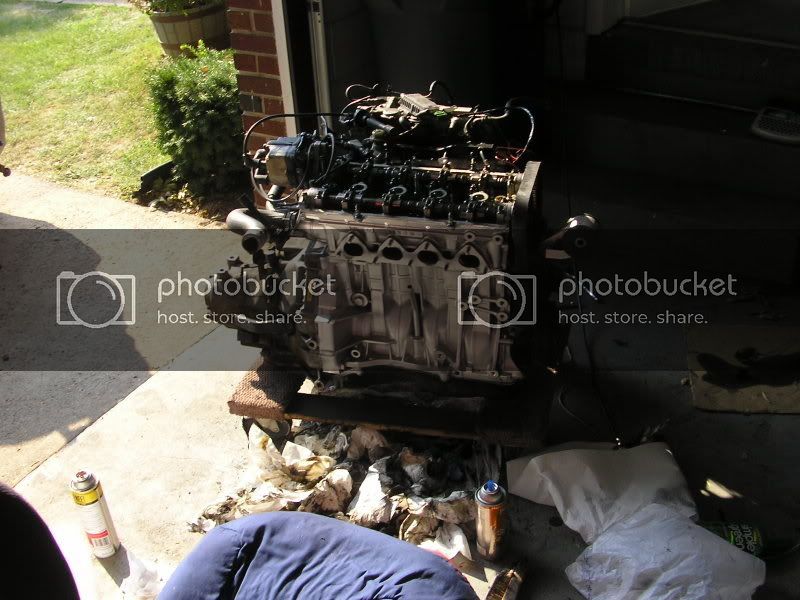
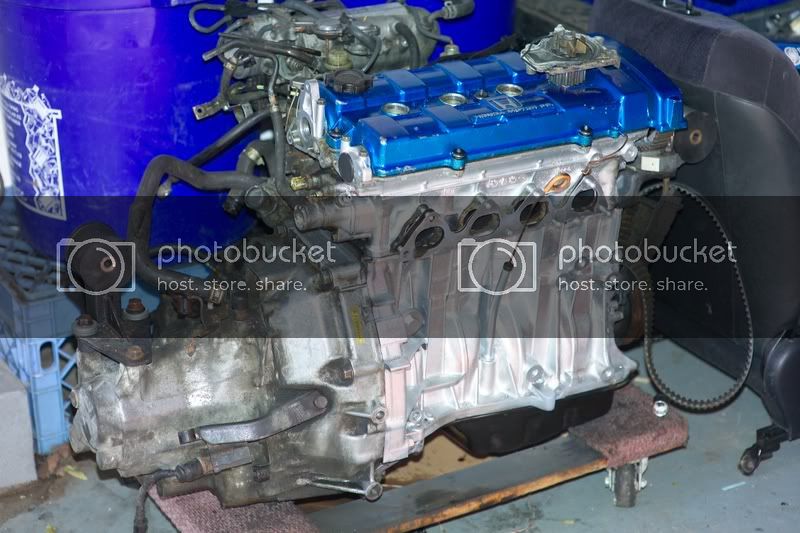
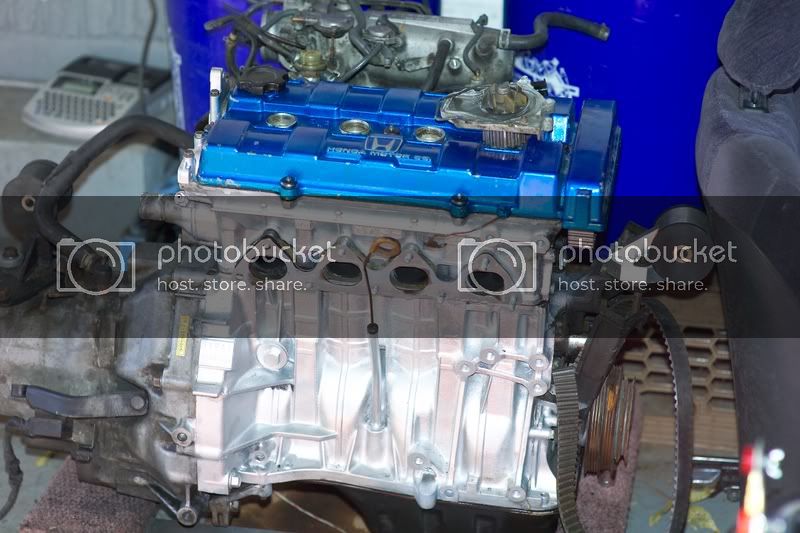
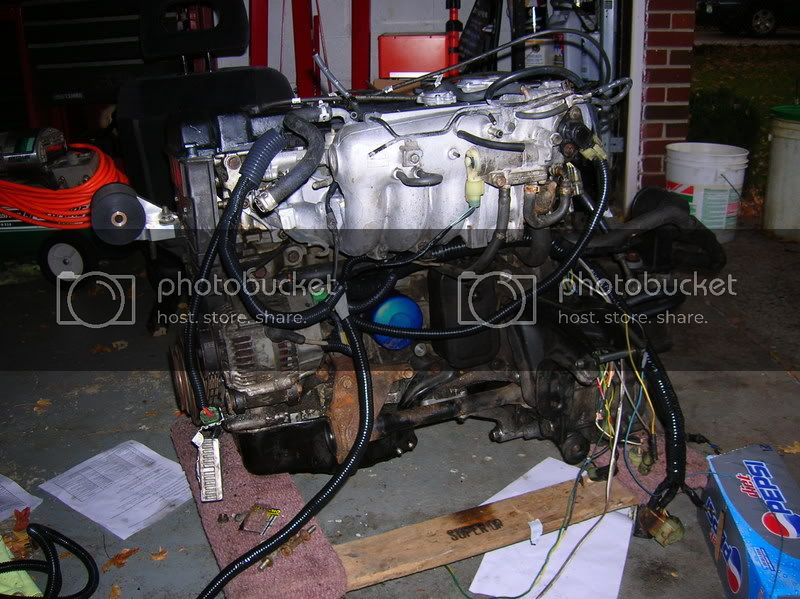
and yea that is my passenger seat that my gf is sitting on in the grass lol
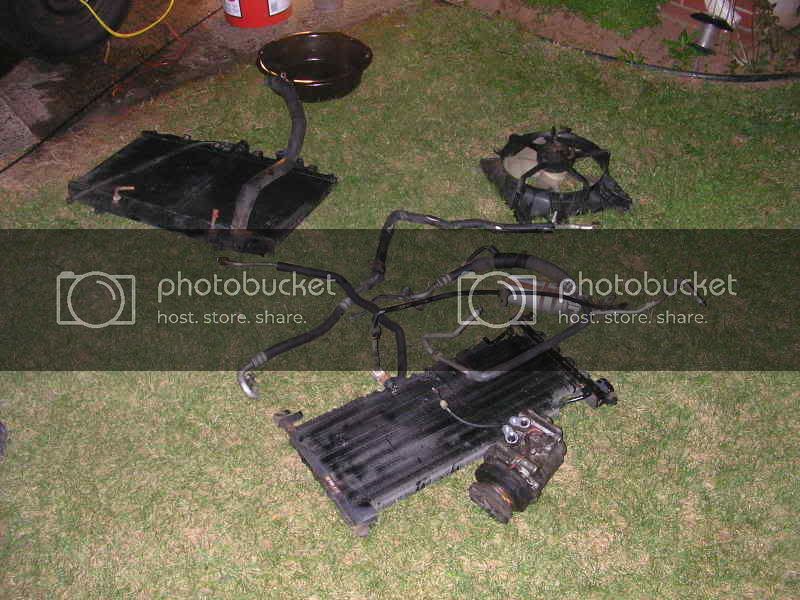
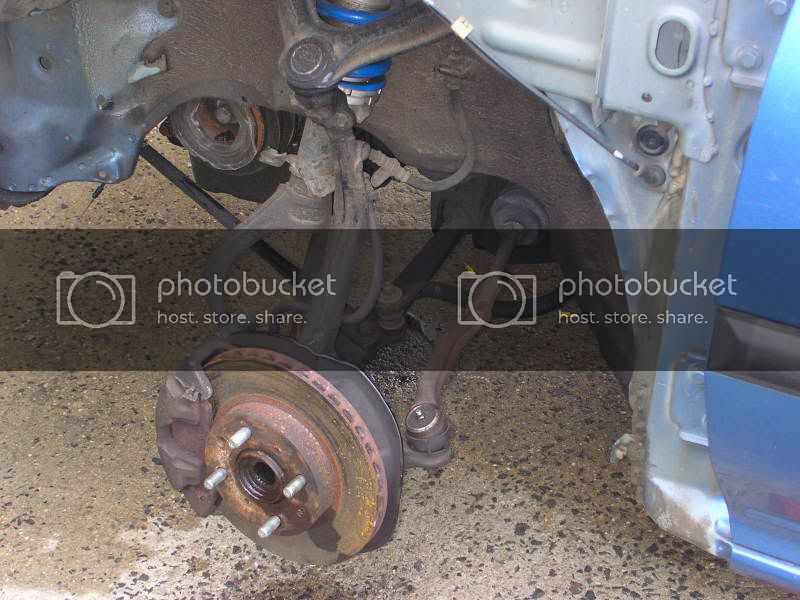
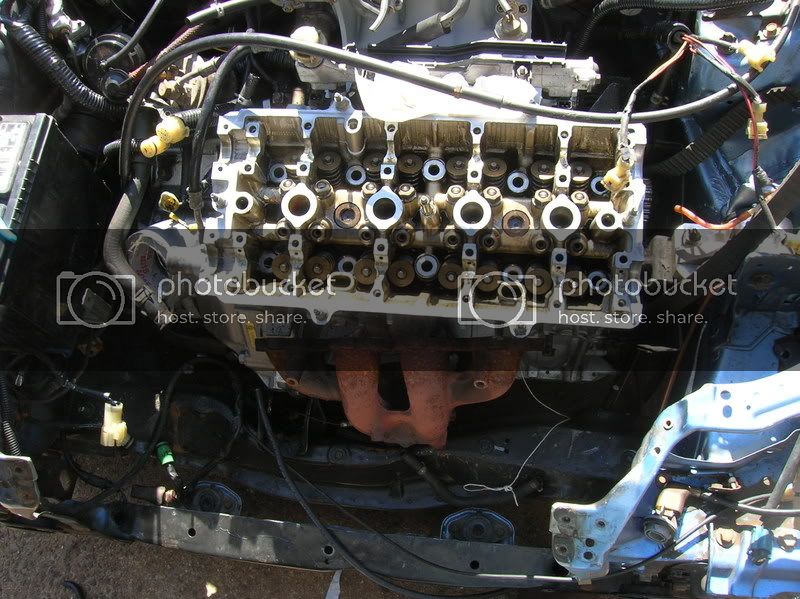
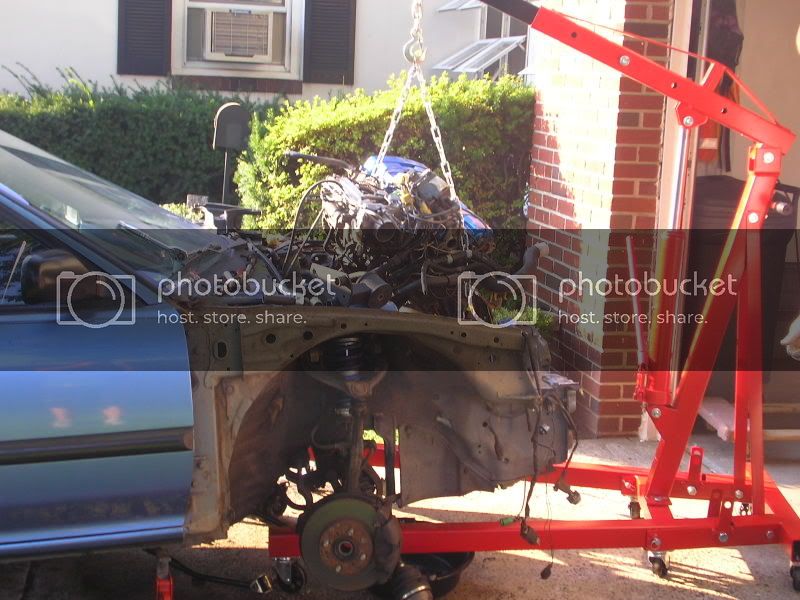
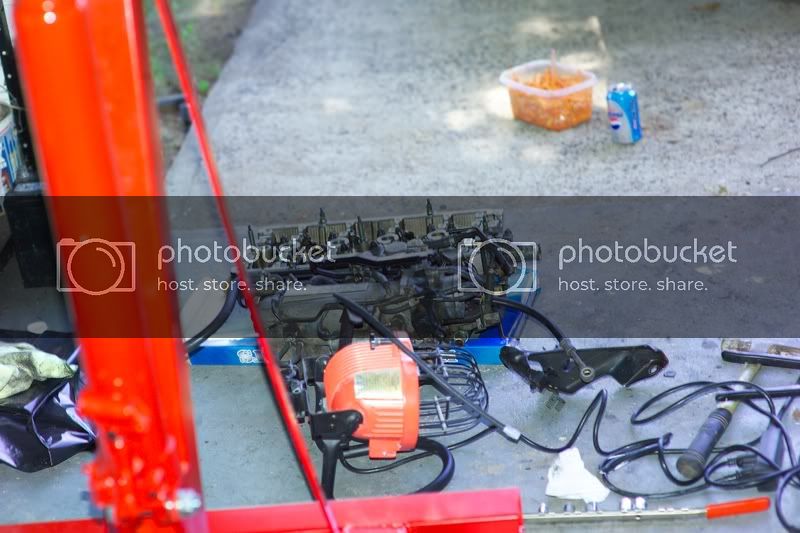
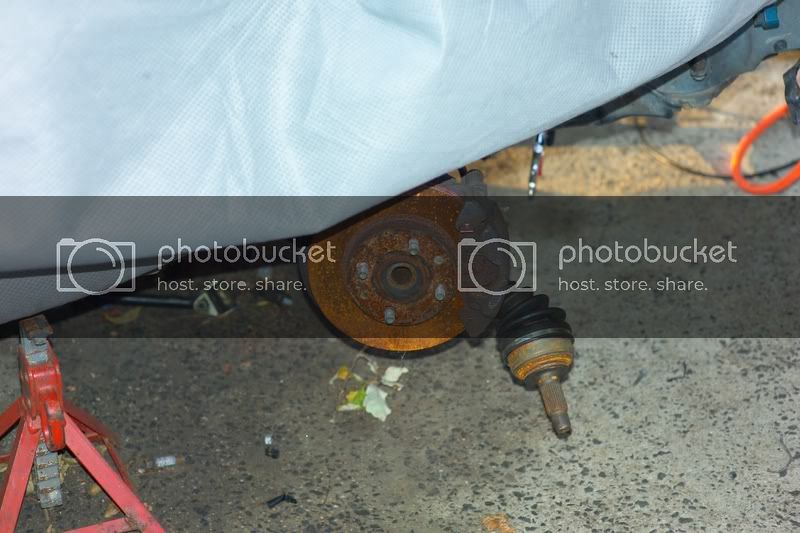
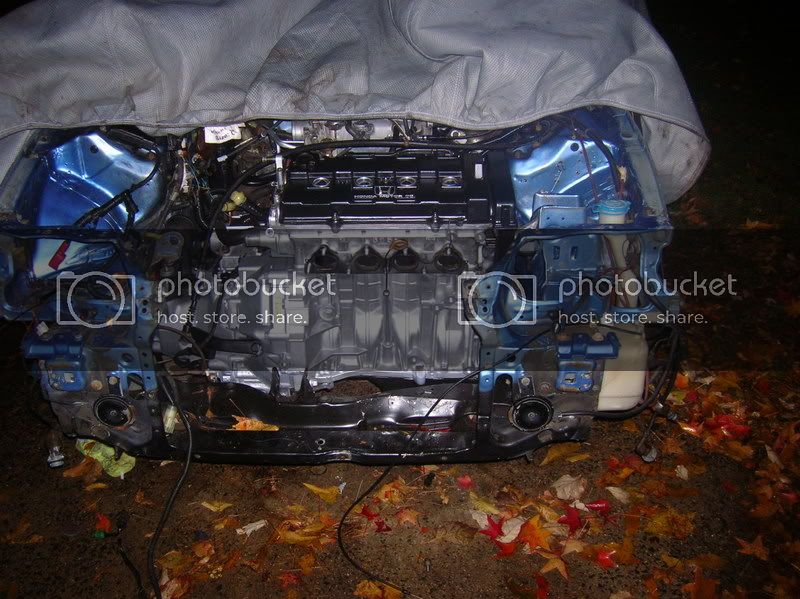
axles out ready for engine to be removed
sooo i have been around here gathering info and lurking around. i decided to post up what i have been up to.
some history.
i bought this car about 5 years ago for 1k from my dads friend.
i basically grew up with this car because he was around alot. he was the only owner. so when i got it. i started having fun.
started off like some of us. a ricer. but not too much. i quickly got into the modding game. instead of just looks. (which i lacked lol) and joined a bunch of forums, which got me out of my ricer phase. okok enough talk here she is.

when i first got her i put 96 ex stock rims on as soon as i got it


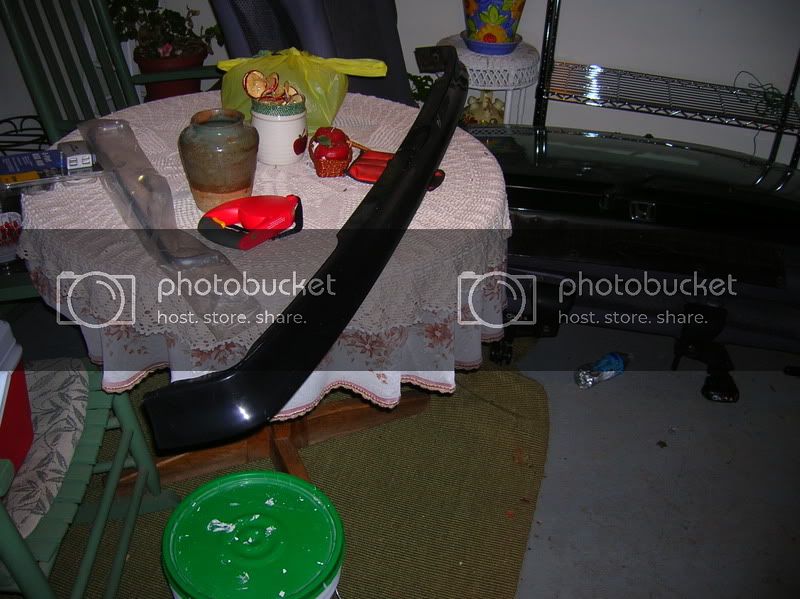
after that i slid in the rain under a blazer crunchin up my hood so i had to get a new one and i couldn't afford a CF hood at the time so.... primer it is.


after a while 90hp gets alittle boring so i needed a bigger engine so i bought this 90 acura integra ls for parts


so i started ripping it apart oct 13 2003 it took me a couple weeks because i had to wait to borrow a lift from my friend finally everything is switched

i luckily blew the trans in my 1.5 a week before i started the swap, good timing

this is my 1.5 sohc in the acura just resting in there not installed


NEW
the only rust
 expand
swapppp
 expand
 expand
The integra before
197k!!! and thats all from the original engine Everything was original on that engine clutch, trans etc.


garbage lol


OK so now is about the break in my project where i gave up on the wiring. joined the air force and forgot about it while living in TX. so about June 20th i decided to finish. but at my house instead of my other garage at a rental property across town. so here is where that started off. prepping for tow.
4 year swap break ftl
wow what a wire mess... don't worry not for much longer.
grew some balls and finished the wiring.
head gasket time
at this point i thought that my old habits as a mechanic where alittle shitty and that i would be more comfortable re doing it from scratch with a fresh gasketed motor. now with more knowledge i was ready. first no more ac.
and yea that is my passenger seat that my gf is sitting on in the grass lol
axles out ready for engine to be removed


 Good luck with it! Keep us informed!