endlesszeal
Senior Member
Well I know a while back I promised Id put up something like this up but with graduation, moving and a just a bunch of things, it got pushed away and just never got finished. Ill try to find the old post and edit info and post it up.
Anyway, to the main event. This is for an AMD AM2 build I did a while back, but most of the stuff should be relevant still. And as I said in some other posts I will be building a couple of computers soon and Ill try to get more detailed pictures with newer hardware. BTW, the steps I take are by no means the "right" way to do it. I just prefer it because its easier for me. Feel free to do it anyway you want it.
First and foremost, ground yourself. Touch someone, something to make sure you dont have any static on you. You can get a wrist strap for 5-6 bucks at radioshack, frys, or your favorite electronic hobby store. Im cheap, so I just touch a metal part of my case and hope for the best
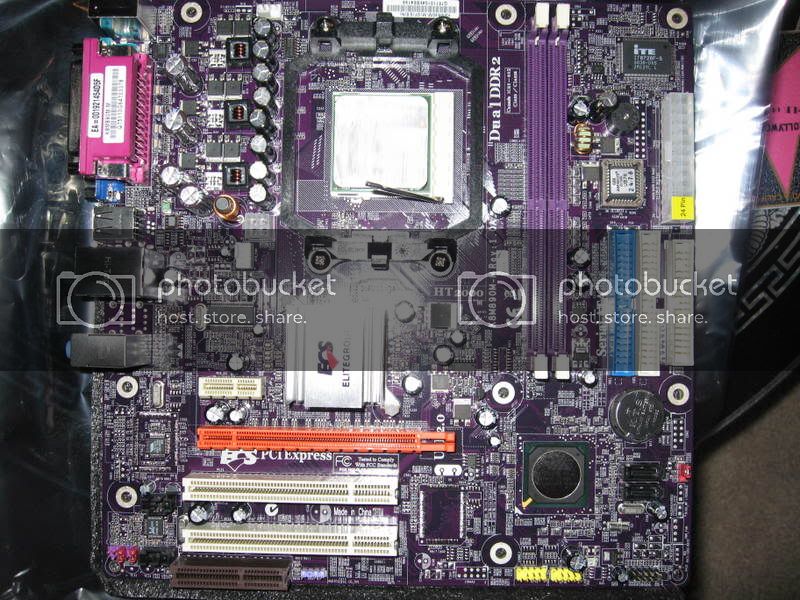
Then take your motherboard (MB/mobo) out of it its box. Make sure all the accessory, wires, cds, etc are included. I like to leave it on the antistatic bag on top of the box.
Motherboard:
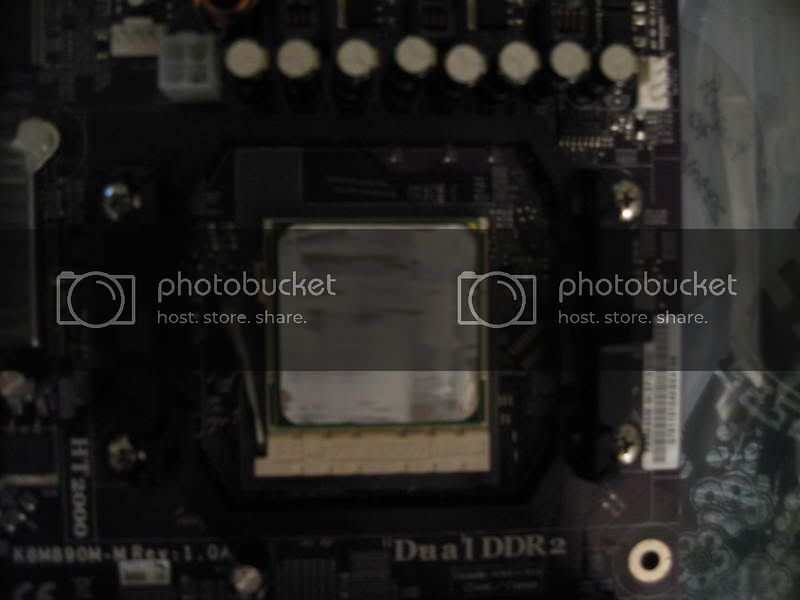
Now, I like to put on the processor and heatsink because doing inside the case is no fun. Especially if you have an aftermarket heatsink that requires you to take off the stock brackets or adding a bracket to the back. With Intel processors, the pins will be on the motherboard and not on the CPU. Just take off the protective tray and move the lever up. On the processor there are usually markings to show you which way to drop it in. It should slide in with no force. If you wiggle it gently and it doesnt go in, WRONG DIRECTION.
CPU with thermal paste on:
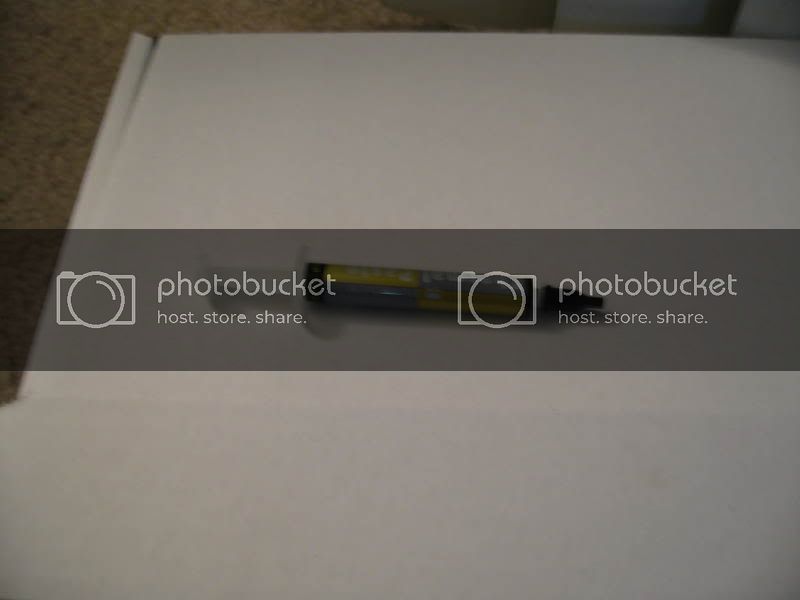
I like to use an aftermarket paste, but when you buy a retail processor, the heatsink should have paste on the bottom and that works fine too. So you dont have to do this part, but if you do want to use aftermarket stuff, just use a microfiber cloth and clean the stock paste off with the highest alcohol you can get so it dries faster. Then spread it on with a card to form a thin layer. Note: Each paste might have different steps, read instructions carefully.
Thermal paste:
Heatsink:
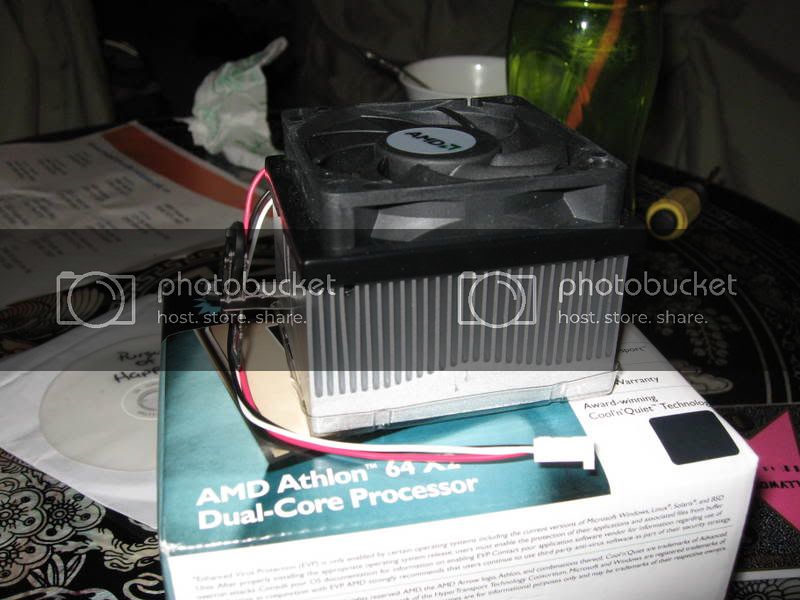
If youre not overclocking or not using aftermarket paste, the bottom of the stock heatsink should have paste on it. Dont need to do anything except but put the heatsink ontop of the cpu and mount the clips. Then just move the lever to put pressure. This part should have resistance but not a whole lot. Around the same amount force when winding up a wind-up toy.
Heatsink lever:
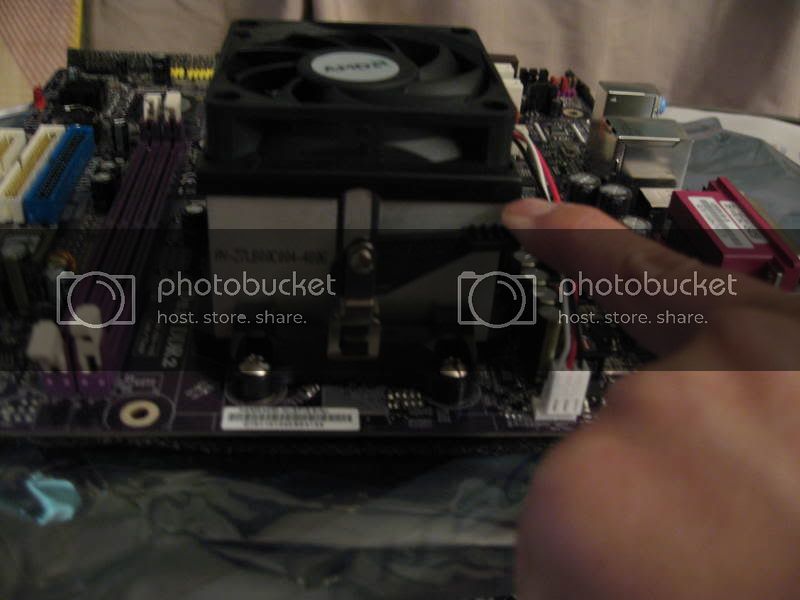
If mounted correctly, you shouldnt be able to wiggle the heatsink from the socket at all. Nice and snug.
Next step is to put RAM in. Just move the clips back like so:
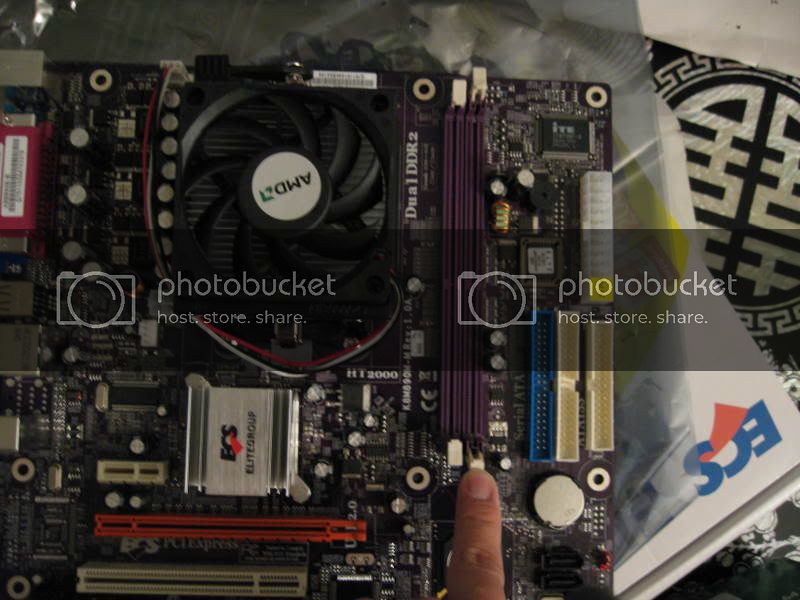
The RAM will fit in only ONE DIRECTION. Look at the slot and the bottom of the RAM, it should line up. Once you put the RAM in the slot, it should kinda of set there but not be all the way in. Just push the RAM down on both sides to even out the force and it will slide in. The clips on the side should come down by itself and lock the RAM in. Sometimes you have to push the clips yourself, no big deal. Force used should be around the same amount you use to push in a thumb tack or pushpin.
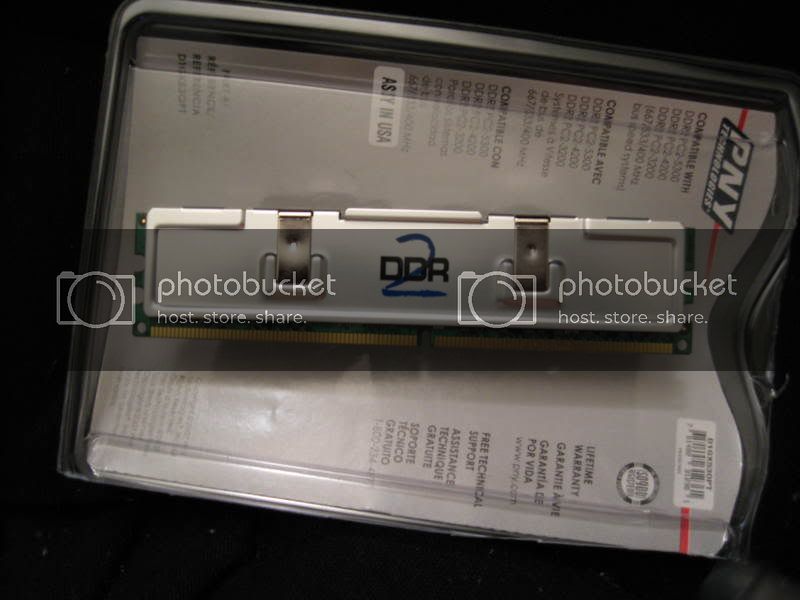
RAM:
RAM Slot:
**Now what I usually do is hook up the video and powersupply. Then boot to see if the thing comes on or not, but we wont do that here. Just makes it confusing because of partial diassembly and reassembly.**
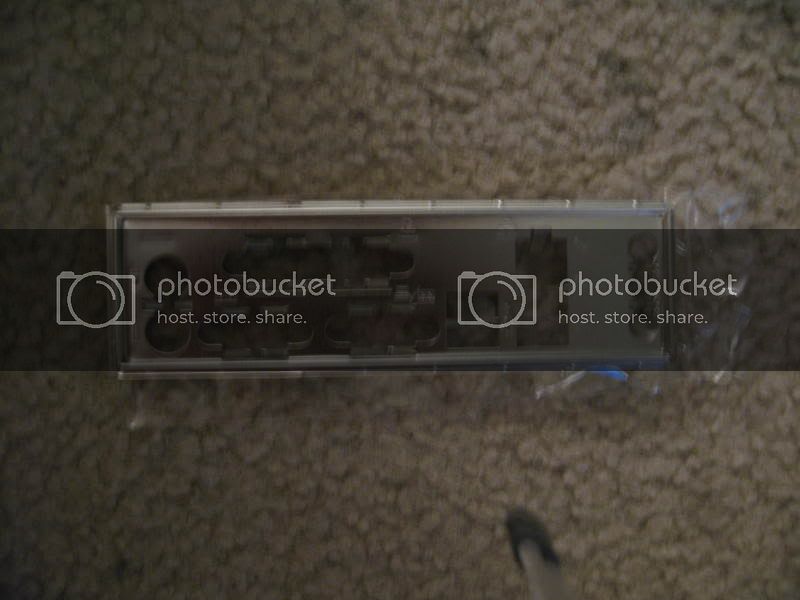
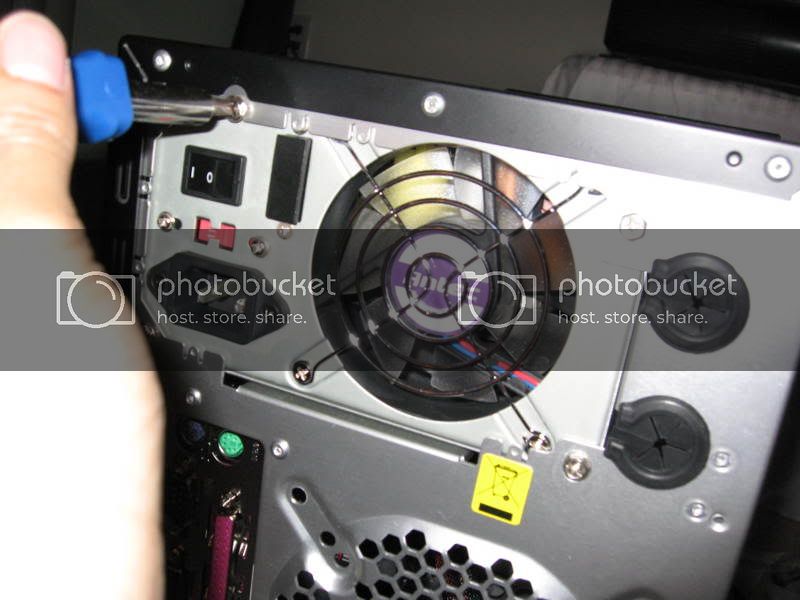
Next it setting up the case. Take the motherboard backplate out:
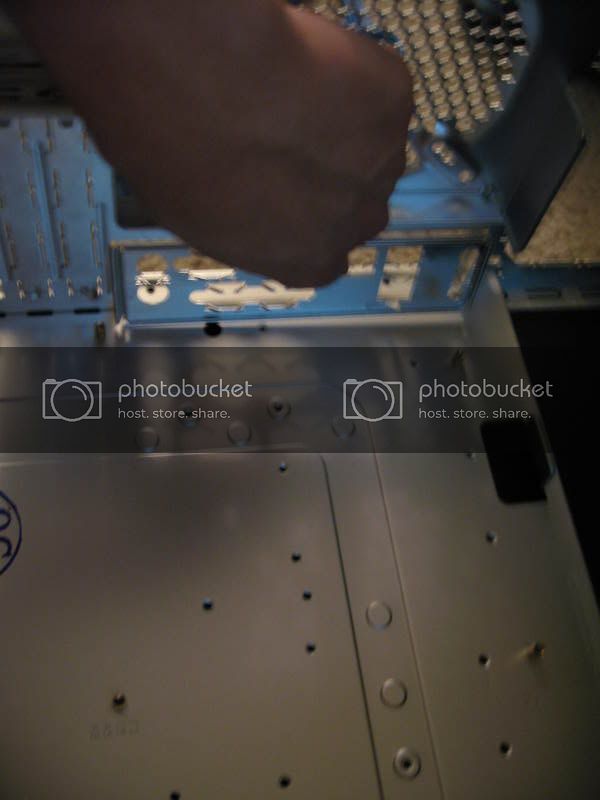
This part will require some force. I like to use the back of a screw driver and bang the backplate in:
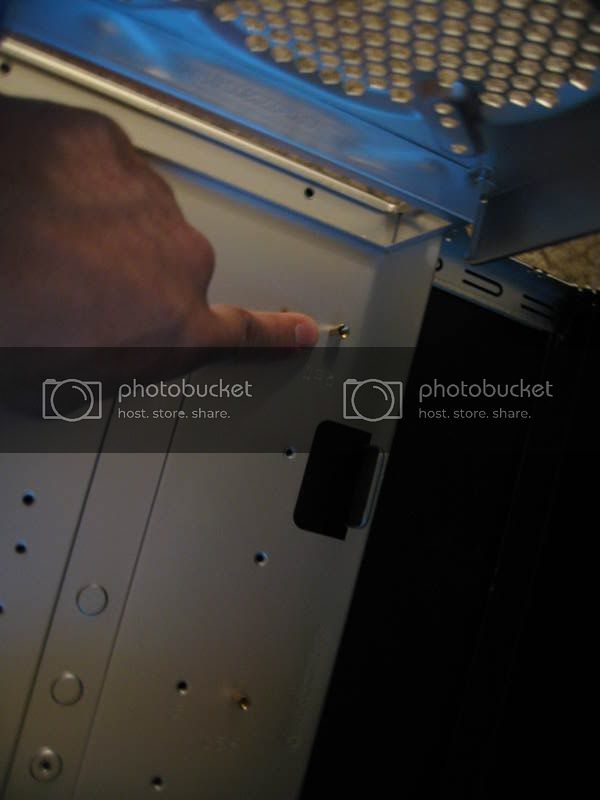
Now to install the motherboard. The mobo and/or case will have these pins. They are called mobo standoffs. Follow the direction on the case to see where to put the pins according to the size of the motherboard.
Mobo standoff:
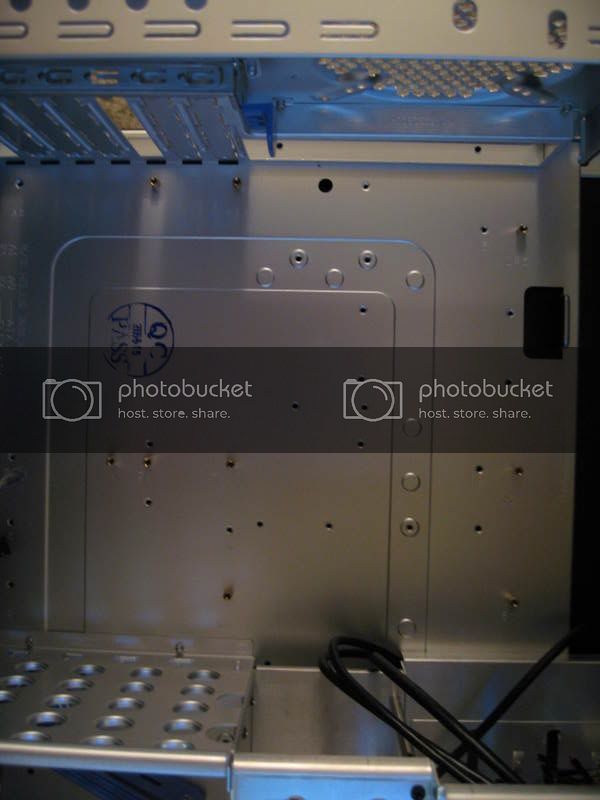
Once you get them all in it will look something like this:
Now carefully put your mobo instead the case and line them up according to the stand offs. Some motherboards will come with paper washers. Install them and use a non magnetic screw driver to install the screws like so:
So are really annoying to get too, but you'll manage.
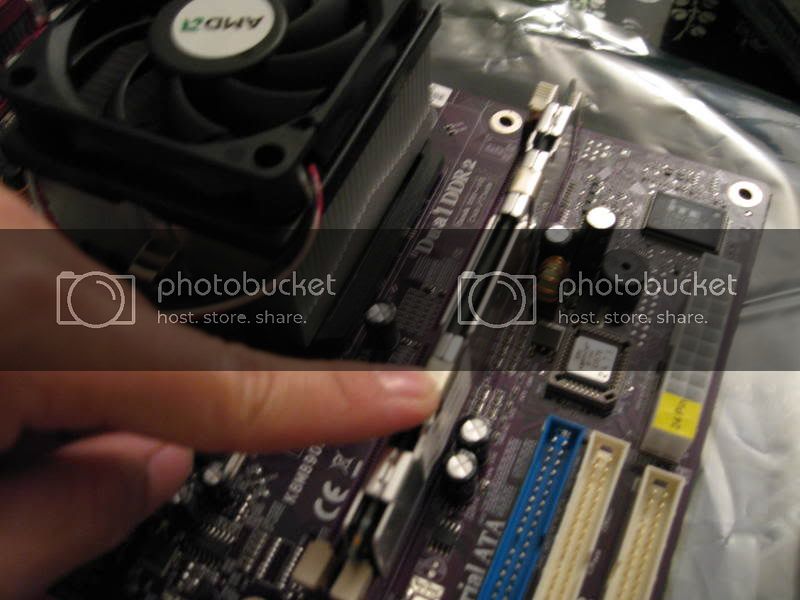
Now I like to install any cards I have like video, wireless, sound card. But since everything was onboard on this one, I dont have pictures or anything. Just move the case brackets for the slots and slide the cards in. Same amount of force for the RAM will be used here. Easy peesy.
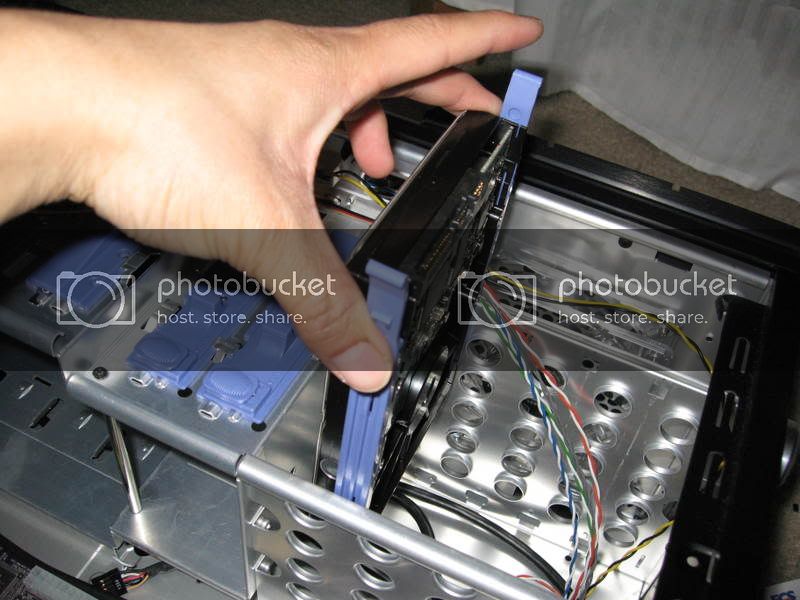
This particular case had hard drive slides which were blue. Just attach them to your hard drive and optical drive.
If you are using older IDE drives, the back will look like this:
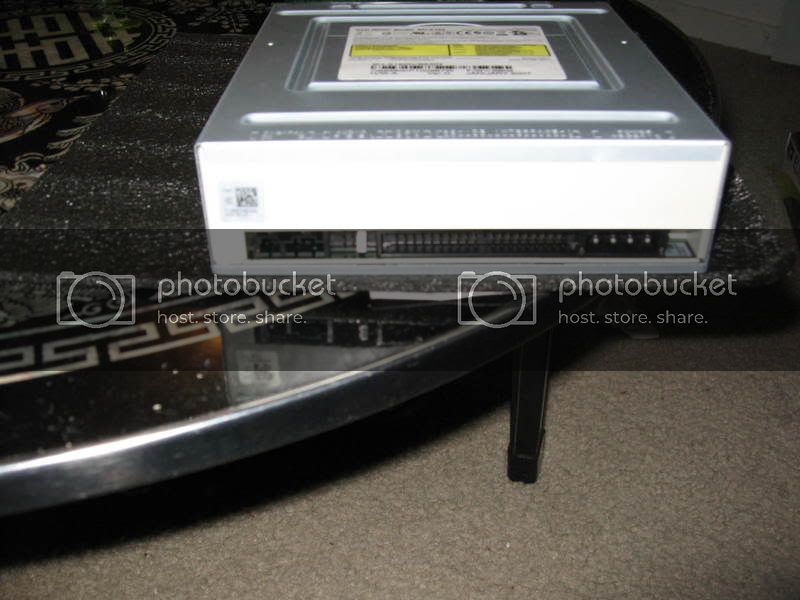
Make sure to move the little jumper pins and set them accordlingly. One master, one slave. On the IDE cable, the furtherst one is Master and the middle one is slave. I will post pictures if this is confusing.
IDE/Floppy cable:
Now just slide the drives in the cages.
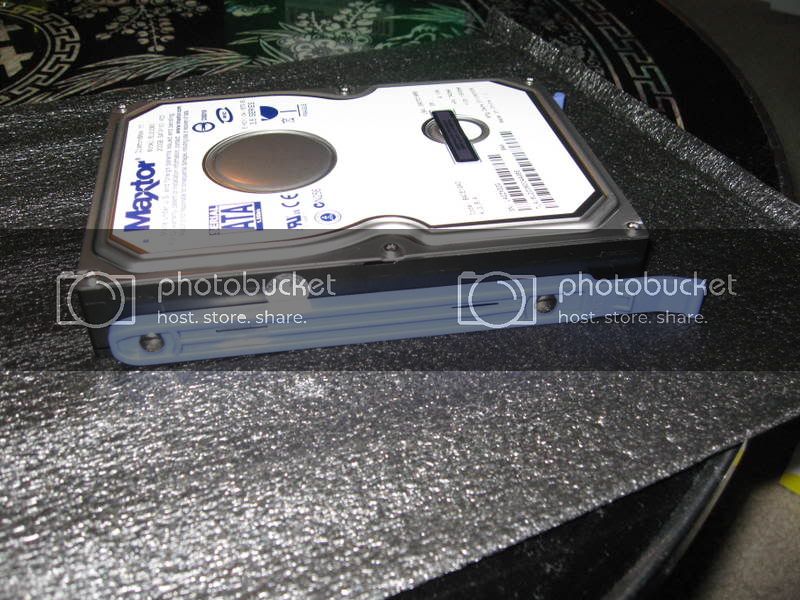
If you are using the most current form SATA, it will look like this:
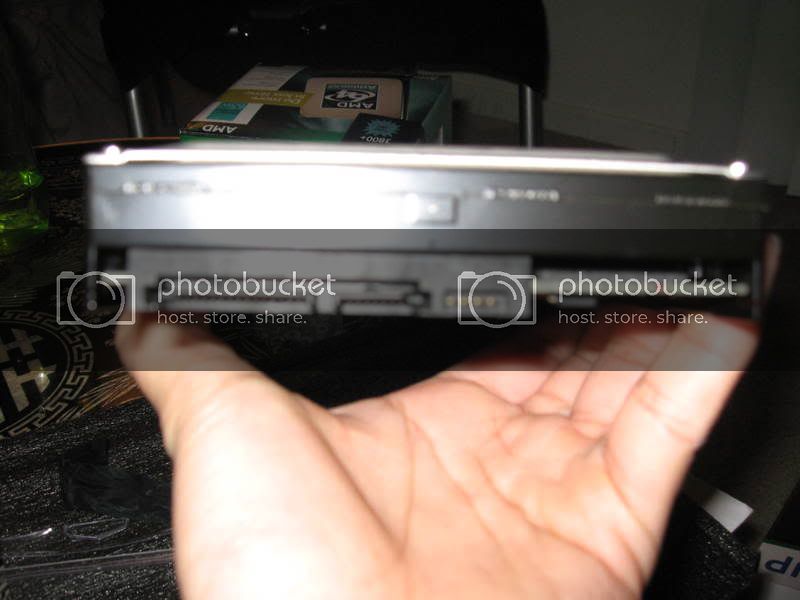
The cables will be 1 per device. Cables will be 5 times smaller than IDE and you dont have to set the jumpers to slave or master. Just plug them in.
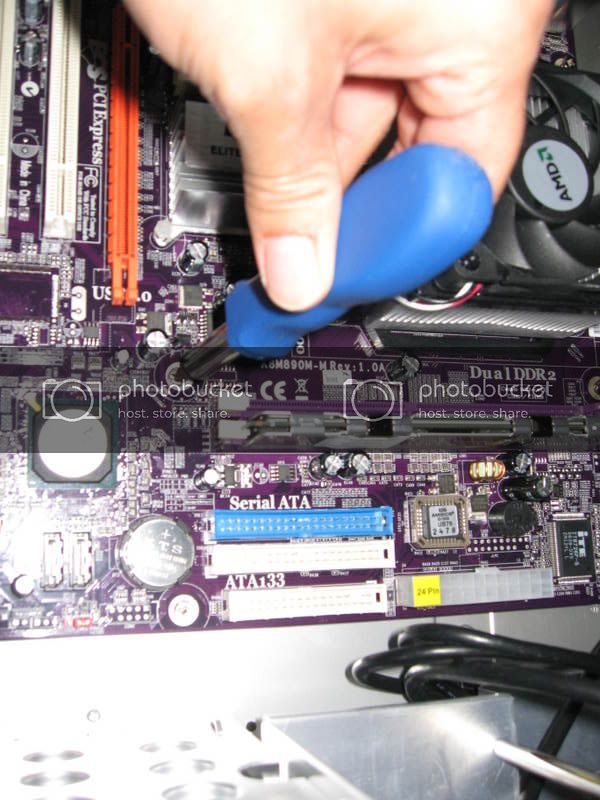
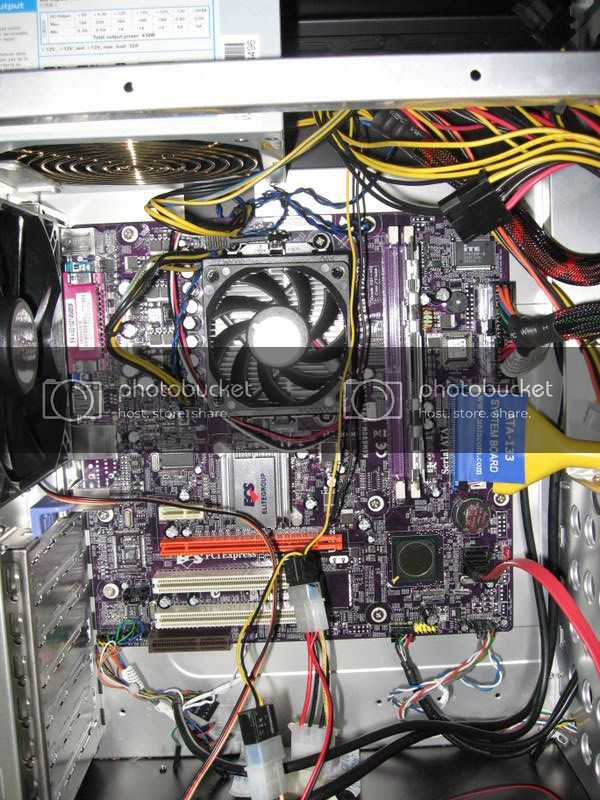
Time to do the wiring. I like to do the case lights first because they are the most annoying. Check the manual from mobo and just plug them in. Usually they are located on the bottom right of the mobo:
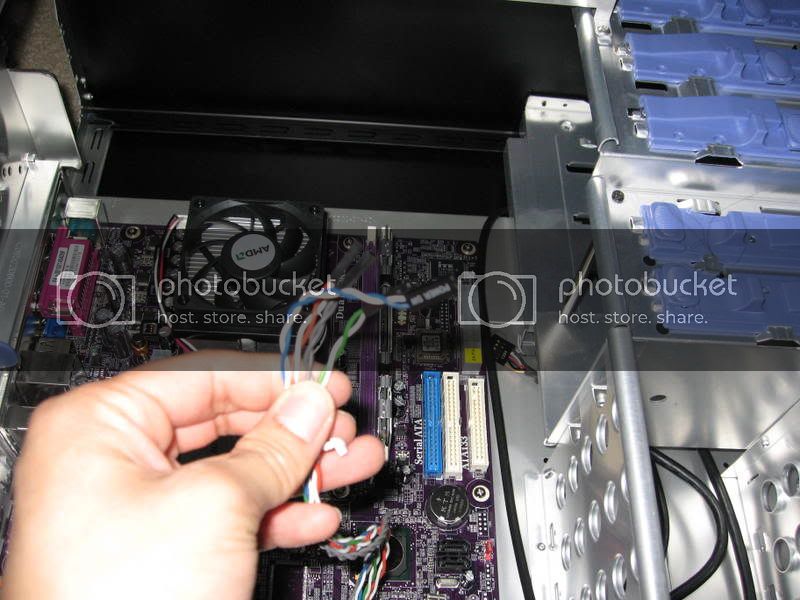
And time to hook up the USB, firewire and front audio wires:
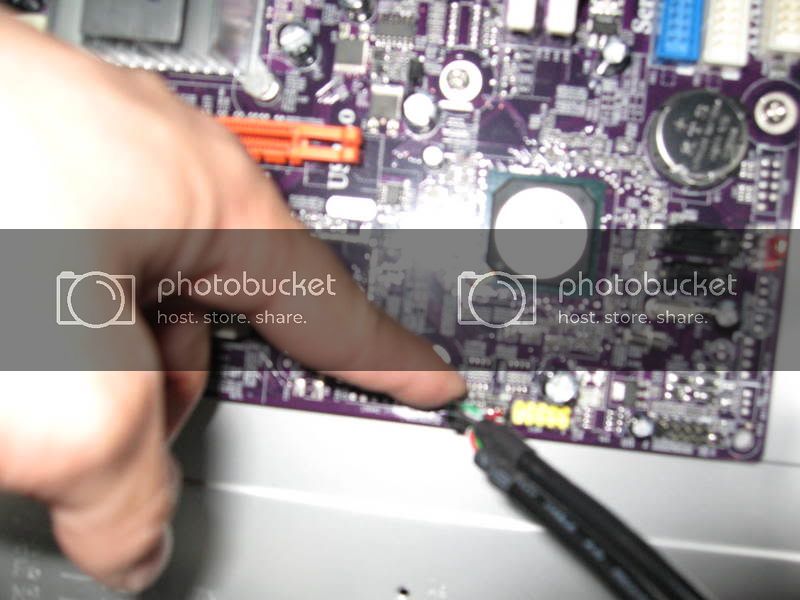
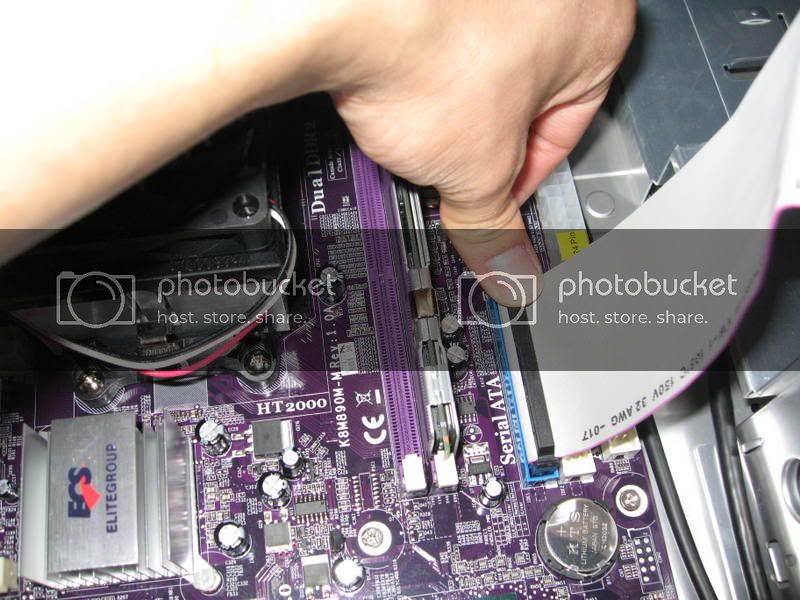
After you have the hard drive, optical drive, front panel, usb and all that plugged in, its time for the power supply:
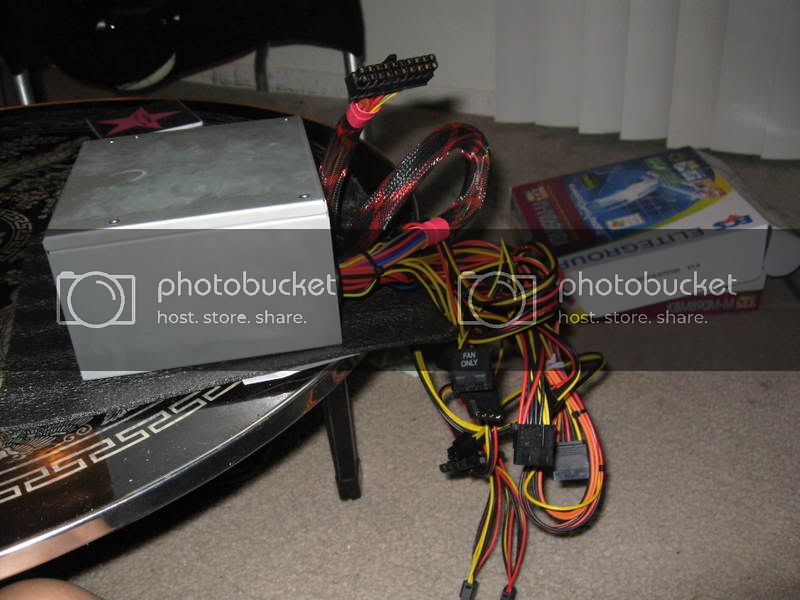
Just carefully slide it into the case, making sure you dont hit anything. Most cases should have rails or some sort of small platform to put it down on. Some cases even have the powersupply sit at the bottom of the case. Anyway, just screw it in.
Now plug in the power supply to the motherboard. Most current motherboards will require 3. 1 x 24pin, 1 x 4-8pin right next to it, and then 1 x 4 pin usually next to the cpu socket.
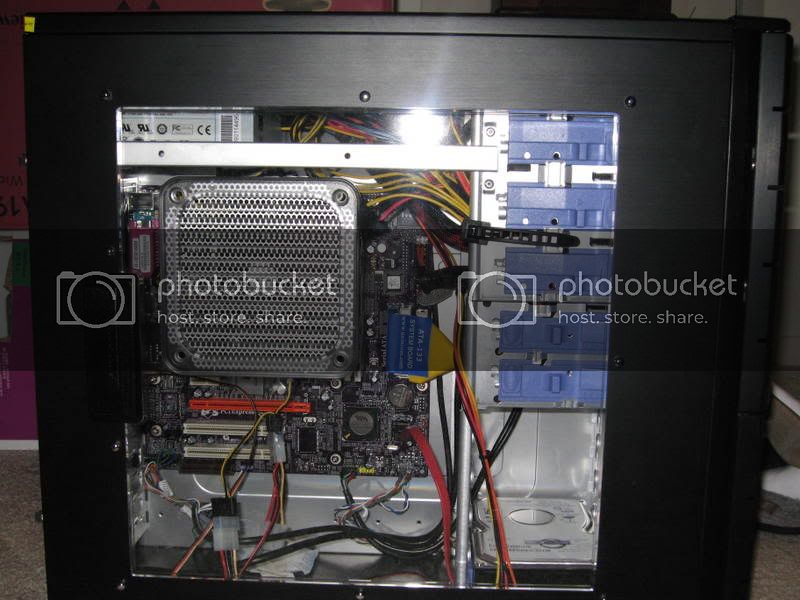
Then plug it the power to optical, hard drive, video card (if applicable) and case fans. I dont like to hook up the fans to the motherboard pin because that will just stress it unless they are low power fans. Then your case will look something like this:
Lol. If youre good or patient, you can reroute the cables and hide them. But im lazy and not that creative at hiding cables so I just leave them be. The ride cable is the SATA cable, the big yellow round cable is the IDE cable. Next to it is the 24pin ATX power cable.
Put the side window on and youre DONE. Hook up the monitor, power cable and hopefully it will boot up!
Anyway, to the main event. This is for an AMD AM2 build I did a while back, but most of the stuff should be relevant still. And as I said in some other posts I will be building a couple of computers soon and Ill try to get more detailed pictures with newer hardware. BTW, the steps I take are by no means the "right" way to do it. I just prefer it because its easier for me. Feel free to do it anyway you want it.
First and foremost, ground yourself. Touch someone, something to make sure you dont have any static on you. You can get a wrist strap for 5-6 bucks at radioshack, frys, or your favorite electronic hobby store. Im cheap, so I just touch a metal part of my case and hope for the best
Then take your motherboard (MB/mobo) out of it its box. Make sure all the accessory, wires, cds, etc are included. I like to leave it on the antistatic bag on top of the box.
Motherboard:
Now, I like to put on the processor and heatsink because doing inside the case is no fun. Especially if you have an aftermarket heatsink that requires you to take off the stock brackets or adding a bracket to the back. With Intel processors, the pins will be on the motherboard and not on the CPU. Just take off the protective tray and move the lever up. On the processor there are usually markings to show you which way to drop it in. It should slide in with no force. If you wiggle it gently and it doesnt go in, WRONG DIRECTION.
CPU with thermal paste on:
I like to use an aftermarket paste, but when you buy a retail processor, the heatsink should have paste on the bottom and that works fine too. So you dont have to do this part, but if you do want to use aftermarket stuff, just use a microfiber cloth and clean the stock paste off with the highest alcohol you can get so it dries faster. Then spread it on with a card to form a thin layer. Note: Each paste might have different steps, read instructions carefully.
Thermal paste:
Heatsink:
If youre not overclocking or not using aftermarket paste, the bottom of the stock heatsink should have paste on it. Dont need to do anything except but put the heatsink ontop of the cpu and mount the clips. Then just move the lever to put pressure. This part should have resistance but not a whole lot. Around the same amount force when winding up a wind-up toy.
Heatsink lever:
If mounted correctly, you shouldnt be able to wiggle the heatsink from the socket at all. Nice and snug.
Next step is to put RAM in. Just move the clips back like so:
The RAM will fit in only ONE DIRECTION. Look at the slot and the bottom of the RAM, it should line up. Once you put the RAM in the slot, it should kinda of set there but not be all the way in. Just push the RAM down on both sides to even out the force and it will slide in. The clips on the side should come down by itself and lock the RAM in. Sometimes you have to push the clips yourself, no big deal. Force used should be around the same amount you use to push in a thumb tack or pushpin.
RAM:
RAM Slot:
**Now what I usually do is hook up the video and powersupply. Then boot to see if the thing comes on or not, but we wont do that here. Just makes it confusing because of partial diassembly and reassembly.**
Next it setting up the case. Take the motherboard backplate out:
This part will require some force. I like to use the back of a screw driver and bang the backplate in:
Now to install the motherboard. The mobo and/or case will have these pins. They are called mobo standoffs. Follow the direction on the case to see where to put the pins according to the size of the motherboard.
Mobo standoff:
Once you get them all in it will look something like this:
Now carefully put your mobo instead the case and line them up according to the stand offs. Some motherboards will come with paper washers. Install them and use a non magnetic screw driver to install the screws like so:
So are really annoying to get too, but you'll manage.
Now I like to install any cards I have like video, wireless, sound card. But since everything was onboard on this one, I dont have pictures or anything. Just move the case brackets for the slots and slide the cards in. Same amount of force for the RAM will be used here. Easy peesy.
This particular case had hard drive slides which were blue. Just attach them to your hard drive and optical drive.
If you are using older IDE drives, the back will look like this:
Make sure to move the little jumper pins and set them accordlingly. One master, one slave. On the IDE cable, the furtherst one is Master and the middle one is slave. I will post pictures if this is confusing.
IDE/Floppy cable:
Now just slide the drives in the cages.
If you are using the most current form SATA, it will look like this:
The cables will be 1 per device. Cables will be 5 times smaller than IDE and you dont have to set the jumpers to slave or master. Just plug them in.
Time to do the wiring. I like to do the case lights first because they are the most annoying. Check the manual from mobo and just plug them in. Usually they are located on the bottom right of the mobo:
And time to hook up the USB, firewire and front audio wires:
After you have the hard drive, optical drive, front panel, usb and all that plugged in, its time for the power supply:
Just carefully slide it into the case, making sure you dont hit anything. Most cases should have rails or some sort of small platform to put it down on. Some cases even have the powersupply sit at the bottom of the case. Anyway, just screw it in.
Now plug in the power supply to the motherboard. Most current motherboards will require 3. 1 x 24pin, 1 x 4-8pin right next to it, and then 1 x 4 pin usually next to the cpu socket.
Then plug it the power to optical, hard drive, video card (if applicable) and case fans. I dont like to hook up the fans to the motherboard pin because that will just stress it unless they are low power fans. Then your case will look something like this:
Lol
. If youre good or patient, you can reroute the cables and hide them. But im lazy and not that creative at hiding cables so I just leave them be. The ride cable is the SATA cable, the big yellow round cable is the IDE cable. Next to it is the 24pin ATX power cable.Put the side window on and youre DONE. Hook up the monitor, power cable and hopefully it will boot up!
Last edited:


