New to site: 1997 ej8 turbo build thread ***custom gauge holder***

We may earn a small commission from affiliate links and paid advertisements. Terms

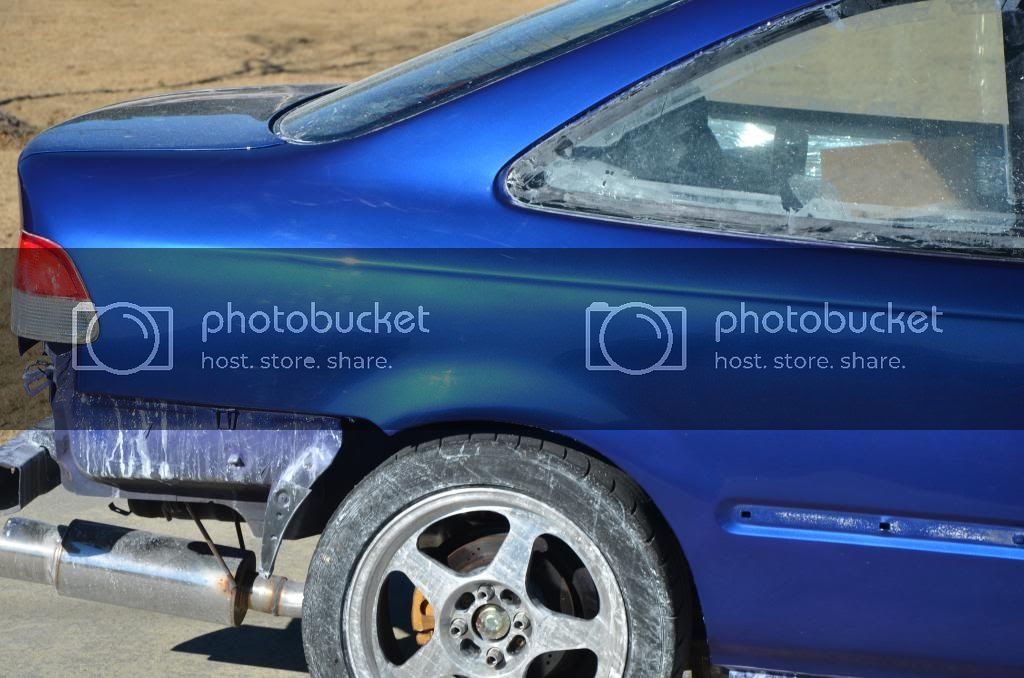
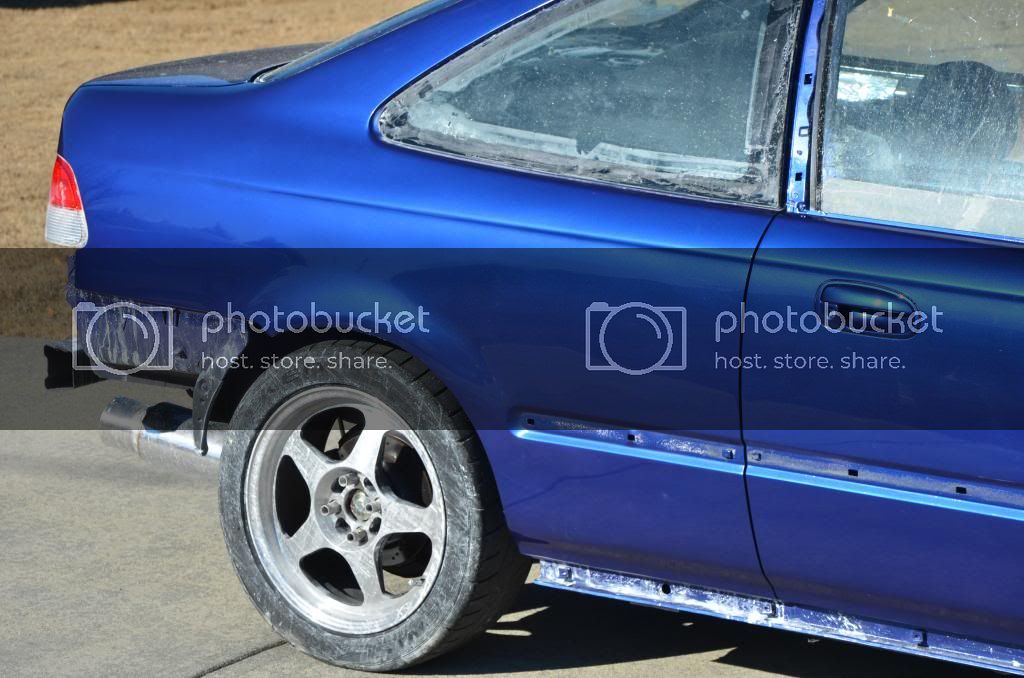
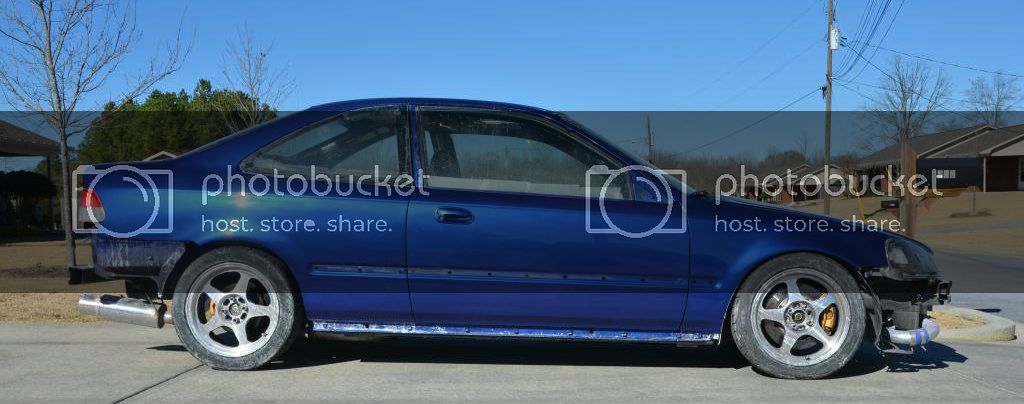
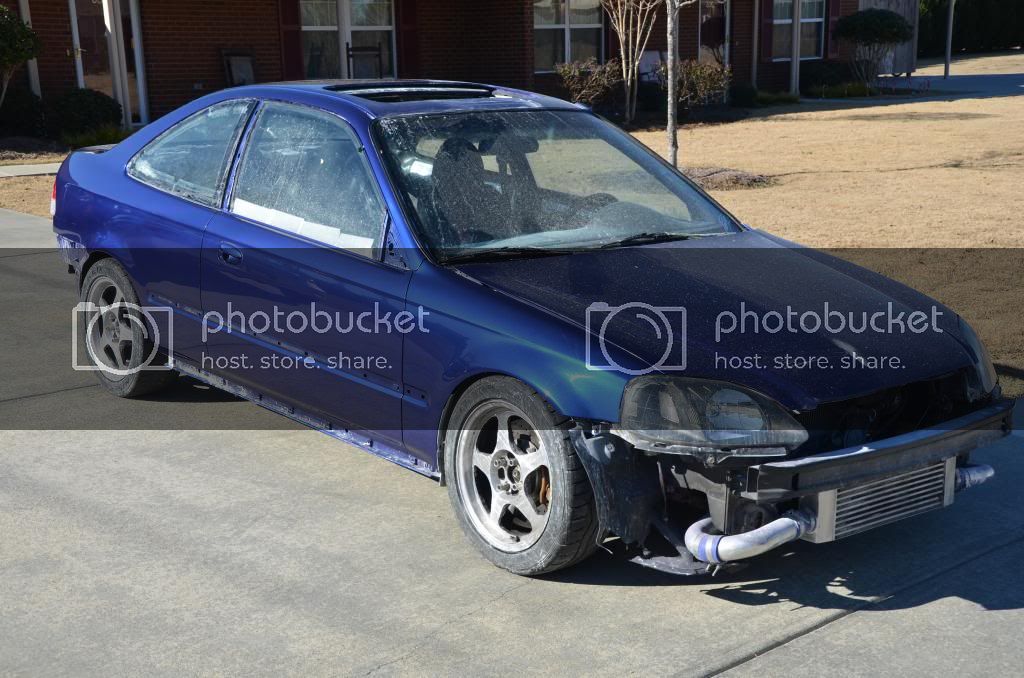
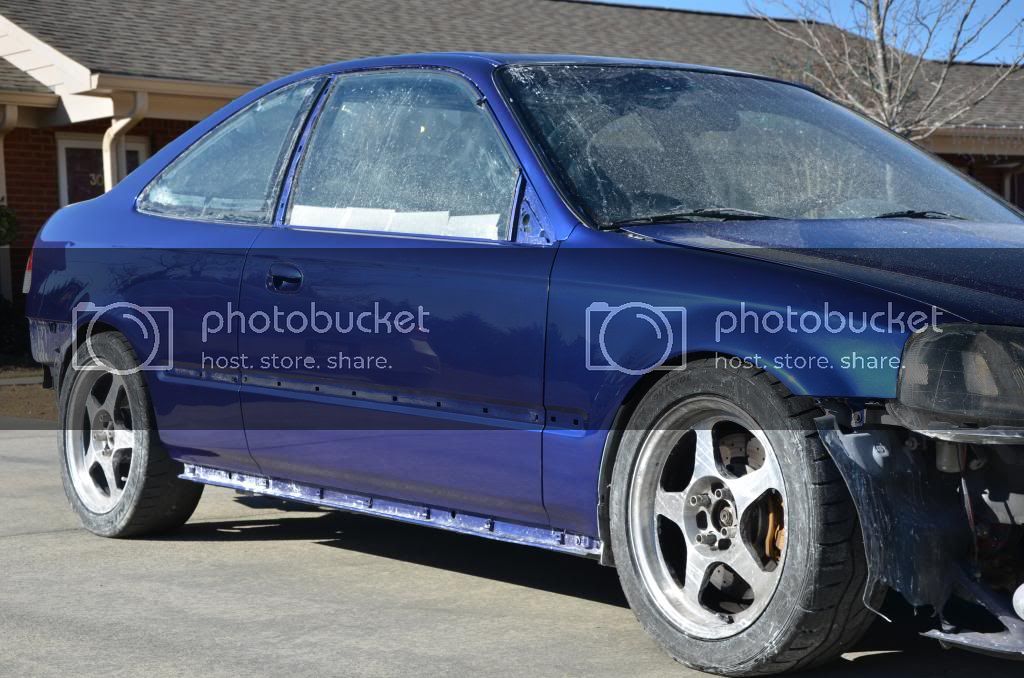
So got some more wet sanding done, all I have to do is finish the driver's door in 1500 then go back with 2000. Trying to be done by Friday. Made a couple of mistakes though, ended up burning the paint a little on the roof edge, other then that everything is coming out good.

TFS_4594_zpsf0c72ec5.jpg


TFS_4590_zpse05e9187.jpg


TFS_4588_zps73495495.jpg


TFS_4589_zps7b209f69.jpg


TFS_4587_zps7a0de44e.jpg


TFS_4585_zps7babfaeb.jpg


TFS_4582_zps00206bea.jpg


Let me know what you think
 
Have another small update, my Supertech valve springs, Neptune RTP and some used JG Engine Dynamics cam gears have been acquired!! Loving the Neptune so far!!

TFS_4605_zps94e0f140.jpg


TFS_4602_zps0bb6ac9c.jpg


TFS_4603_zps8fb1b70e.jpg


TFS_4598_zps7f28ef98.jpg


TFS_4596_zps869a33b5.jpg


Check back for more!!
 
Got a small update for ya;
Got my AMR extended top hats installed finally. Wow what a huge difference, should have done this sooner. I'm running pretty high spring rates and although the ride wasn't unbearable it wasn't the most comfortable either. Well now that I"ve installed these AMR extended top hats and have more shock travel the difference in ride quality is night and day!! Big shout out to AMR Engineering

IMG_1940_zps319b66d1.jpg
 
Just a little short video I made from Saturday. Was able to get my Supertech Valvetrain, Skunk1 Pro1 cams and my JG Engine Dynamics Cam Gears installed. Ran into a couple of issues though while on the dyno and had to cut my dyno session very short. My cylinder position sensor went out, so now I have to buy a new distributor and also my oil feed line started leaking like no tomorrow! It was really bad but I think I've got it fixed today (Christmas Eve) lol. Well after I fixed the oil leak today I was able to get a video of the idle. I've never tuned with Neptune before, but I've gotten the hang of it pretty quickly. Got my 1000cc injectors to idle at a solid 900 rpm's FTW!! I am pretty excited about that as anyone that has ever had 1000cc injectors knows that it's a pain in the @ss to get it to idle even half way decent. Well try to enjoy my shitty video!!

97 EJ8 Civic GSR Turbo Skunk2 Pro1 Cams Idle - YouTube
 
Got a couple of updates. Picked up some items to help with heat management. Wanted to work on this during the winter before the summer got here. So I picked up some DEI Reflect A Gold heat tape. DEI titanium heat wrap and some new lines for my oil feed and return. Also have the following on order: 70mm throttle body, turbo blanket, NRG quick release hub. Will have some more updates hopefully tomorrow, going to be fixing some oil leaks and installing my new oil lines and applying my heat wrap. Here's a couple of photos to tie everyone over.

IMG_1959_zps084dbf61.jpg


IMG_1957_zps6a4d11aa.jpg


IMG_1956_zpsb7020b25.jpg


IMG_1954_zps846b080c.jpg


TFS_5121_zpsb2c0d0b9.jpg
 
Alright got a couple more updates for you guys. Today's theme was "oil leak day". I had oil leaking from my oil feed and return lines, my oil pan and my valve cover. So it was kind of a good thing because I wanted to upgrade my 5/8 oil drain line to the -10an fittings anyway. Started taking everything apart, oil pan, valve cover, down pipe and turbo. I was able to swap out the oil feed flange that I had for a 1/8 npt to a -4 90 degree fitting. Then swapped out the oil drain for the -10an and welded the -10 bung on my oil pan. Ran into a problem when I got everything back together.......another oil leak, accept this time is was fresh oil that was leaking and it was still cold (engine was running). I moved the car a couple of times to make sure that it wasn't just oil that I hadn't wiped up yet and it wasn't. It ended up being my oil feed line. Apparently after you reconfigure an oil line so many times the inner parts will eventually give out. Well good thing I had plenty of spares laying around. Was able to get it fixed rather quickly. I then installed my DEI Titanium Heat Wrap, was pretty straight forward and looks pretty nice.

I'm going to be doing some testing on heat management to try and lower the overall under hood temperatures and reduce intake air temperatures using the reflect a gold, heat wrap and turbo blanket (thats still in the mail). I purchased two digital/cordless heat sensors with probes today so that I can do some before and after analysis. I'm going to start a totally different thread for this and I'll post a link in this thread. Anyway on to a couple of photos

TFS_5134_zpsc1b84061.jpg


BEFORE:

TFS_5130_zpsed533a46.jpg


AFTER:

TFS_5135_zps3fcc6c36.jpg
 
Got a couple goodies in the mail NRG quick release hub, turbo blanket and Phearable.net 70mm throttle body. Should have it all installed today, but have to do some testing for my Heat Management thread first.

IMG_1986_zpsfb710686.jpg


IMG_1984_zps43588b5e.jpg


IMG_1983_zpsa088b07a.jpg


IMG_1982_zps1fc8486b.jpg


IMG_1981_zps93f9efd6.jpg


IMG_1980_zps097cfbe5.jpg
 
Have a few updates. I was able to build my Cold Air Intake box for my turbo this past weekend. Came out pretty nice. I made a template out of card board and then went back and transferred the template to some sheet metal that I had. All I have to do now is purchase a 3" hole saw and weld some tabs for mounting. I'm also going to fab some 3" piping from the intake box to my turbo. This should lower both my charge piping temperatures and intake air temperatures for sure! The intake box and pipe will be wrapped in the reflect a gold heat tape after more data is taken.

IMG_2012_zps45e5a533.jpg


IMG_2015_zps22edfa1c.jpg


IMG_2017_zpse1381200.jpg


IMG_2018_zpsfe9d5e38.jpg


IMG_2021_zpsc75da7fc.jpg


IMG_2023_zps206d2df9.jpg


IMG_2030_zps1e541b22.jpg


IMG_2031_zps170ca2e2.jpg


IMG_2033_zpsf8b2c0fa.jpg


IMG_2037_zps636ae67c.jpg


IMG_2039_zpsd2d696a1.jpg


IMG_2041_zps88519831.jpg


Keep checking back for more updates.
 
Got the cold air intake box done today, forgot to take a picture after I ran to autozone and grabbed another coupler, but its on there. Not really sure if my mind is playing tricks on me but it does feel like the car pulls a little different. I'm pulling fresh air from the frame rail right now, but I'm eventually going to run a pipe to the existing fog light housing for even colder air. On to the pics (oh yeah I ran out of the gold heat tape) and don't laugh at my crappy welding. Will have some data very soon to document any changes in my IAT's.

IMG_2071_zps4e061158.jpg


IMG_2072_zpsb7edbb52.jpg


IMG_2074_zpsd886dc19.jpg


IMG_2076_zpsb1533017.jpg


IMG_2078_zps5c702e7f.jpg


IMG_2079_zpsb8d63bf3.jpg


IMG_2080_zps9cf66d66.jpg


IMG_2081_zps2e59d5b0.jpg


IMG_2083_zpsa7eaa4e3.jpg


IMG_2086_zps88583d26.jpg


IMG_2089_zps45c4546d.jpg


IMG_2091_zps1e9c1e39.jpg


IMG_2095_zps8bca7f18.jpg
 
Got a couple of updates. I stripped the old paint off of the valve cover and repainted it wrinkle black. I like the way it turned out!!

DSC_5287_zps1eed3104.jpg


DSC_5285_zps76114f8a.jpg


DSC_5282_zps641056d2.jpg


DSC_5274_zpsc2a33e9e.jpg


DSC_5273_zpsd42a9fcb.jpg


DSC_5262_zpsd83406c9.jpg
 
Just a little update, upgraded my brakes once again, this time went with the Wilwood 12.2" 4 piston caliper setup. The setup does fit behind 16x7 40 offset Rota Slipstreams.

IMG_2125_zpsd314790b.jpg


c4980628-ee26-482b-b977-7b666da92232_zpse94ec4a8.jpg


IMG_2130_zpsf6dd3e17.jpg


IMG_2129_zpsbe84b9ef.jpg


IMG_2128_zps5f0110a7.jpg


IMG_2127_zps36488b26.jpg


IMG_2137_zpsd3327889.jpg


IMG_2139_zpsa5f53d5a.jpg
 
This is an awesome build. Thank you for coming back and positing updates! Repped.
 
This thread makes me want to actually go out and install the parts on my car I have sitting around, and get rid of the orange peel.

Good job.
 
just read through,all i can say is AWESOME!!!
 
Back
Top