mac_24_seven
@pump_upp - best crypto pumps on telegram !
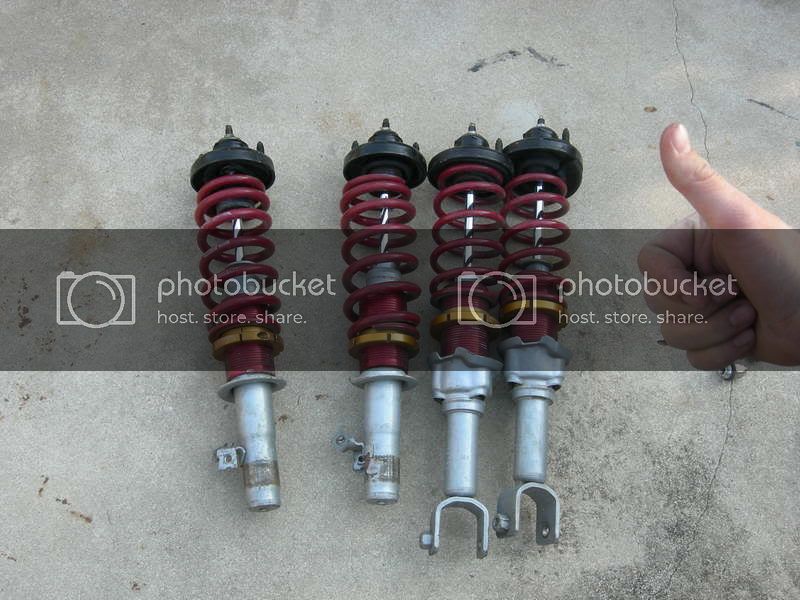
I get migranes. Loud exhaust and migranes DO NOT MIX. I'll sacrifice some power to be quiet. Though, Andrew is getting a OBX twin loop.. If it sounds good and isn't too loud, I'll get one and maybe pick up 1/2-1 hp I'm losing w/the OEM muffler.
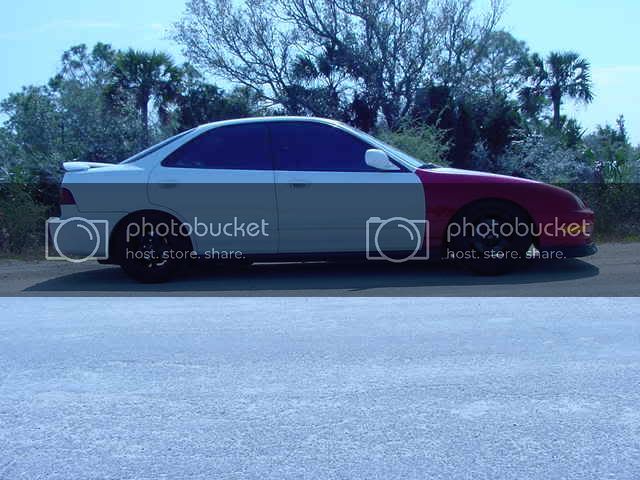
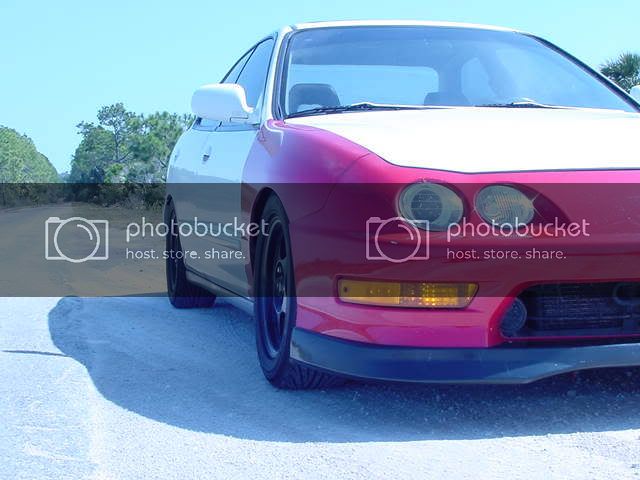
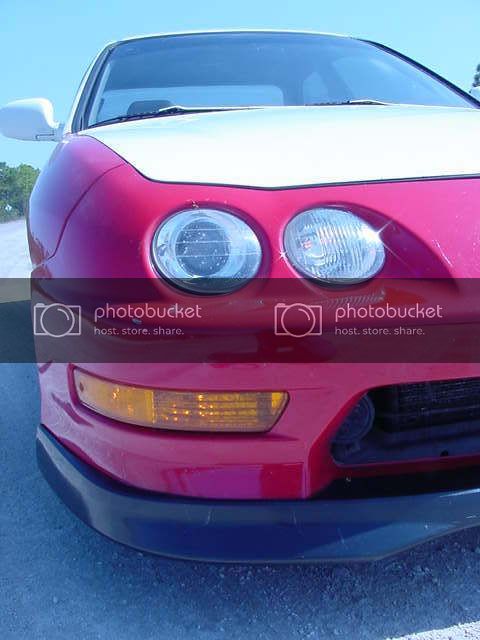
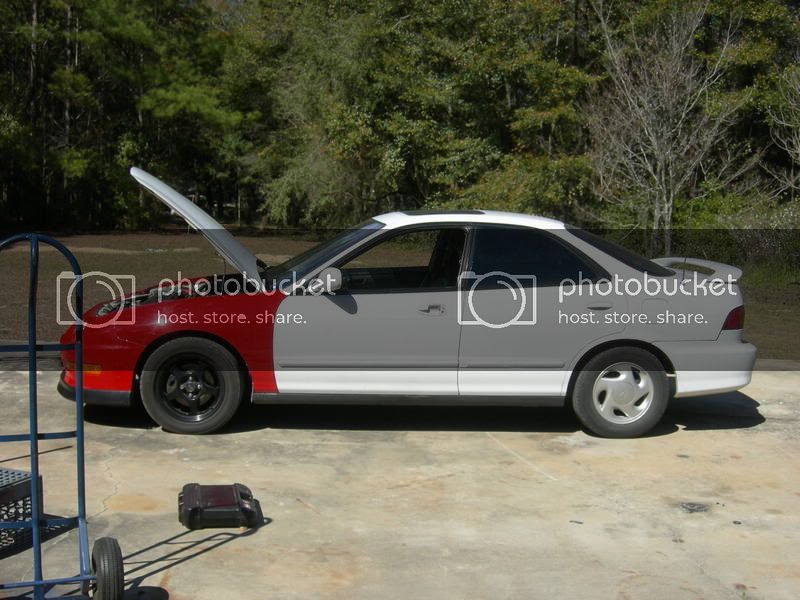
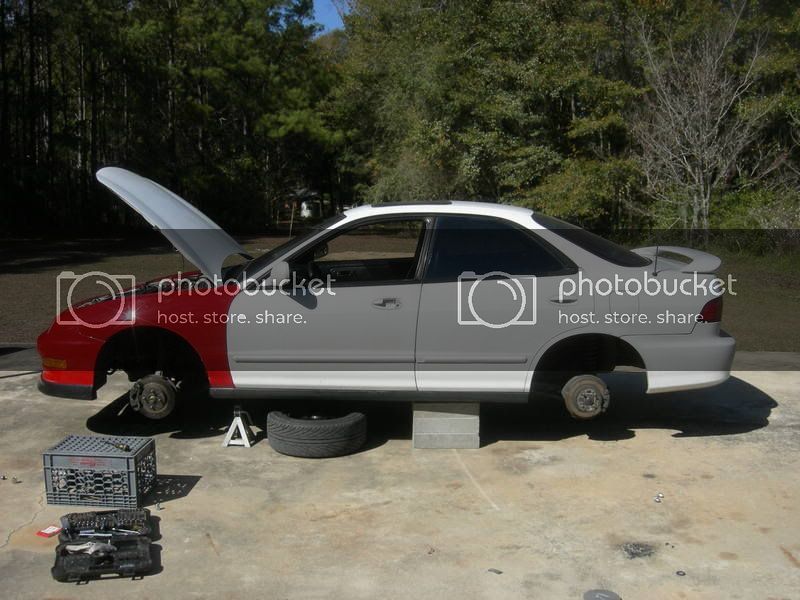
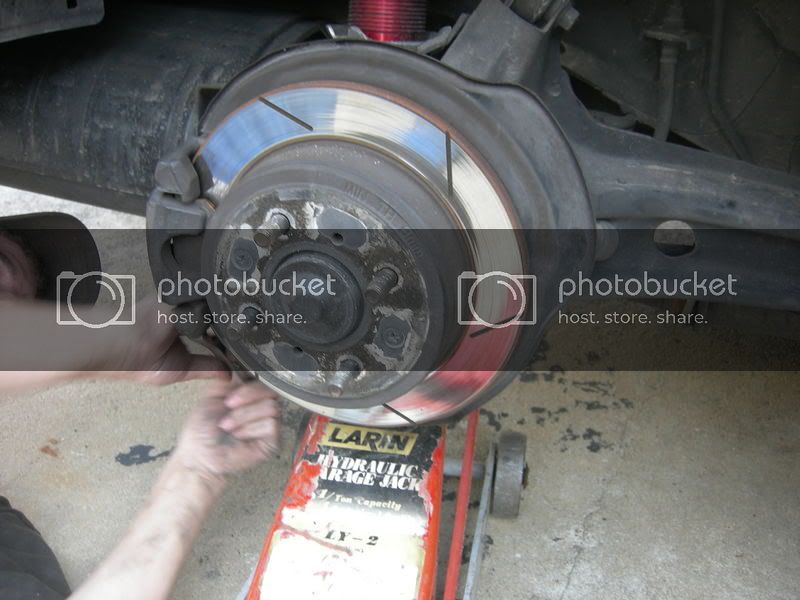
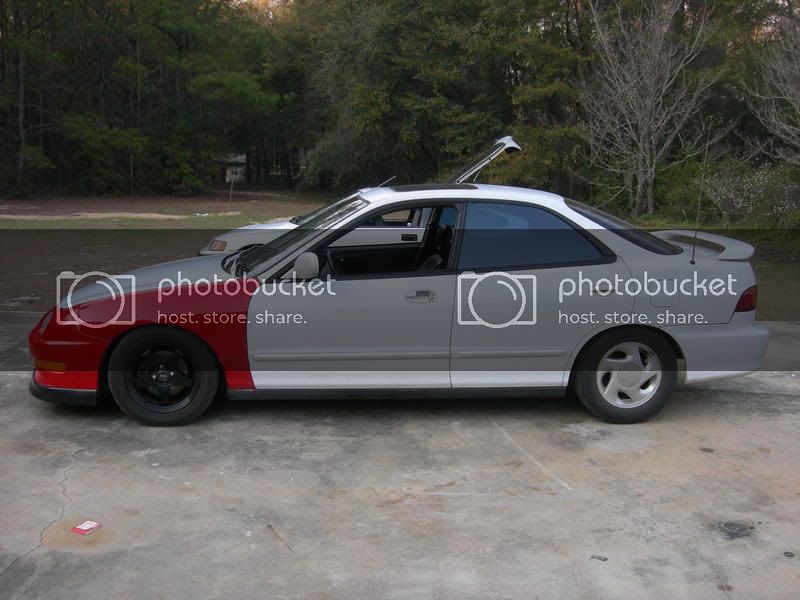
And, the reason why I went w/the complete red front end was because I wanted to make sure evrything matched up real nice. My car had a few incidents w/parking lots and being bumped into and whatnot.. so the fenders werent in the greatest of shape.
I wanted ot make sure I didnt have any damage to the frame or anything (which I don't so YAY! for me).
Unfortunately for me, I woke up w/another migrabe today so I didnt feel like going out w/anybody.. but I felt good enough to work on my car (it went away thankfully).
I started on my front license plate holes...
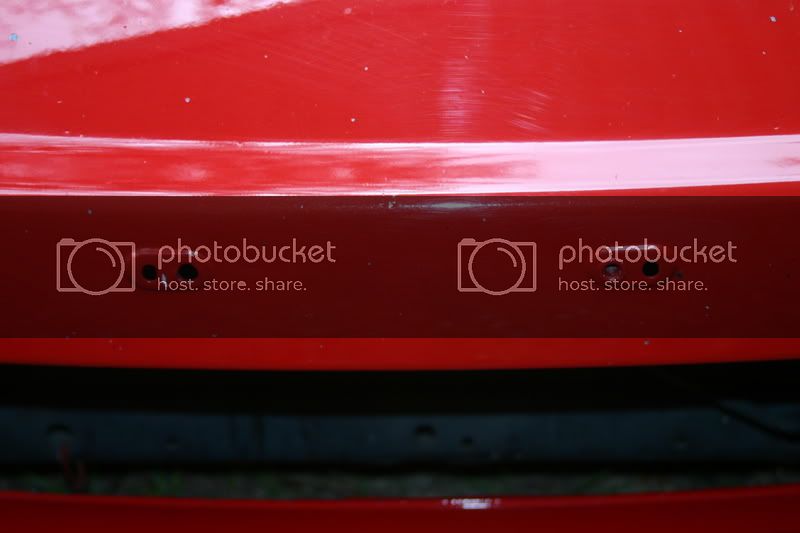
Then I used a dremel to grind em down..
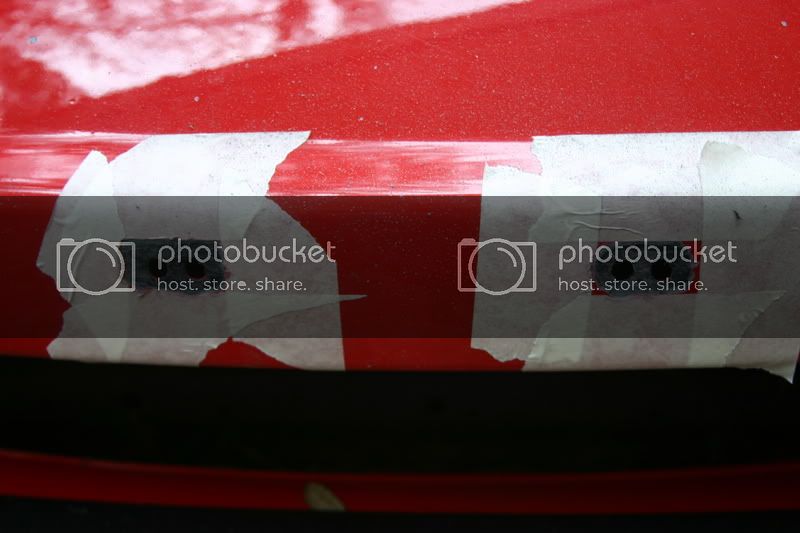
And I bought some Bondo and put it on, but it's not warm enough for it to dry, so I'll wait and sand it down/primer later this week. I've taken lots of pics so I'll do a writeup on it whenever I'm done.
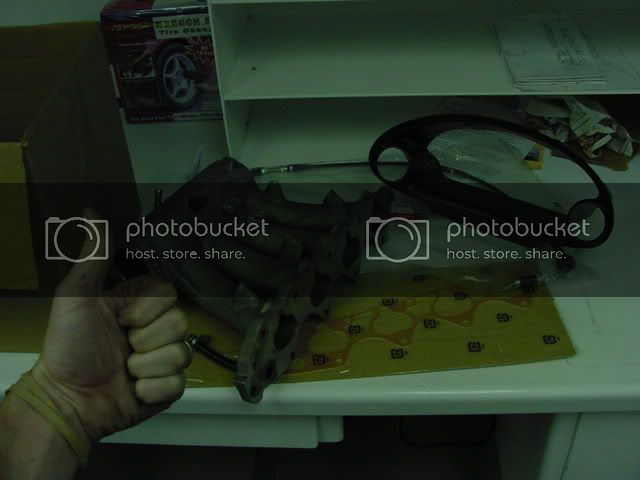
I woudl have doen it today, but no gauge pod yet So, in my quest to find something to do on my car, I figured I'd clean my engine bay, since it was rather nasty.
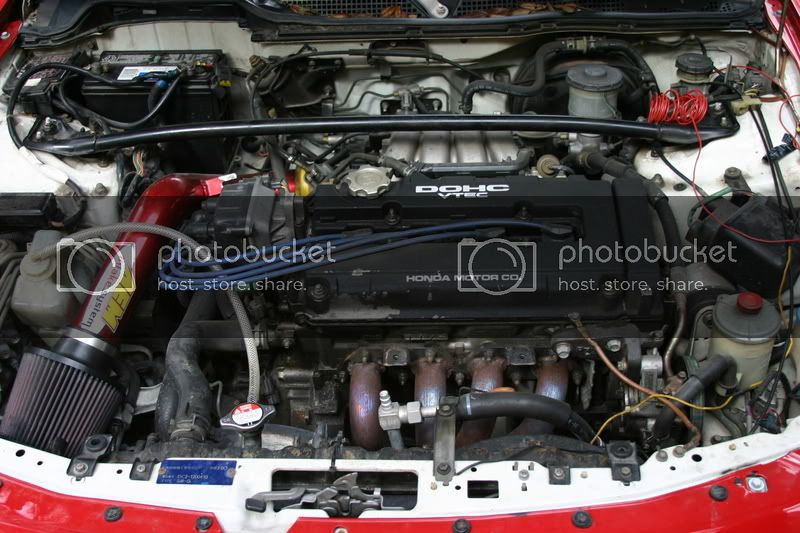
Before:
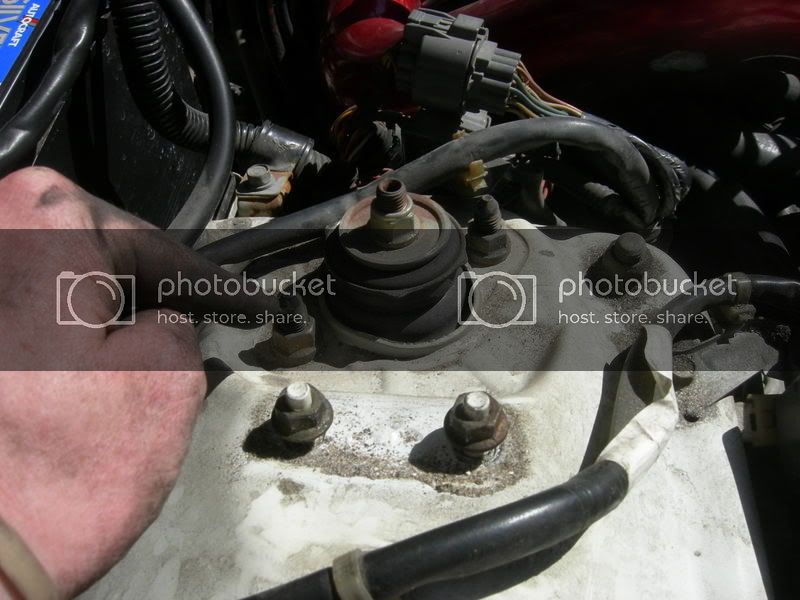
After:
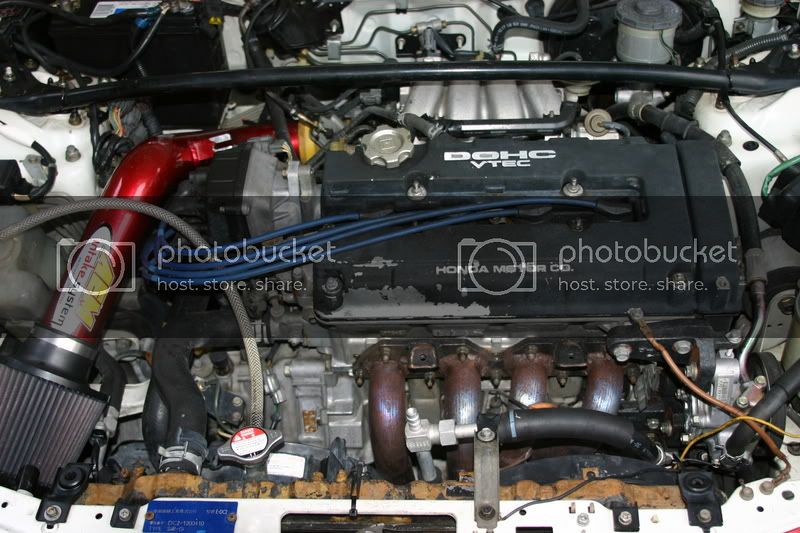
You can see around the head is much cleaner. I just bought some Gunk and used a high pressure washer from a car wash to get it all clean.
And I figured out how I'm gonna run my gauges, so I'll definetly be doing that this week. And, I've changed out my instrument cluster lights w/soe wide angled LED's that I snagged from Andrew..Looks sick.
I'll post pics later tonight when it's nice and dark.
Also...
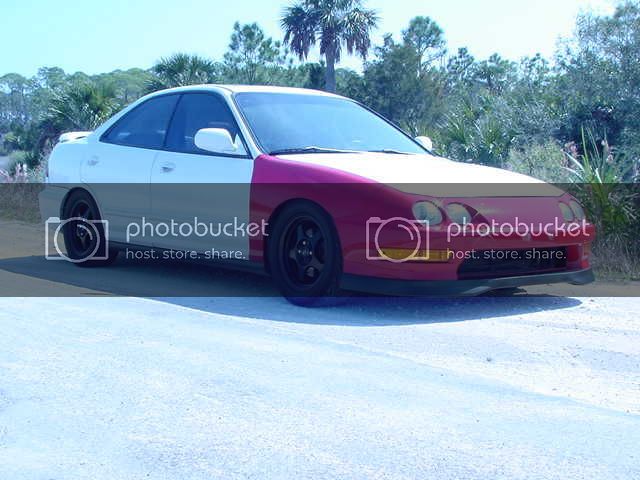
My dad painted my truck this weekend ( I just helped prep it) so he's got everything that I need to actually paint my car. It's a real bright white which, I havn't seen in the sunlight because we had to leave the truck in the shop to dry. Should look really nice, we'll see. Regardless, since the paints free (have an extra gallon of white) thats what I'll be painting mine with
And, it's very possible I could have my car ready to paint by the end of march! We'll have to see how money/time goes this coming month.
Thanks for the props.More to come guys... stay posted
And, the reason why I went w/the complete red front end was because I wanted to make sure evrything matched up real nice. My car had a few incidents w/parking lots and being bumped into and whatnot.. so the fenders werent in the greatest of shape.
I wanted ot make sure I didnt have any damage to the frame or anything (which I don't so YAY! for me).
Unfortunately for me, I woke up w/another migrabe today so I didnt feel like going out w/anybody.. but I felt good enough to work on my car (it went away thankfully).
I started on my front license plate holes...
Then I used a dremel to grind em down..
And I bought some Bondo and put it on, but it's not warm enough for it to dry, so I'll wait and sand it down/primer later this week. I've taken lots of pics so I'll do a writeup on it whenever I'm done.
I woudl have doen it today, but no gauge pod yet
So, in my quest to find something to do on my car, I figured I'd clean my engine bay, since it was rather nasty.Before:
After:
You can see around the head is much cleaner. I just bought some Gunk and used a high pressure washer from a car wash to get it all clean.
And I figured out how I'm gonna run my gauges, so I'll definetly be doing that this week. And, I've changed out my instrument cluster lights w/soe wide angled LED's that I snagged from Andrew..Looks sick.
I'll post pics later tonight when it's nice and dark.
Also...
My dad painted my truck this weekend ( I just helped prep it) so he's got everything that I need to actually paint my car. It's a real bright white which, I havn't seen in the sunlight because we had to leave the truck in the shop to dry. Should look really nice, we'll see. Regardless, since the paints free (have an extra gallon of white) thats what I'll be painting mine with
And, it's very possible I could have my car ready to paint by the end of march! We'll have to see how money/time goes this coming month.
Thanks for the props.More to come guys... stay posted