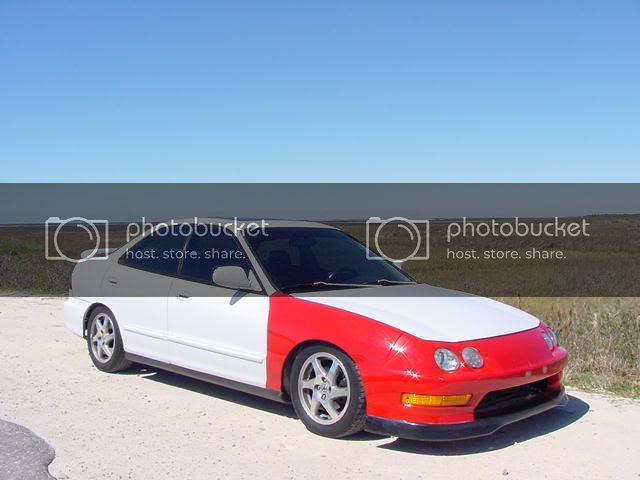
Alrighty then!
I am one, whipped white boy. My arms hurt.. My back hurts.. I've been hard at it today and actually got alot accomplished!
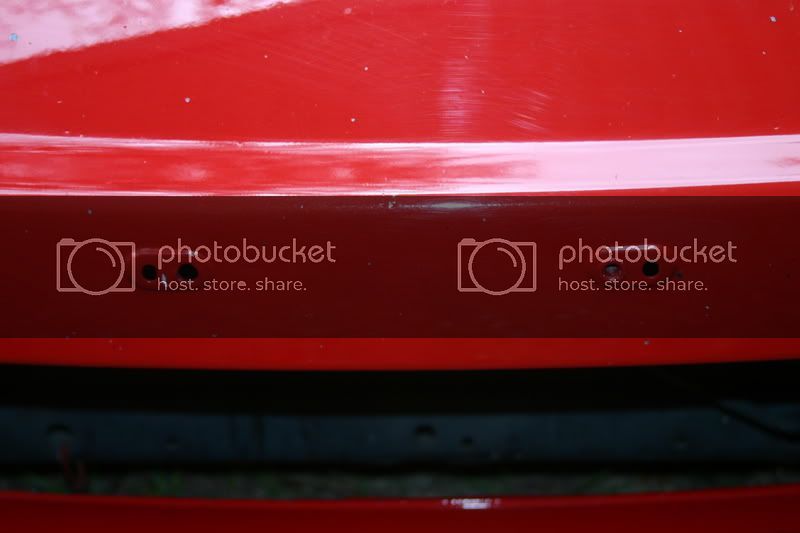
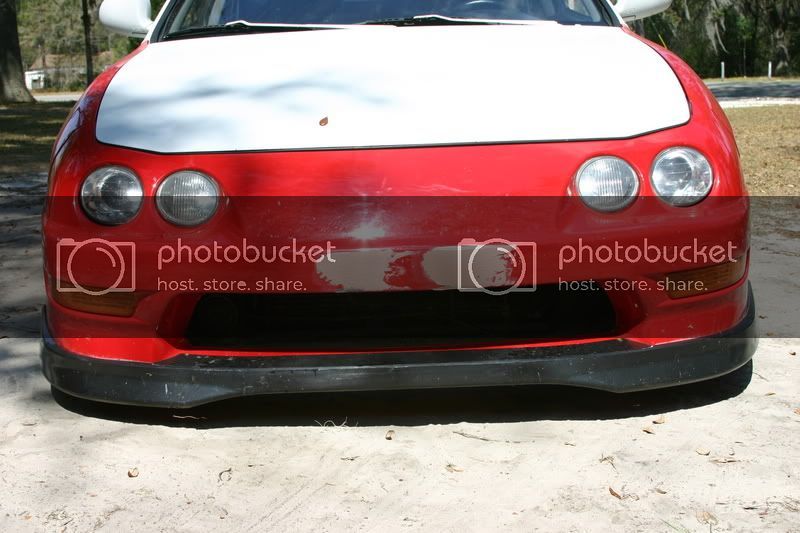
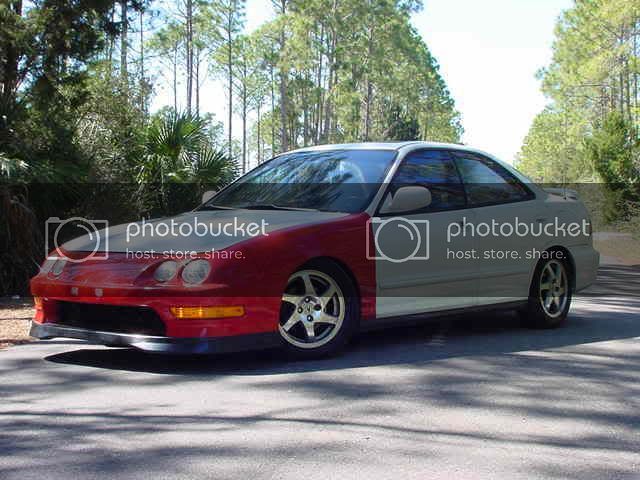
First of all.. My bumper.
Here is the step by step of what I did to shave the license plate holes.
Tools needed:
Safety goggles
Dremel w/grinding wheel
Rubbber gloves
Fiberglass kit
Bondoe
Bondoe smoother thing
Sanding bar thingy
220 grit dry/wet sandpaper
A good warm day, some time and music.
This is what we start out with.
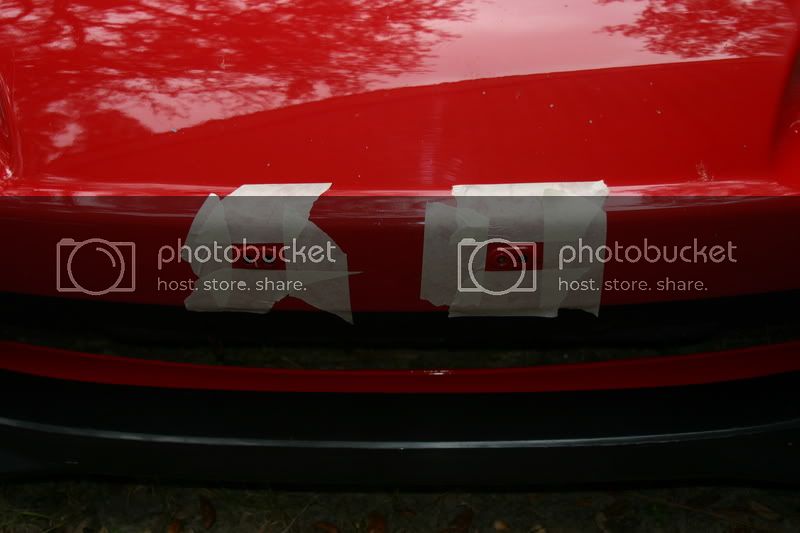
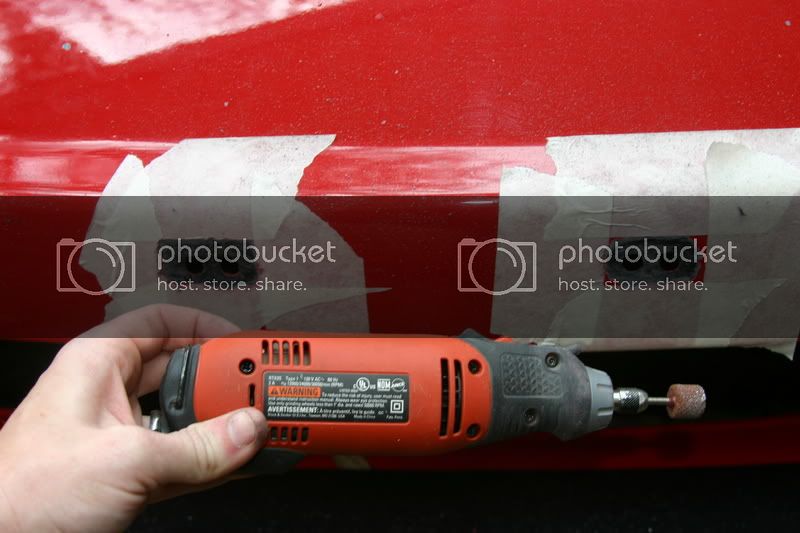
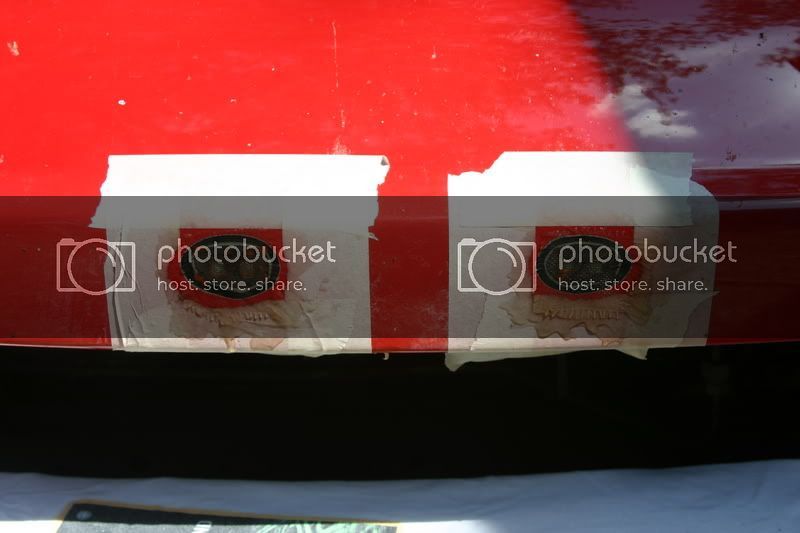
Step 1: Tape off area around the holes
You really could probably skip this step, honestly.. But I did it anyway
 Step 2: Grind off the raised part of the bumper
Be sure to have yoru goggles on, cause stuff flys around pretty good. Try to make it as smooth as you can.
On the driver side part, there was a little bracket behhind the holes that seemed to be built into the bumper. I just kept grinding untill I could remove it.
Step 3: Time for the fiberglass
If you've never messed w/fiberglass, I would strongly suggest practicing w/it and familiarize yourself w/mixing it and layering it and whatnot.
I cut out about a 2x2 square from the sheet of fiberglass. I then mized up the gelatin and added hardener. Next, I placed the square I cut over the holes and dipped my finger in the mixed gelatin and rubber it over the little square of fiberglass. I did this untill it was completely soaked. I tried not to get too much so it would'nt run, since it'll just be more that you have to sand in the future.
Step 4: Sand the fiberglass.
I used the 200 grit wet sandpaper along w/a lil rubber sanding bar thingy. I highly suggest using this, since if you sand it by hand only, you can leave grooves since yoru hand/fingers aren't flat. Using the bar, your sure to get a nice, even sand. I sanded it untill it was good and flush, holding the water hose so it was washing away all the residue. Periodically check the smoothness w/your finger.
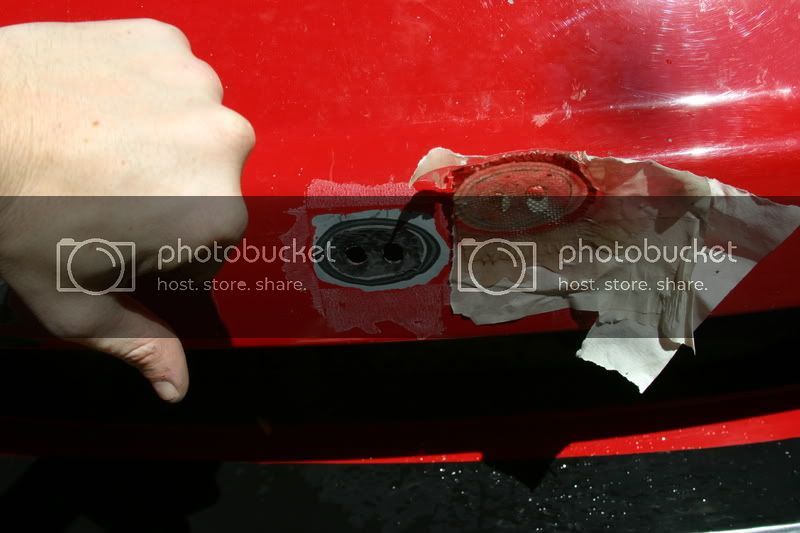
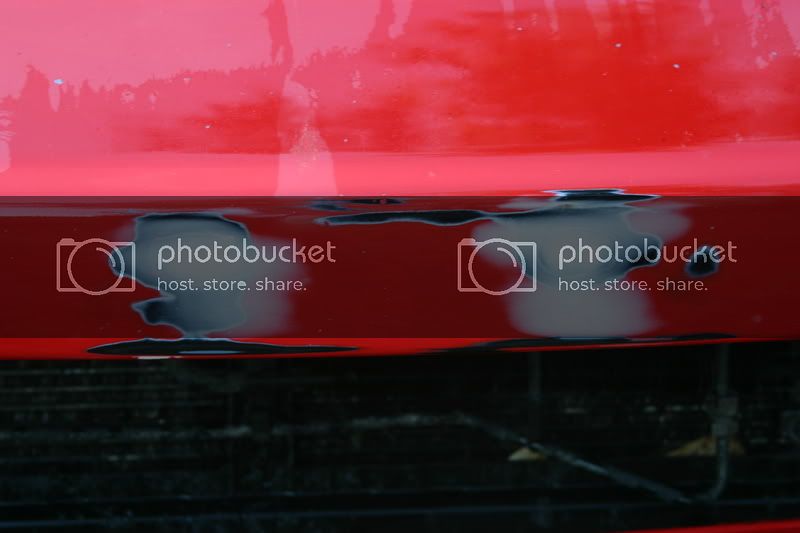
WARNING!! DO NOT HAVE TAPE ON THE BUMPER WHEN YOU LAY THE FIBERGLASS!!!!
Unless you want this to happen...
i'm a n00b. I was trying to not get fiberglass resin all over the place.. but look what it got me. Hey, you live and learn.. I never said I was a pro
I ended up with this after I re-fiberlgassed the hole..
Step 5: Break out the Bondoe
Mixing the Bondoe isnt hard, just read the directions and be sure once you've added the hardener, to mix it up realll good, untill it's all a kinda reddish/pink color.
Using yoru handy dandy bondoe smoother/applicator thingy, apply bondoe over a good size area, making sure it's nice and flat (or at least as flat as you can get it).
Make it look like so.
Notice I've got it over an area much bigger than my holes.. That way, I'm sure to get bondoe evreywhere I need it to be. The excess you can just sand off.
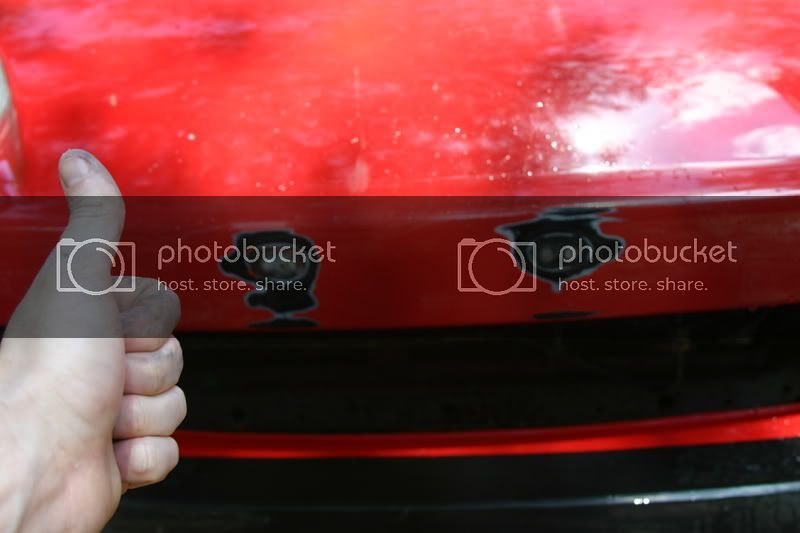
Step 5: Sand her down!
Once you've let the bondoe get good and dry, break out the sander again and start sanding away. Be sure to sand over a good area, not spending too much time on one small spot, since you want it all to be level. Once your satisfied wthats it's good and smooth.. run yoru finger over the whole thing. Any bumpers or indention that you can feel...Thats bad. It'll show up when you paint. Either continue sanding or add more Bondoe and sand it down again. You want it as close to perfectly smooth as you possibly can.
And there ya have it folks.. Shaved bumper holes. I'm not finished with it yet.. I'll be painting the car soon (hopefully, and yes, I'LL be painting it.. my dad informs me of this today
)
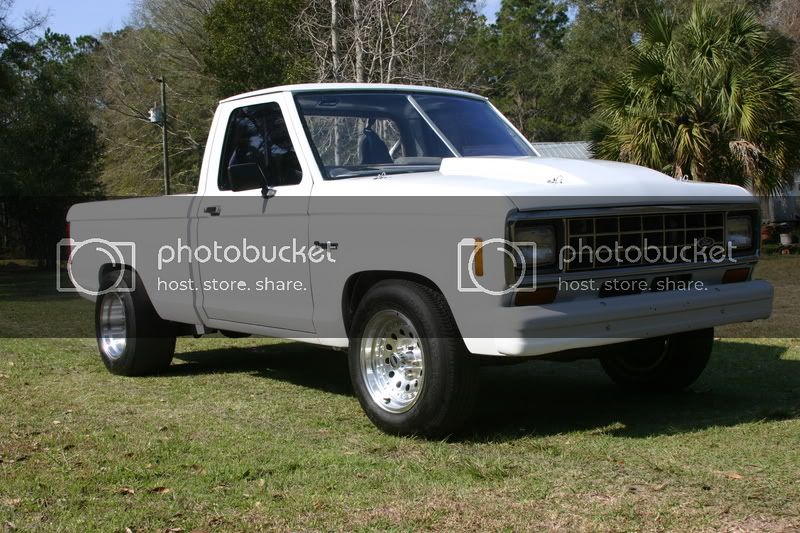
And speaking of painting, I know this has nothing to do with Imports, but this is the color my car is going to be. My dad has an extra gallon of this exact white that will be used on my car.
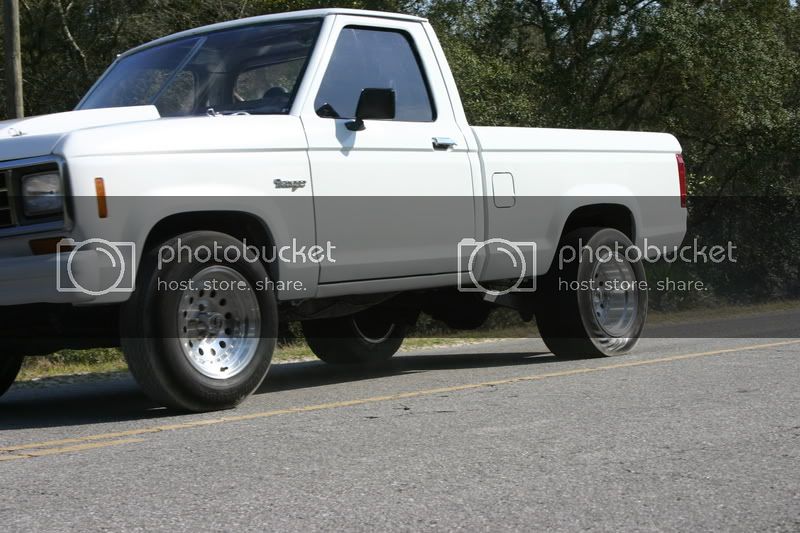
And, FYI, this is a 1987 Ford Ranger w/a hevily built 351 Windsor w/175 shot of the giggly stuff. With 150 hp jets w/worn out slicks, it went 10.6 @126 mph (yes, I have timeslips. PM if you want any more info on itm I doubt you will). You can thank my dad for being an incredible mechanic and turning this DAILY DRIVER (yes, it has a tag, all lights
")
gets 14 mpg too) into a monster. A wonderful father/son project
")
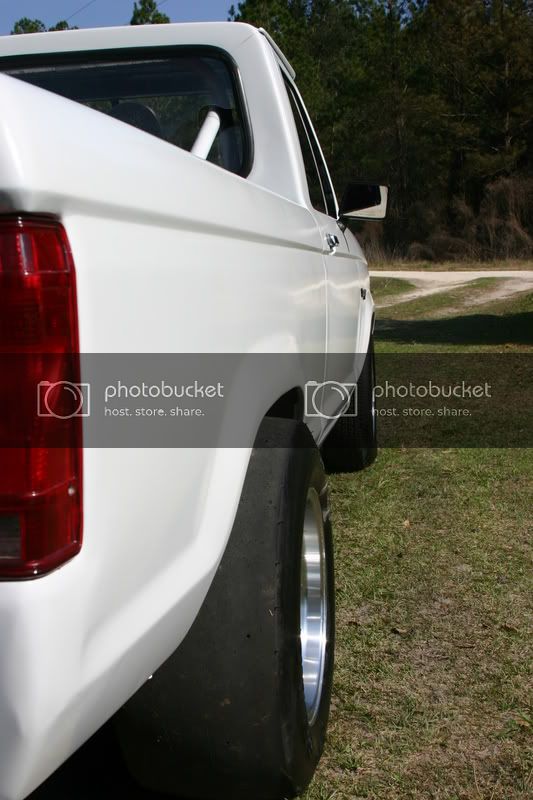
Save this pic and zoom in on the rear tire.. You can see the wrinkle walls doing their job
Comments are always welcome on the DYI. If you have any other info or tips on how to make it beter, please, don't flame, just let me know and I'll be more than happy to revise it.
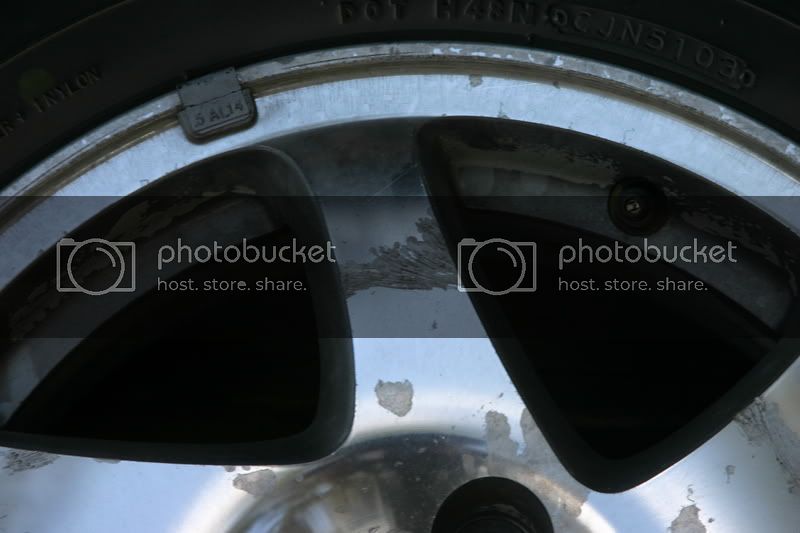
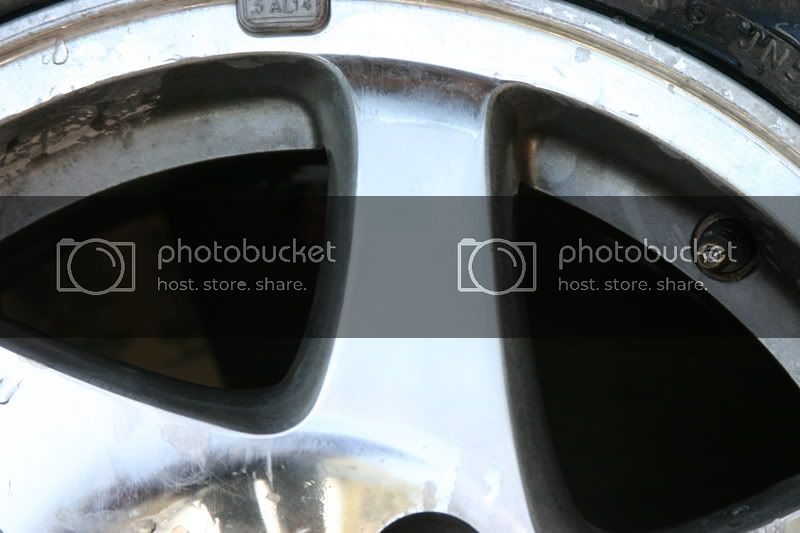
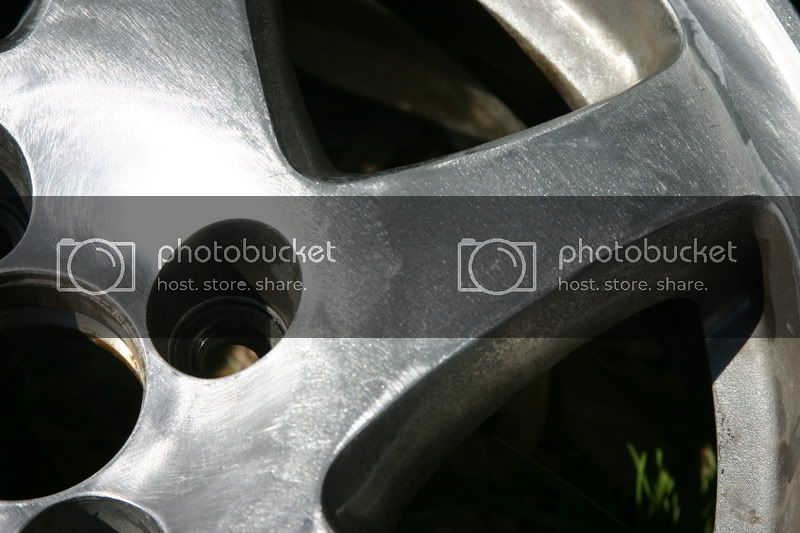
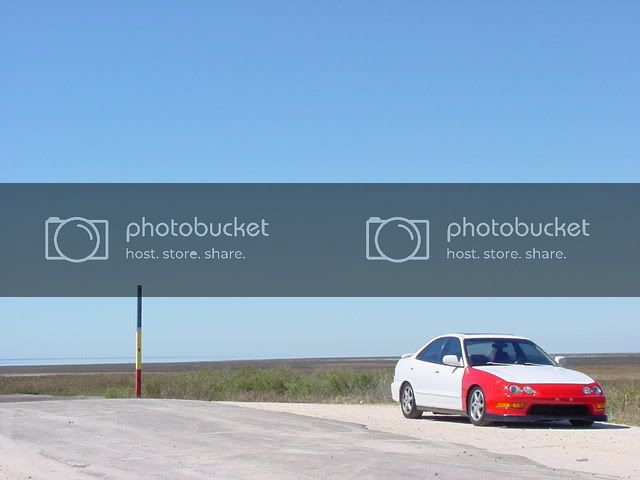
Up next.... Polishing wheels: The beginning.... (Que dramatic music)
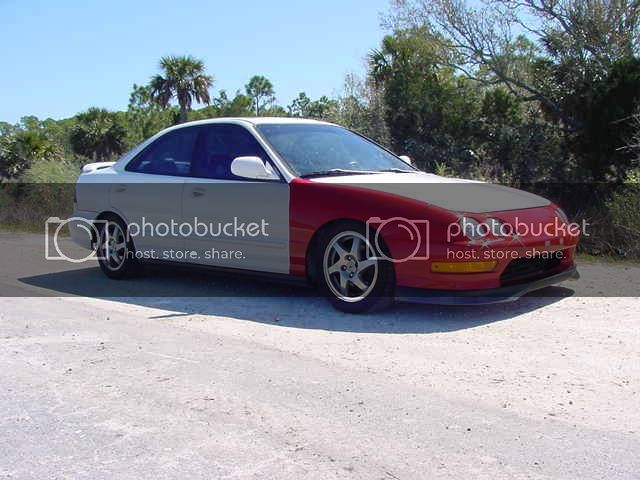
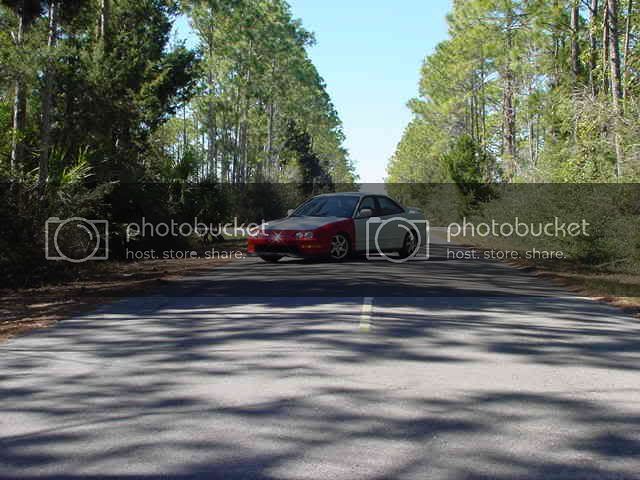

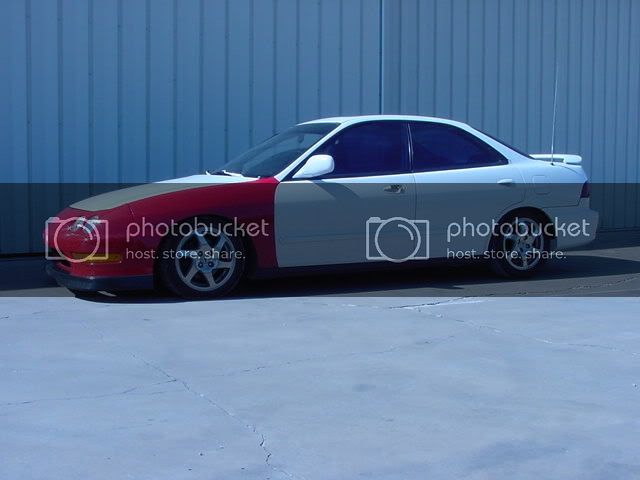
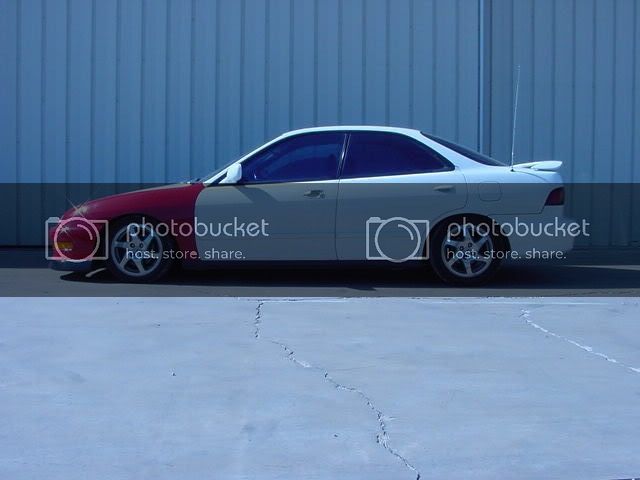
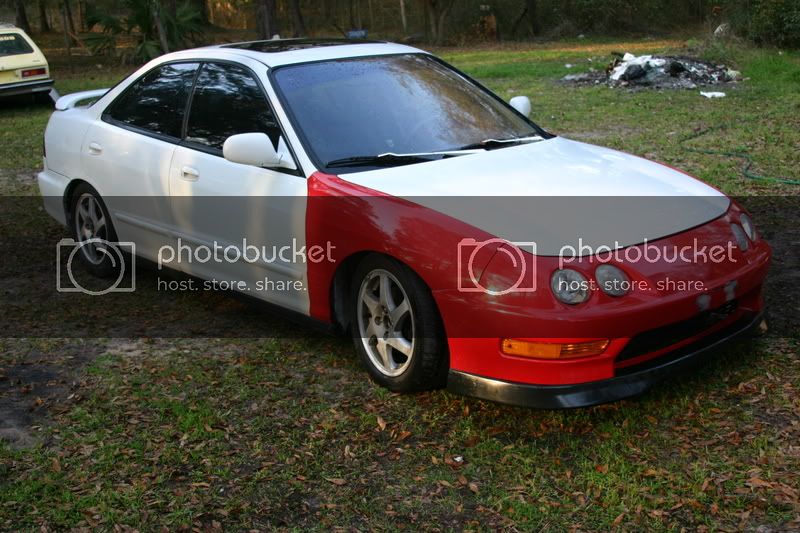
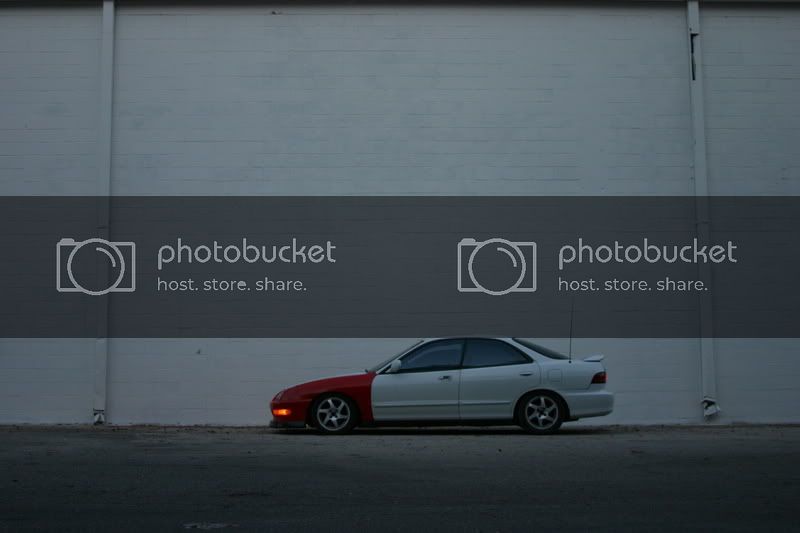
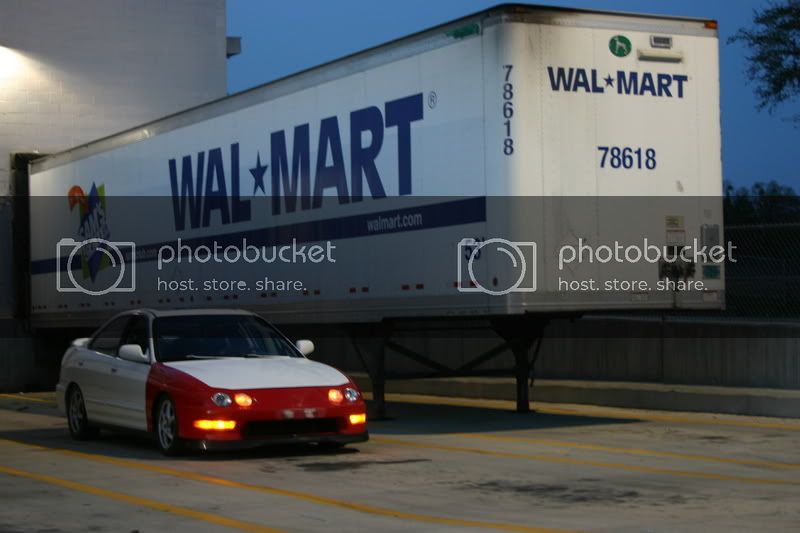
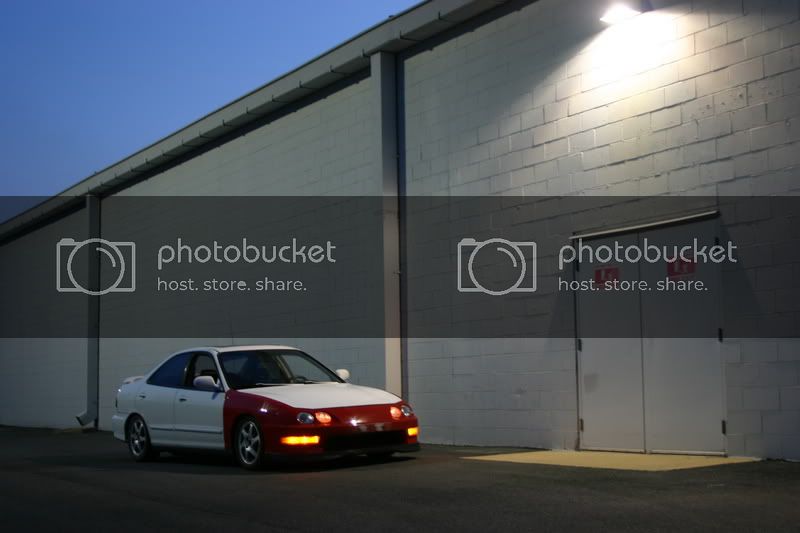
 Back to being uber low again. Literally, the front lip is 3.5 inches off the ground.