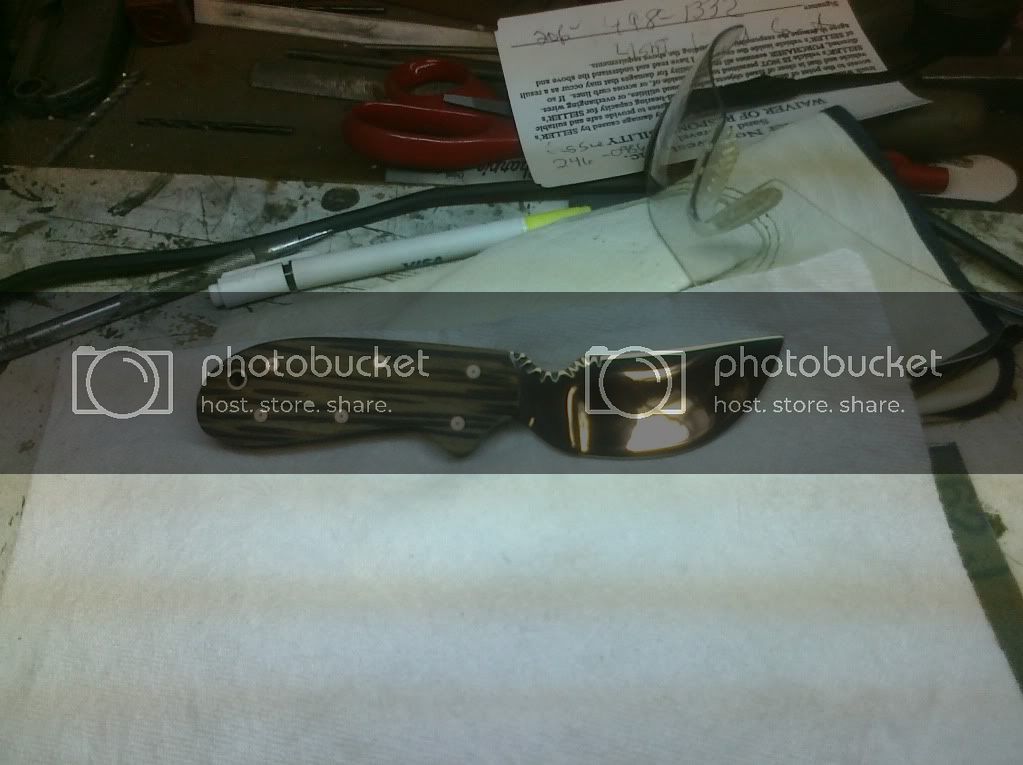
So a friend of my dads has been designing and building his own custom knives for years and recently took me under his wing to teach me his trade. i have 3 under my belt now. heres a skinner im just about done with. ive got around 30 hours into the skinner and its not quit finished
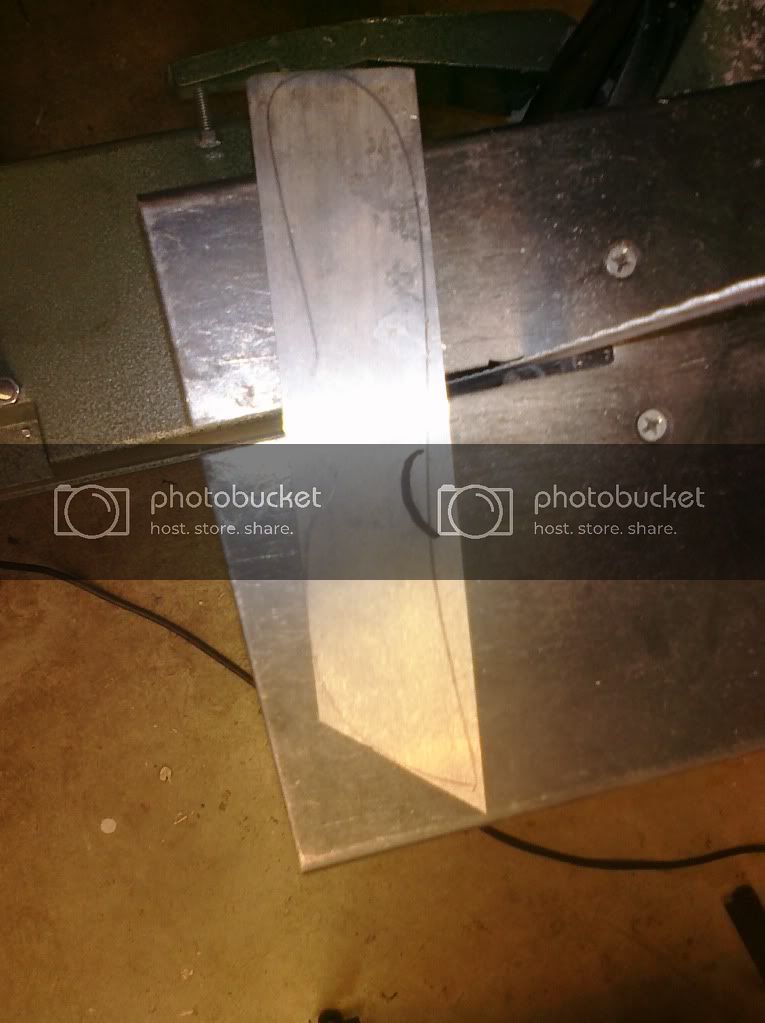
On this knife i started with a piece of 1/8x2 1/2x? pg barstock. draw the pattern onto the steel and cut out a rough shape with the band saw.
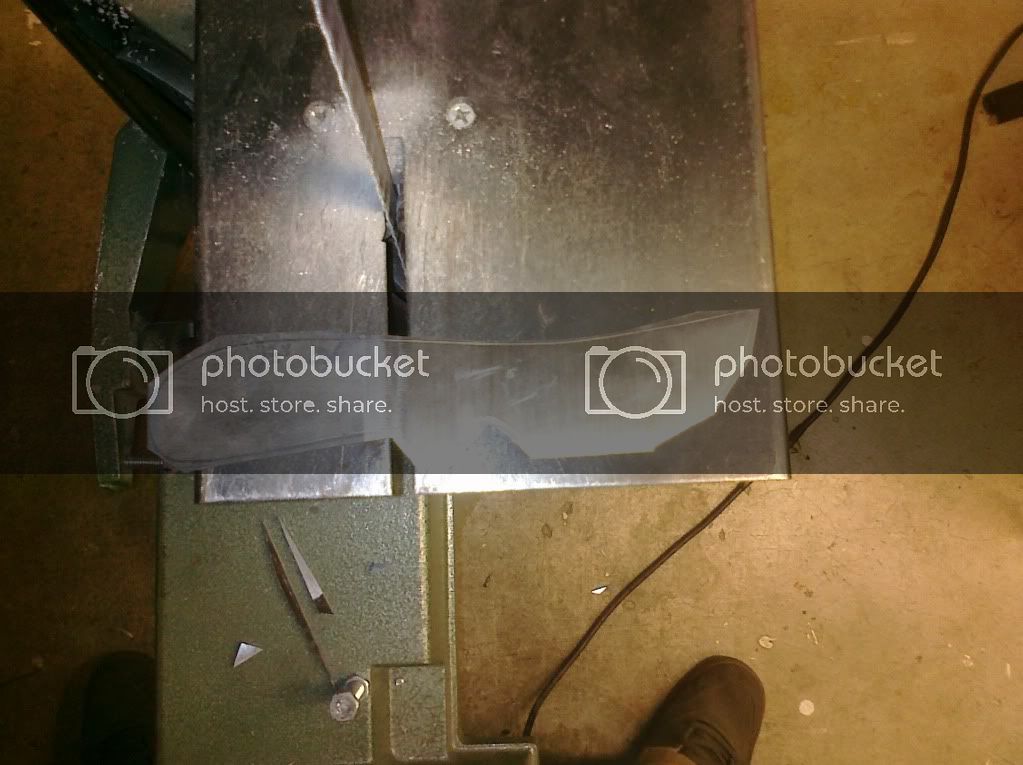
this is after the rough cut on the band saw.
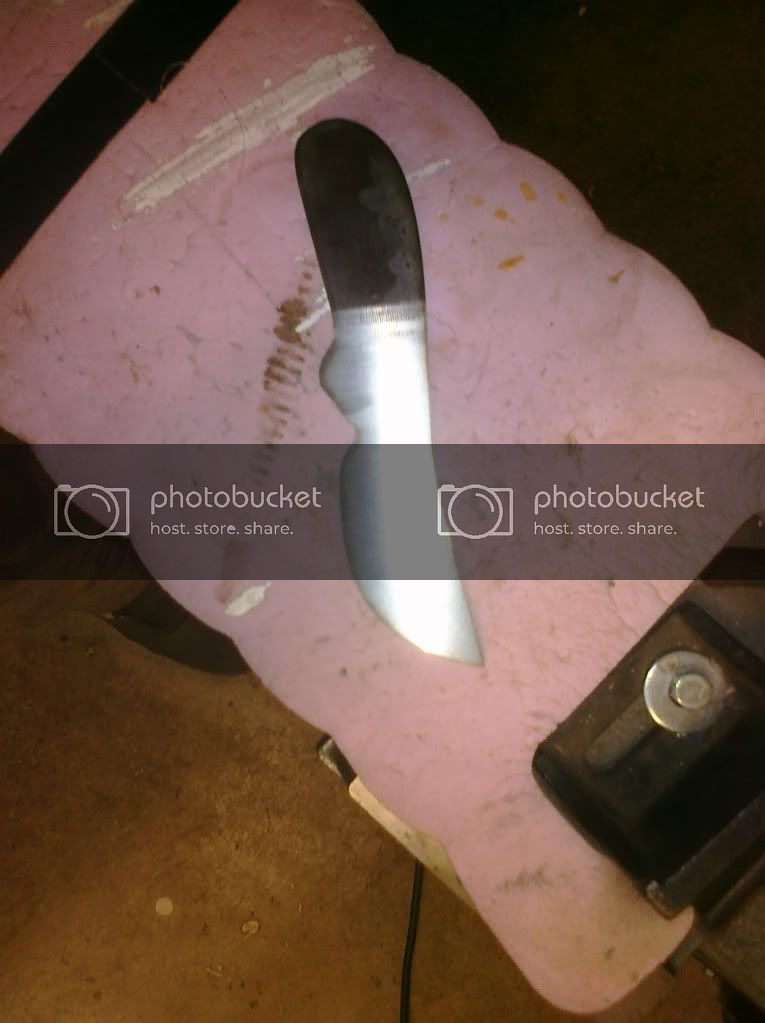
now i move on to the belt sander with some 80 grit to finish getting the final shape of the blade.
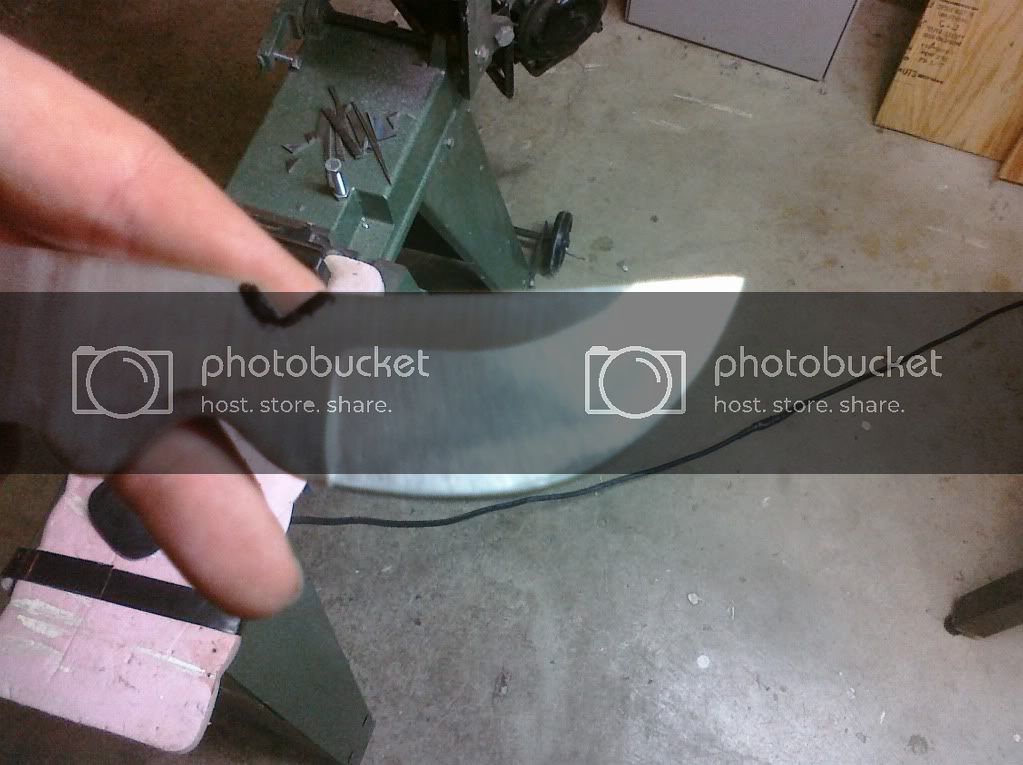
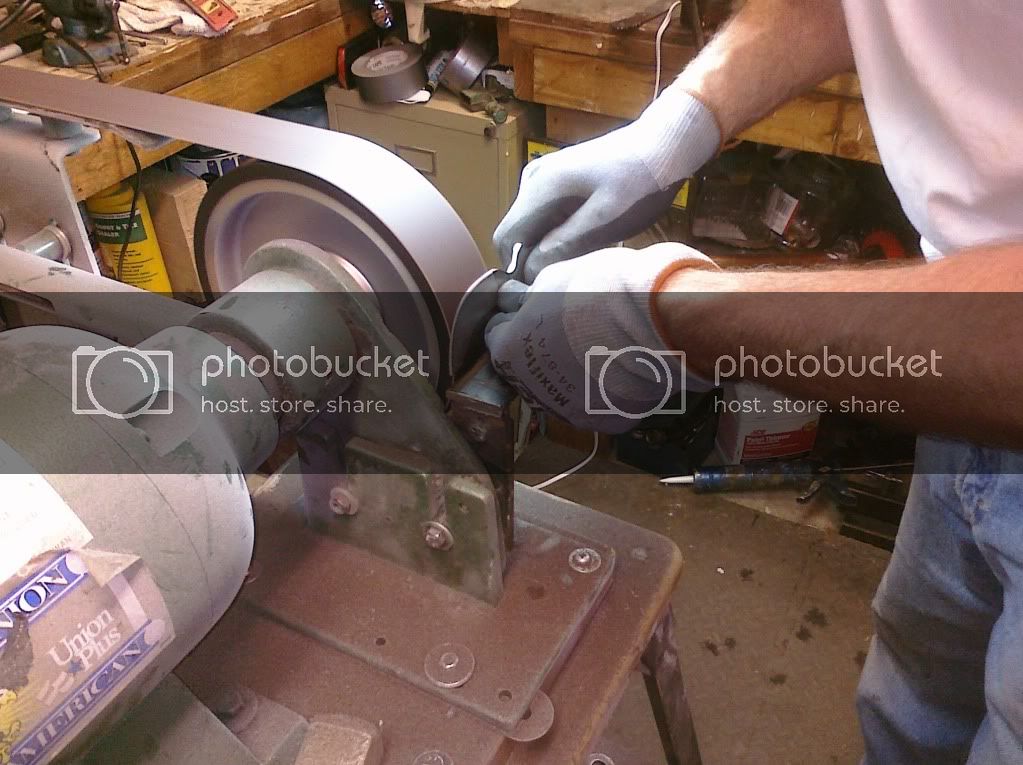
now the "hollow grind" is made on the blade, which is what takes the blade down to a narrow edge which will later be honed to a razor edge. ill add another picture of it being done so it makes more sense. this is the only part i didnt do my self because it is really easy to screw up and i didnt want to ruin the blade.
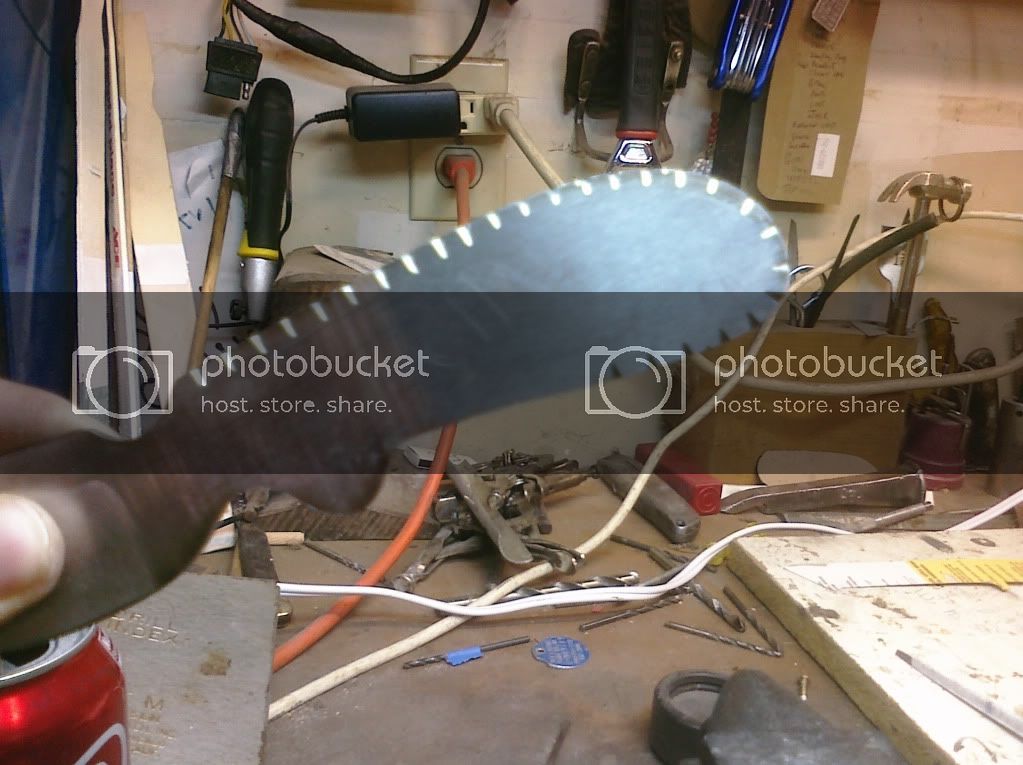
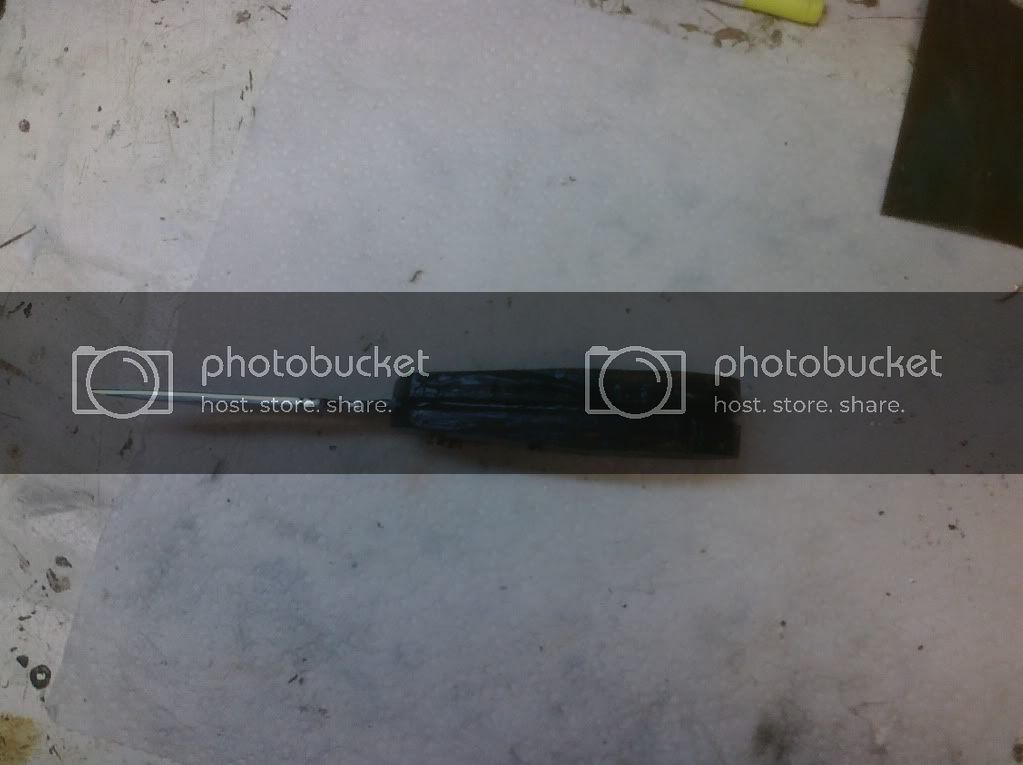
next i started my file work. this is just a looks, style thing but it looks good and adds personality.
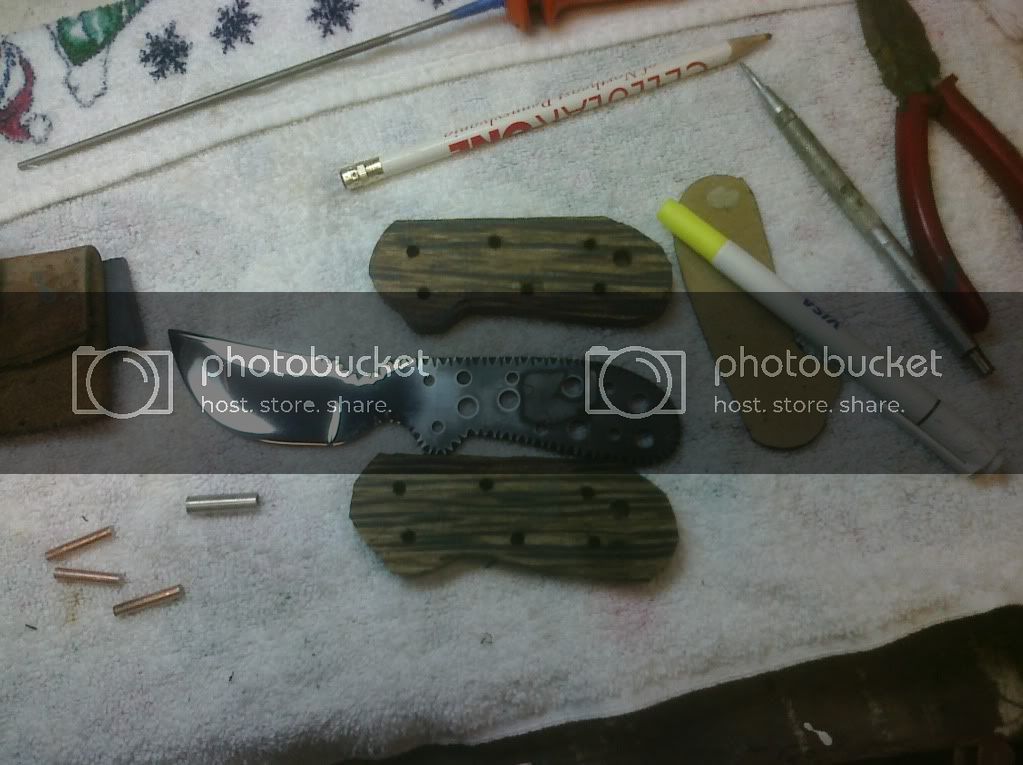
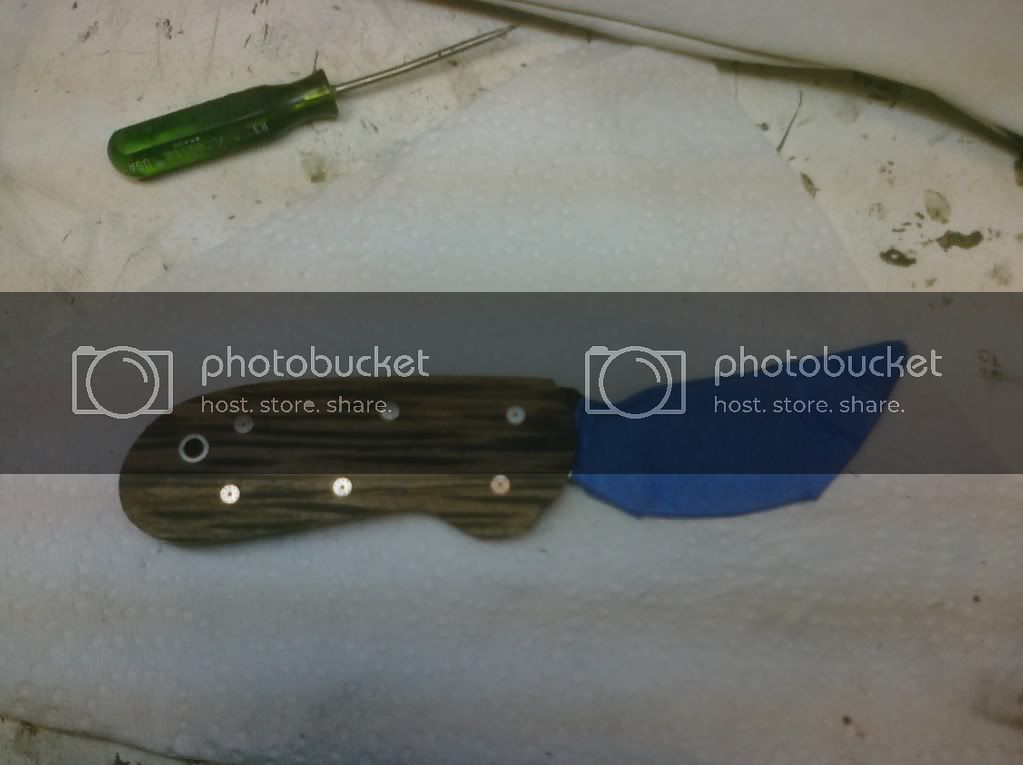
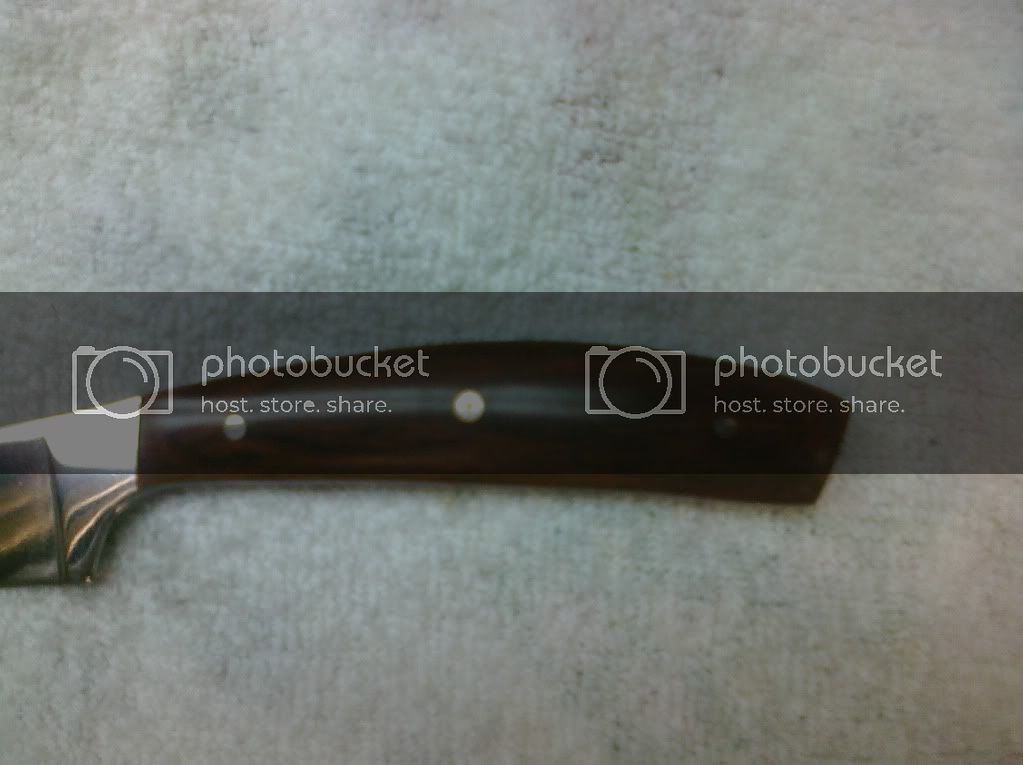
here you see the filework finished the blade polished and the handle pins drilled. the rest of the holes are to help the epoxy hold and reduce weight. by this time the blade has been tempered and cryo treated. the handle scales have been roughed out and drilled for pins and ready to glue. for this knife a chose palm wood
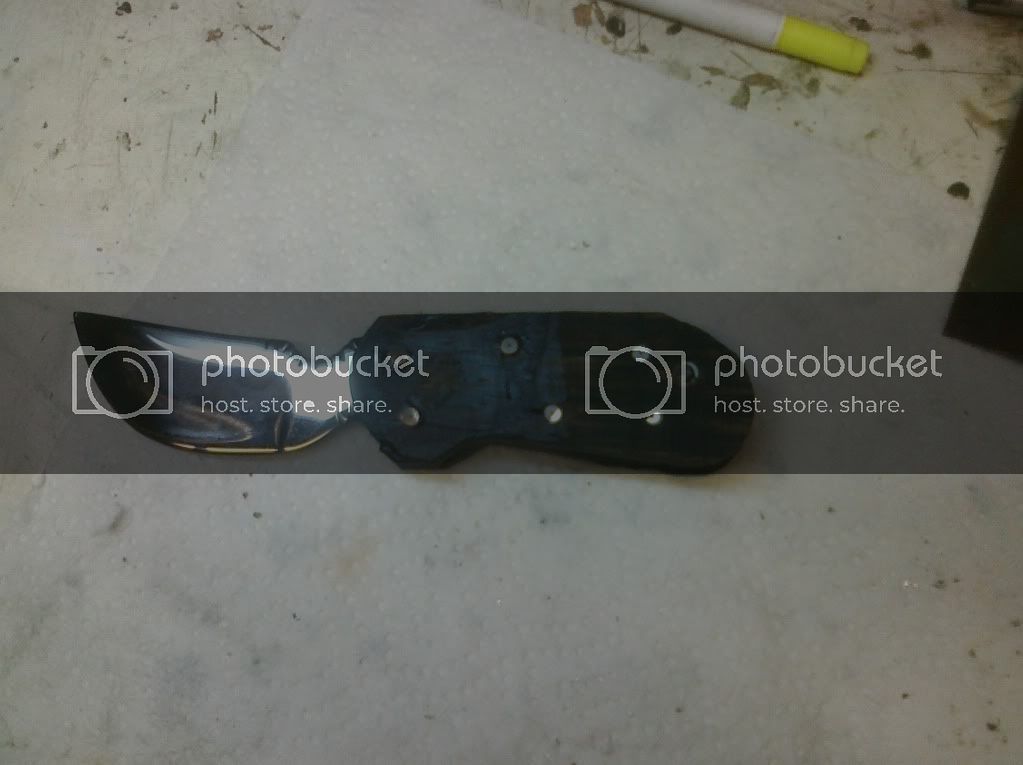
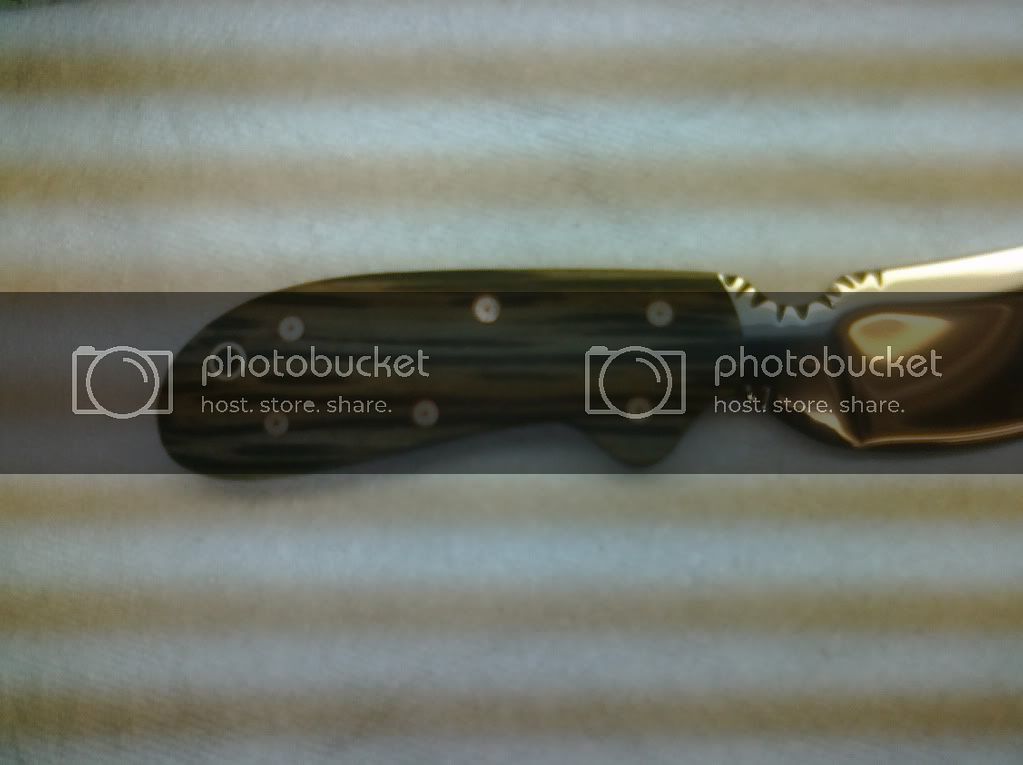
here it is all glued up. i let it sit over night next to the wood stove. i used 5/32 mosaic pins to add a little extra. ill get better pics of them when i get a chance.
not it goes back to the belt sander with som 80grit again to get the scales to size. after that i switch to 400 to get the big scratches out and then hand sand with 600 for the final sand before buffing.
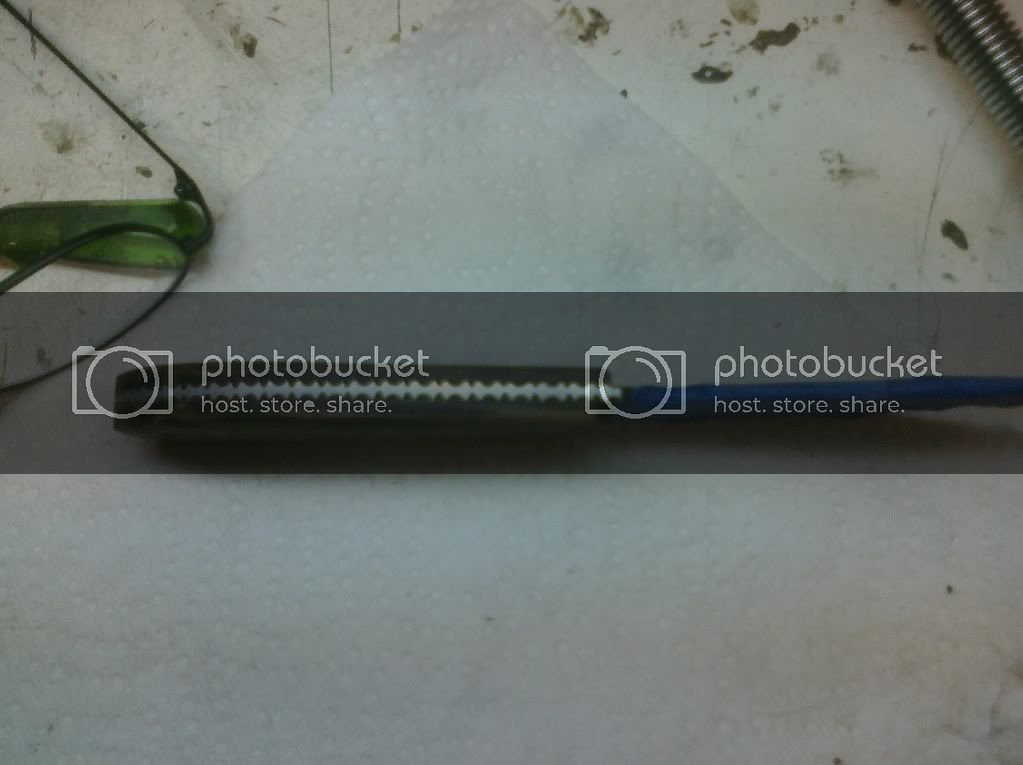
in this picture you can see how the epoxy fills the filework and looks really good
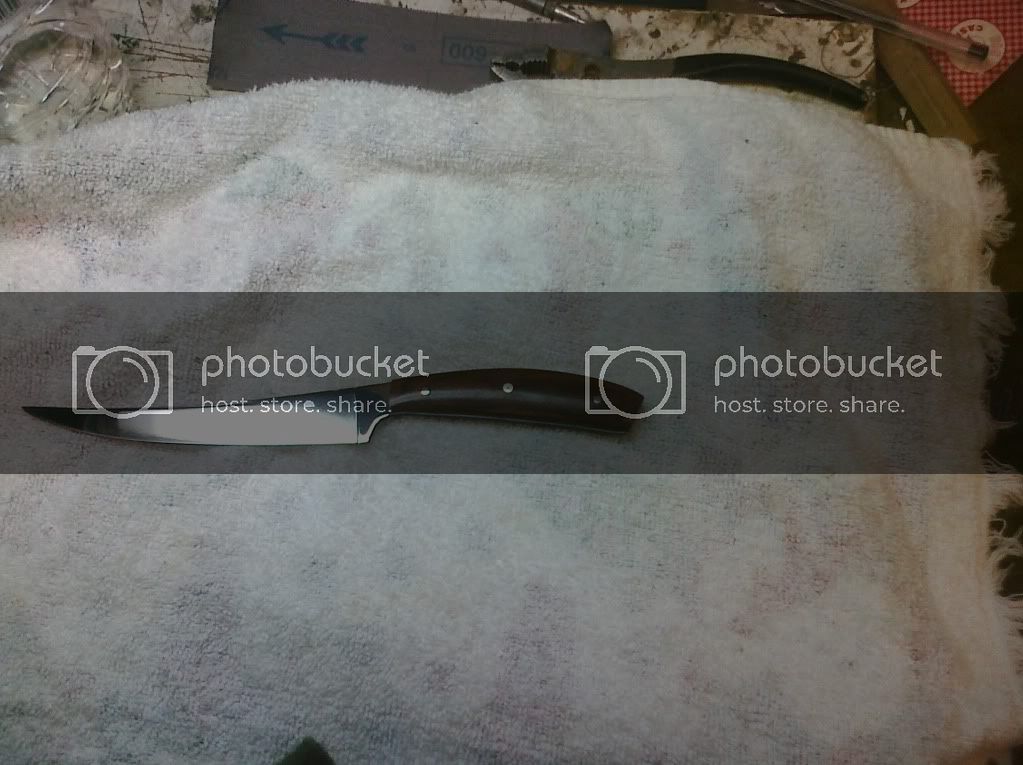
and a fillet knife i just finished a few days ago
On this knife i started with a piece of 1/8x2 1/2x? pg barstock. draw the pattern onto the steel and cut out a rough shape with the band saw.
this is after the rough cut on the band saw.
now i move on to the belt sander with some 80 grit to finish getting the final shape of the blade.
now the "hollow grind" is made on the blade, which is what takes the blade down to a narrow edge which will later be honed to a razor edge. ill add another picture of it being done so it makes more sense. this is the only part i didnt do my self because it is really easy to screw up and i didnt want to ruin the blade.
next i started my file work. this is just a looks, style thing but it looks good and adds personality.
here you see the filework finished the blade polished and the handle pins drilled. the rest of the holes are to help the epoxy hold and reduce weight. by this time the blade has been tempered and cryo treated. the handle scales have been roughed out and drilled for pins and ready to glue. for this knife a chose palm wood
here it is all glued up. i let it sit over night next to the wood stove. i used 5/32 mosaic pins to add a little extra. ill get better pics of them when i get a chance.
not it goes back to the belt sander with som 80grit again to get the scales to size. after that i switch to 400 to get the big scratches out and then hand sand with 600 for the final sand before buffing.
in this picture you can see how the epoxy fills the filework and looks really good
and a fillet knife i just finished a few days ago
Last edited:
