SRDF Titan
New Member
Now keep in mind guys I'm just copying and pasting from honda-tech, I originally made the following post back on 6-12-2012 so bear with me. At that time I was trying to decide what color to paint my car, it was either between the factory Honda black or Montego Blue Metallic from a BMW. I got so tired of trying to decide so I started a poll and I let everyone just vote on it. They ended up picking the blue and my car is now painted the blue color.
The original post:
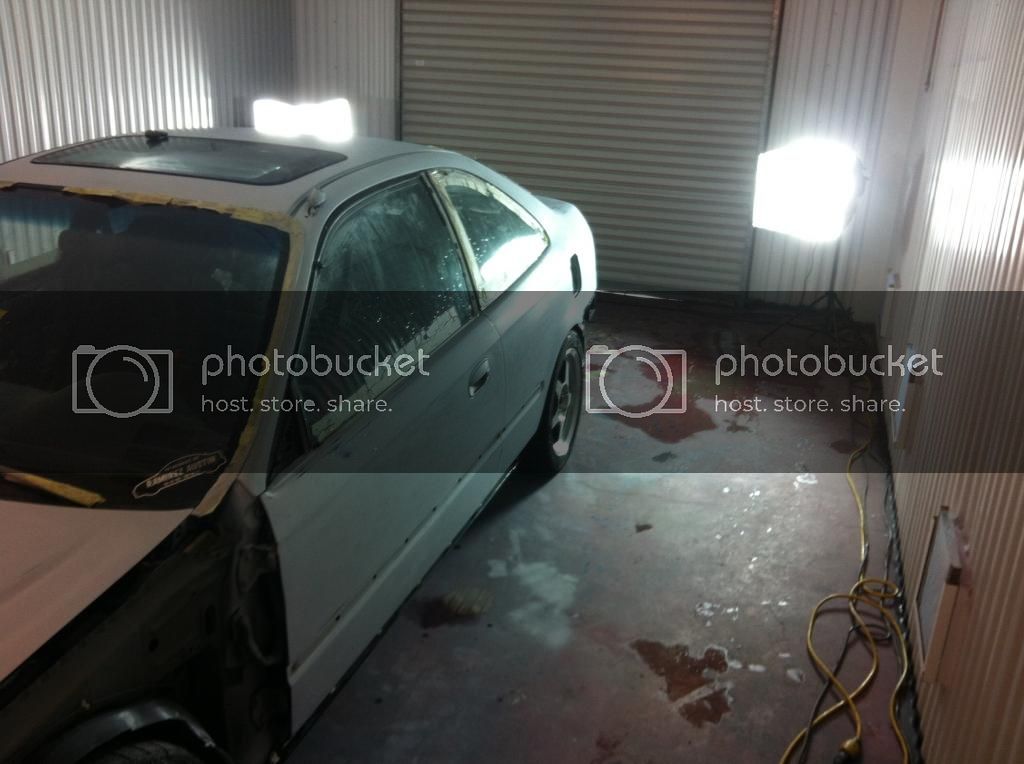
As the title states I've gotten to a point with the rest of my build where I can take a break and start some much needed body work. DISCLAIMER: The last time that I did anything that was body/paint oriented was back in high school (12-13 years ago). So I'm scared as hell, but I'm going to go for it anyway. I already have a build thread going on: SRDFTITAN'S 97 EJ8 TURBO BUILD THREAD!! PICS/VIDS **CUSTOM GAUGE HOLDER** - Honda-Tech.
Anyway I'm still a little undecided on the exact color that I'm going to paint my car, and I'm going to leave it up to everyone on various forums to decide for me. I'm going to let you guys decide because I'm tired of thinking about it lol! Now on to the choices!!
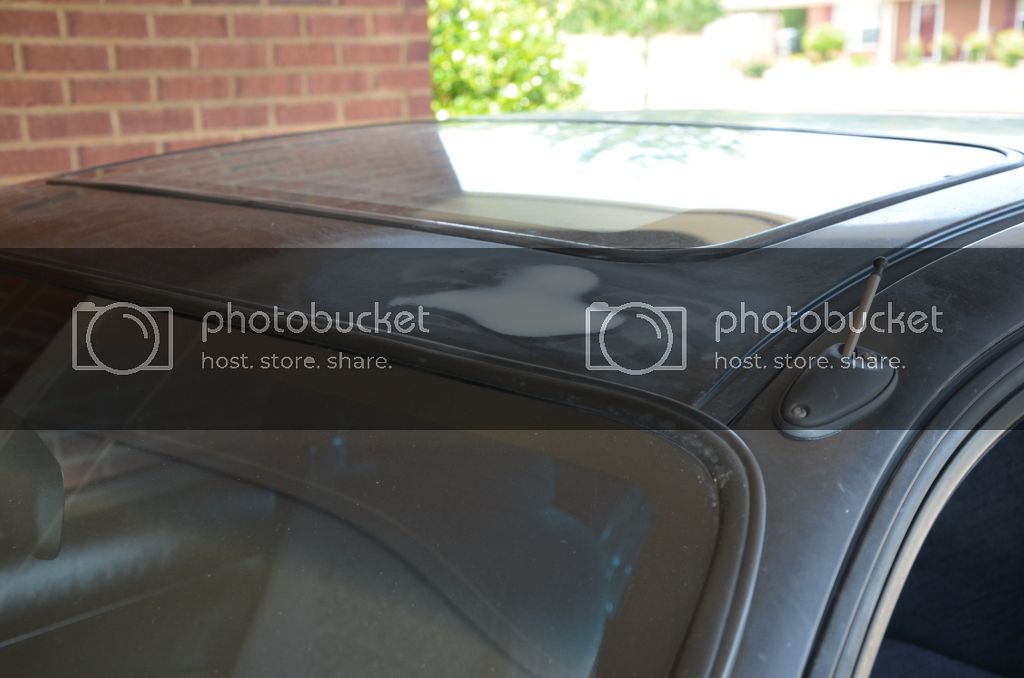
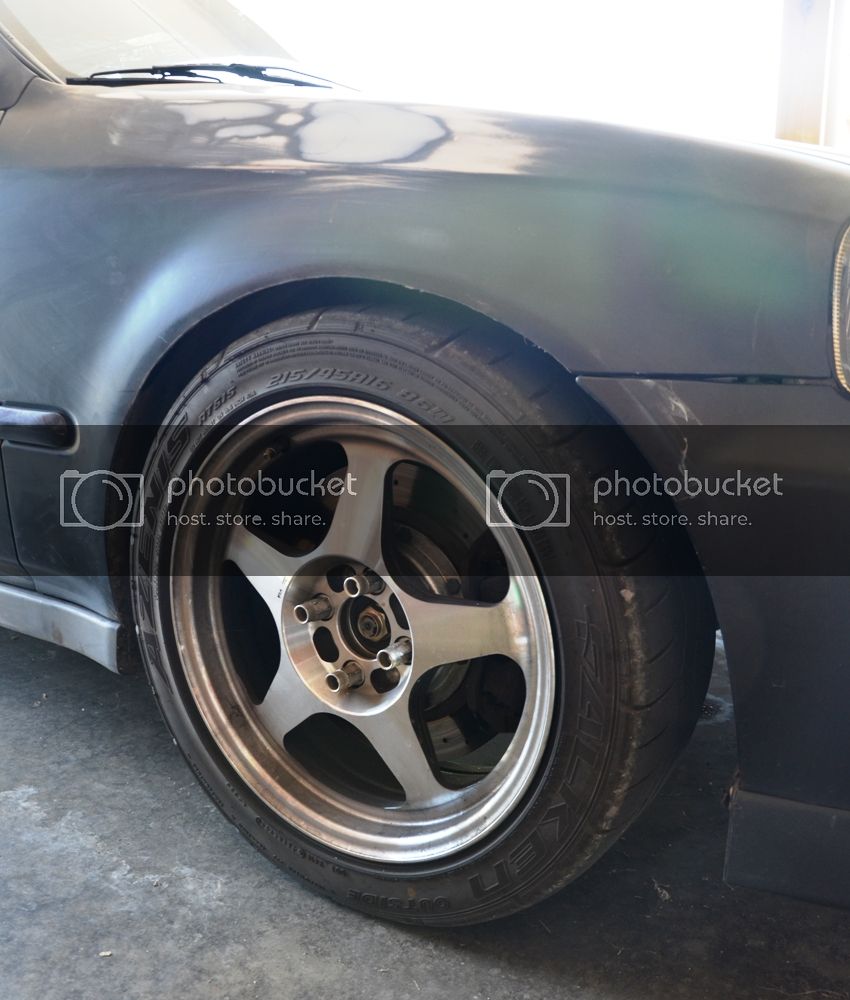
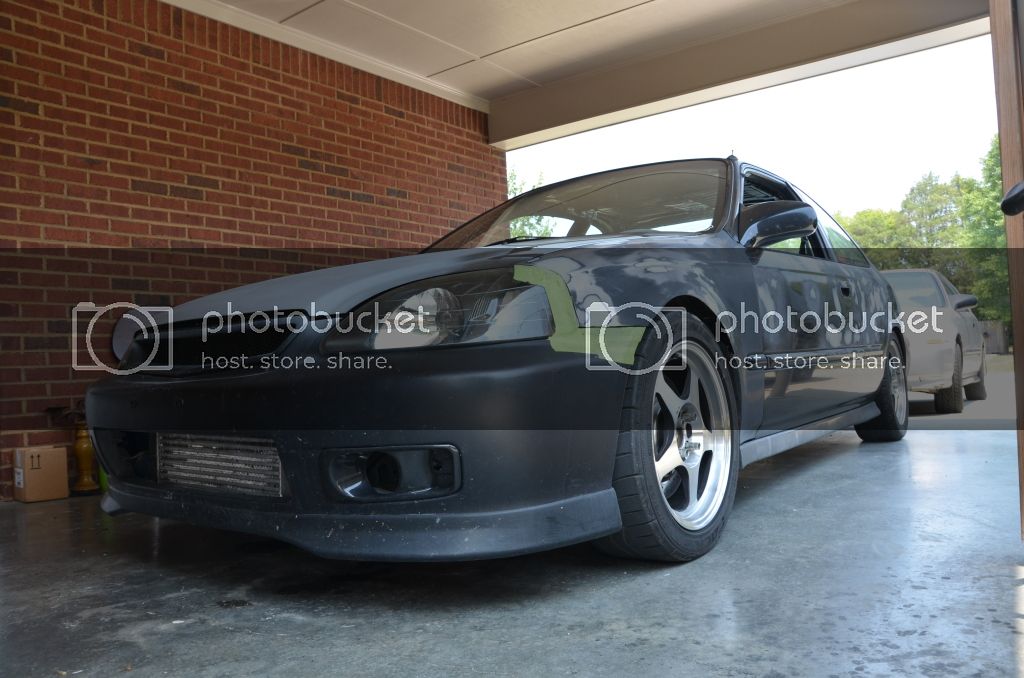
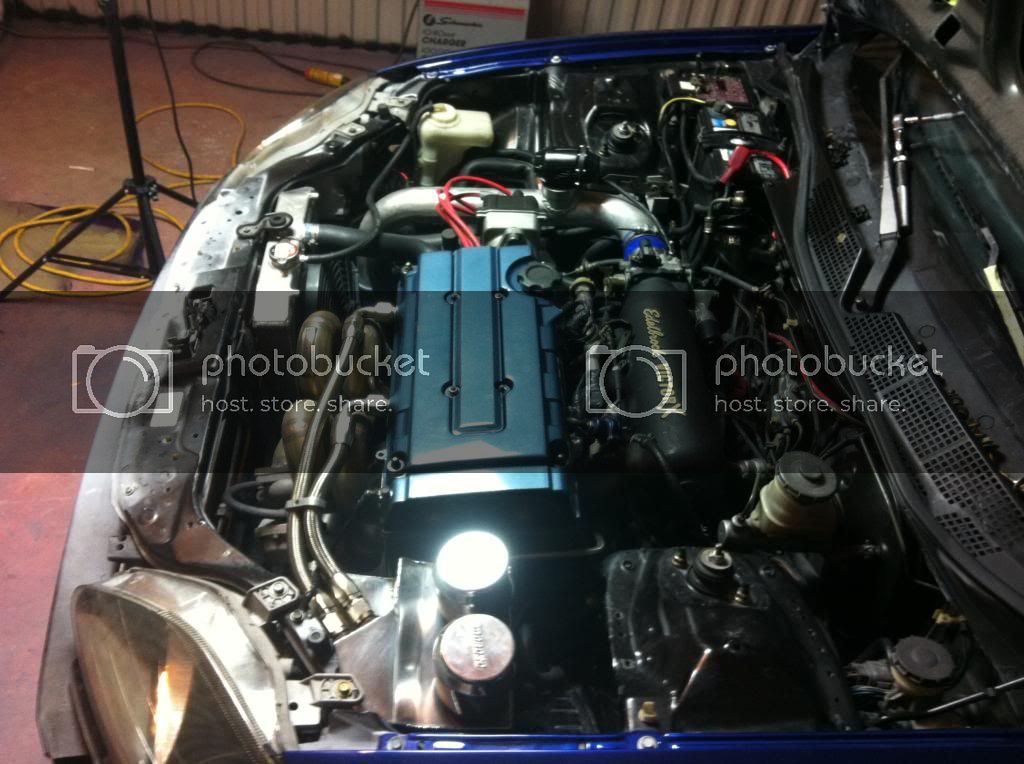
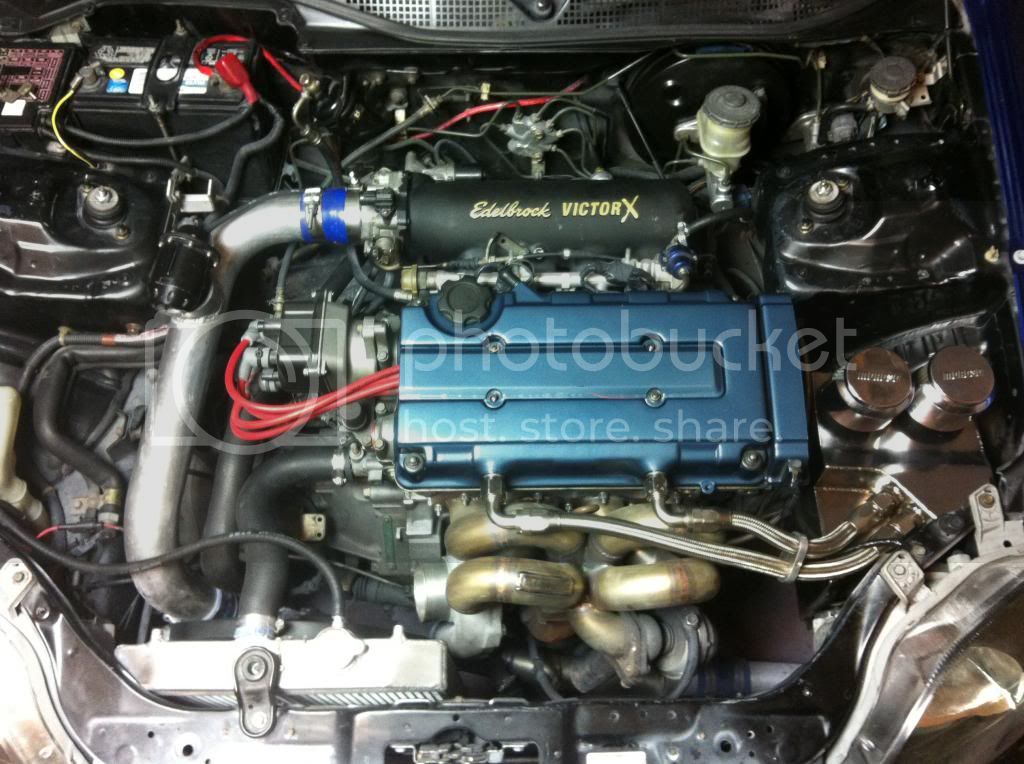
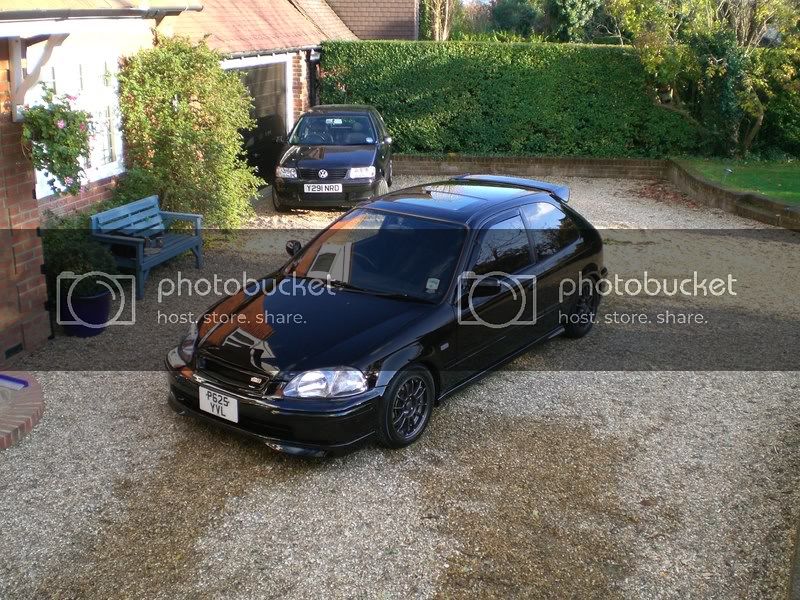
The stock color:
Granada Black Metallic Clearcoat NH-503P
OR
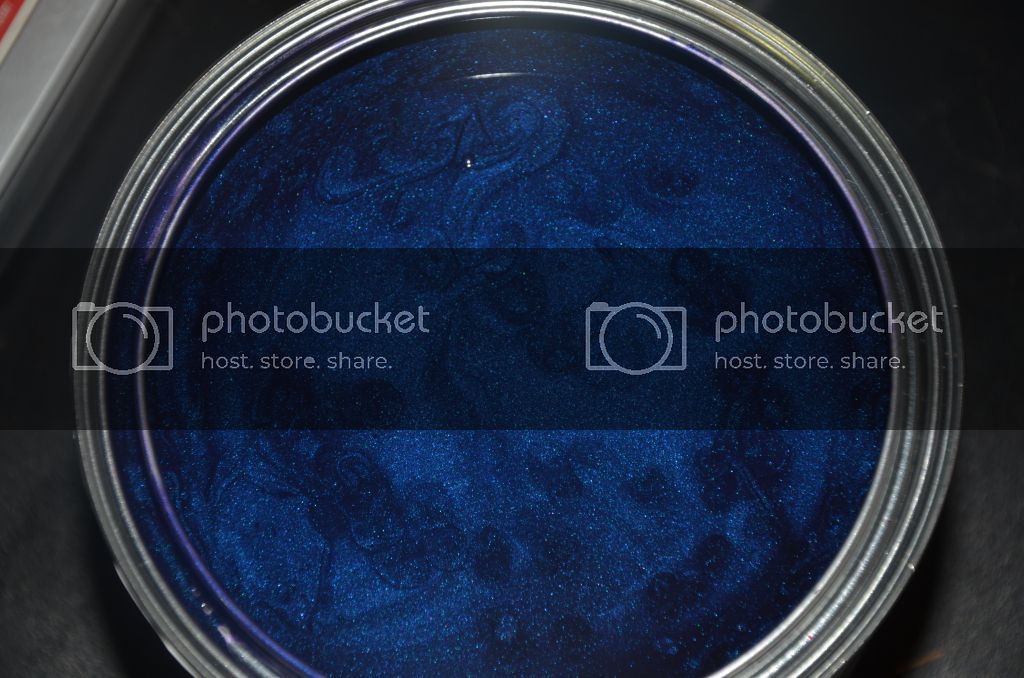
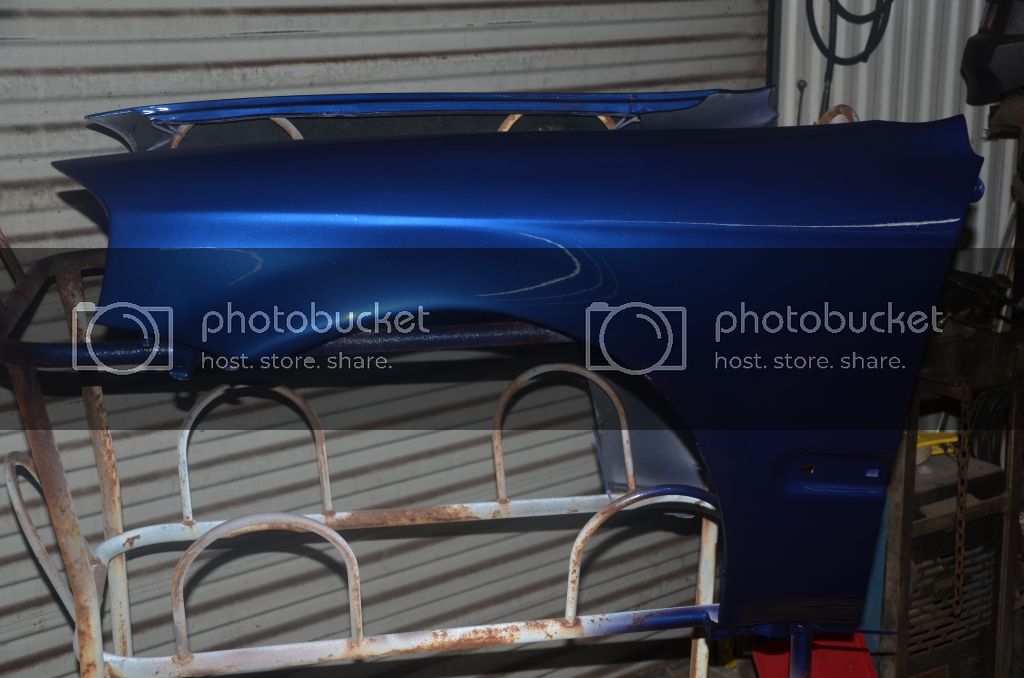
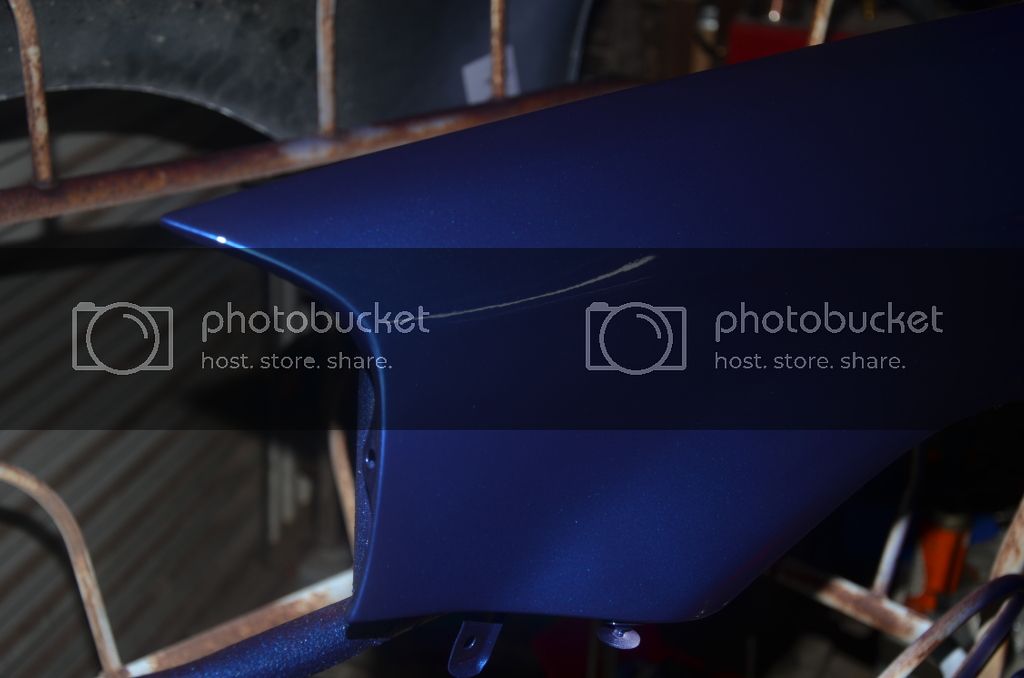
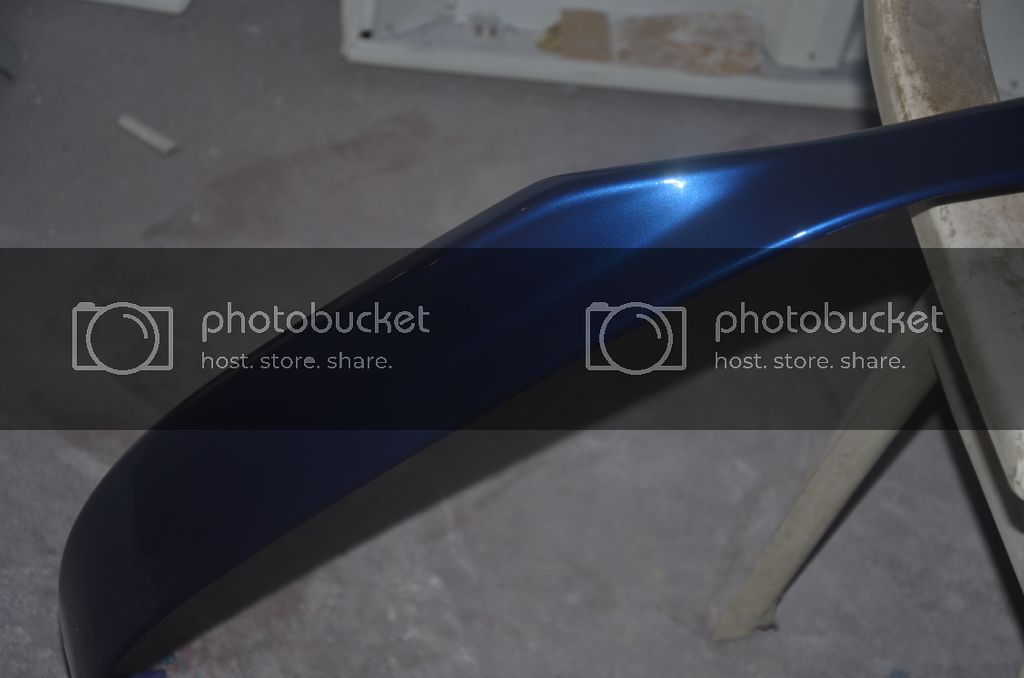
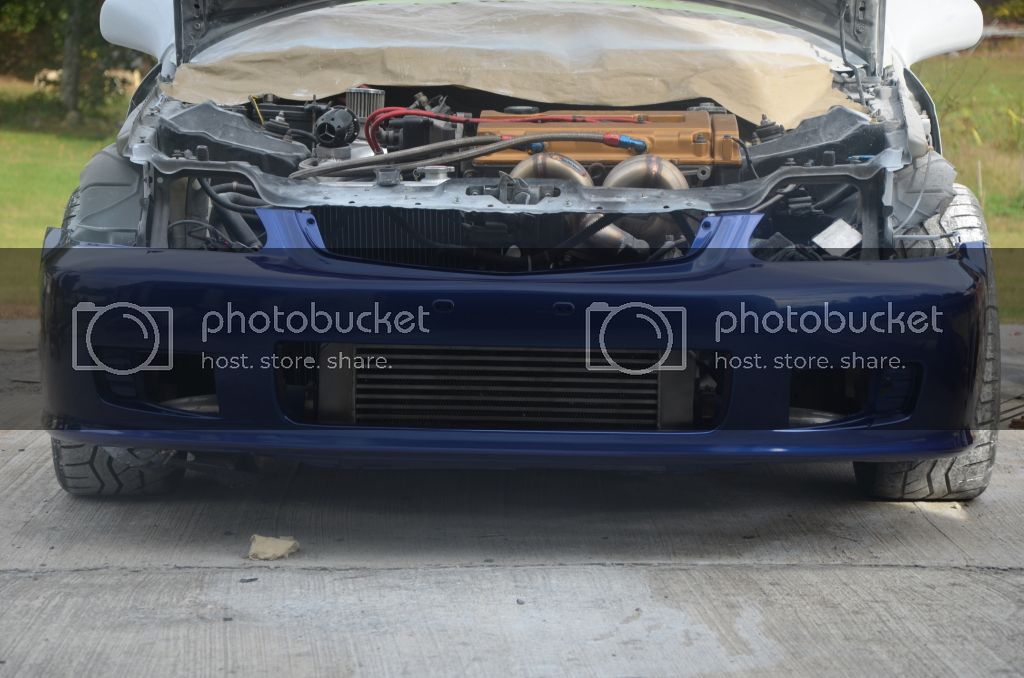
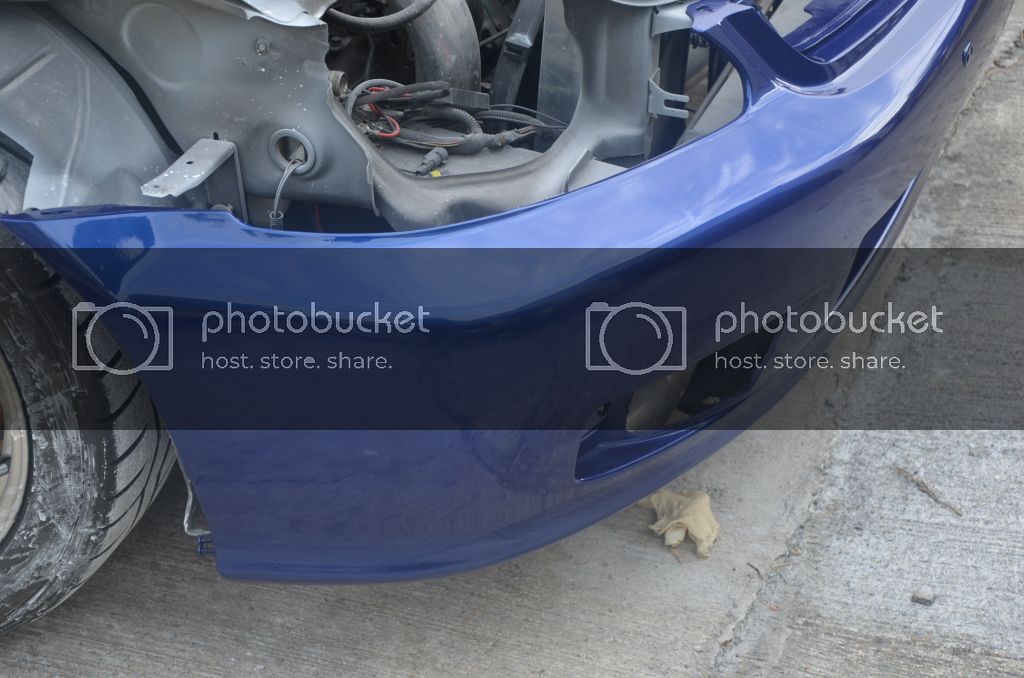
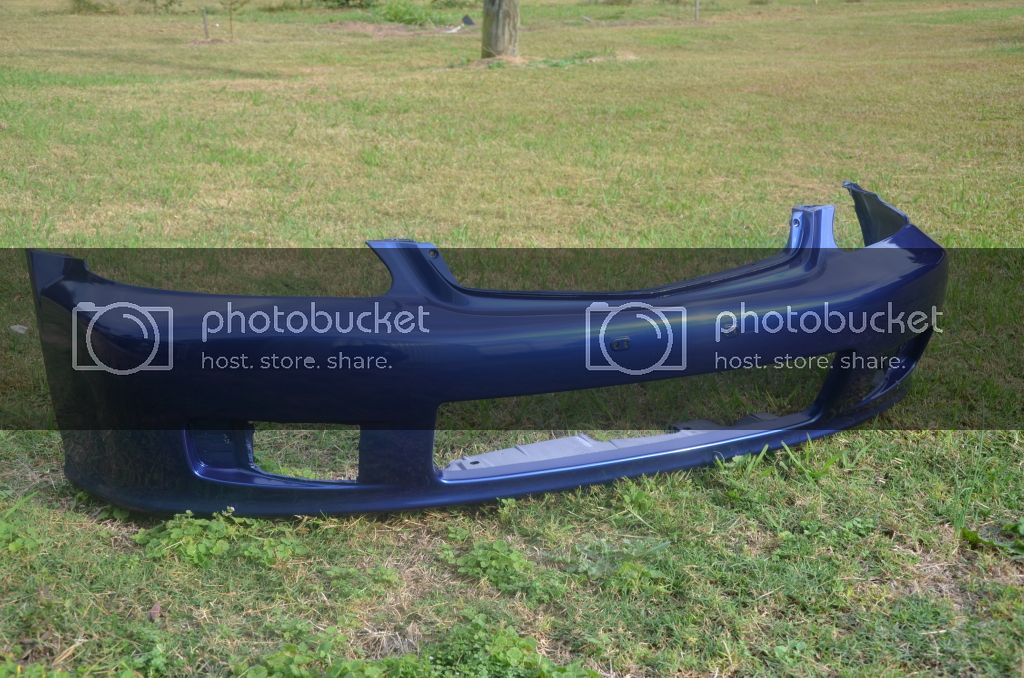
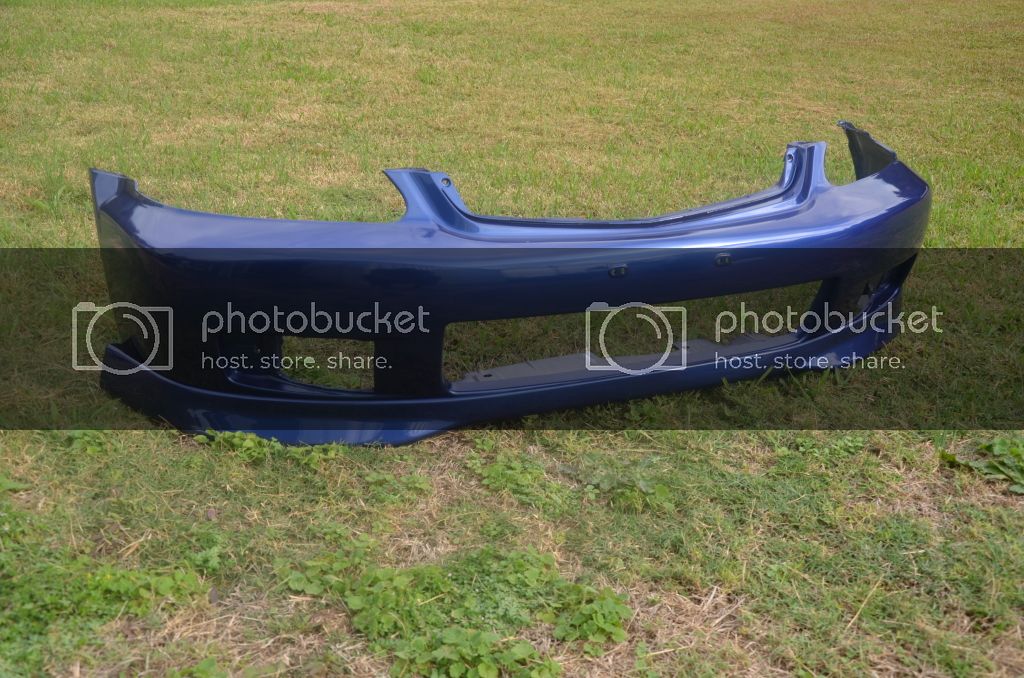
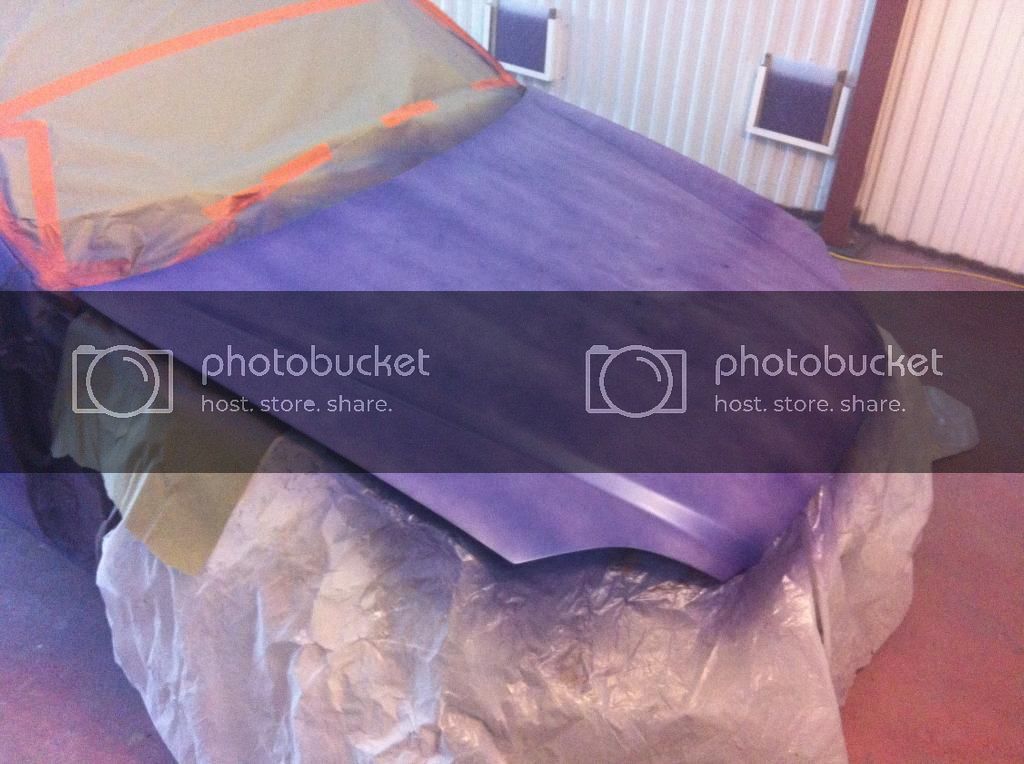
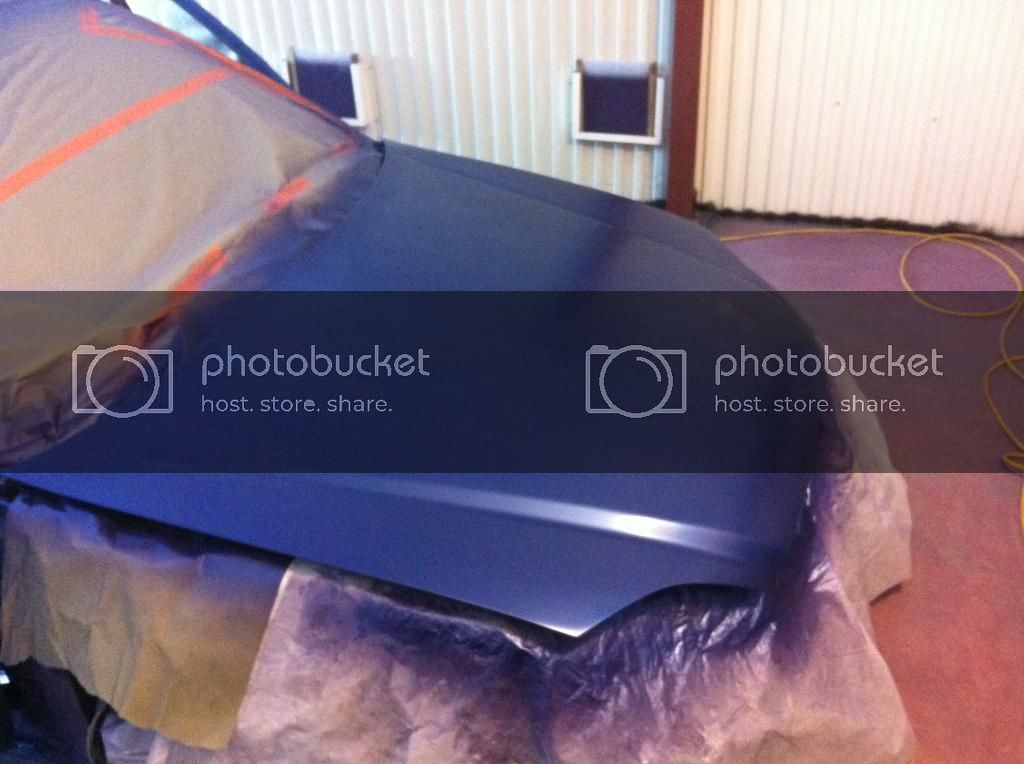
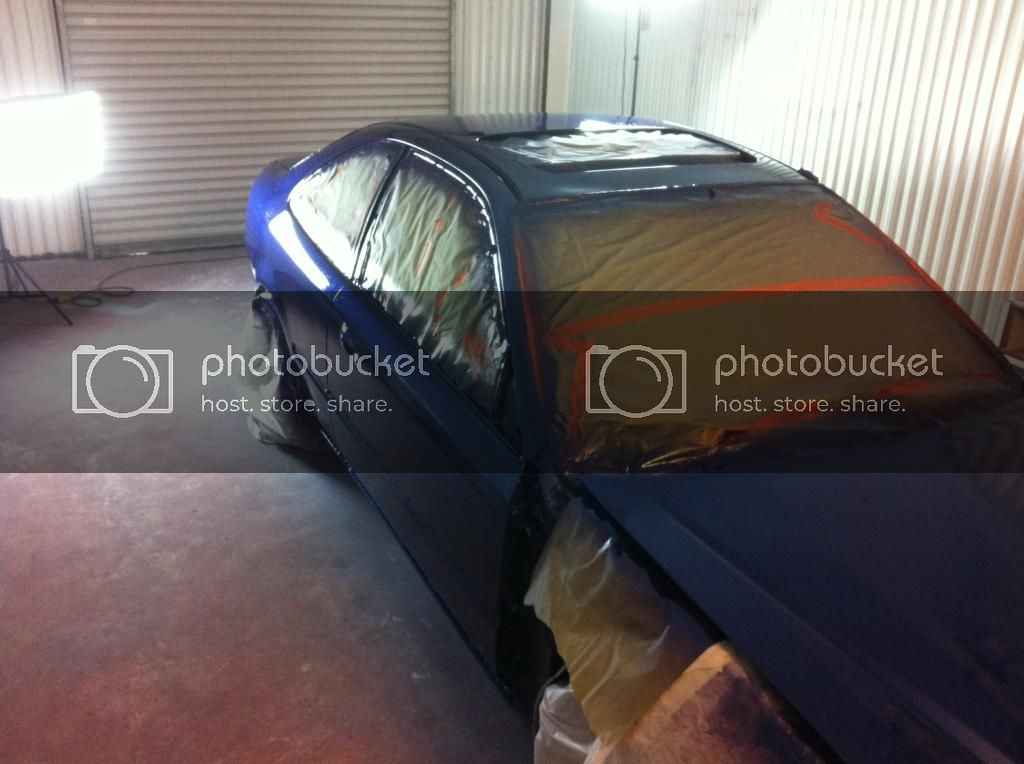
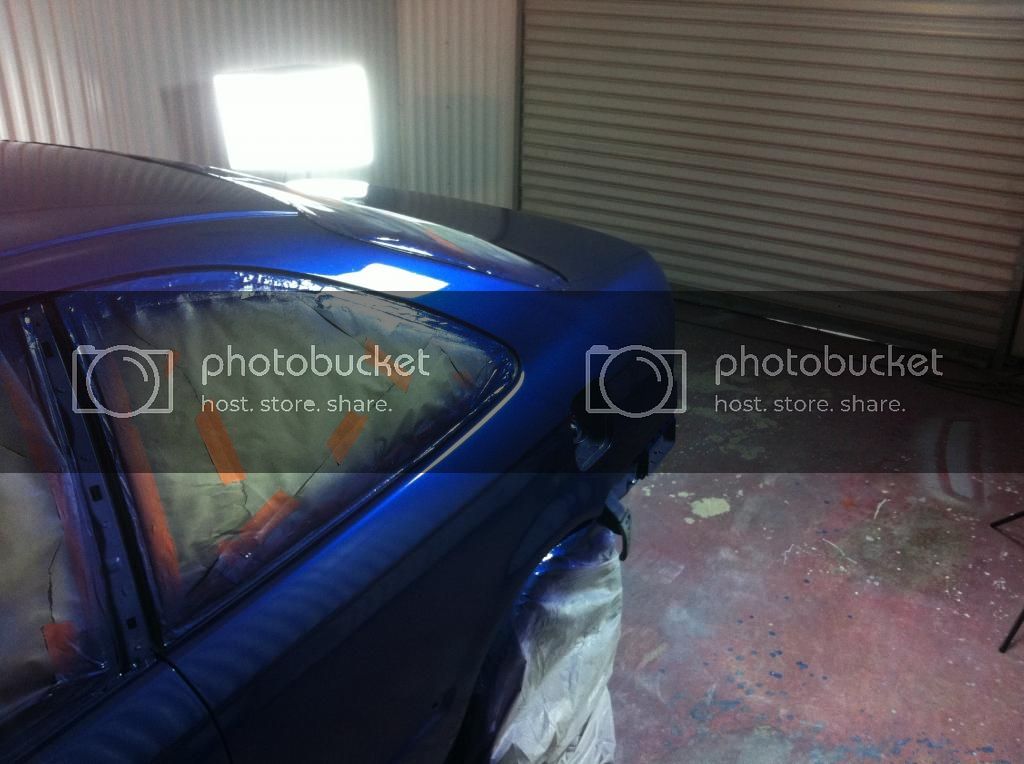
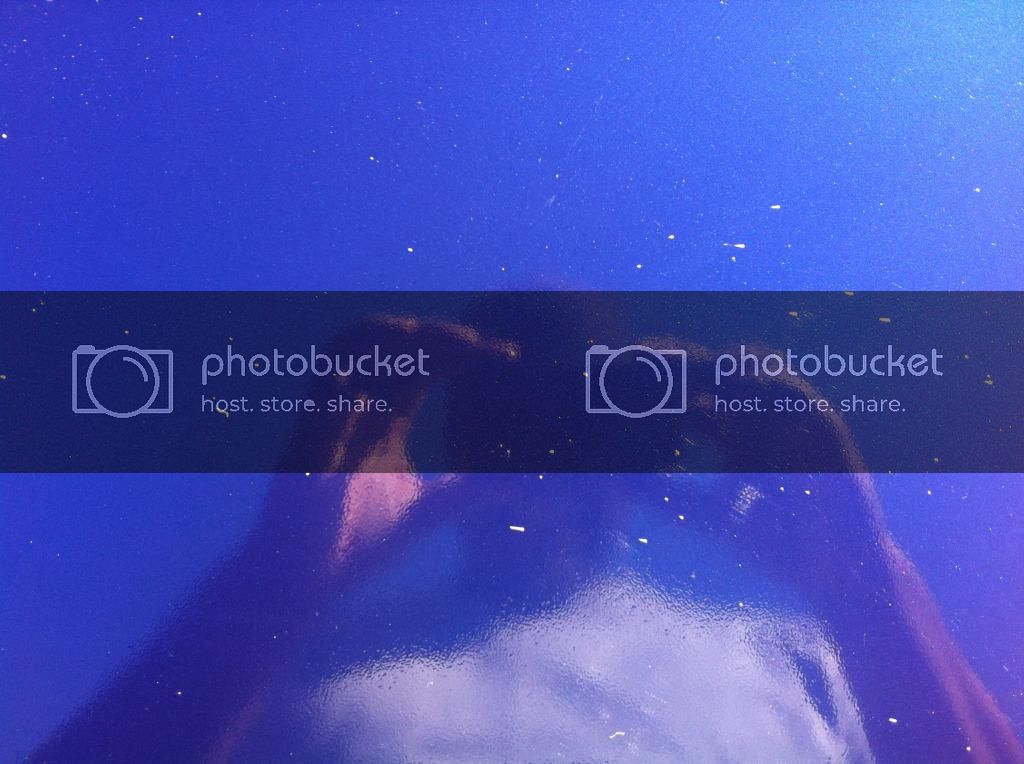
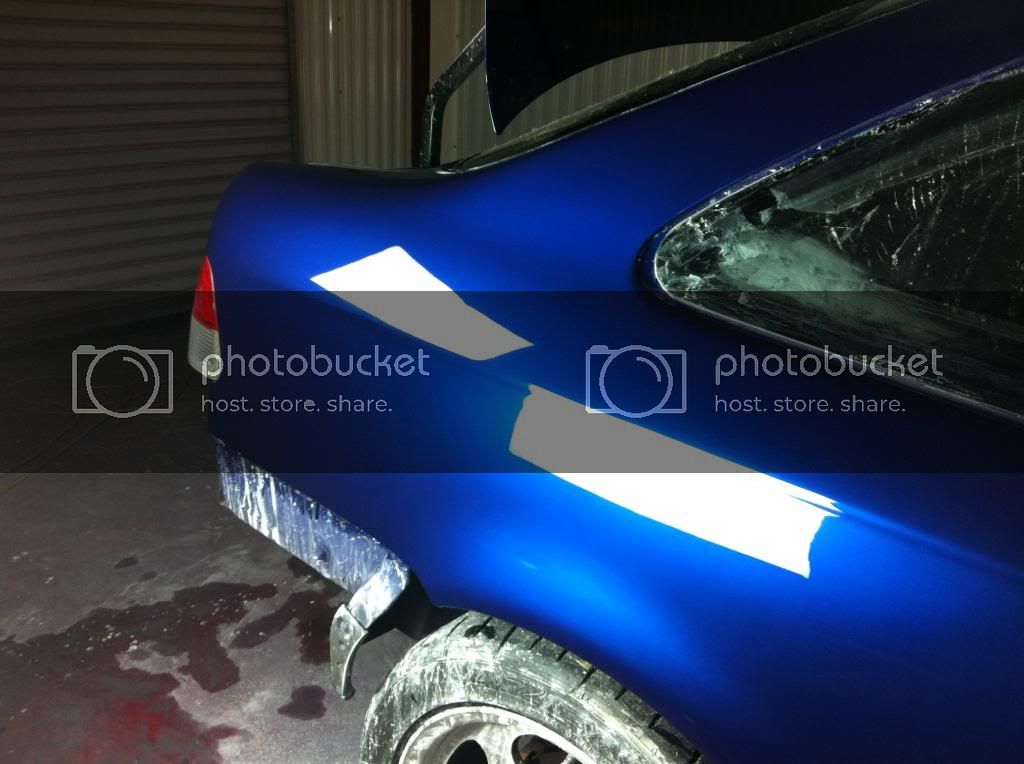
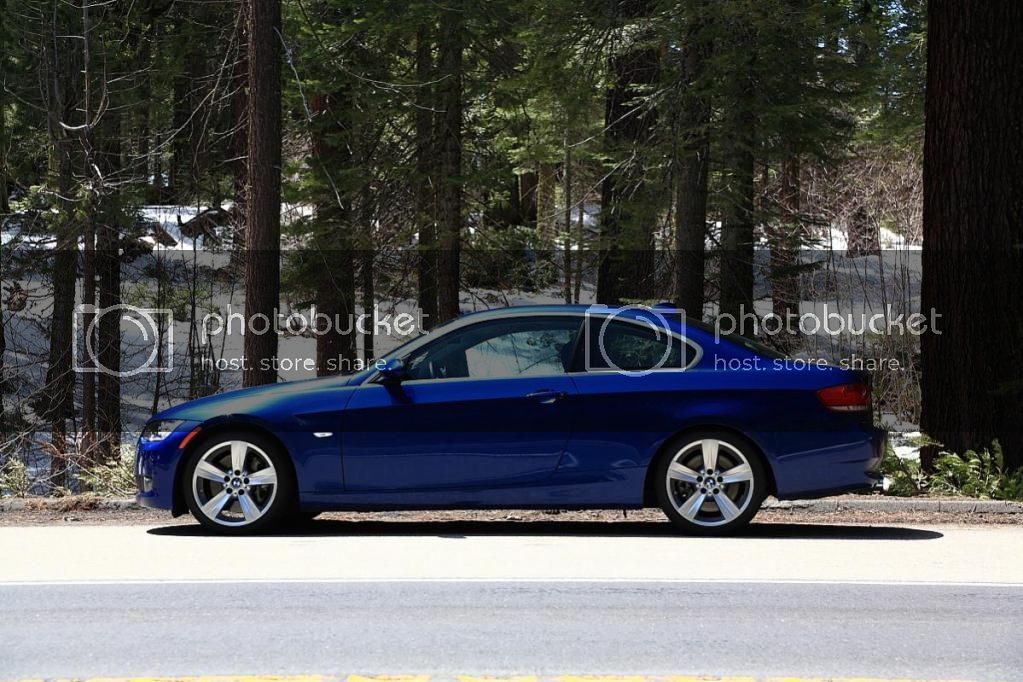
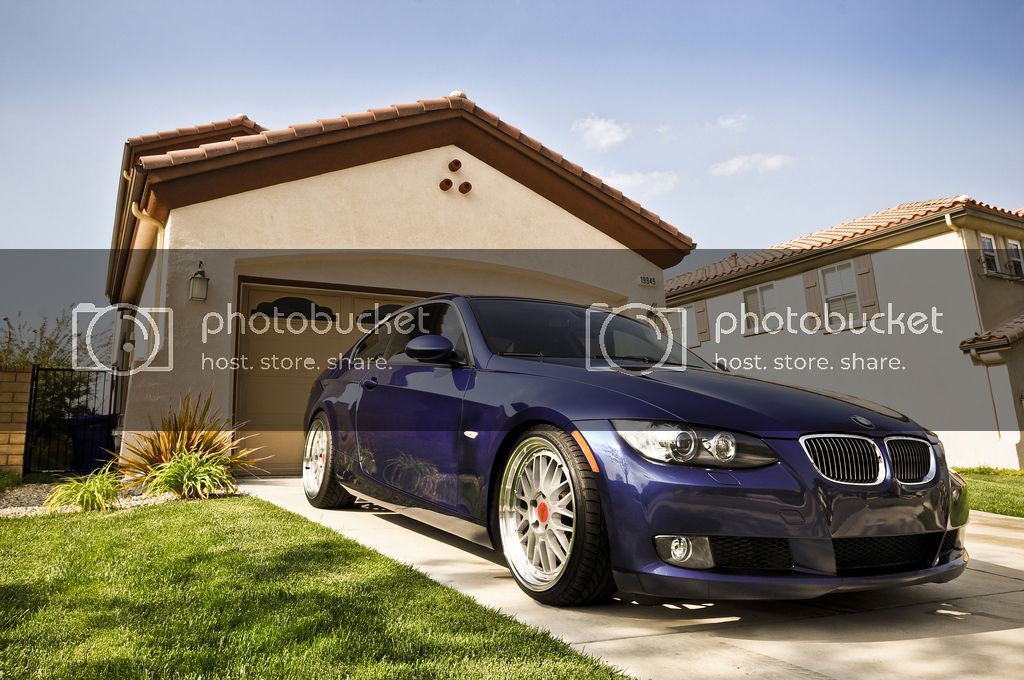
Montego Blue Metallic (e90 BMW's)
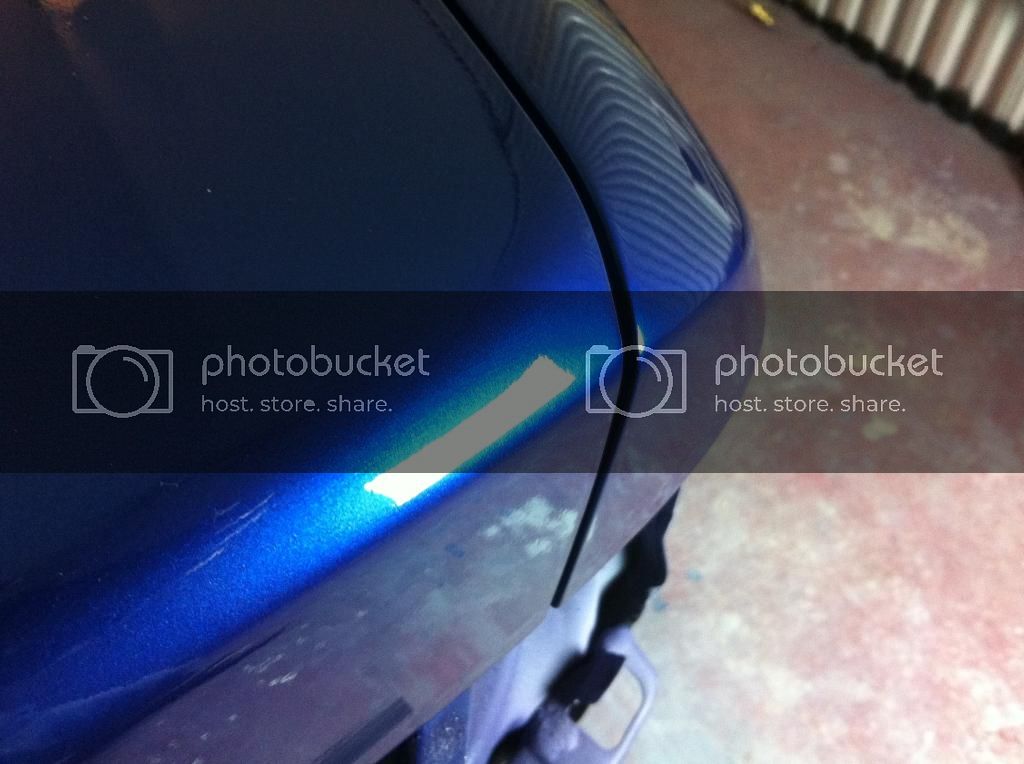
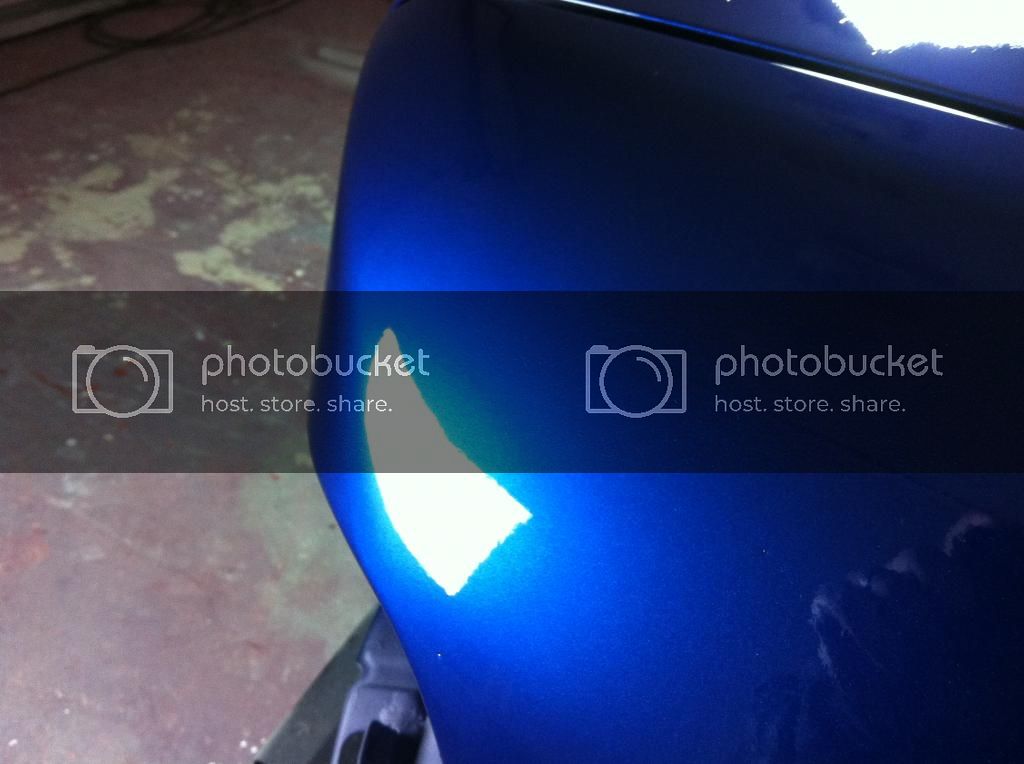
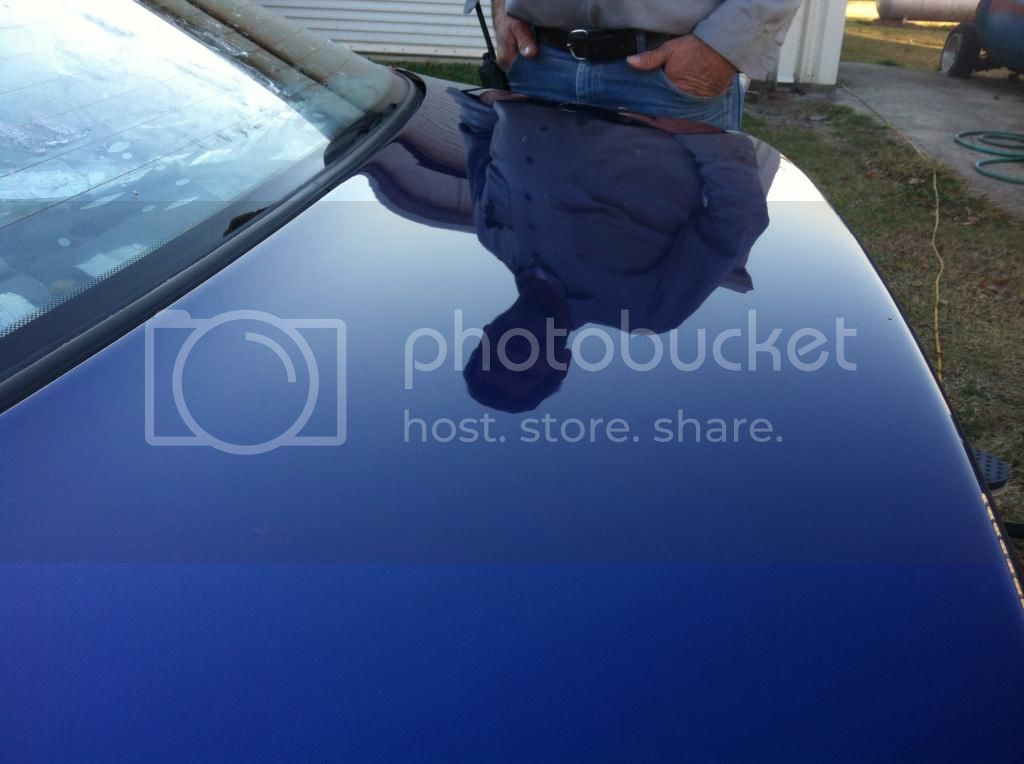
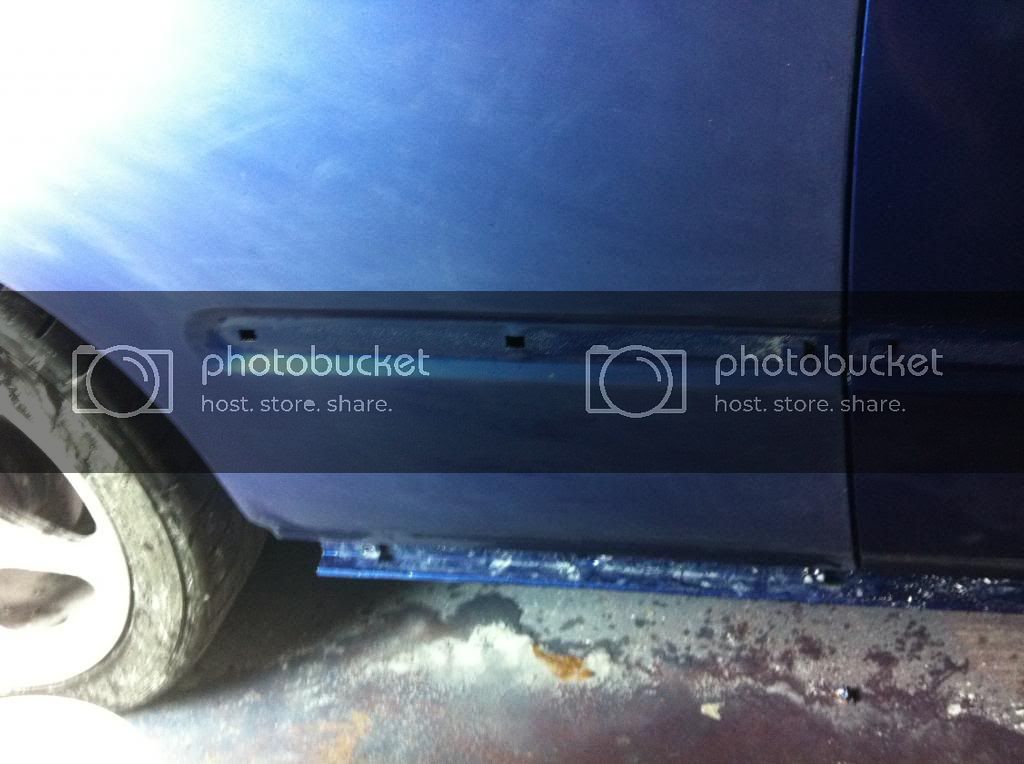
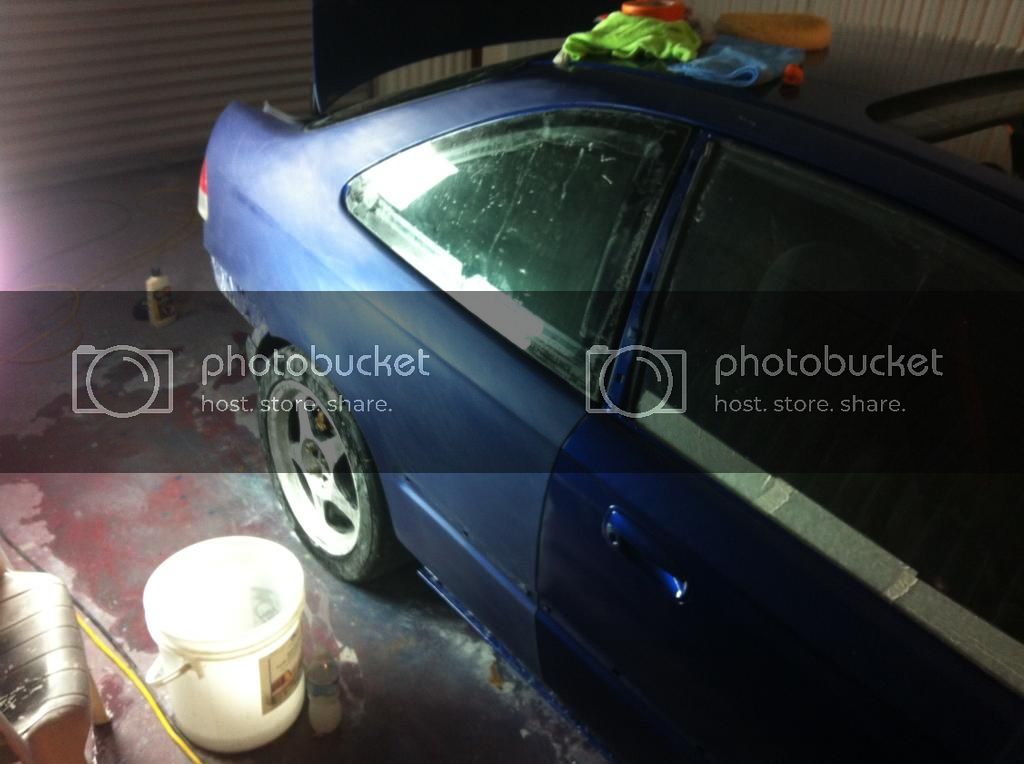
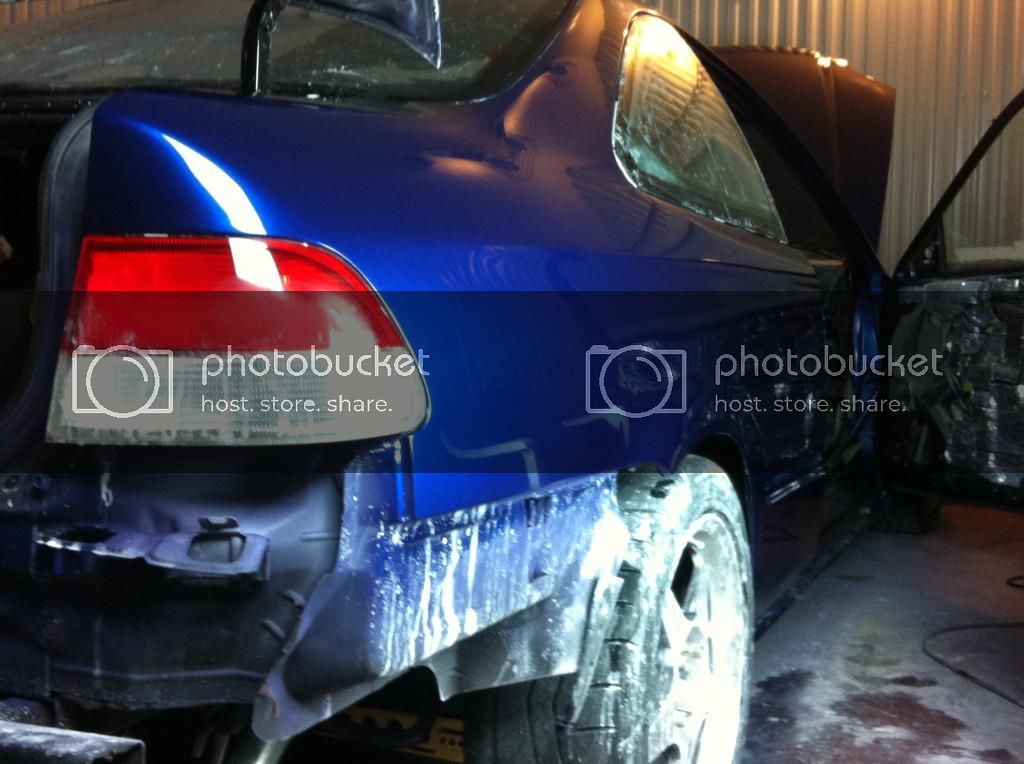
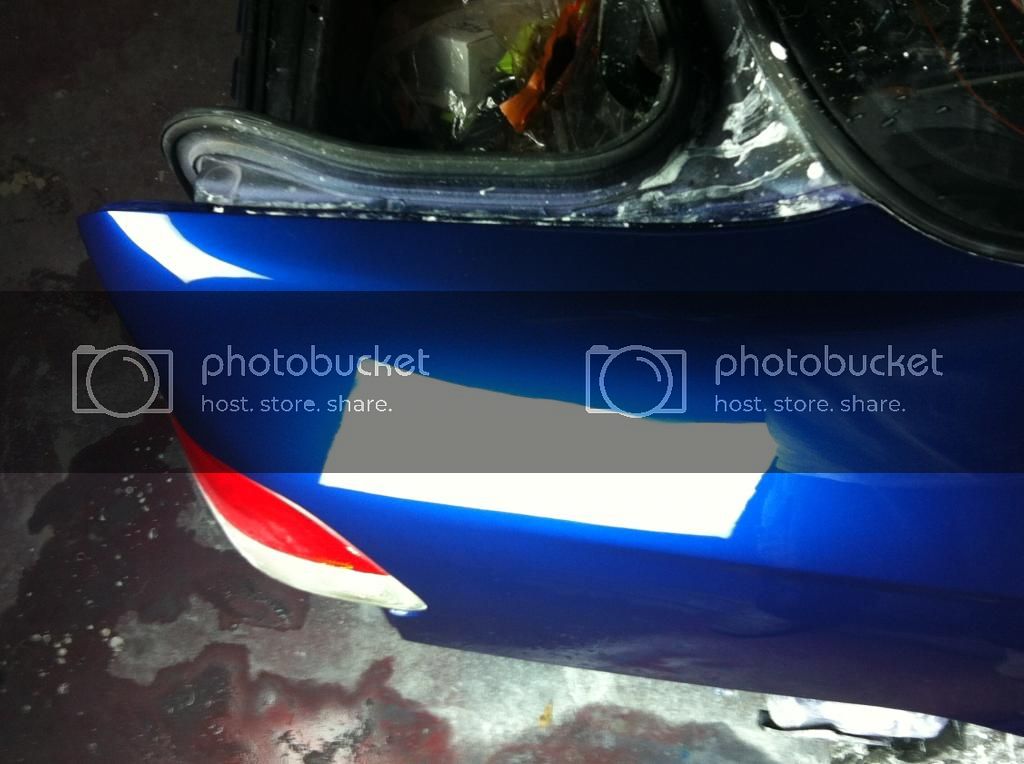
This color flip flops like a mother, so I posted more that one photo so you can see the many shades of this color.
Direct Sunlight, nice mix of colors (light purple, light blue, dark blue, electric blue)
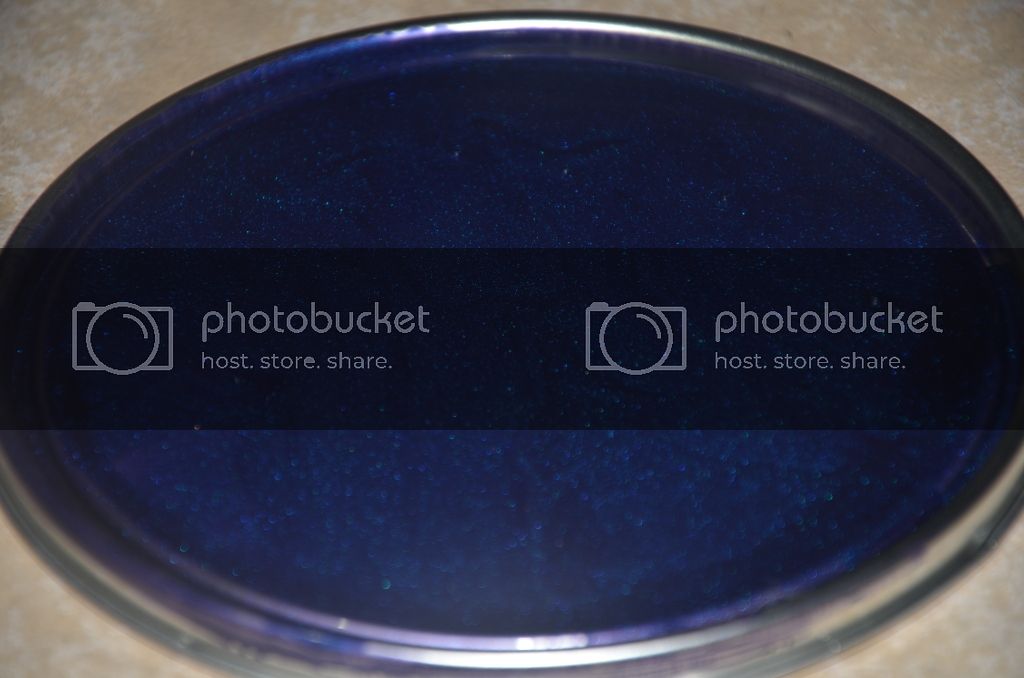
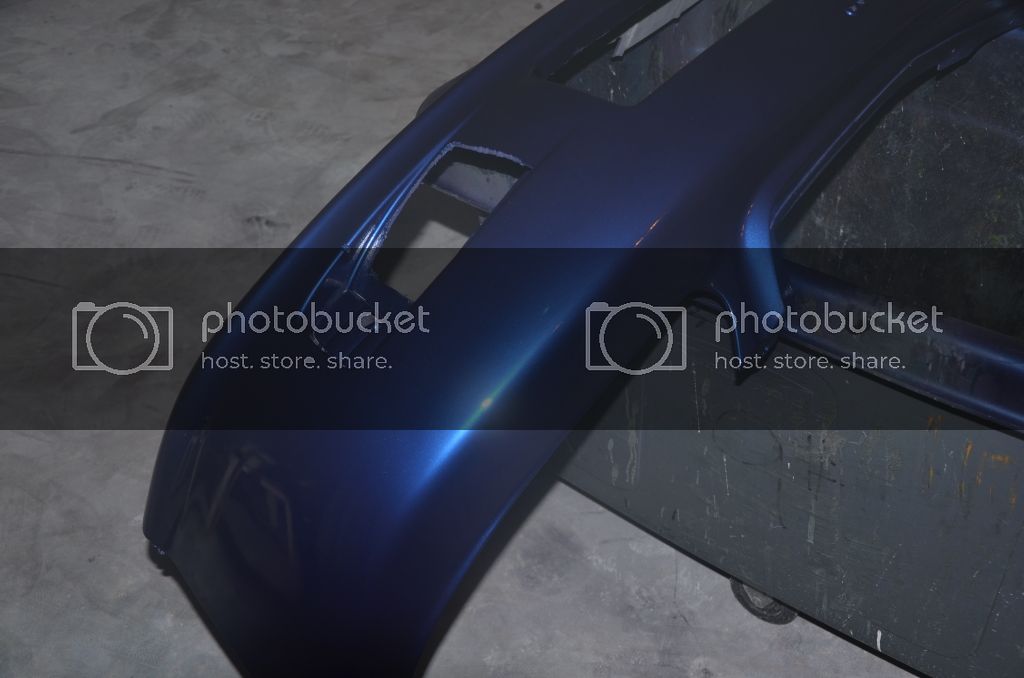
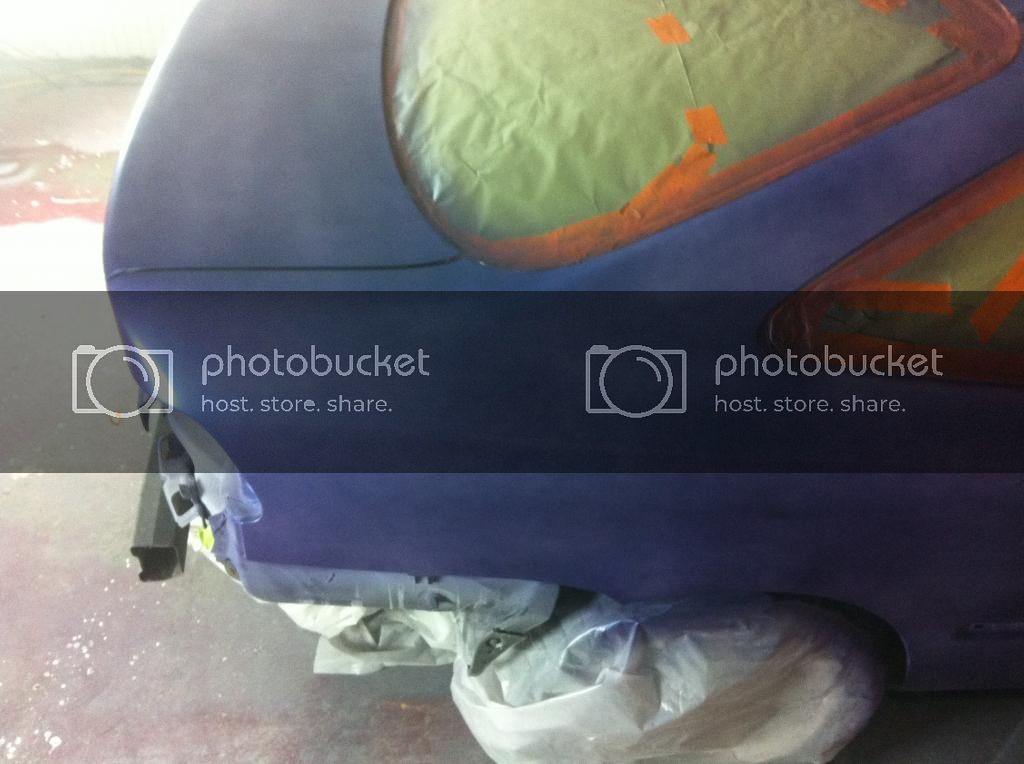
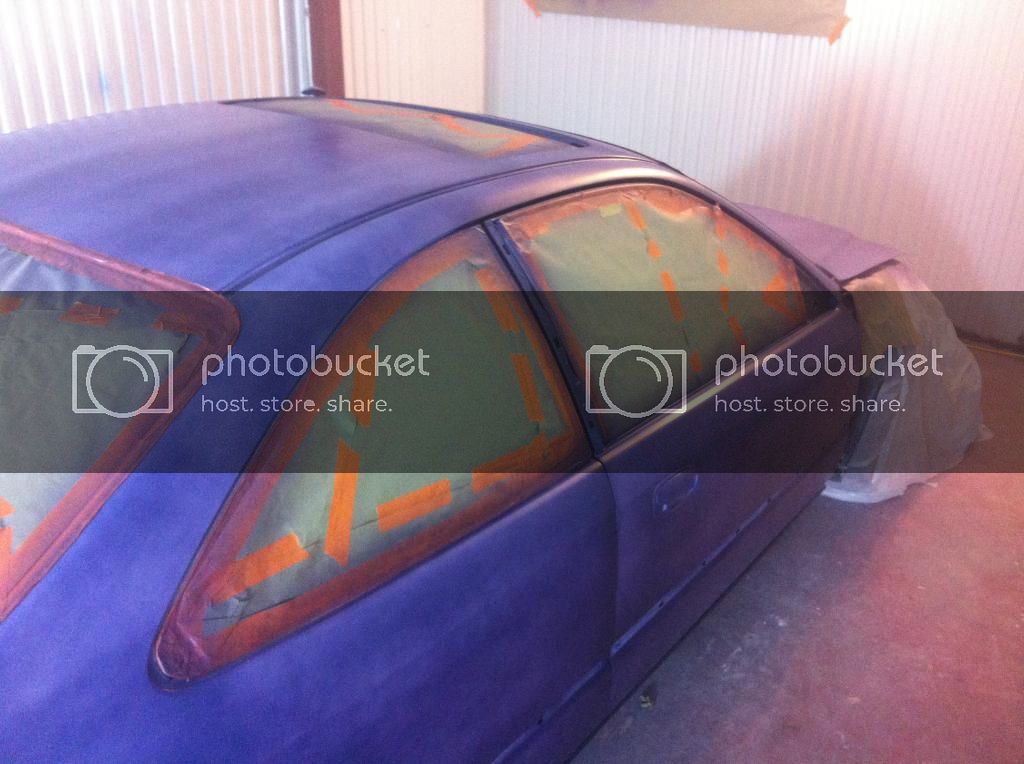
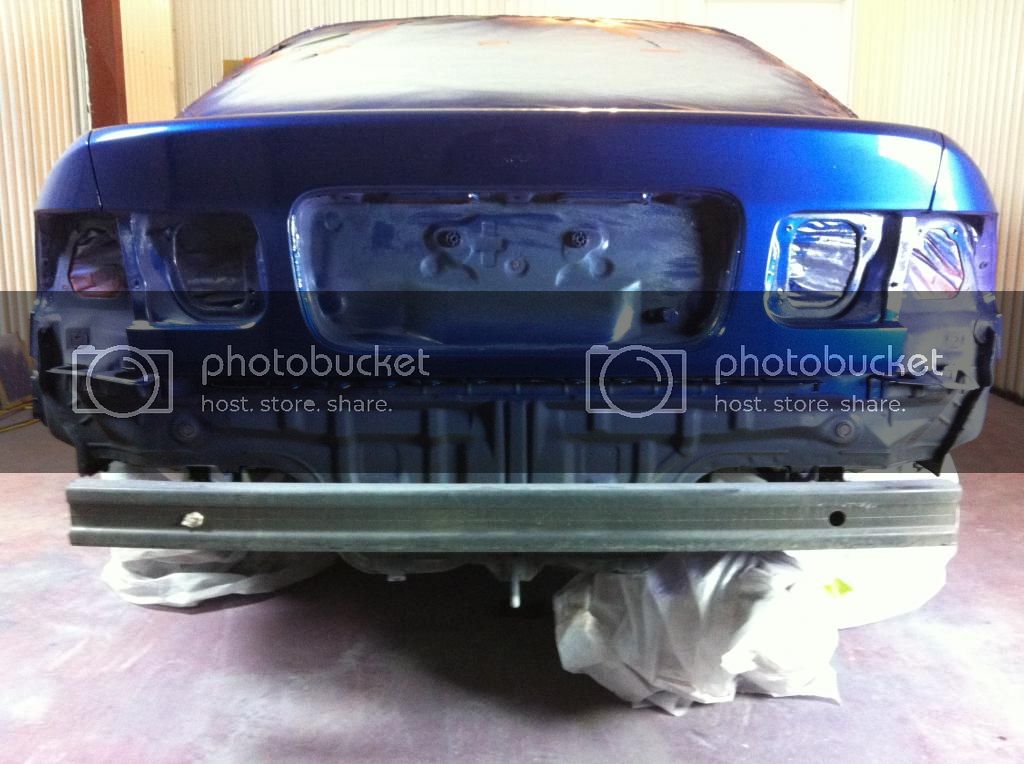
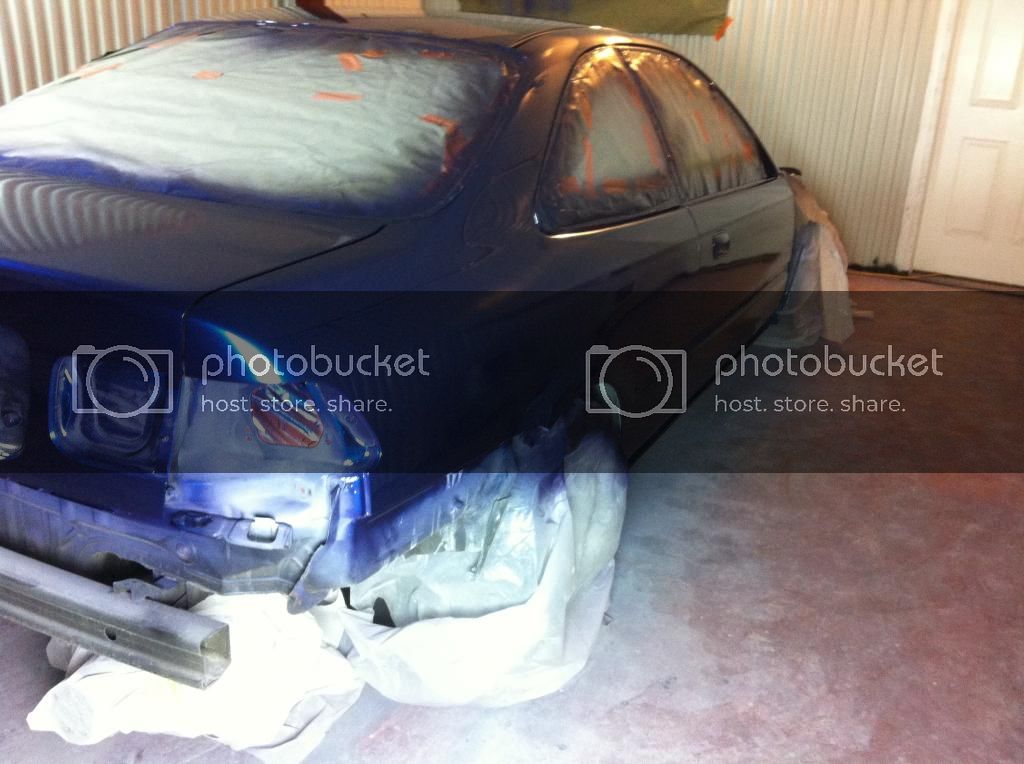
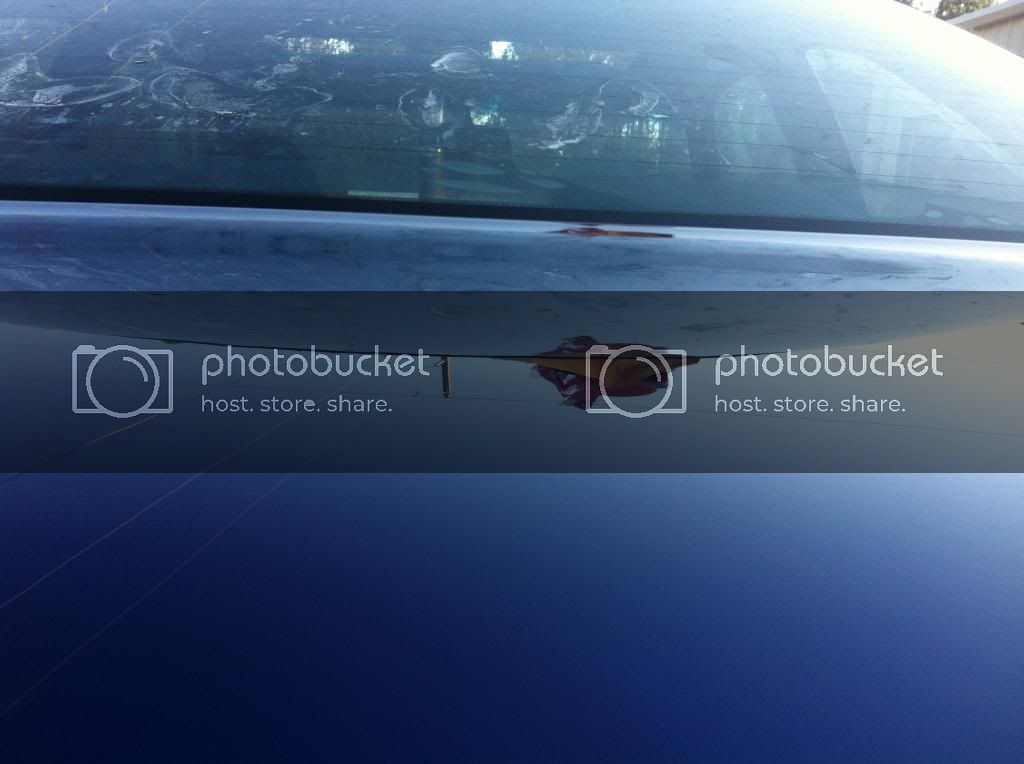
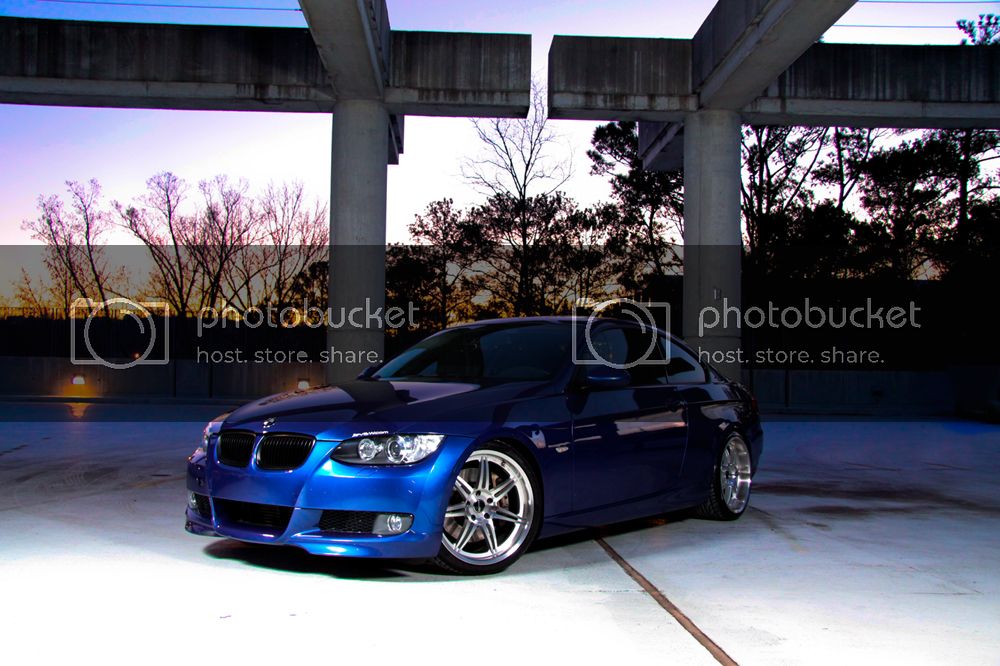
Purple Tinted (around dusk)
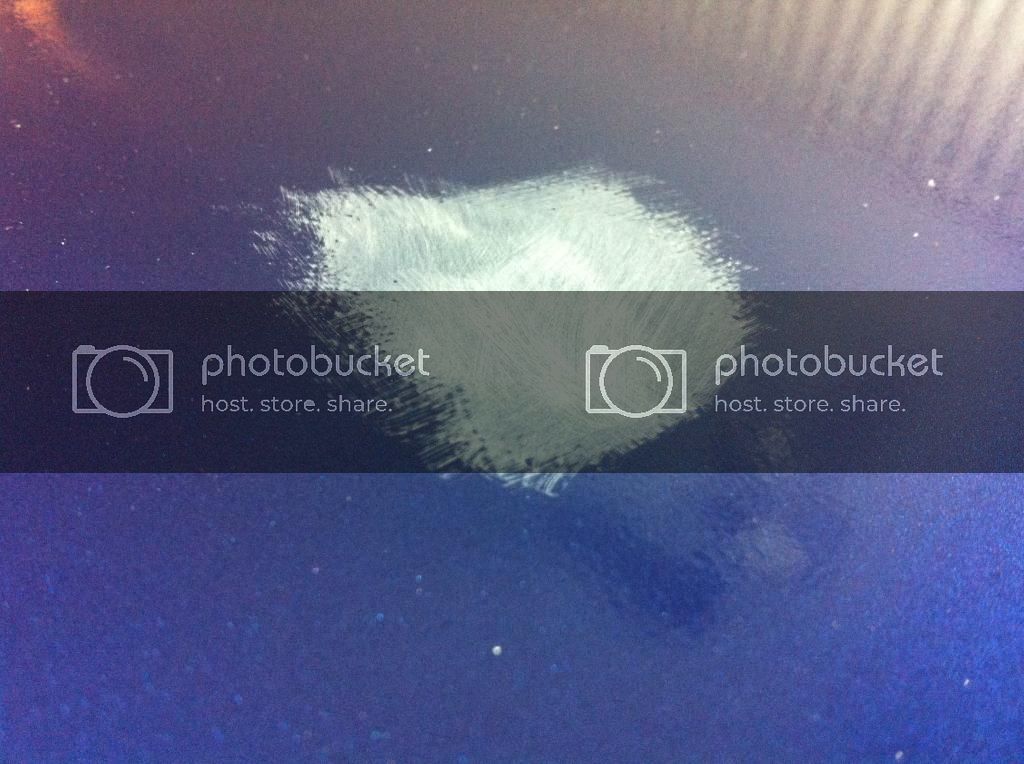
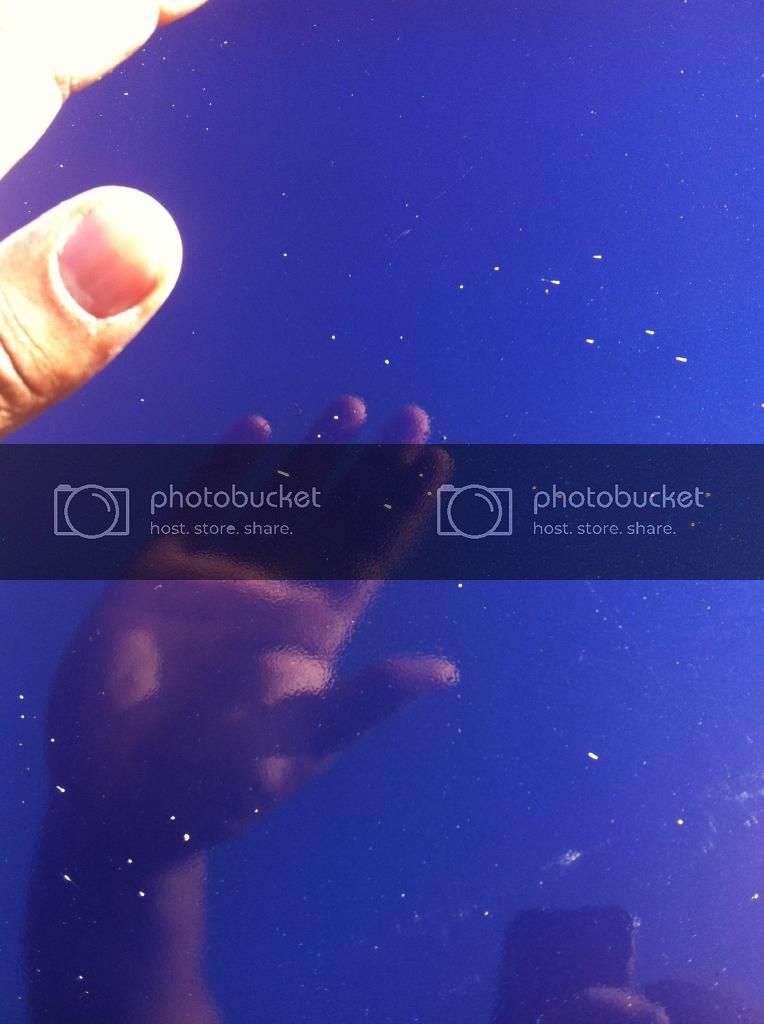
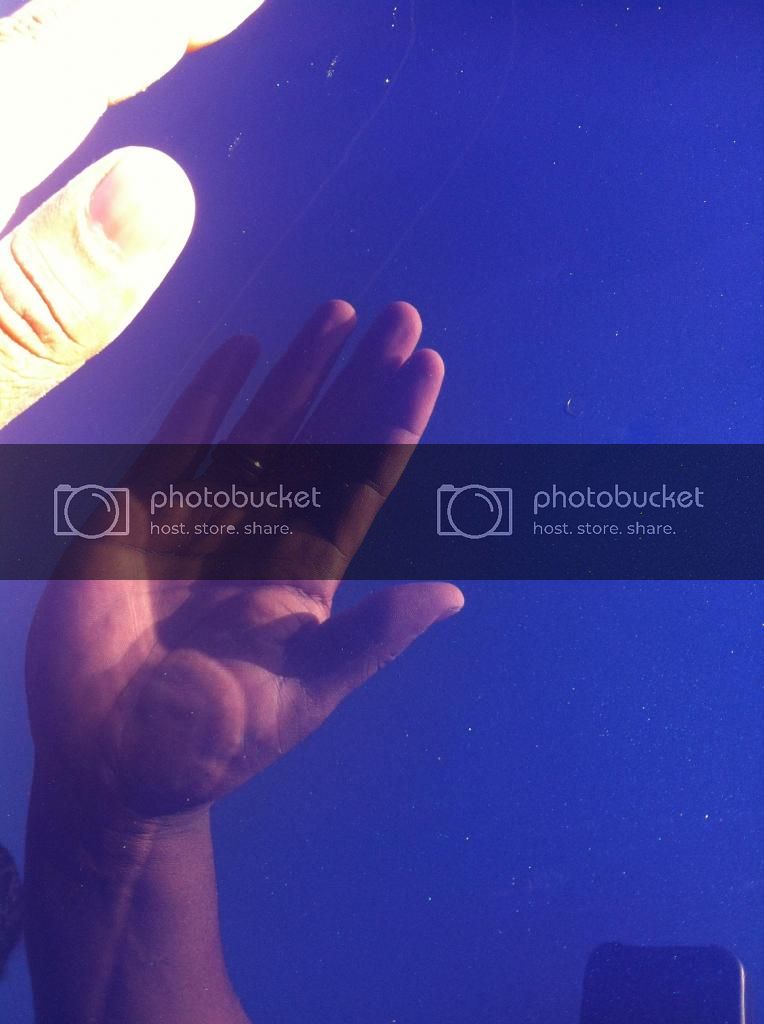
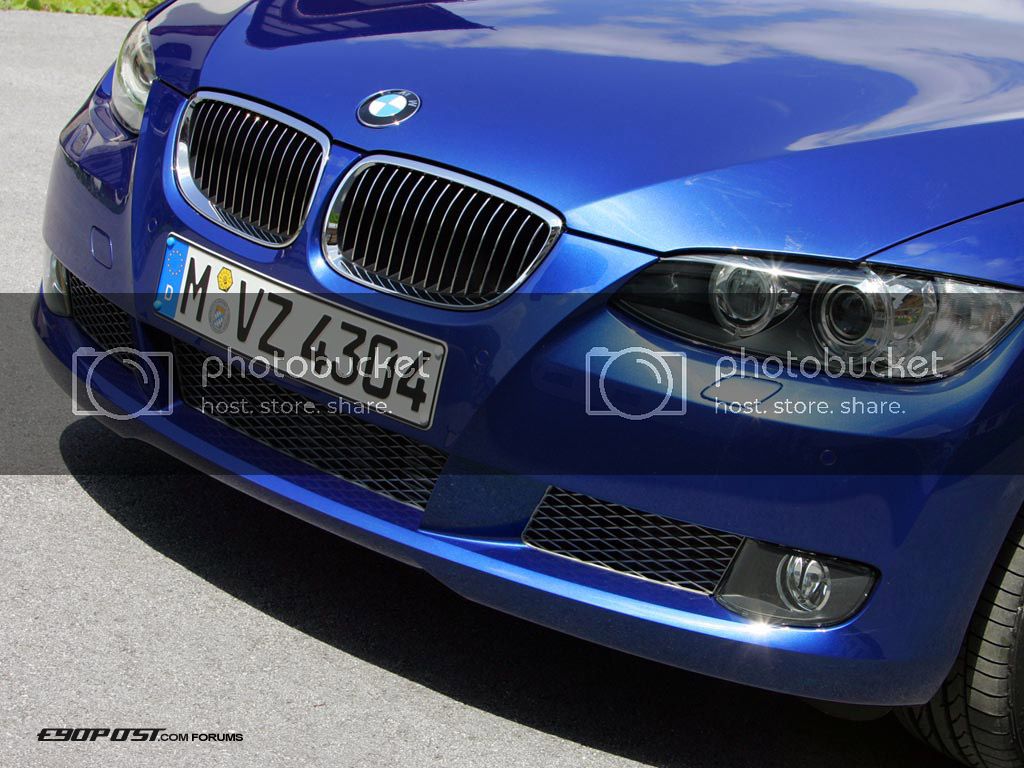
Close up:
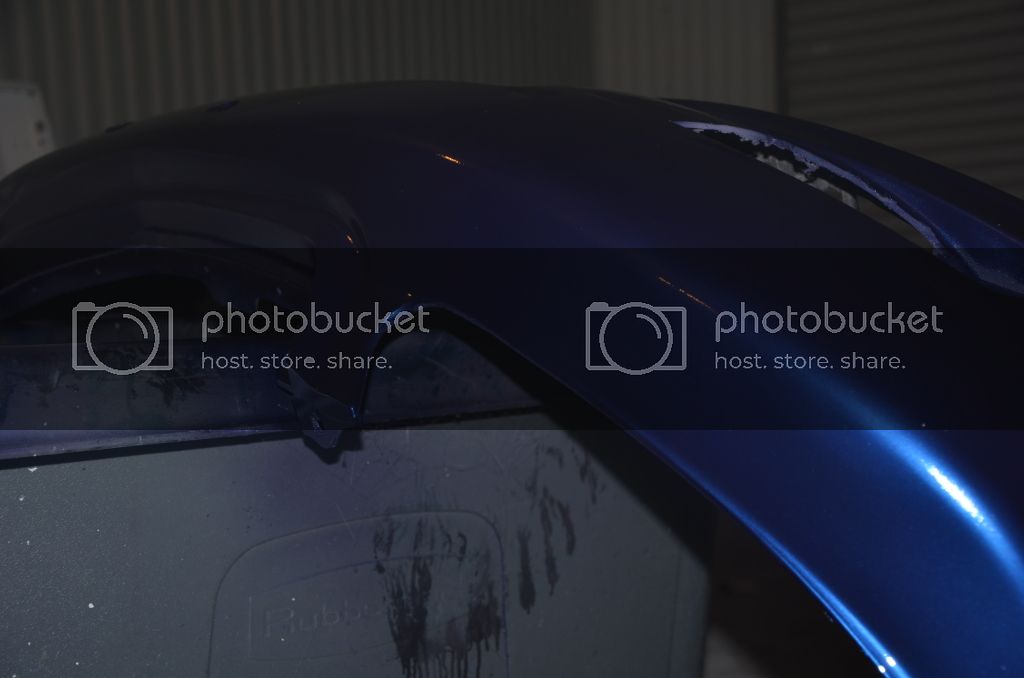
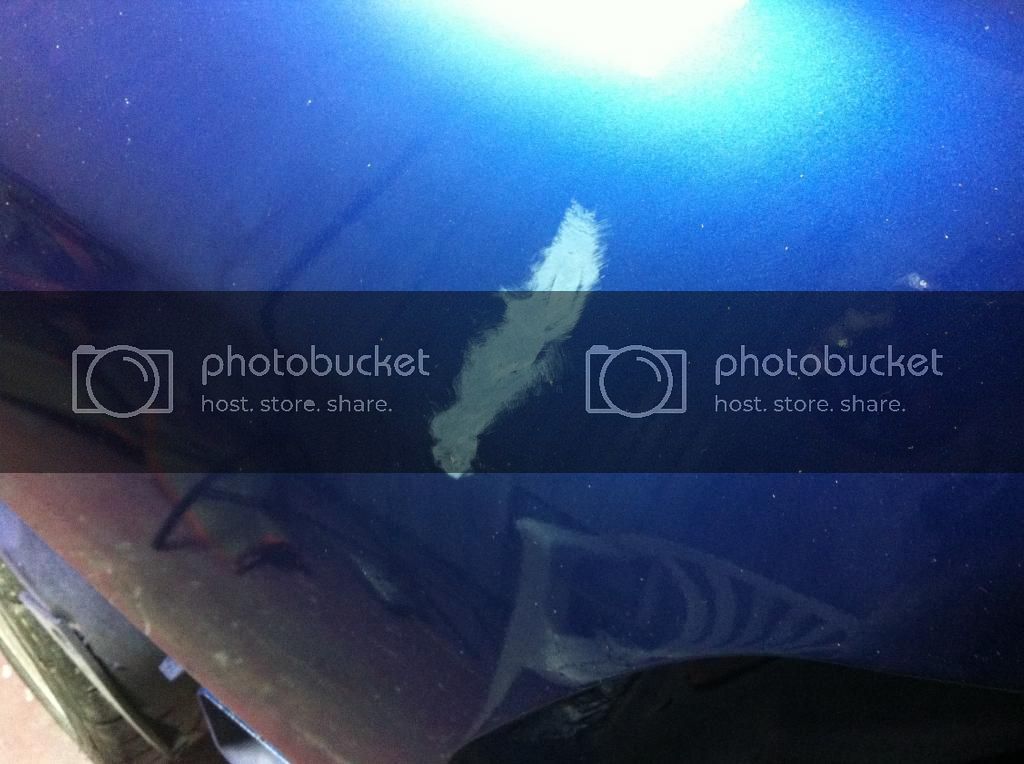
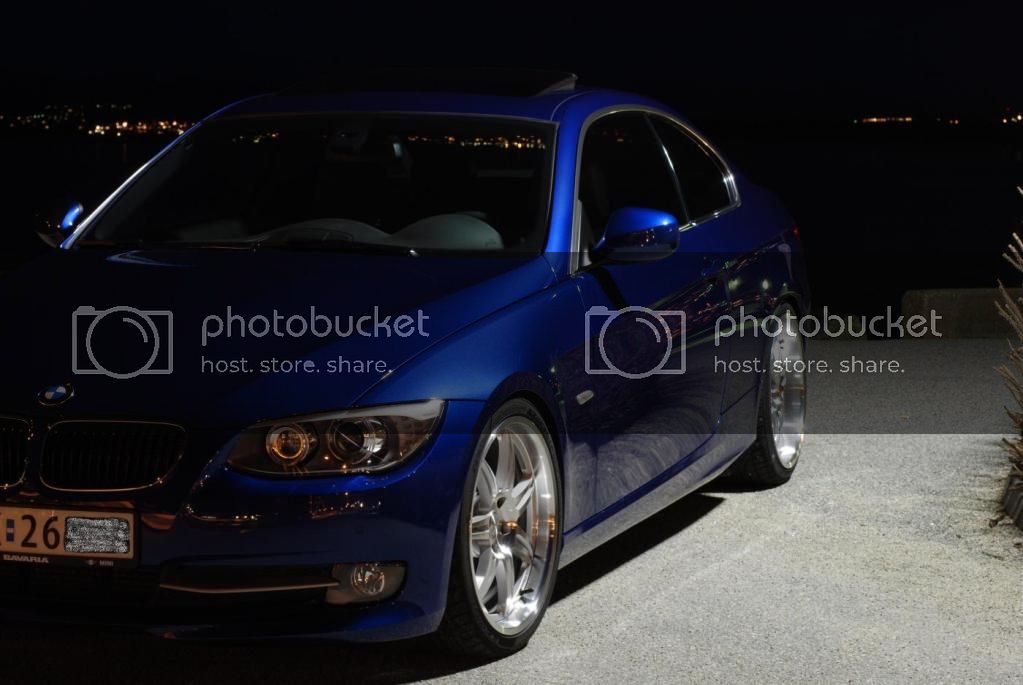
Low light:
Night shot (artificial light):
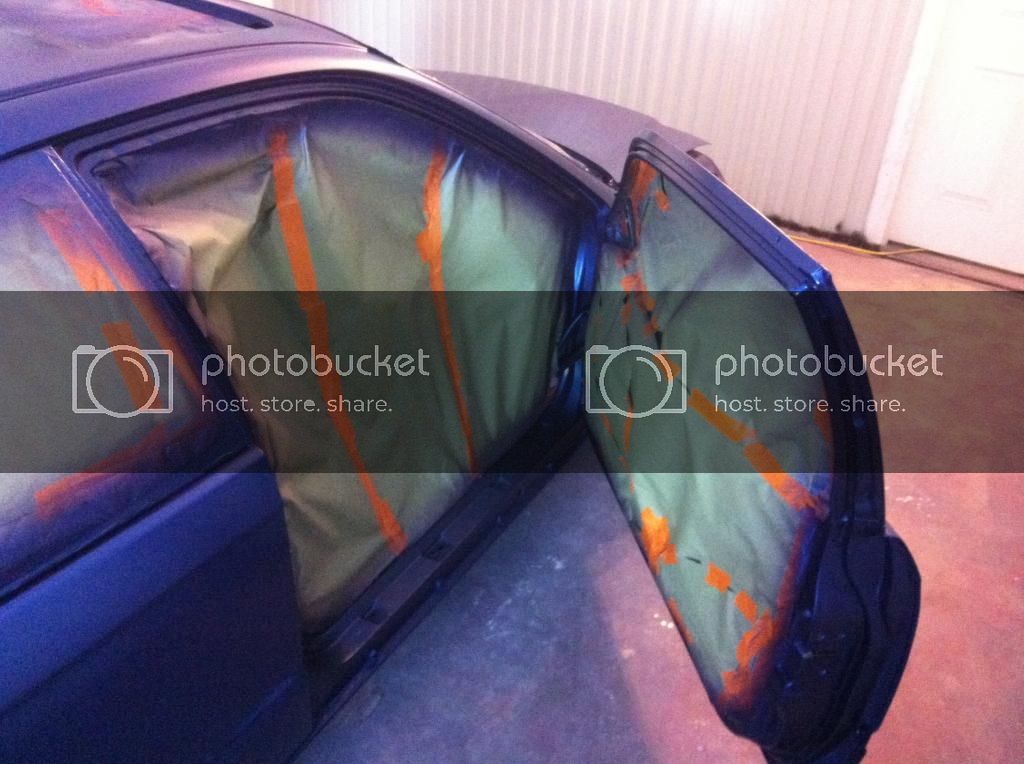
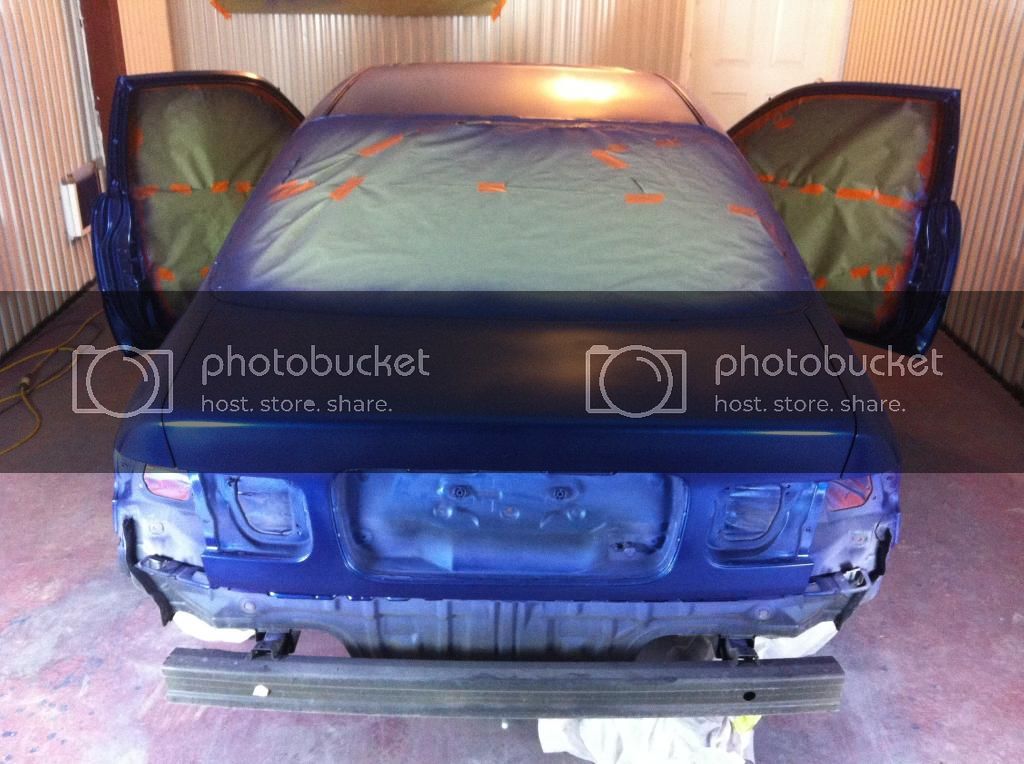
The Montego Blue Metallic happens to be my favorite color, however that would mean more work as in door jambs, trunk, etc. So those are the two choices, let me know what you guys think.
Now I've already started on the car, I've included some photos of some of the supplies that I needed, as well as some sanding, body filler shots to be scrutinized. ATTENTION: calling all those who are experienced with body work!!! I'm going to need your help as I'm sure I'll have plenty of questions and I am open to advice/constructive critisism.
This is not intended to be a diy or anything but I am going to list the things that I've done in order with pics. Quick shout out to Builda'Teg_92, he also has a paint thread going on: Let's Paint My Integra....Tools,Dents,Primers,Fillers,Paint!! - Honda-Tech check it out. After reading every page of his paint thread I decided that I needed to stop reading and start doing! Thanks bro! Also want to shout out to harmonator84, the sticky that he posted a while back; ► Everything you need to know about autobody repair. ◄ - Honda-Tech was extremely useful. If I had to give any advise to anyone that is going to take on the challenge of painting there own car, make sure that you read that thread!!!
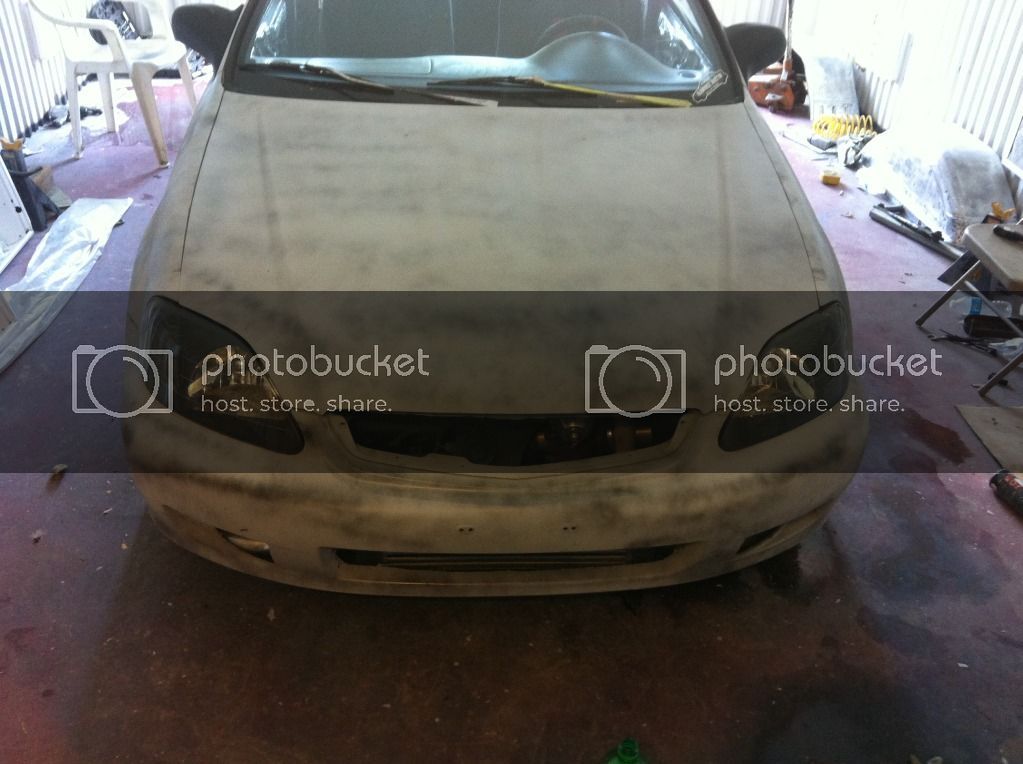
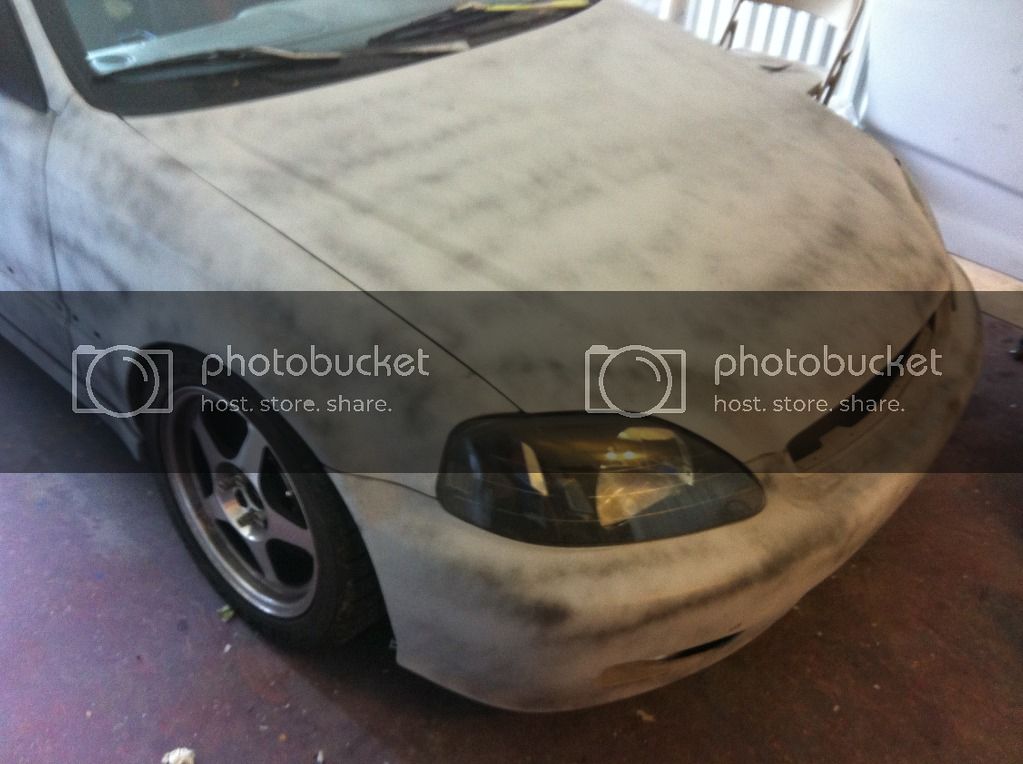
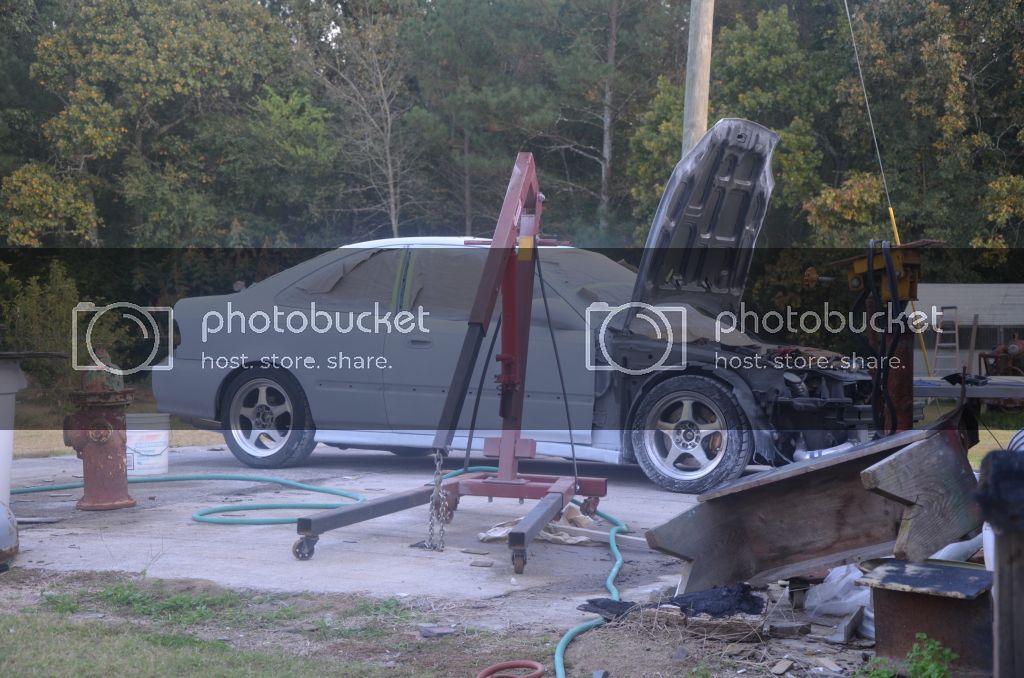
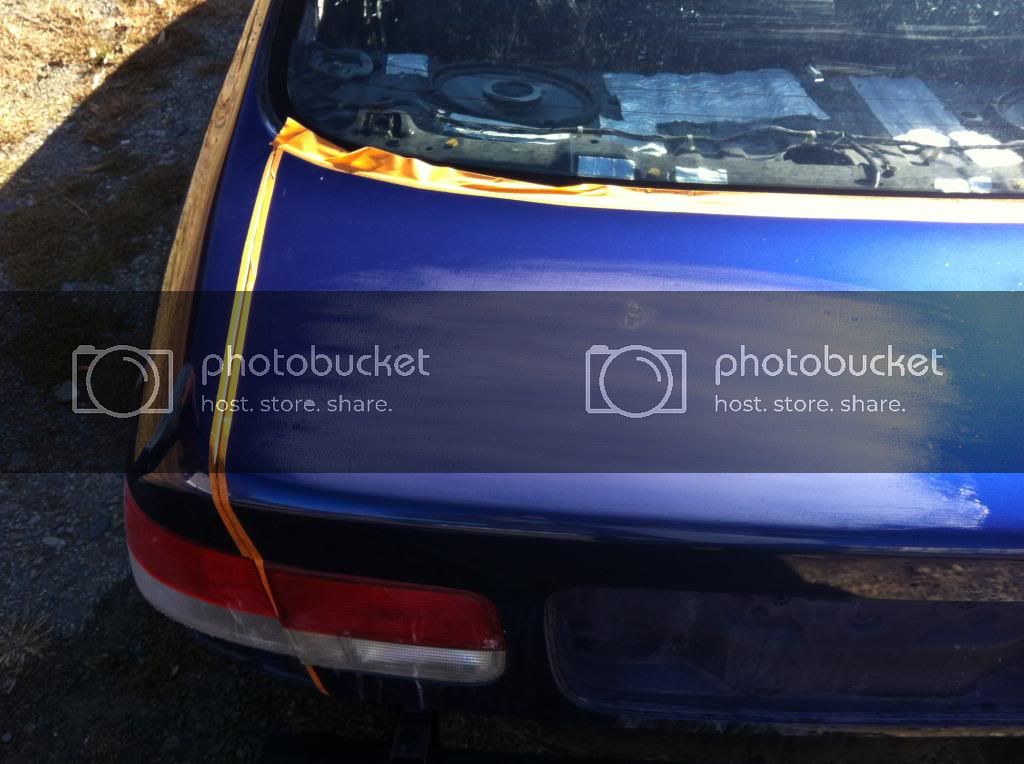
Ok on to the body work:
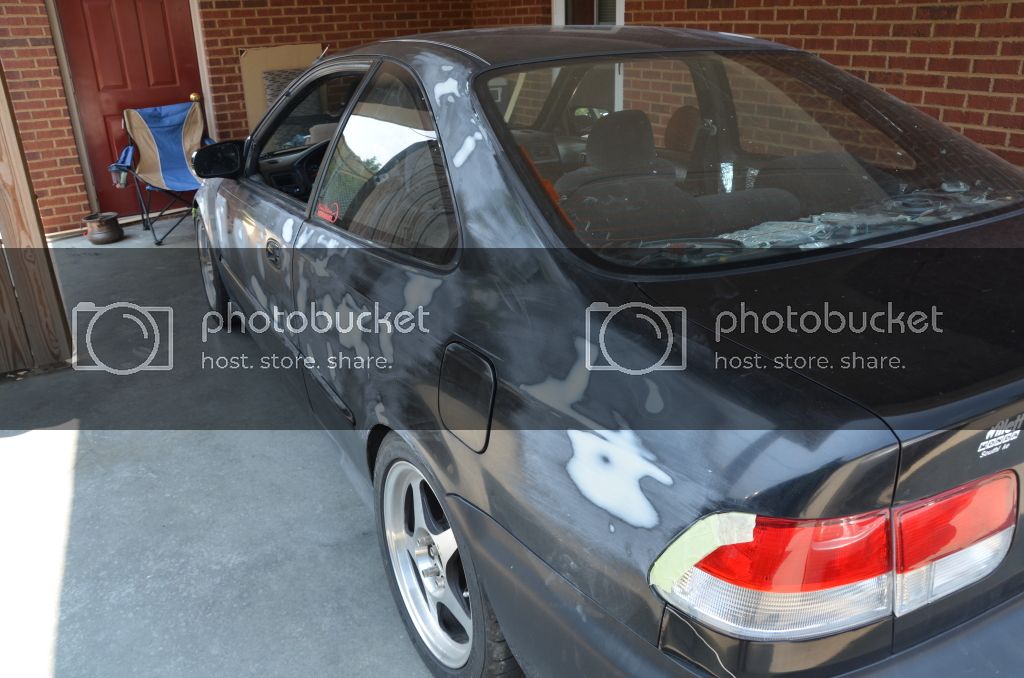
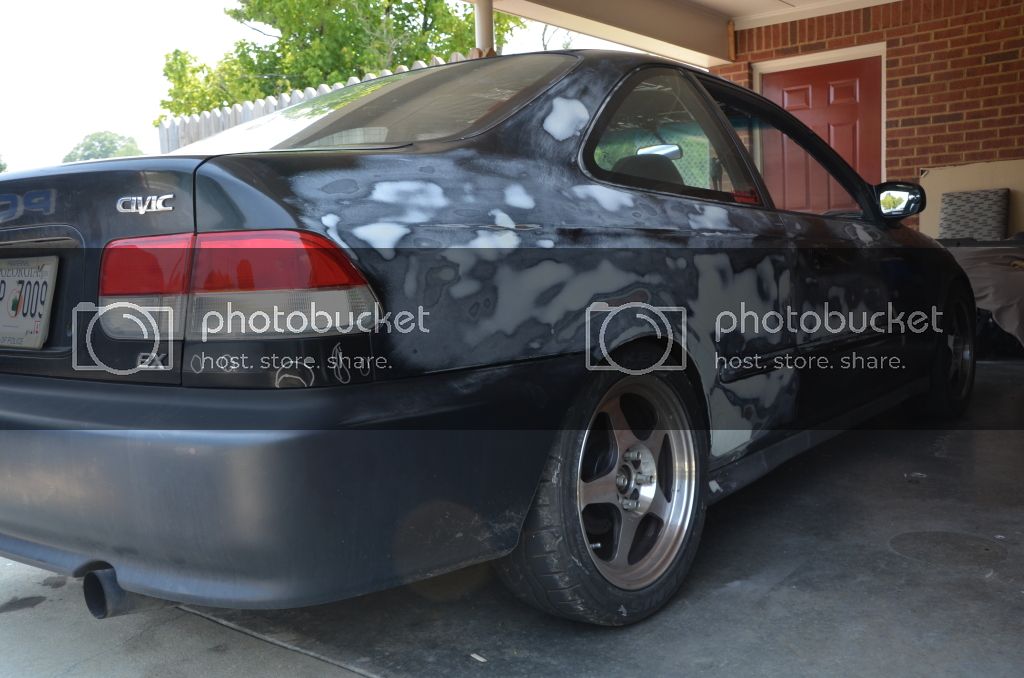
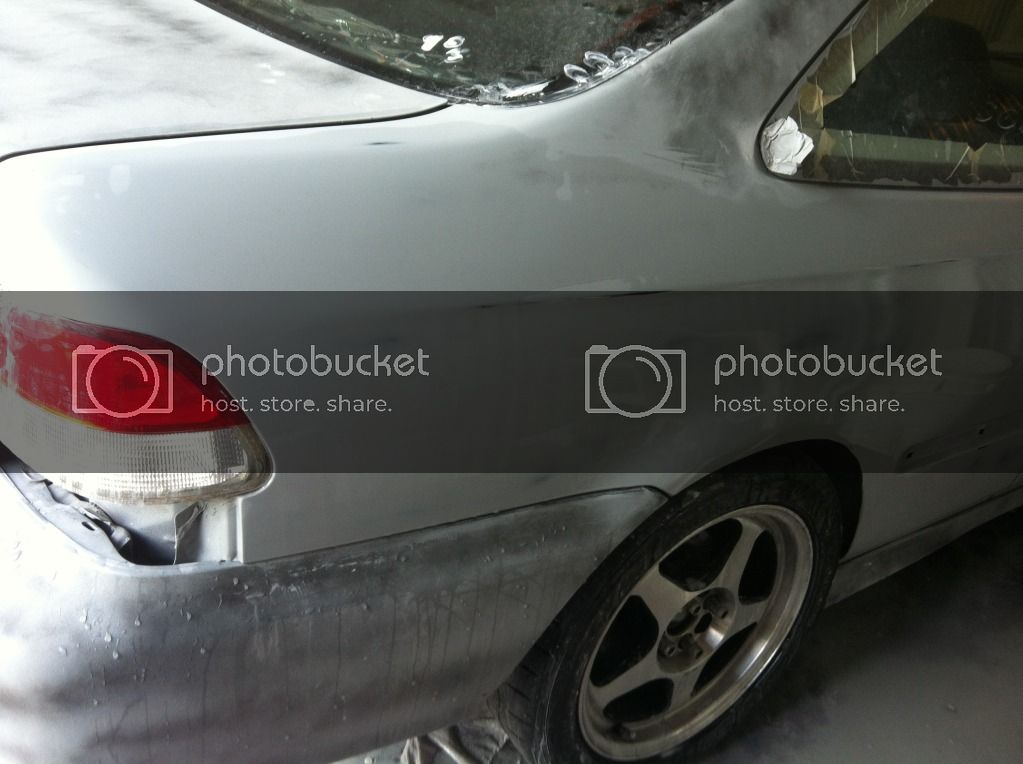
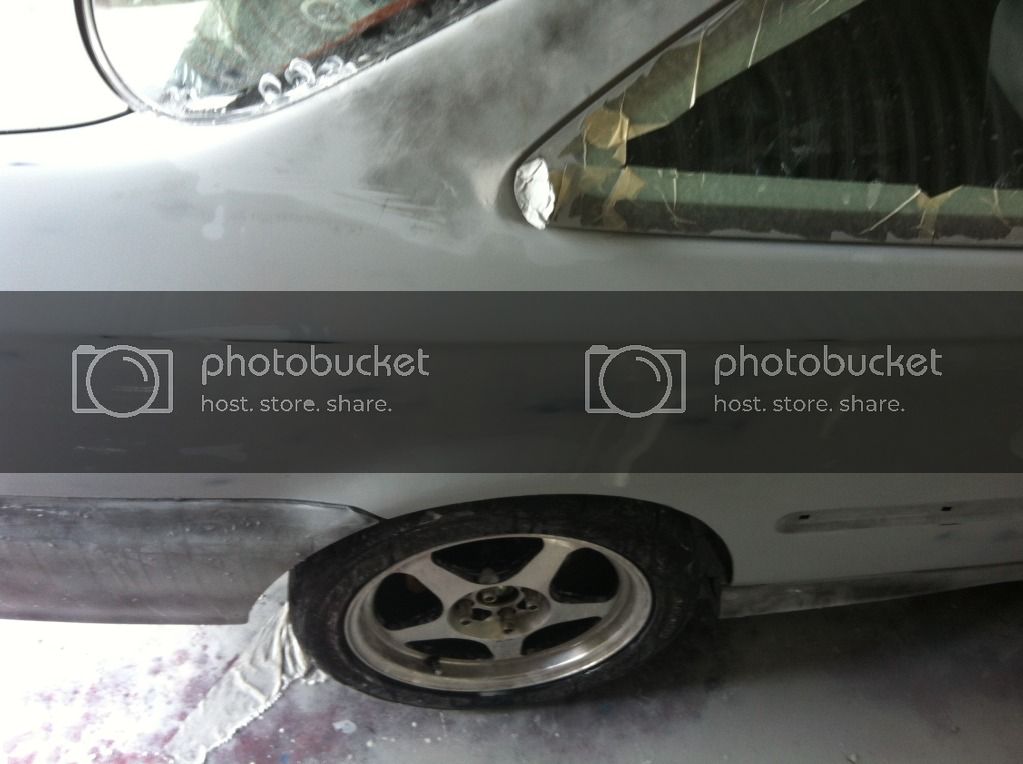
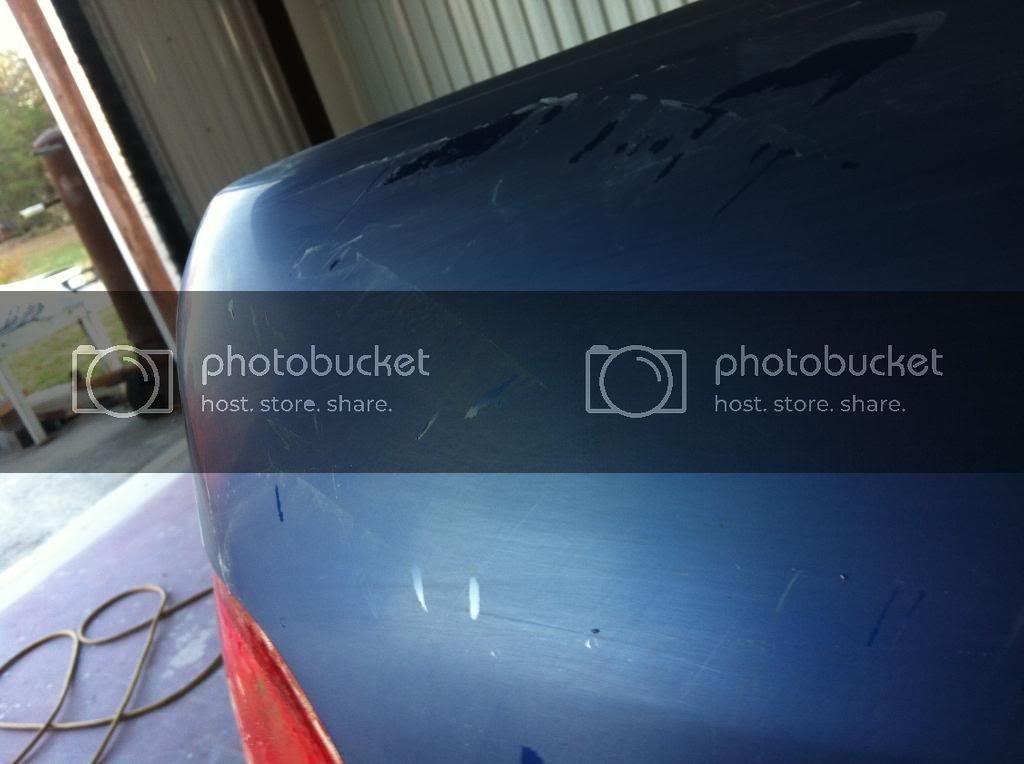
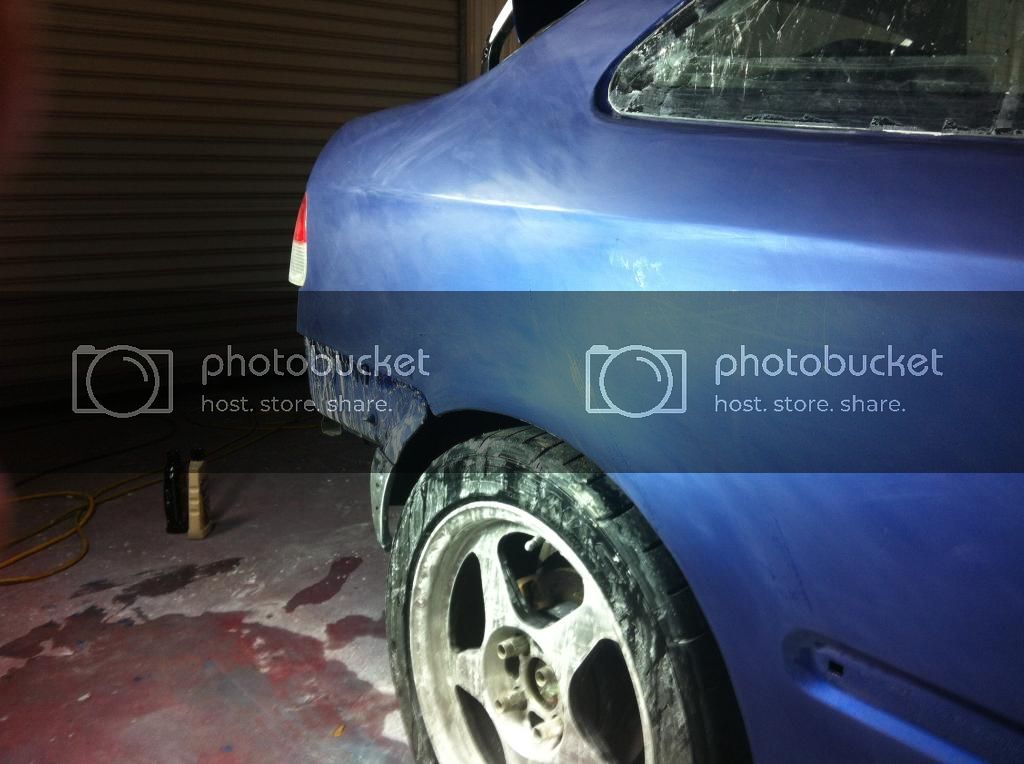
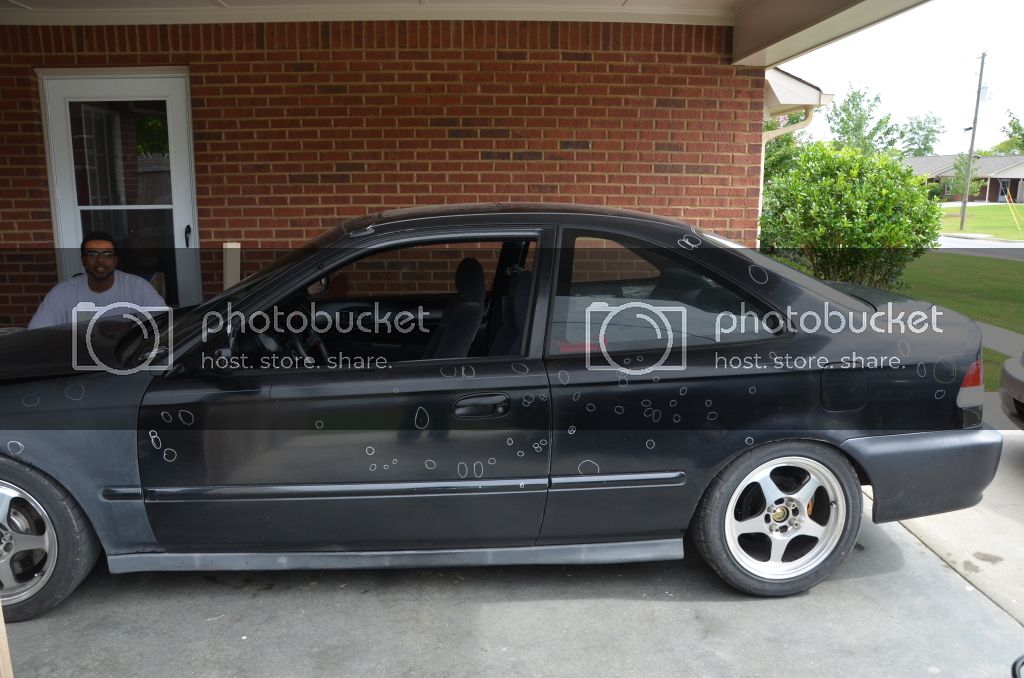
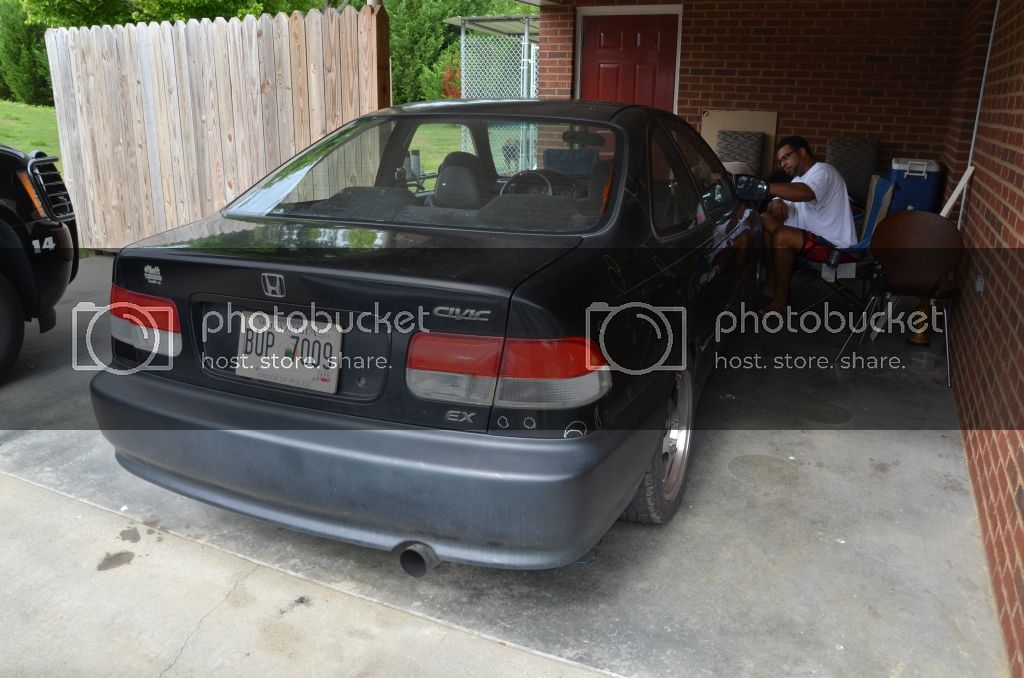
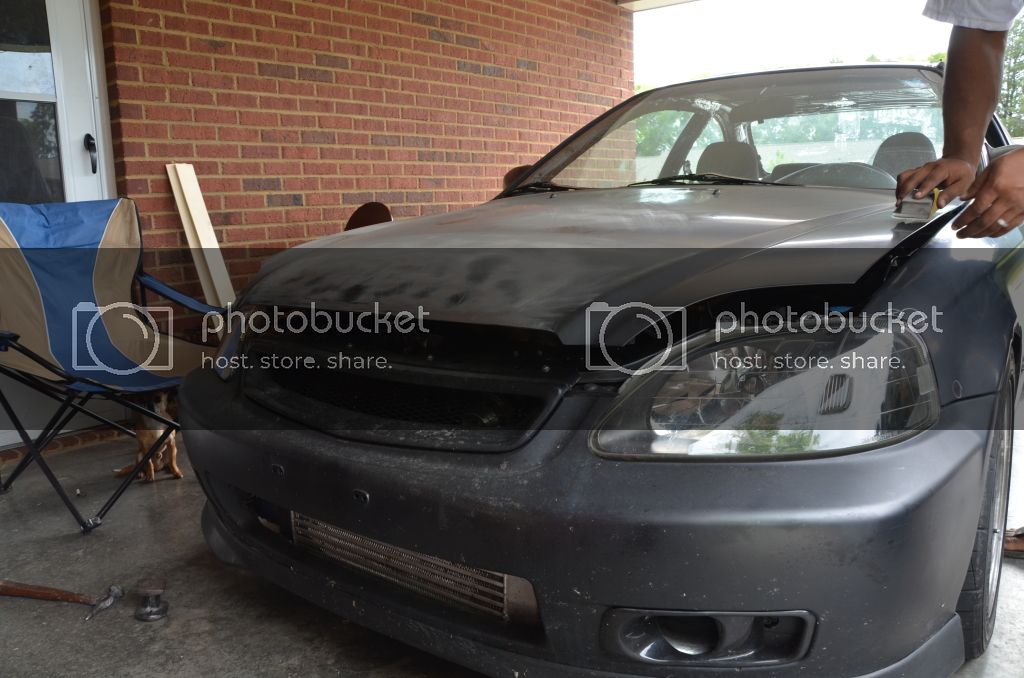
The first pics show when I went around my car and identified every single ding, dent, crease, fold and fat person. In all I think I circled over 100 issues!! If I found a ding or dent I would circle it indicating a low spot, if I found a high spot I would still circle it, but I would also put an X over the high spot.

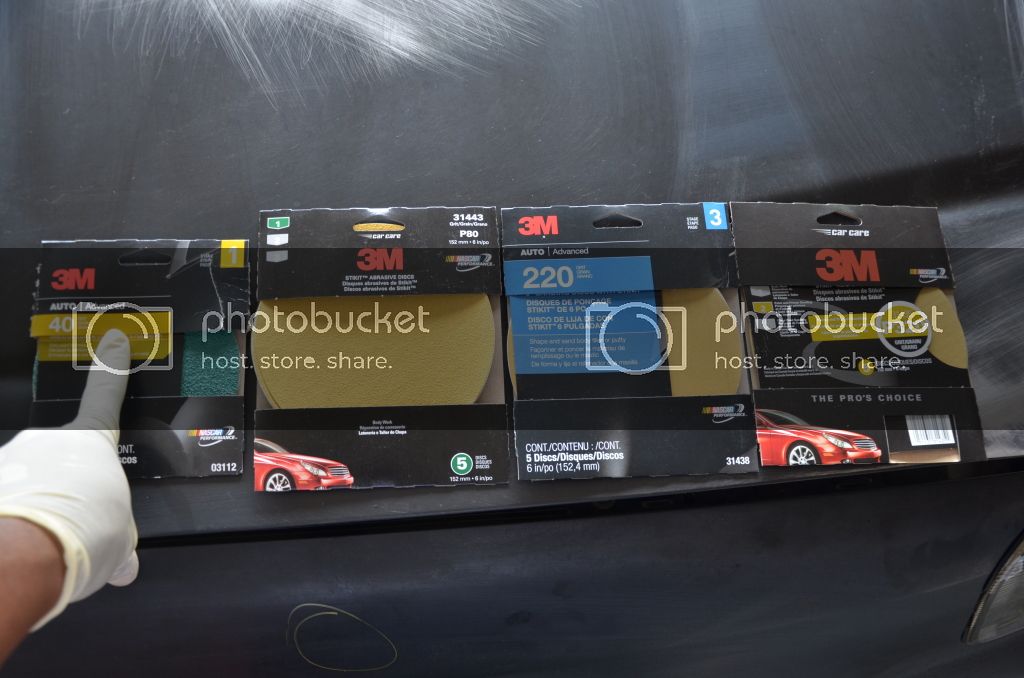
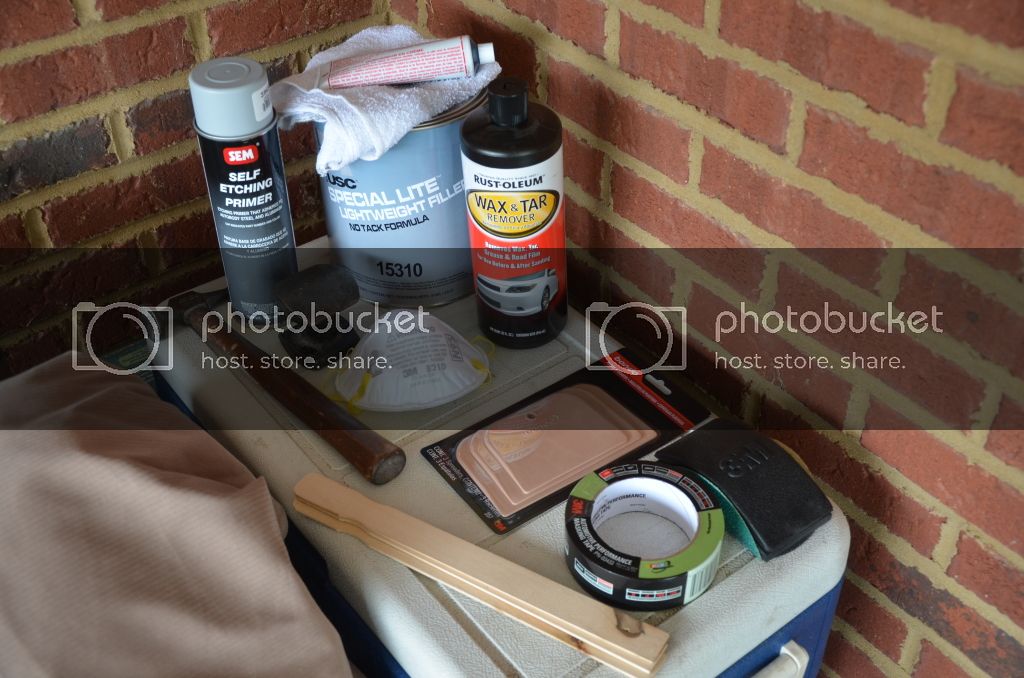
Ok a little rundown on the supplies needed to sand and use body filler. First up is sanding, I needed a variety of different types of sand paper.
40 Grit: for sanding around various dents and dings. This paper needed to be very coarse so that I could get all the way to the metal.
80 Grit: used for after you use the body filler and now need to sand. Its basically so that you can knock down some of the high spots and roughly get the desired shape that your looking for.
220 Grit: this one will be used after you got the rough shape that you were looking for with the 80 grit. I also used this grit to featheredge the edges so that it blends with the un-body filled areas.
320 Grit: I used this to sand the rest of the body where no body filler was used. This is the grit that I'm going to use before applying my 2k filler primer.
From left to right, 40 grit, 80 grit, 220 grit and 320 grit (really cheap, maybe $4 a piece)
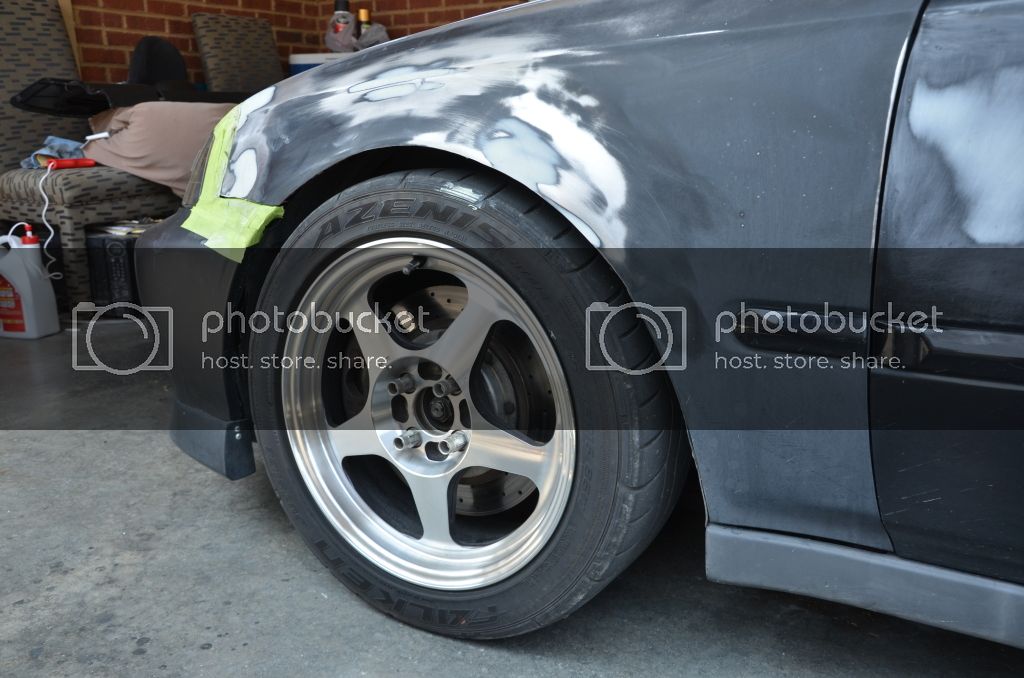
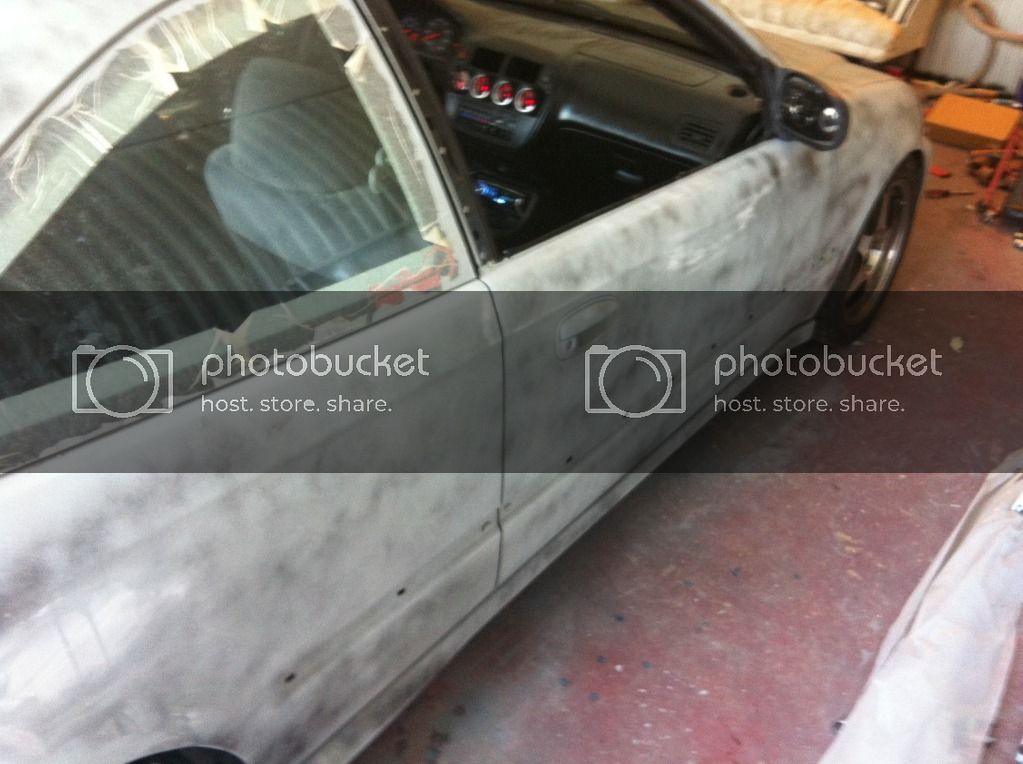
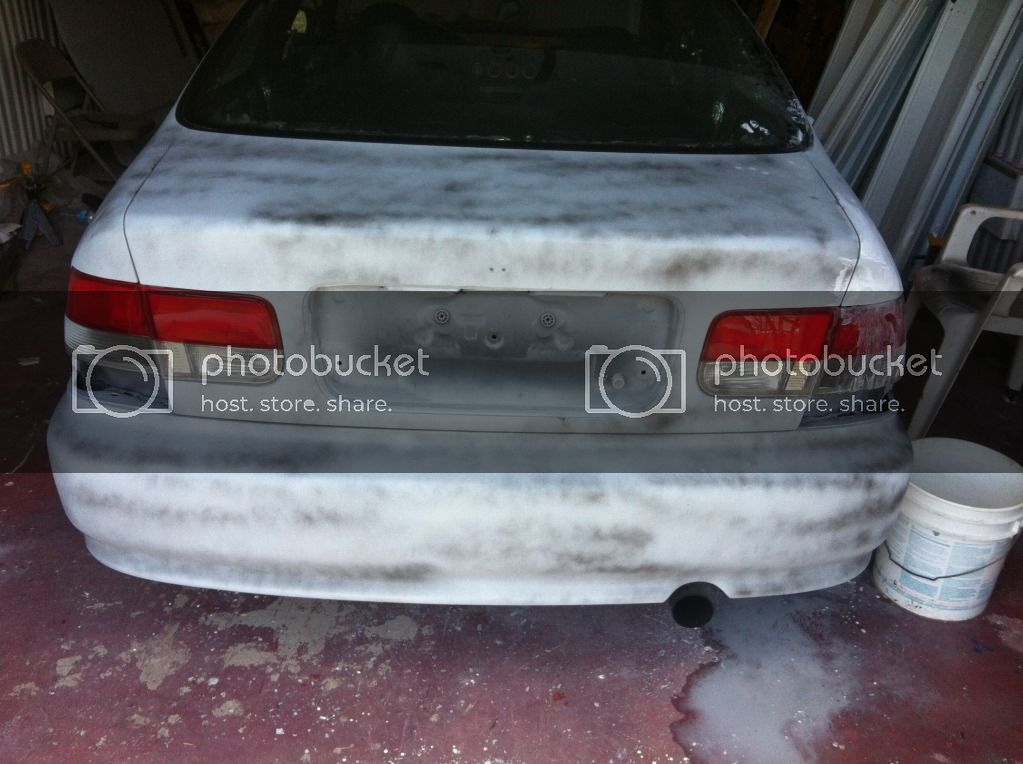
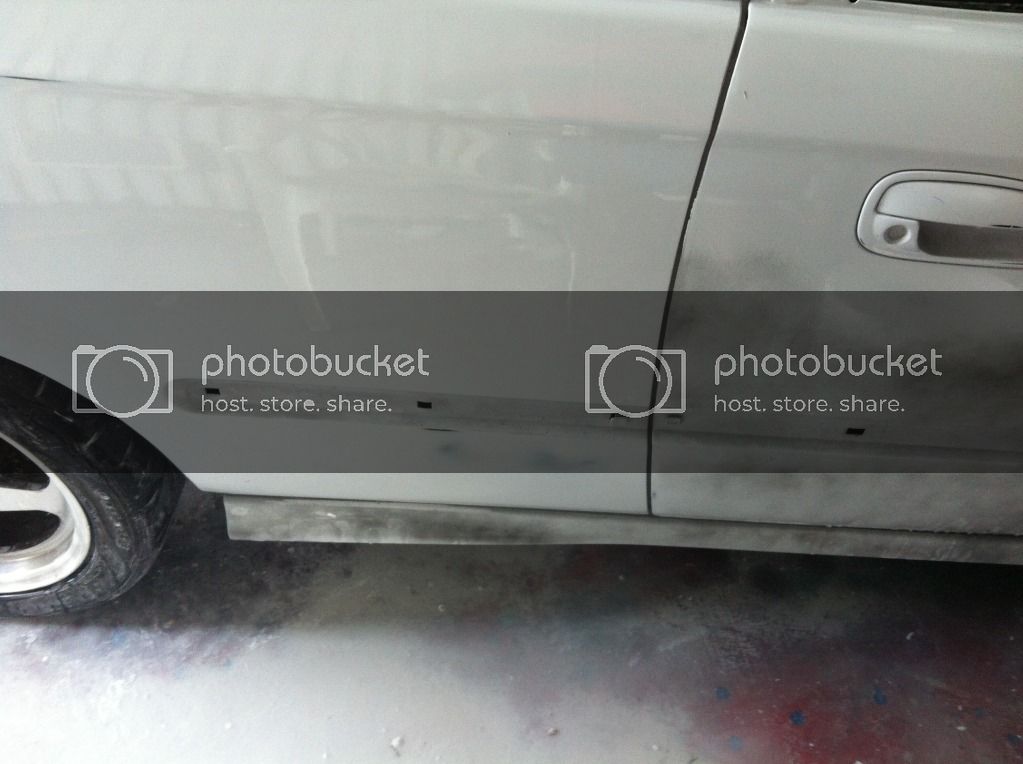
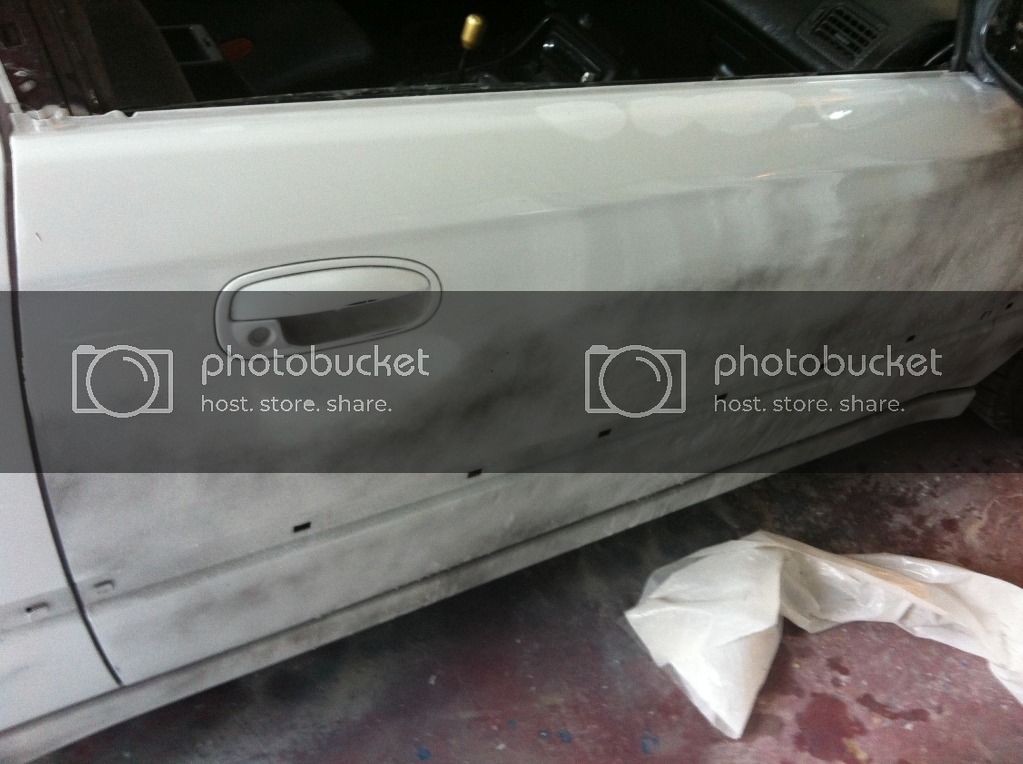
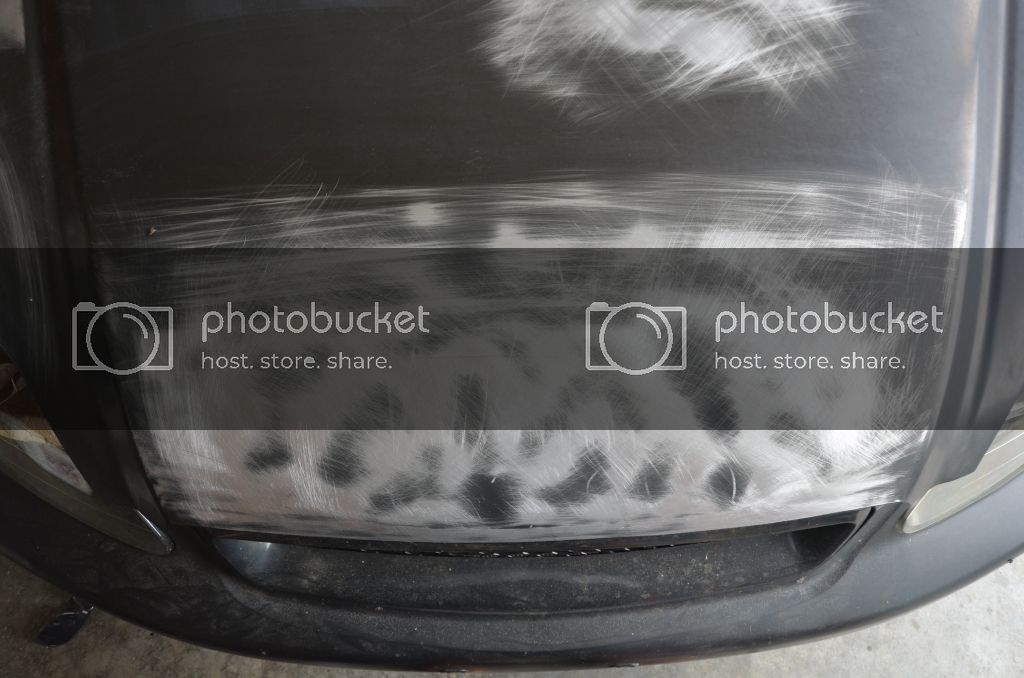
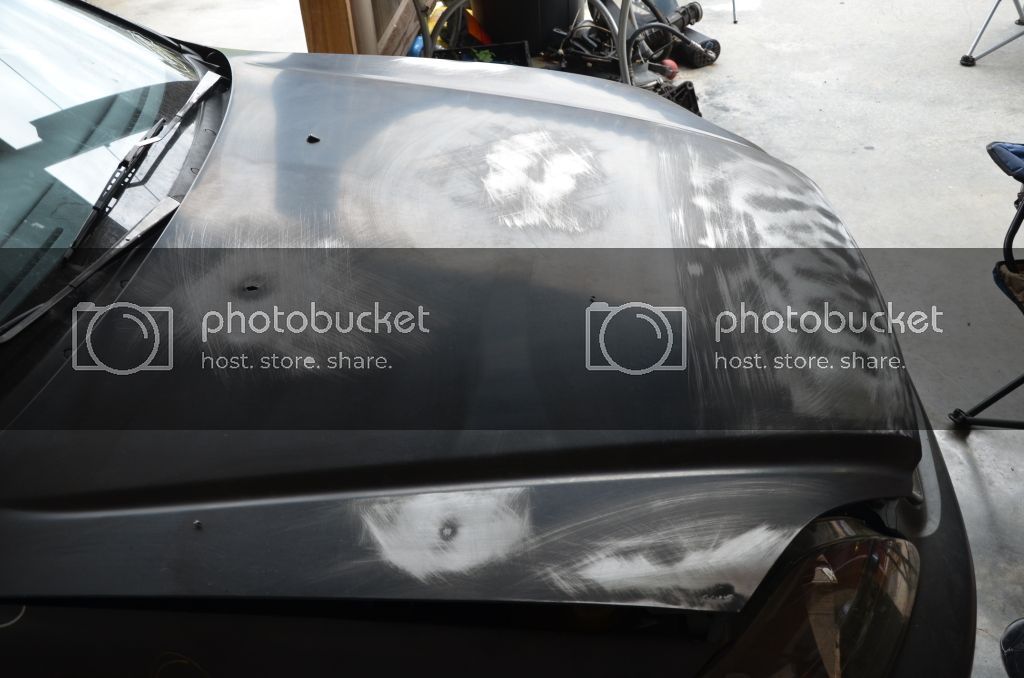
Now some sanding, again I used the 40 and 80 grit sand paper to get all the way to the metal. You'll notice that even though I had the dings and dents circled, after sanding to the metal it made the same dings and dents very apparent which helps!
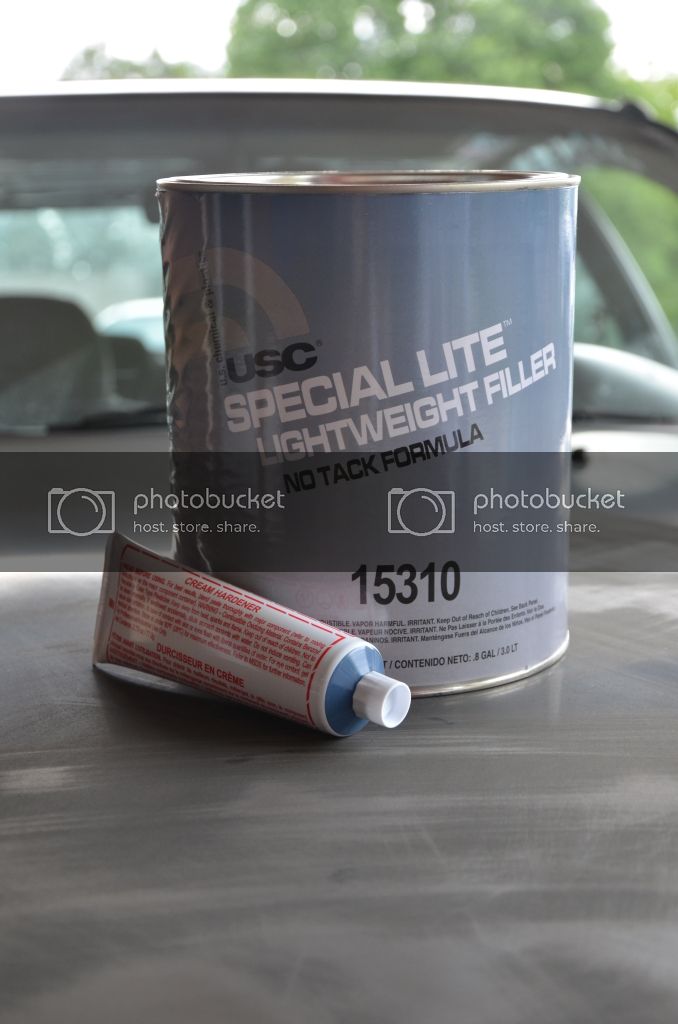
Other supplies:
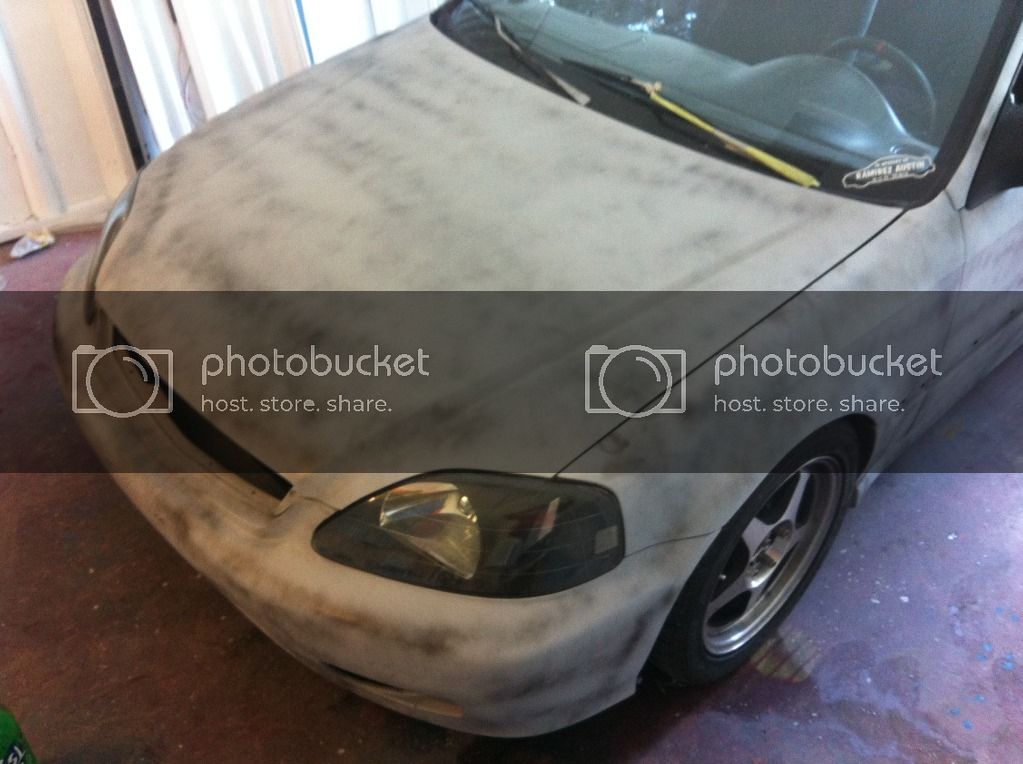
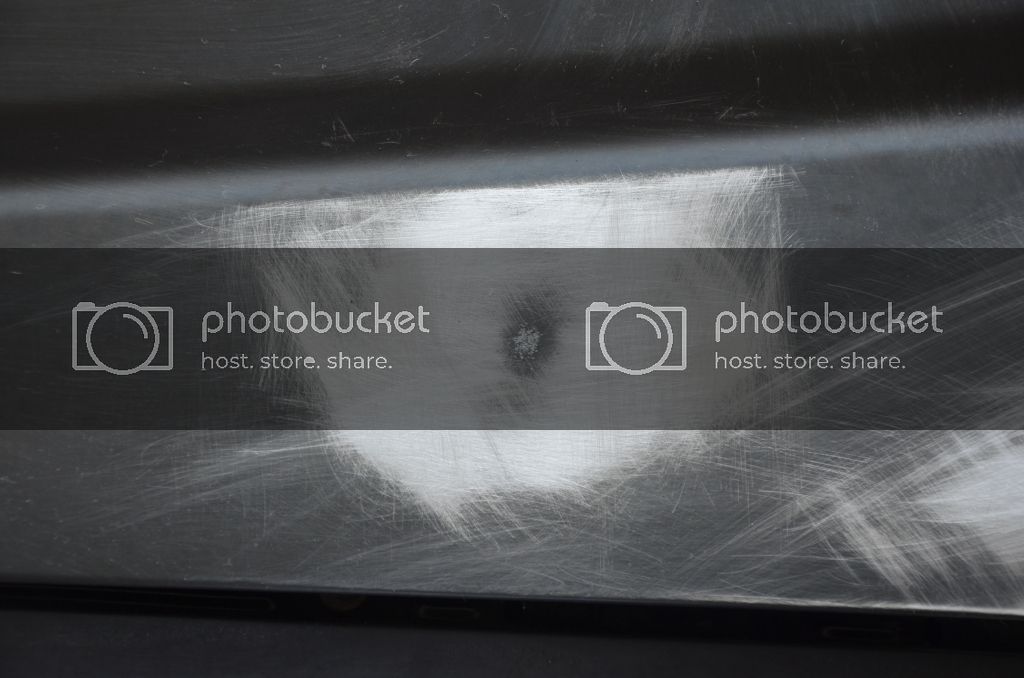
In this pic if you look towards the center of the circle you will see some very small ding marks. This is from where I had a high spot and I used a body hammer to lightly tap it below the surface of the hood so that I could use body filler to make is smooth.
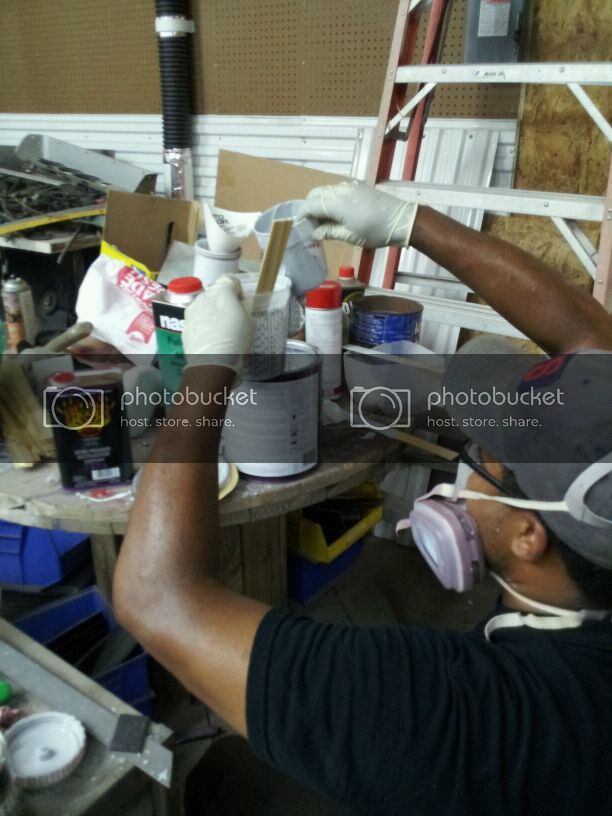
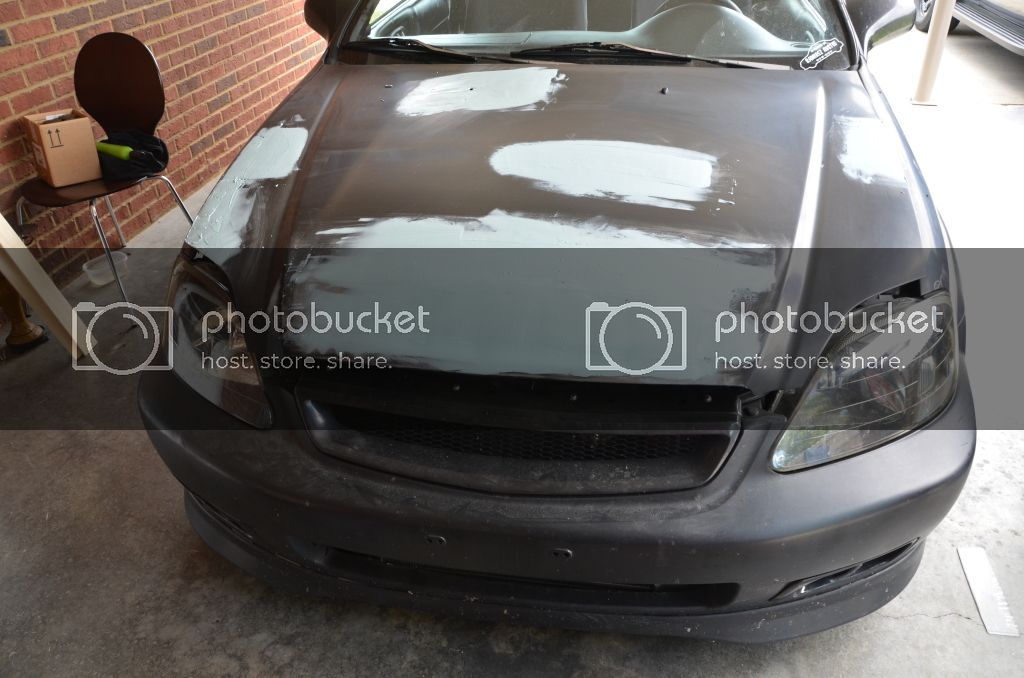
Now after the sanding I wiped down the entire hood really good with a degreaser, wax remover stuff. After it dried it was time for body filler. I would recommend that you follow the directions on the can of body filler as they will tell you the ratio of body filler to hardner and how long to wait before sanding!!
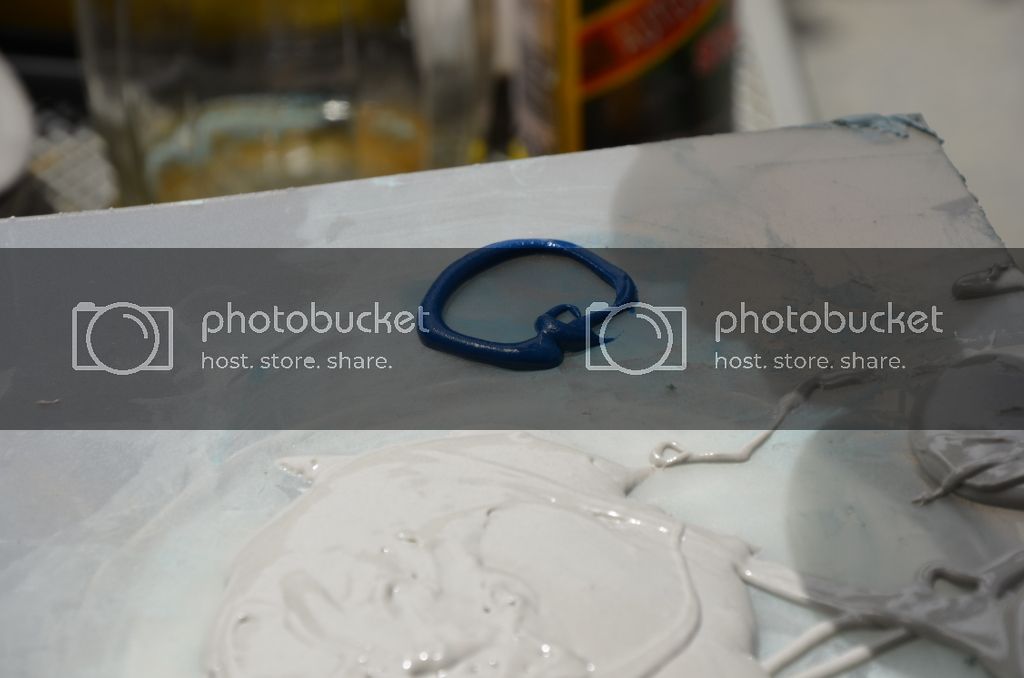
Time for mixing:
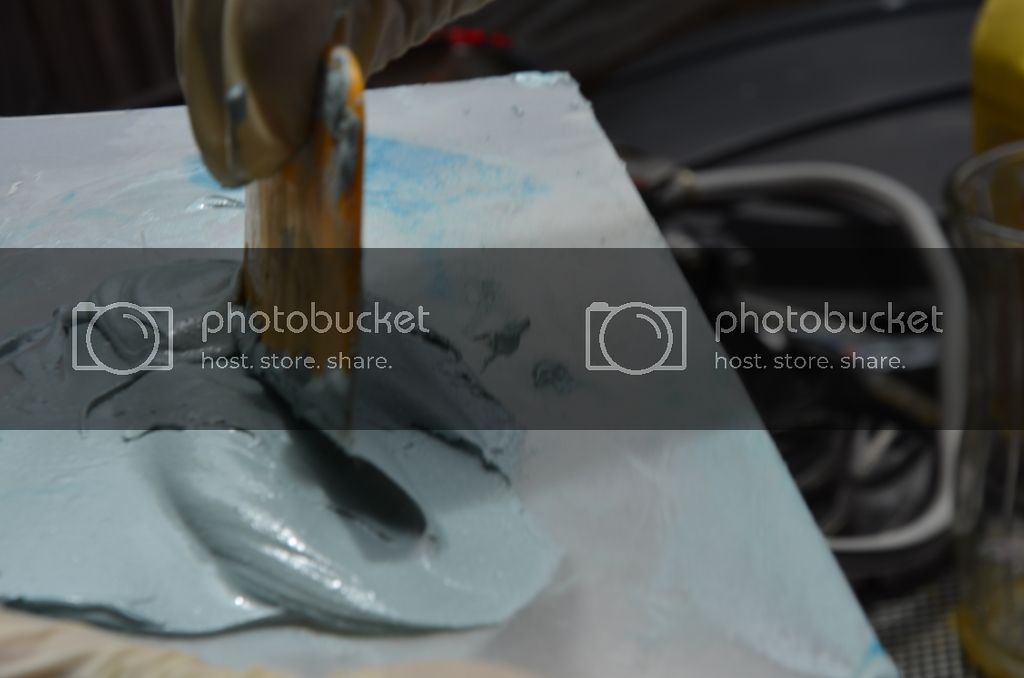
After mixing was complete:
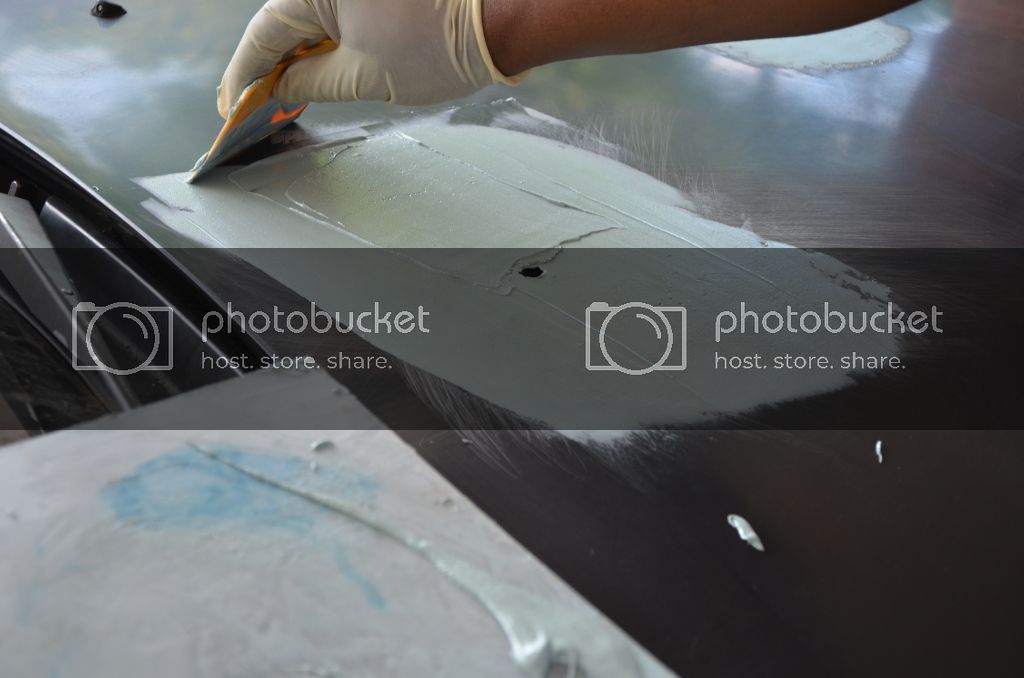
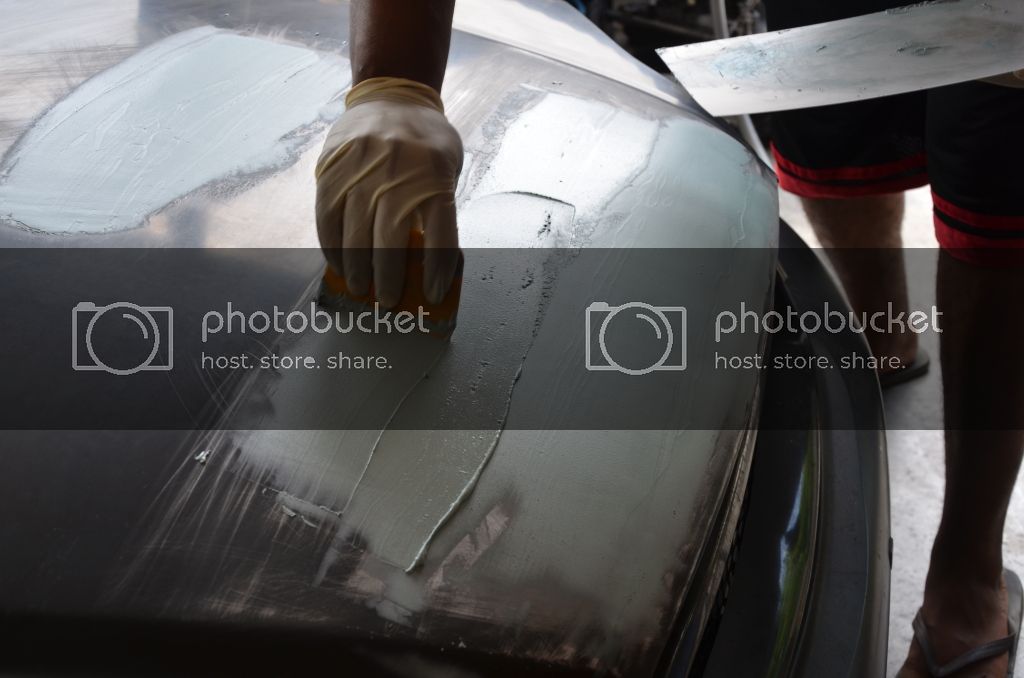
Now time for spreading which should come immediately after mixing is complete. According to my instructions on the can I only had about 3-4 minutes to get the body filler on the car before it started to harden up on me. I waited the suggested cure time of 20 minutes before applying more layers of body filler.
Thats it for now, maybe I'll have some more up later tonight as I need to get back outside and start sanding. Remember to leave your suggestion on what paint color I should choose!!
End of original post lol.
The original post:
As the title states I've gotten to a point with the rest of my build where I can take a break and start some much needed body work. DISCLAIMER: The last time that I did anything that was body/paint oriented was back in high school (12-13 years ago). So I'm scared as hell, but I'm going to go for it anyway. I already have a build thread going on: SRDFTITAN'S 97 EJ8 TURBO BUILD THREAD!! PICS/VIDS **CUSTOM GAUGE HOLDER** - Honda-Tech.
Anyway I'm still a little undecided on the exact color that I'm going to paint my car, and I'm going to leave it up to everyone on various forums to decide for me. I'm going to let you guys decide because I'm tired of thinking about it lol! Now on to the choices!!
The stock color:
Granada Black Metallic Clearcoat NH-503P
OR
Montego Blue Metallic (e90 BMW's)
This color flip flops like a mother, so I posted more that one photo so you can see the many shades of this color.
Direct Sunlight, nice mix of colors (light purple, light blue, dark blue, electric blue)
Purple Tinted (around dusk)
Close up:
Low light:
Night shot (artificial light):
The Montego Blue Metallic happens to be my favorite color, however that would mean more work as in door jambs, trunk, etc. So those are the two choices, let me know what you guys think.
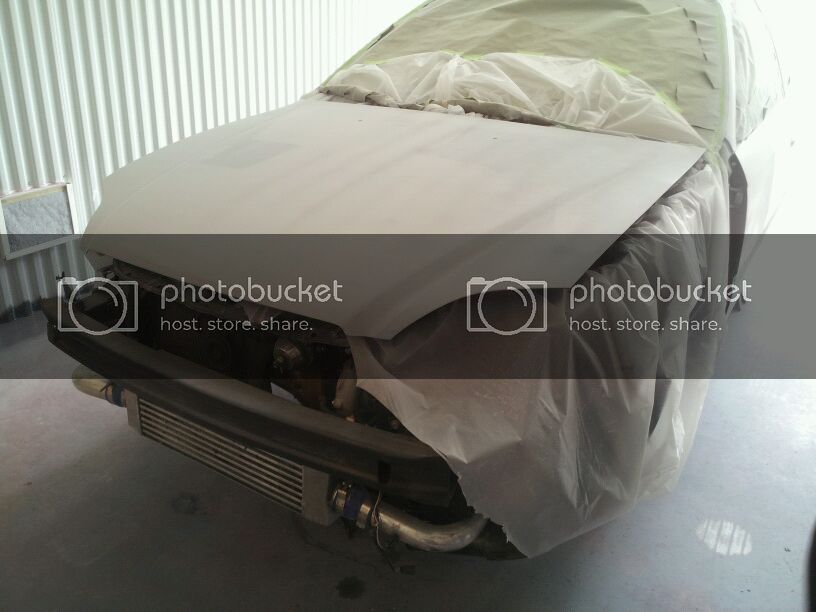
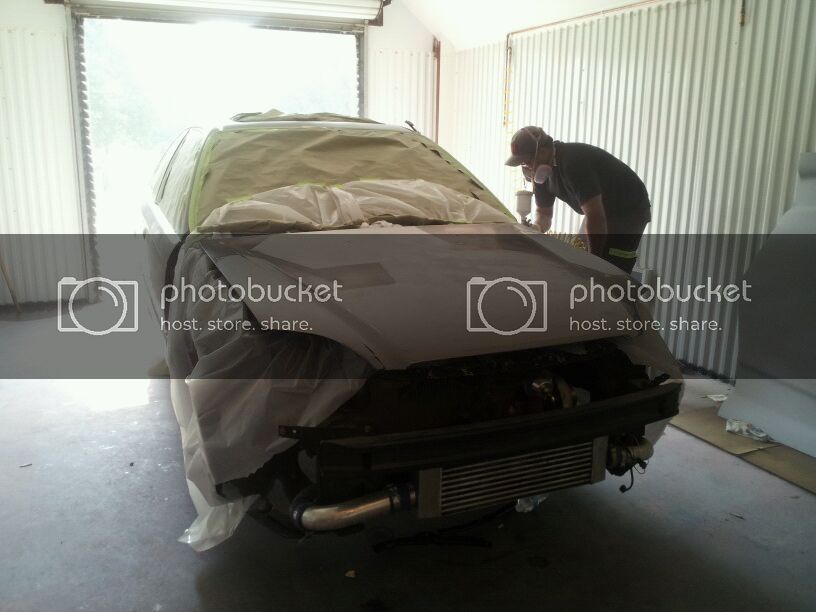
Now I've already started on the car, I've included some photos of some of the supplies that I needed, as well as some sanding, body filler shots to be scrutinized. ATTENTION: calling all those who are experienced with body work!!! I'm going to need your help as I'm sure I'll have plenty of questions and I am open to advice/constructive critisism.
This is not intended to be a diy or anything but I am going to list the things that I've done in order with pics. Quick shout out to Builda'Teg_92, he also has a paint thread going on: Let's Paint My Integra....Tools,Dents,Primers,Fillers,Paint!! - Honda-Tech check it out. After reading every page of his paint thread I decided that I needed to stop reading and start doing! Thanks bro! Also want to shout out to harmonator84, the sticky that he posted a while back; ► Everything you need to know about autobody repair. ◄ - Honda-Tech was extremely useful. If I had to give any advise to anyone that is going to take on the challenge of painting there own car, make sure that you read that thread!!!
Ok on to the body work:
The first pics show when I went around my car and identified every single ding, dent, crease, fold and fat person. In all I think I circled over 100 issues!! If I found a ding or dent I would circle it indicating a low spot, if I found a high spot I would still circle it, but I would also put an X over the high spot.
Ok a little rundown on the supplies needed to sand and use body filler. First up is sanding, I needed a variety of different types of sand paper.
40 Grit: for sanding around various dents and dings. This paper needed to be very coarse so that I could get all the way to the metal.
80 Grit: used for after you use the body filler and now need to sand. Its basically so that you can knock down some of the high spots and roughly get the desired shape that your looking for.
220 Grit: this one will be used after you got the rough shape that you were looking for with the 80 grit. I also used this grit to featheredge the edges so that it blends with the un-body filled areas.
320 Grit: I used this to sand the rest of the body where no body filler was used. This is the grit that I'm going to use before applying my 2k filler primer.
From left to right, 40 grit, 80 grit, 220 grit and 320 grit (really cheap, maybe $4 a piece)
Now some sanding, again I used the 40 and 80 grit sand paper to get all the way to the metal. You'll notice that even though I had the dings and dents circled, after sanding to the metal it made the same dings and dents very apparent which helps!
Other supplies:
In this pic if you look towards the center of the circle you will see some very small ding marks. This is from where I had a high spot and I used a body hammer to lightly tap it below the surface of the hood so that I could use body filler to make is smooth.
Now after the sanding I wiped down the entire hood really good with a degreaser, wax remover stuff. After it dried it was time for body filler. I would recommend that you follow the directions on the can of body filler as they will tell you the ratio of body filler to hardner and how long to wait before sanding!!
Time for mixing:
After mixing was complete:
Now time for spreading which should come immediately after mixing is complete. According to my instructions on the can I only had about 3-4 minutes to get the body filler on the car before it started to harden up on me. I waited the suggested cure time of 20 minutes before applying more layers of body filler.
Thats it for now, maybe I'll have some more up later tonight as I need to get back outside and start sanding. Remember to leave your suggestion on what paint color I should choose!!
End of original post lol.