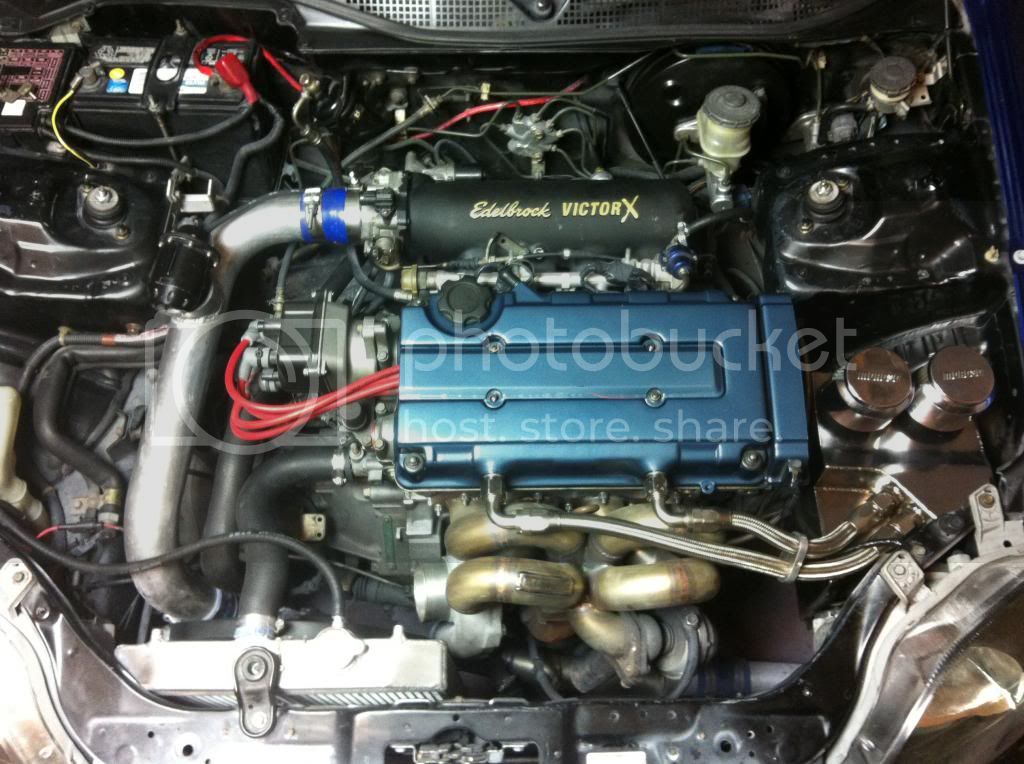
New to site: 1997 ej8 turbo build thread ***custom gauge holder***

We may earn a small commission from affiliate links and paid advertisements. Terms

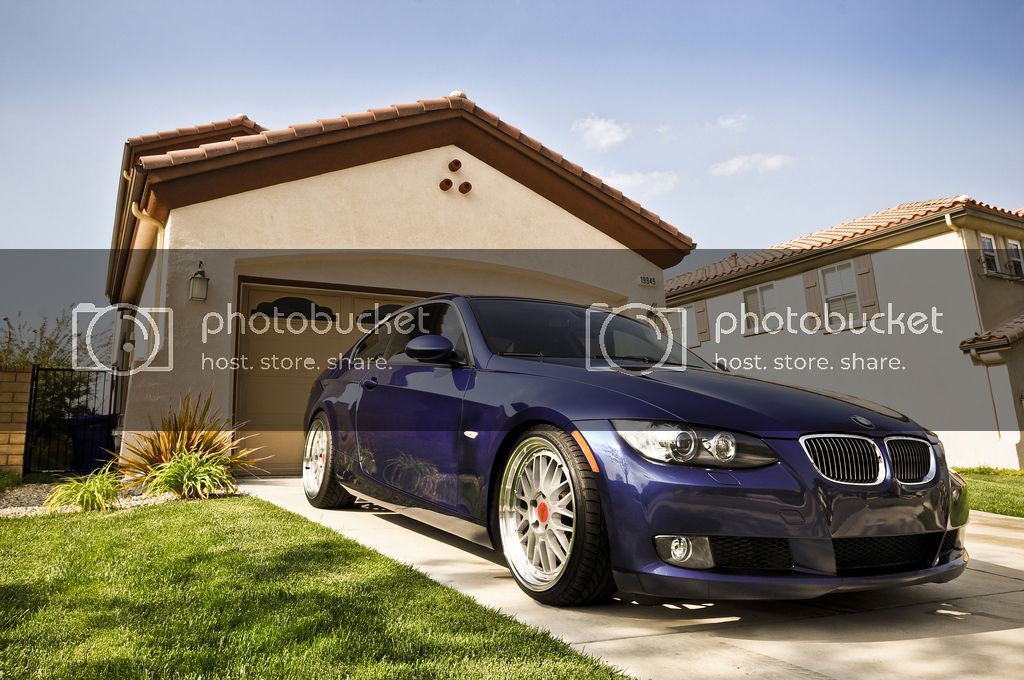
Now keep in mind guys I'm just copying and pasting from honda-tech, I originally made the following post back on 6-12-2012 so bear with me. At that time I was trying to decide what color to paint my car, it was either between the factory Honda black or Montego Blue Metallic from a BMW. I got so tired of trying to decide so I started a poll and I let everyone just vote on it. They ended up picking the blue and my car is now painted the blue color.

The original post:

As the title states I've gotten to a point with the rest of my build where I can take a break and start some much needed body work. DISCLAIMER: The last time that I did anything that was body/paint oriented was back in high school (12-13 years ago). So I'm scared as hell, but I'm going to go for it anyway. I already have a build thread going on: SRDFTITAN'S 97 EJ8 TURBO BUILD THREAD!! PICS/VIDS **CUSTOM GAUGE HOLDER** - Honda-Tech.

Anyway I'm still a little undecided on the exact color that I'm going to paint my car, and I'm going to leave it up to everyone on various forums to decide for me. I'm going to let you guys decide because I'm tired of thinking about it lol! Now on to the choices!!

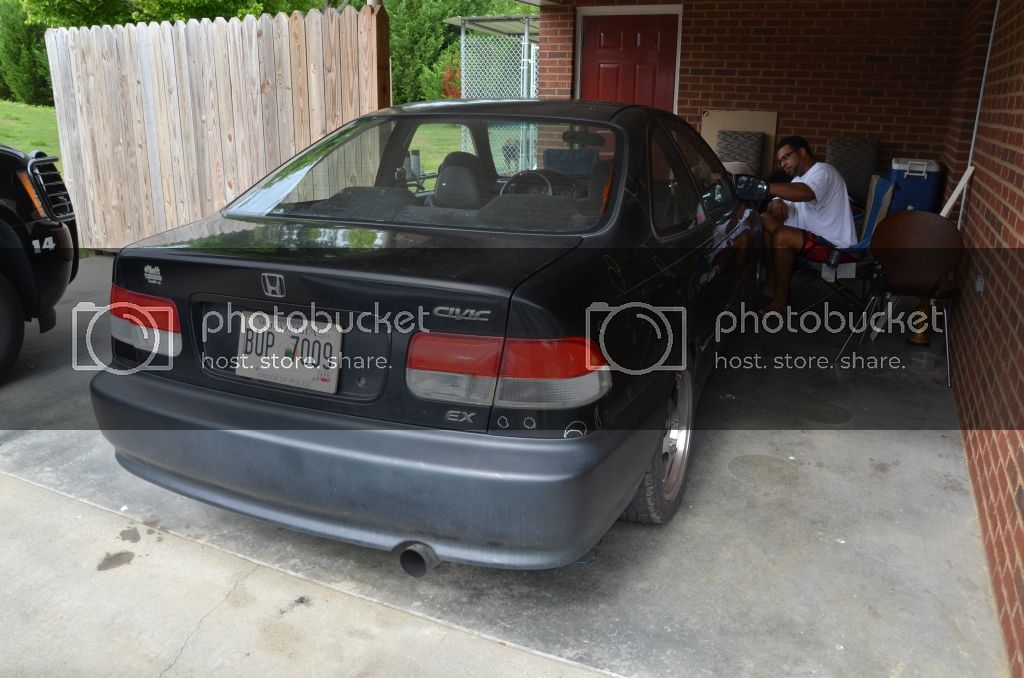
The stock color:
Granada Black Metallic Clearcoat NH-503P
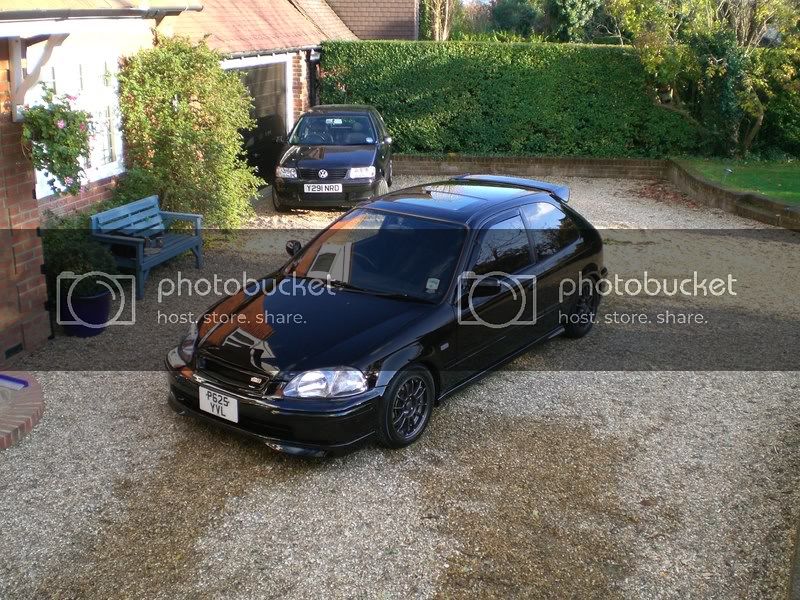
CIMG2715.jpg


OR

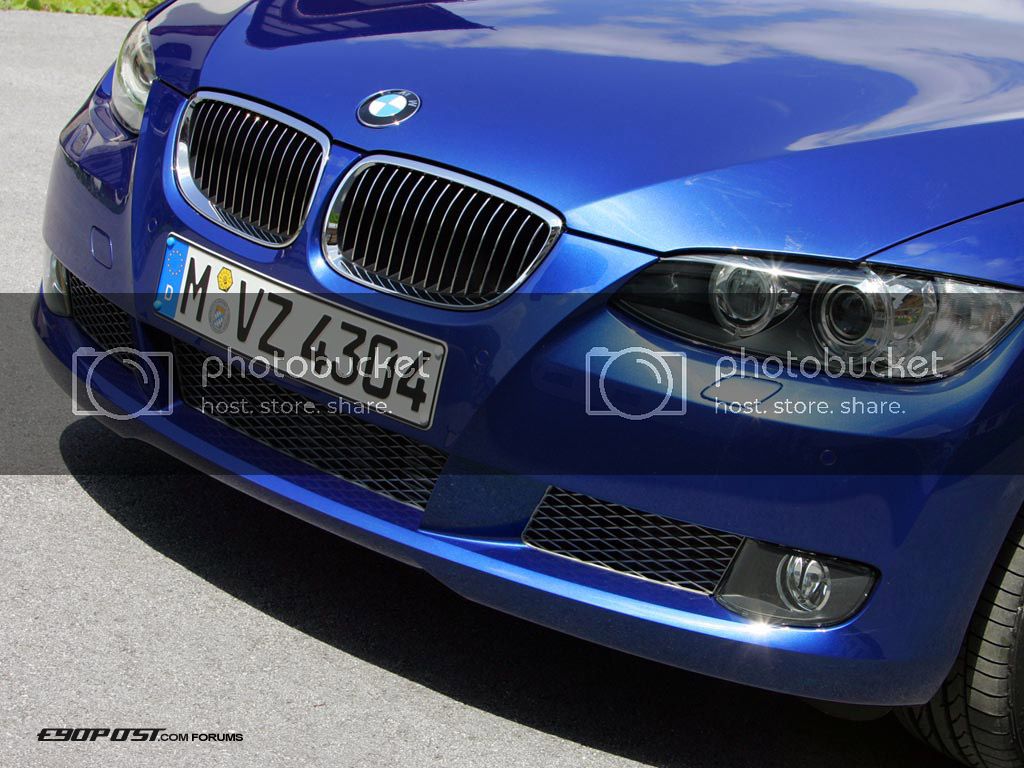
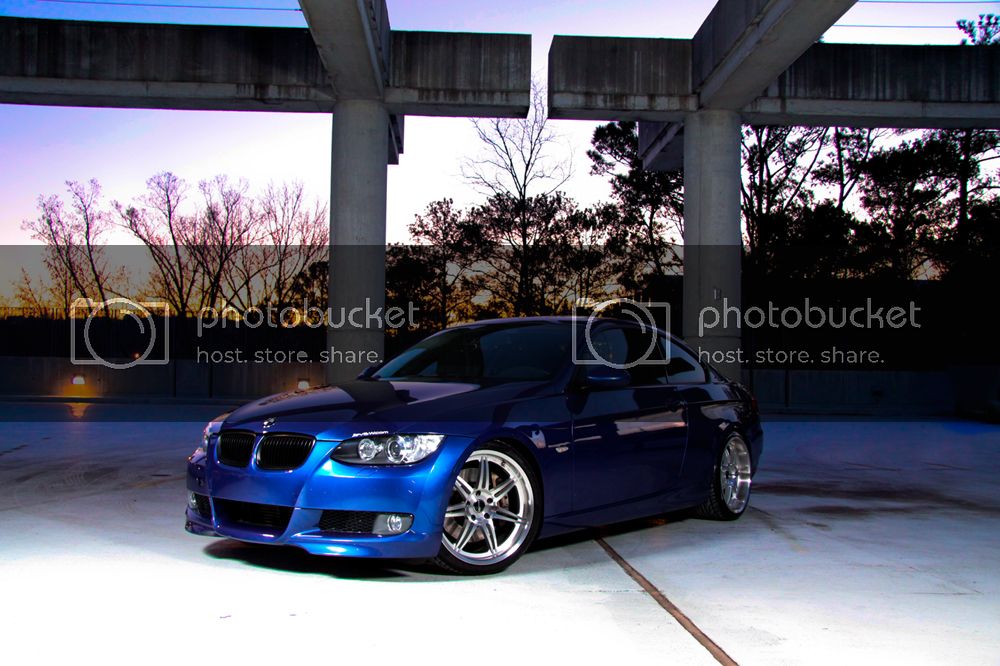
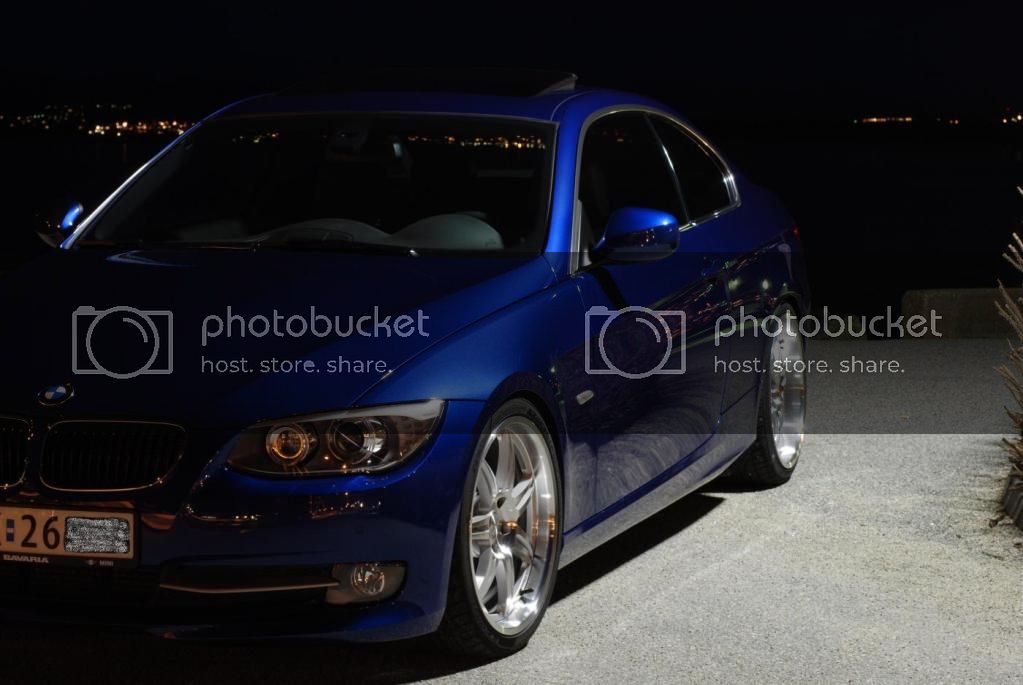
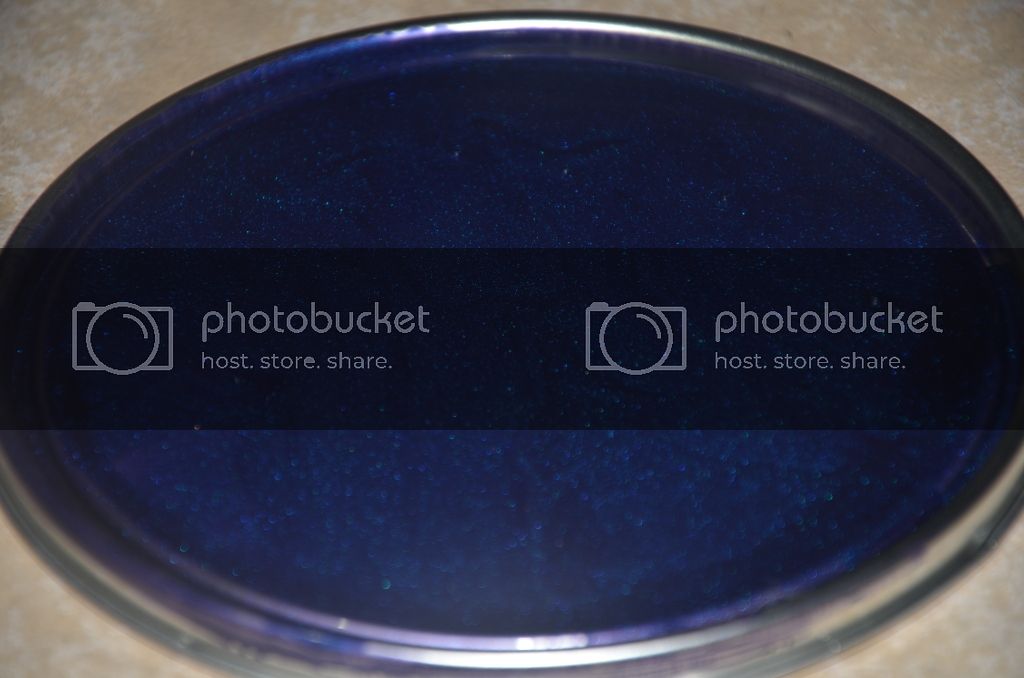
Montego Blue Metallic (e90 BMW's)
This color flip flops like a mother, so I posted more that one photo so you can see the many shades of this color.

Direct Sunlight, nice mix of colors (light purple, light blue, dark blue, electric blue)
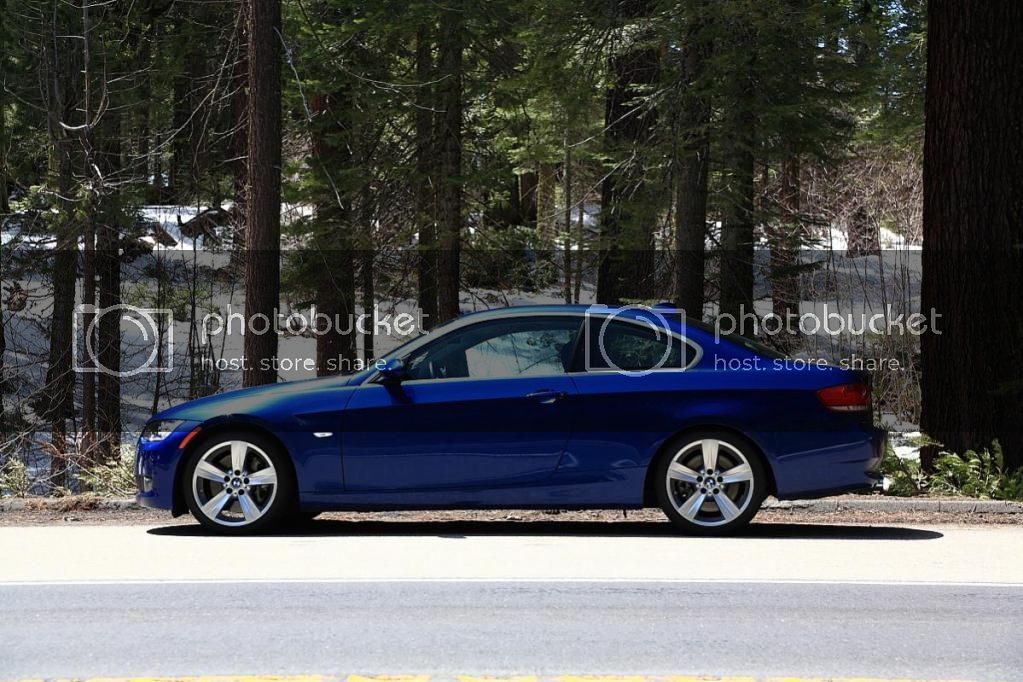
DirectSunlight.jpg


Purple Tinted (around dusk)
PurpleTint.jpg


Close up:
CloseUp.jpg


Low light:
ArtificialLight.jpg


Night shot (artificial light):
LowLight.jpg


The Montego Blue Metallic happens to be my favorite color, however that would mean more work as in door jambs, trunk, etc. So those are the two choices, let me know what you guys think.

Now I've already started on the car, I've included some photos of some of the supplies that I needed, as well as some sanding, body filler shots to be scrutinized. ATTENTION: calling all those who are experienced with body work!!! I'm going to need your help as I'm sure I'll have plenty of questions and I am open to advice/constructive critisism.

This is not intended to be a diy or anything but I am going to list the things that I've done in order with pics. Quick shout out to Builda'Teg_92, he also has a paint thread going on: Let's Paint My Integra....Tools,Dents,Primers,Fillers,Paint!! - Honda-Tech check it out. After reading every page of his paint thread I decided that I needed to stop reading and start doing! Thanks bro! Also want to shout out to harmonator84, the sticky that he posted a while back; ► Everything you need to know about autobody repair. ◄ - Honda-Tech was extremely useful. If I had to give any advise to anyone that is going to take on the challenge of painting there own car, make sure that you read that thread!!!

Ok on to the body work:
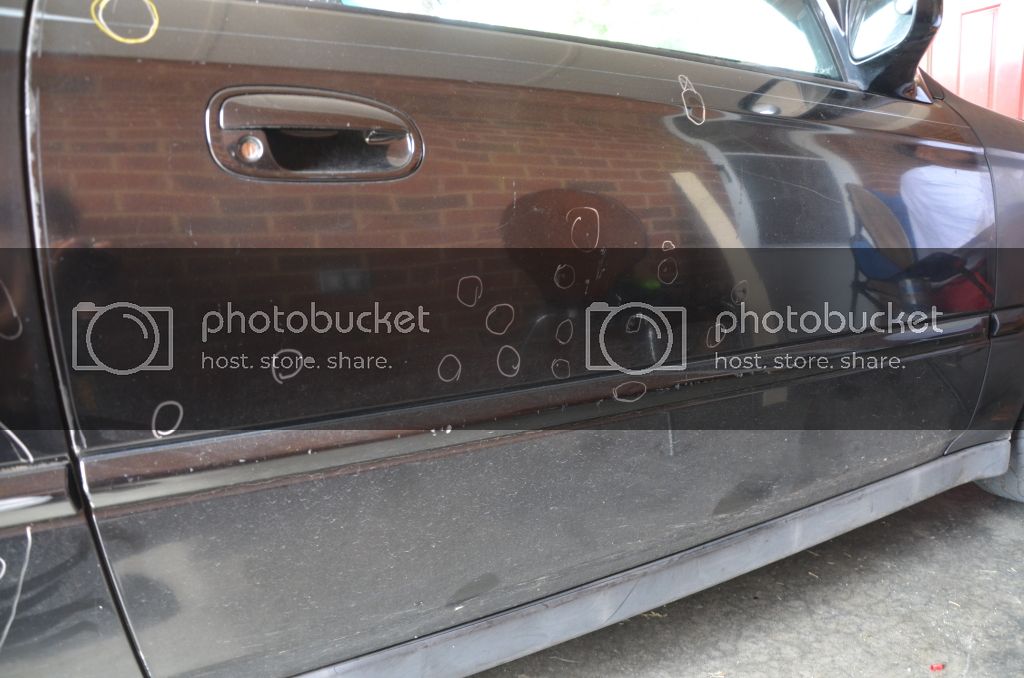
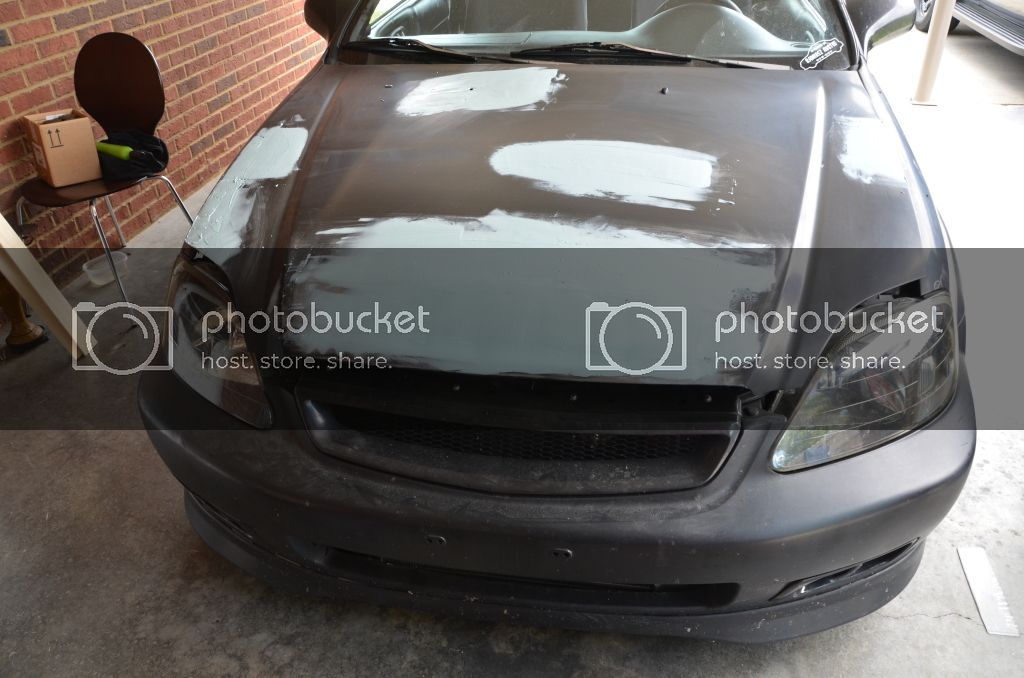
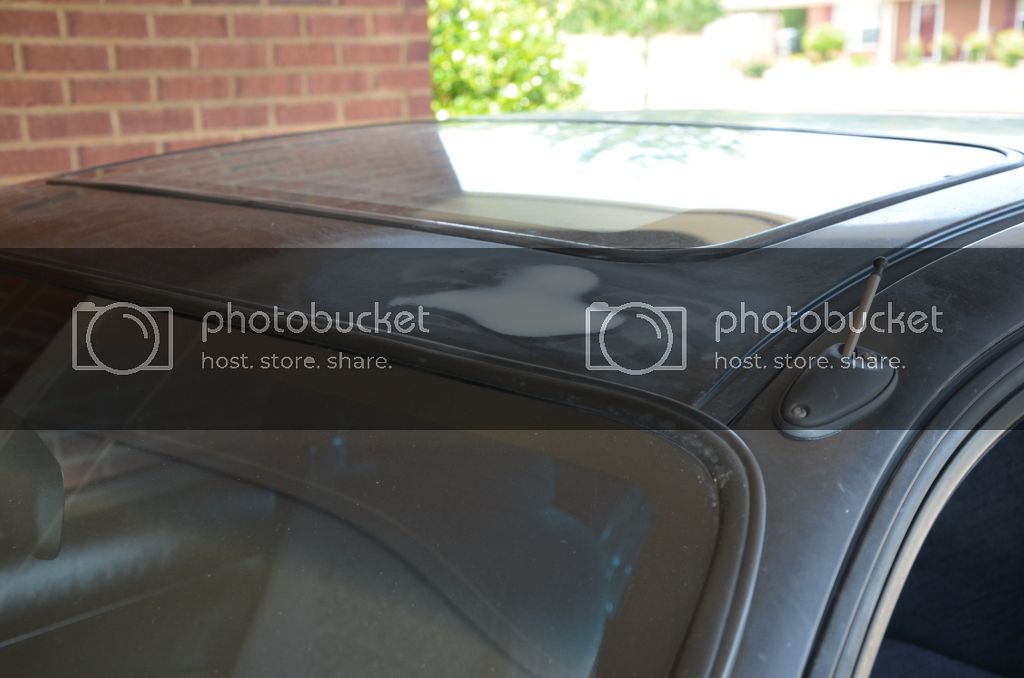
The first pics show when I went around my car and identified every single ding, dent, crease, fold and fat person. In all I think I circled over 100 issues!! If I found a ding or dent I would circle it indicating a low spot, if I found a high spot I would still circle it, but I would also put an X over the high spot.
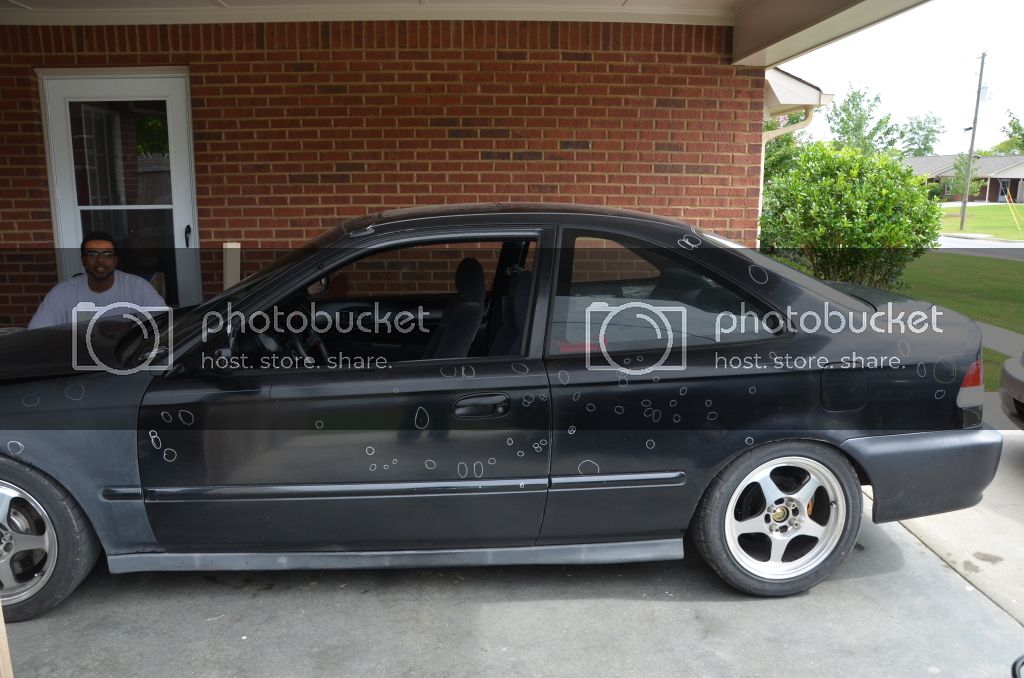
TFS_9872.jpg


TFS_9871.jpg


TFS_9870.jpg


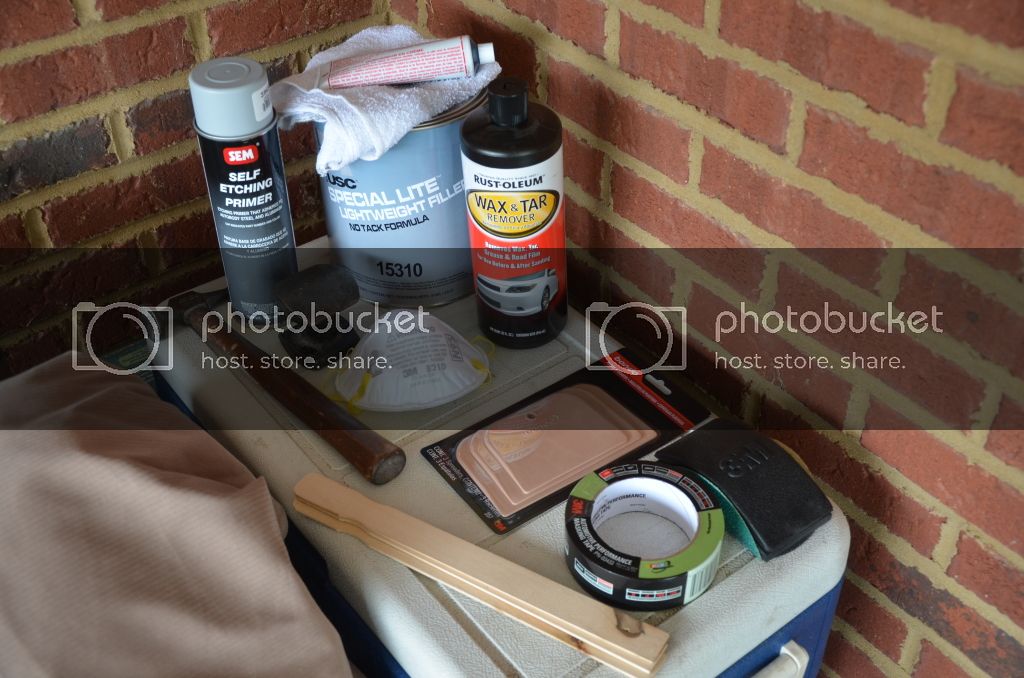
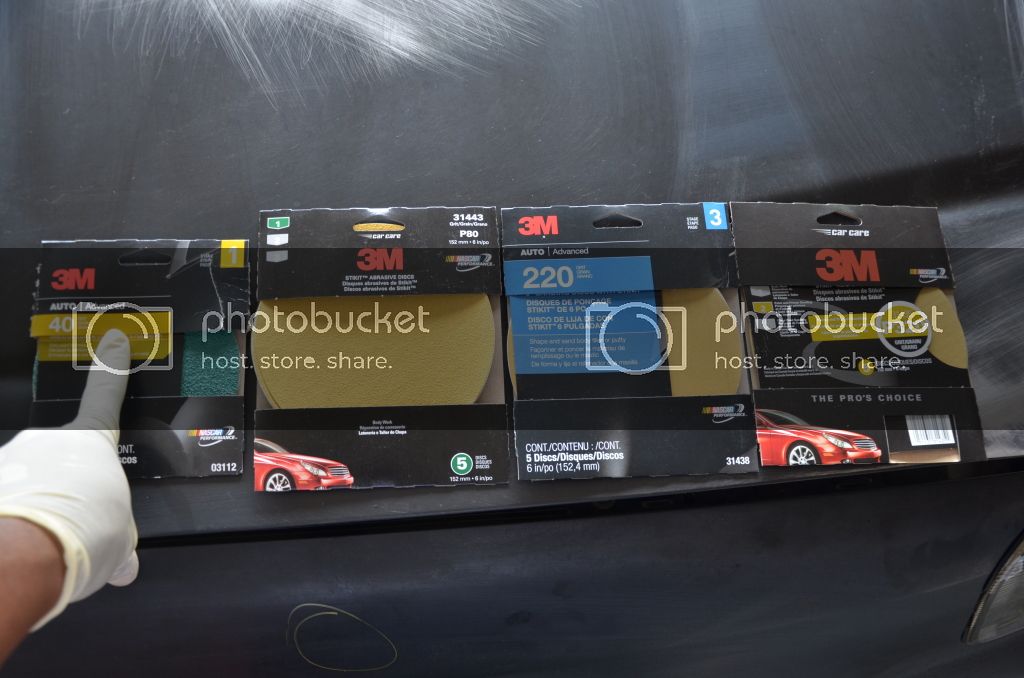
Ok a little rundown on the supplies needed to sand and use body filler. First up is sanding, I needed a variety of different types of sand paper.
40 Grit: for sanding around various dents and dings. This paper needed to be very coarse so that I could get all the way to the metal.
80 Grit: used for after you use the body filler and now need to sand. Its basically so that you can knock down some of the high spots and roughly get the desired shape that your looking for.
220 Grit: this one will be used after you got the rough shape that you were looking for with the 80 grit. I also used this grit to featheredge the edges so that it blends with the un-body filled areas.
320 Grit: I used this to sand the rest of the body where no body filler was used. This is the grit that I'm going to use before applying my 2k filler primer.

From left to right, 40 grit, 80 grit, 220 grit and 320 grit (really cheap, maybe $4 a piece)
TFS_9899.jpg


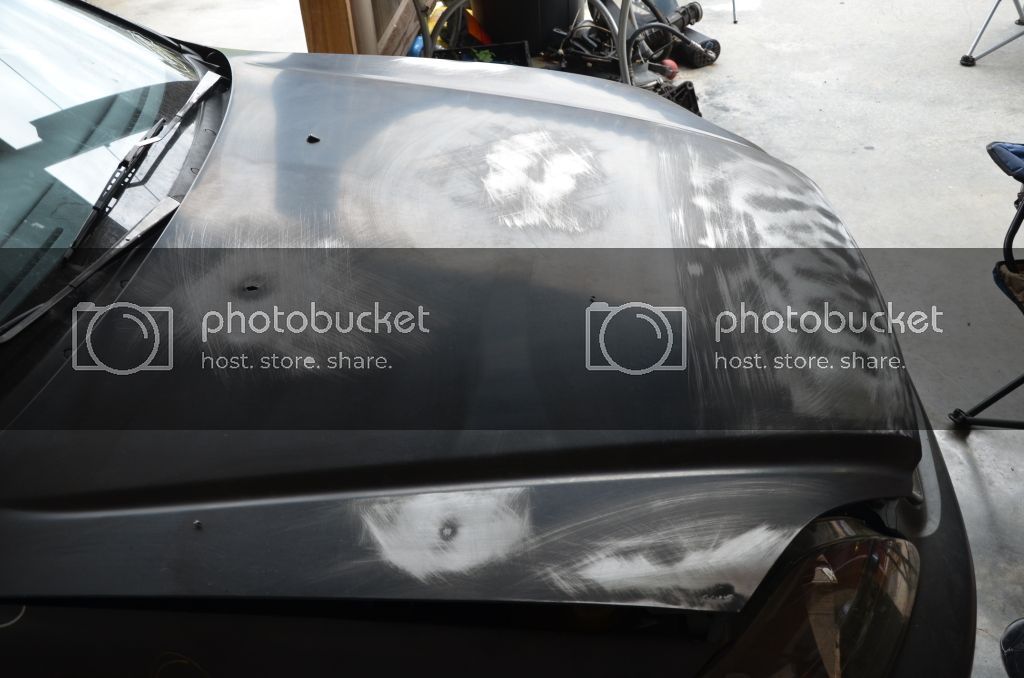
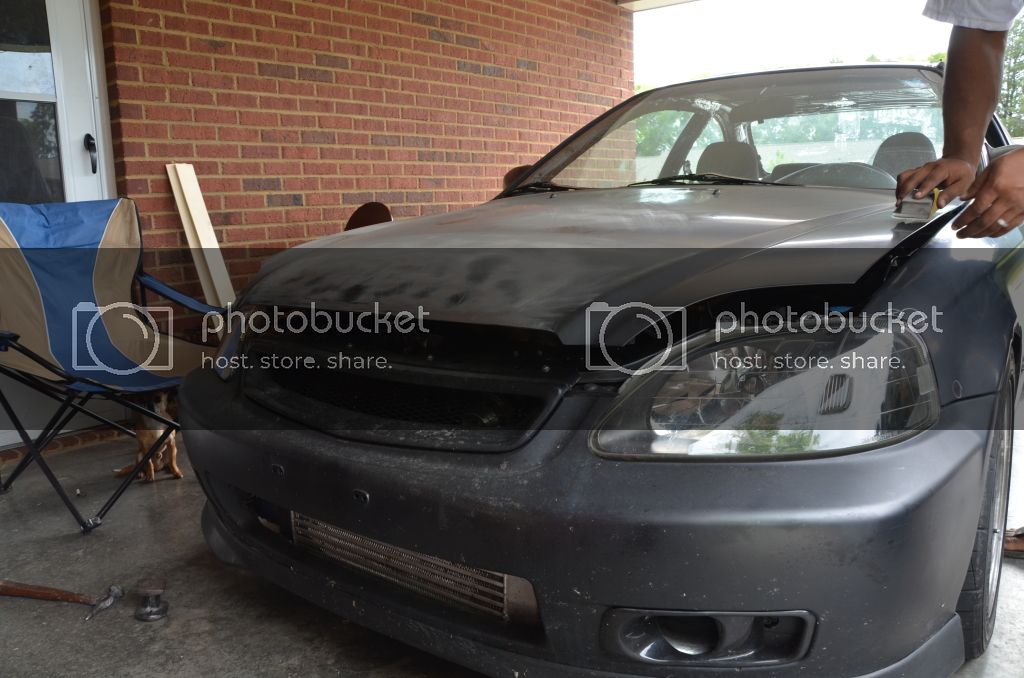
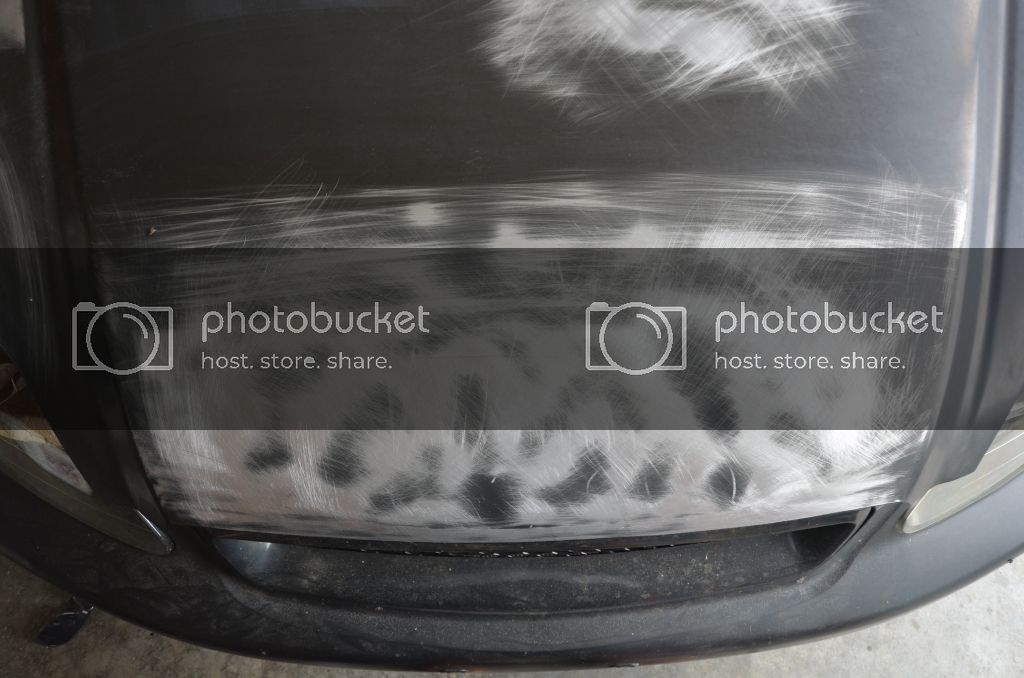
Now some sanding, again I used the 40 and 80 grit sand paper to get all the way to the metal. You'll notice that even though I had the dings and dents circled, after sanding to the metal it made the same dings and dents very apparent which helps!
TFS_9893.jpg


Other supplies:
TFS_9890.jpg


TFS_9897.jpg


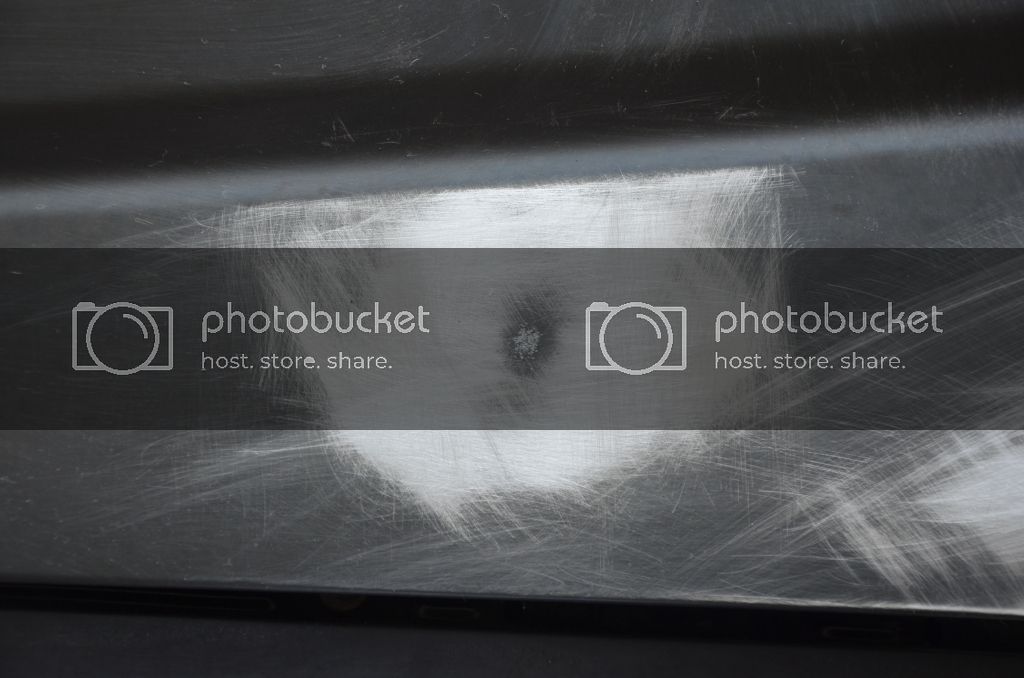
In this pic if you look towards the center of the circle you will see some very small ding marks. This is from where I had a high spot and I used a body hammer to lightly tap it below the surface of the hood so that I could use body filler to make is smooth.
TFS_9895.jpg


TFS_9878.jpg


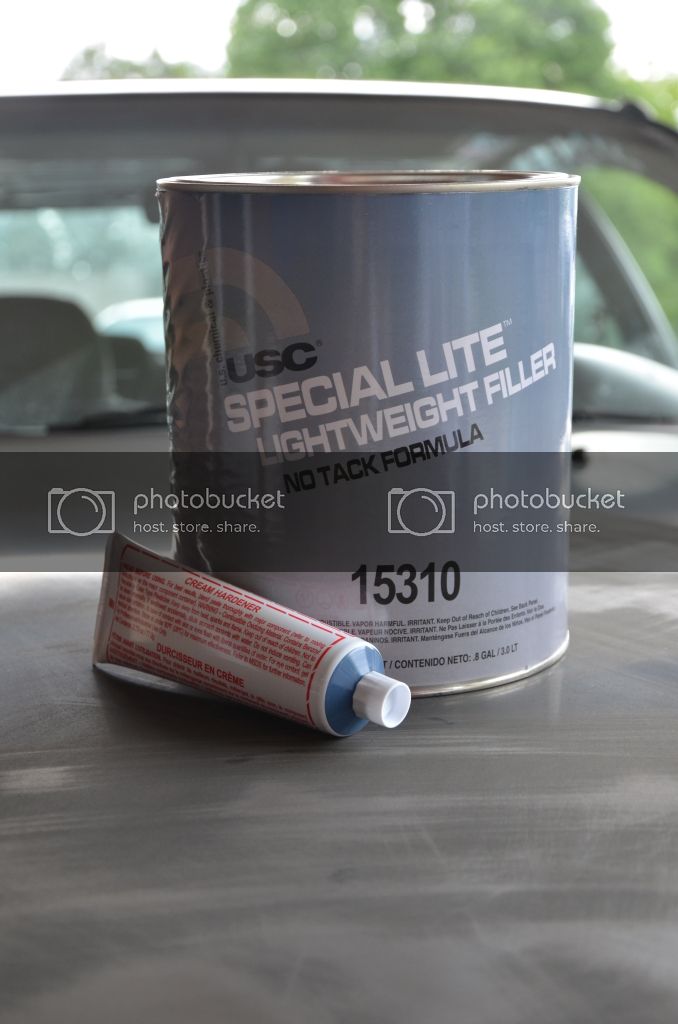
Now after the sanding I wiped down the entire hood really good with a degreaser, wax remover stuff. After it dried it was time for body filler. I would recommend that you follow the directions on the can of body filler as they will tell you the ratio of body filler to hardner and how long to wait before sanding!!
TFS_9889.jpg


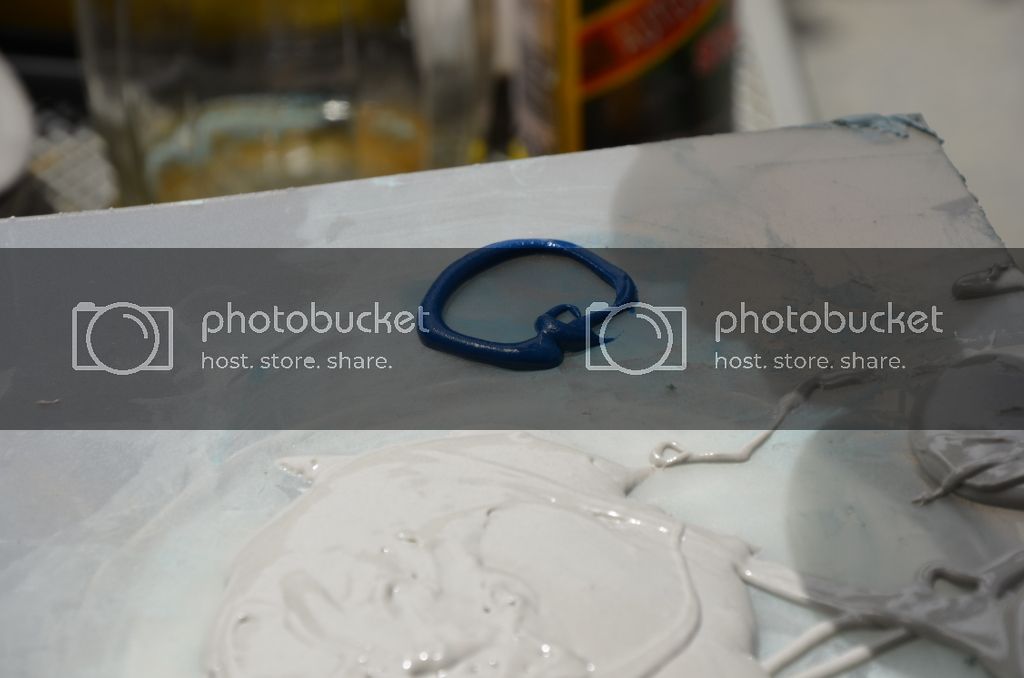
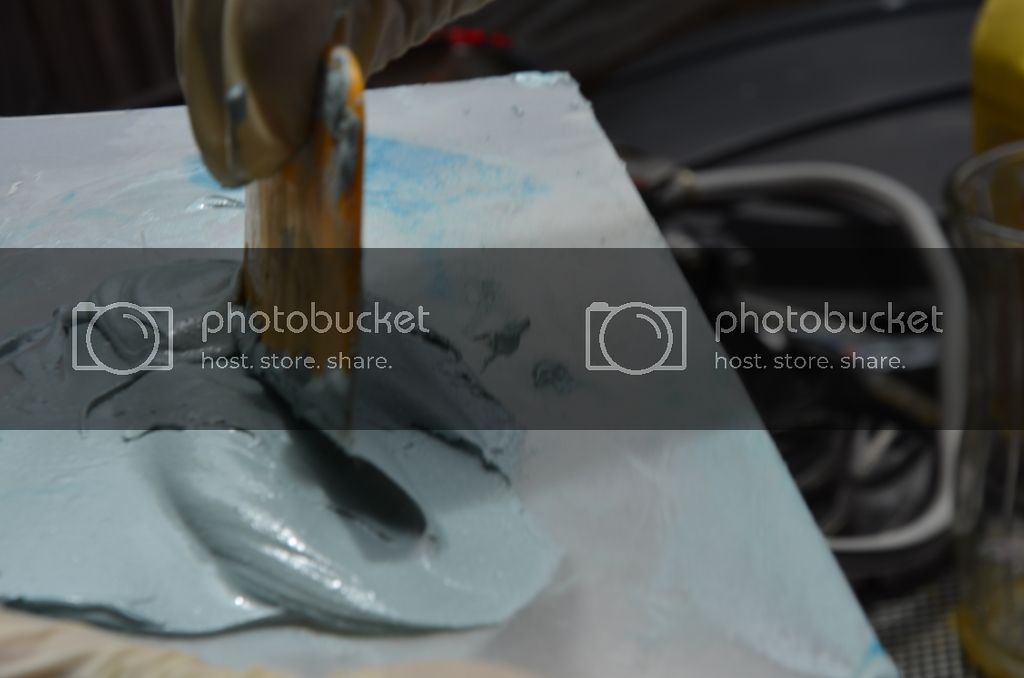
Time for mixing:
TFS_9949.jpg


After mixing was complete:
TFS_9960.jpg


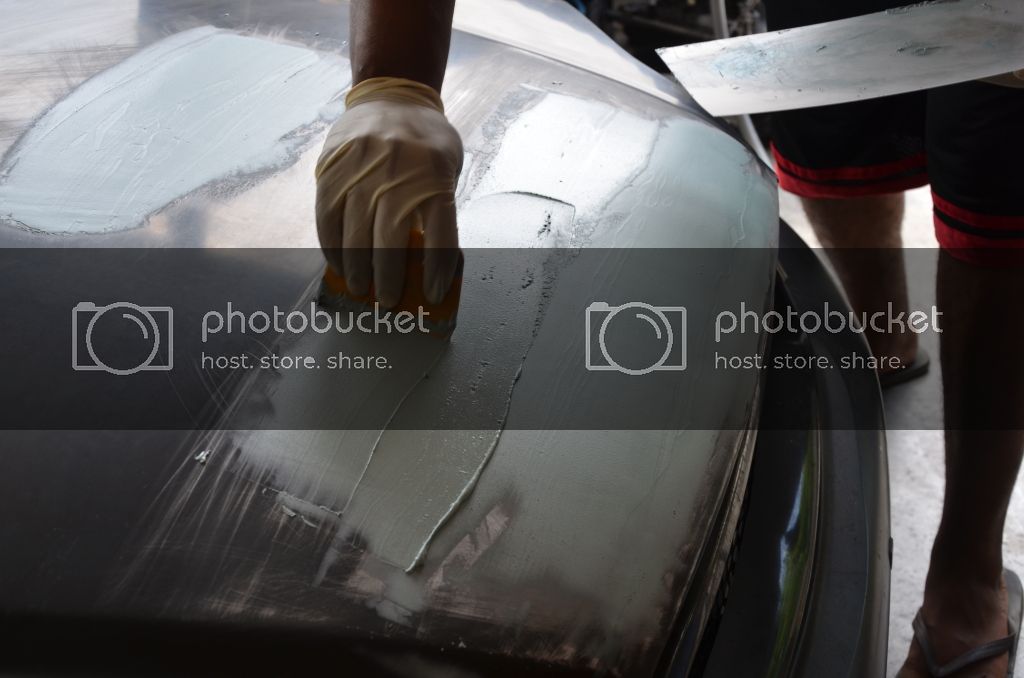
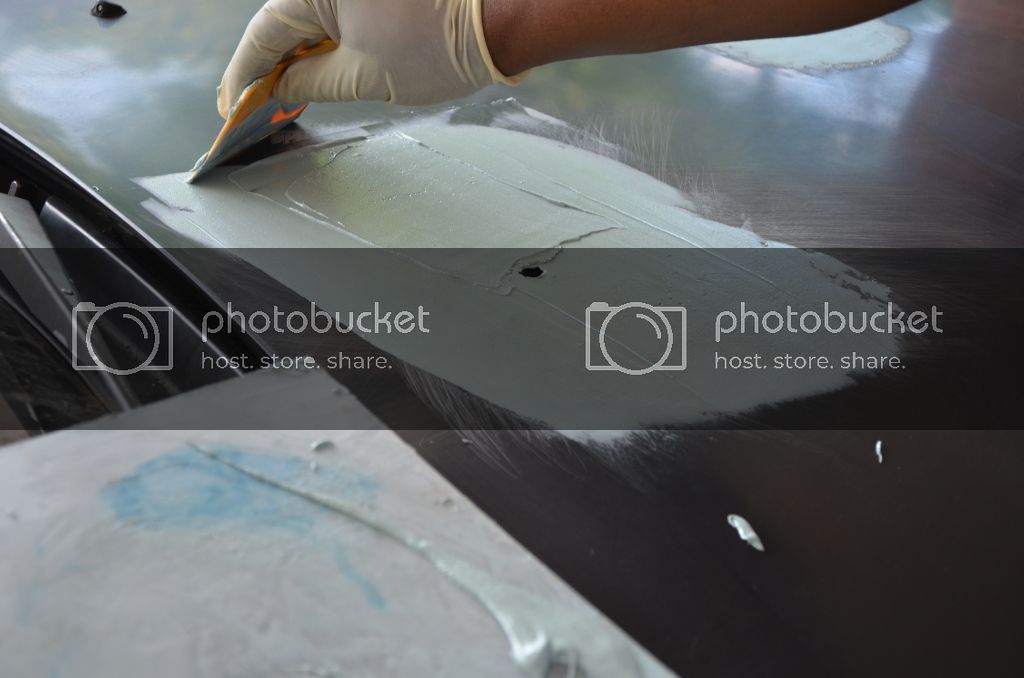
Now time for spreading which should come immediately after mixing is complete. According to my instructions on the can I only had about 3-4 minutes to get the body filler on the car before it started to harden up on me. I waited the suggested cure time of 20 minutes before applying more layers of body filler.
TFS_9971.jpg


TFS_9976.jpg


TFS_9978.jpg


Thats it for now, maybe I'll have some more up later tonight as I need to get back outside and start sanding. Remember to leave your suggestion on what paint color I should choose!!

End of original post lol.
 
Originally posted on 6-30-2012 (Honda-Tech)

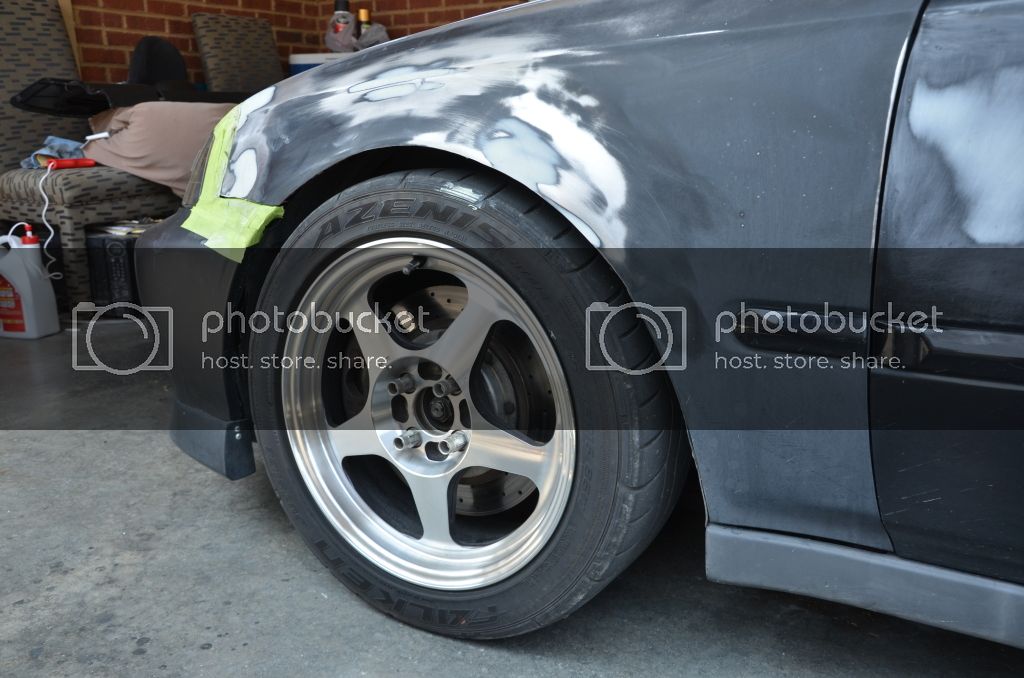
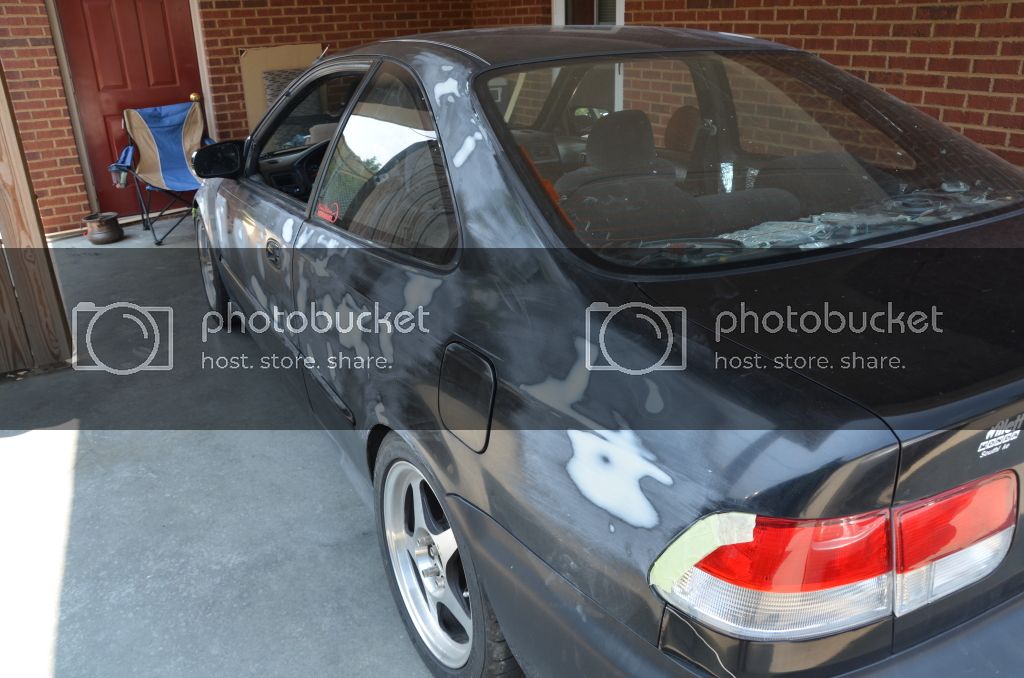
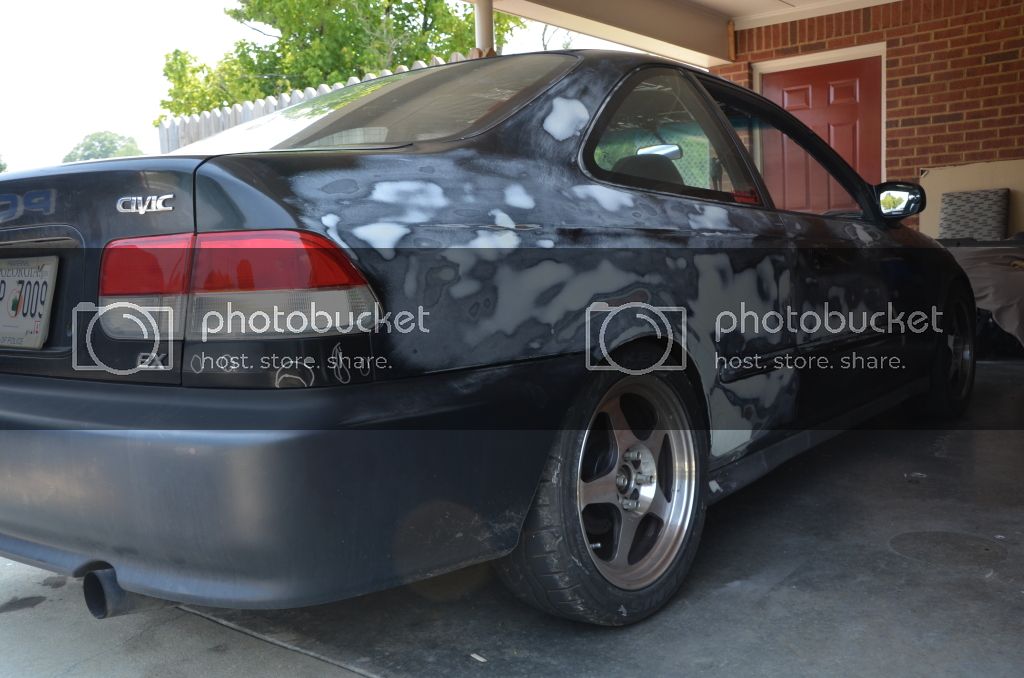
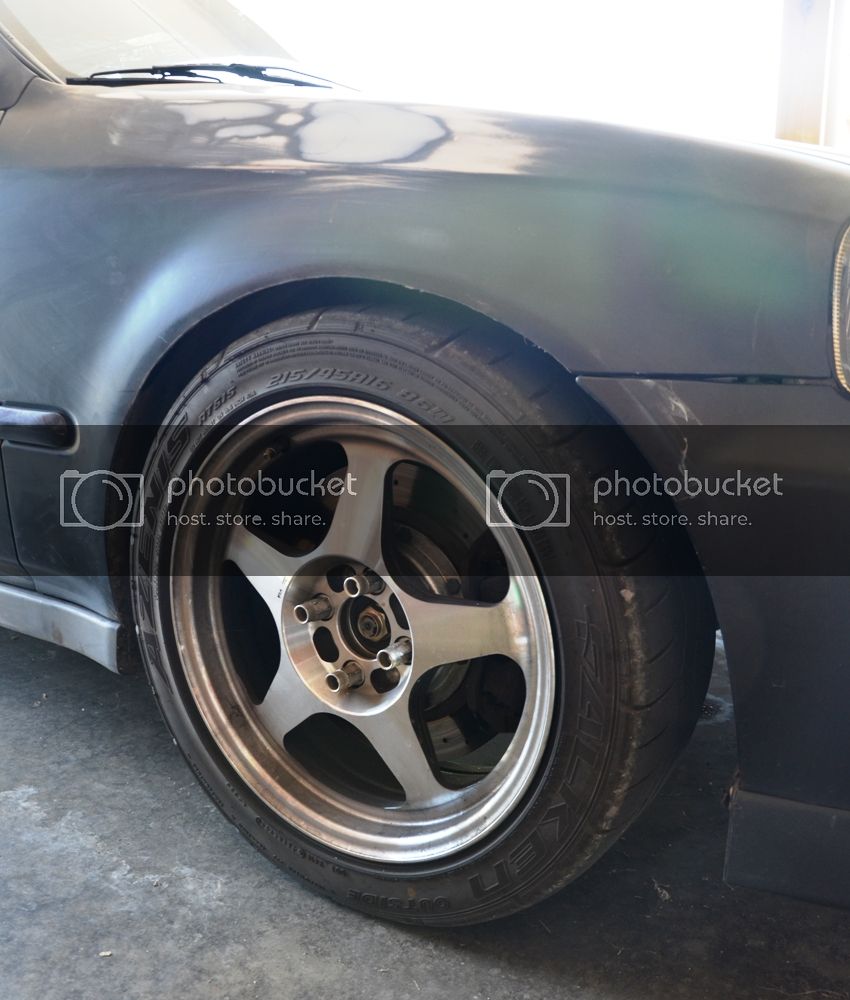
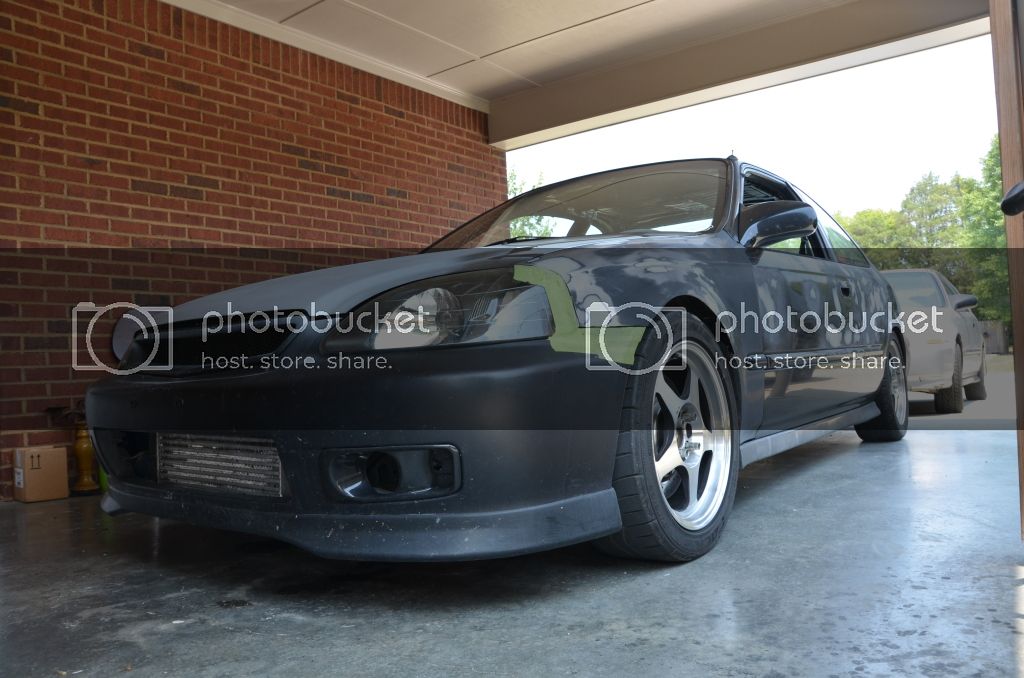
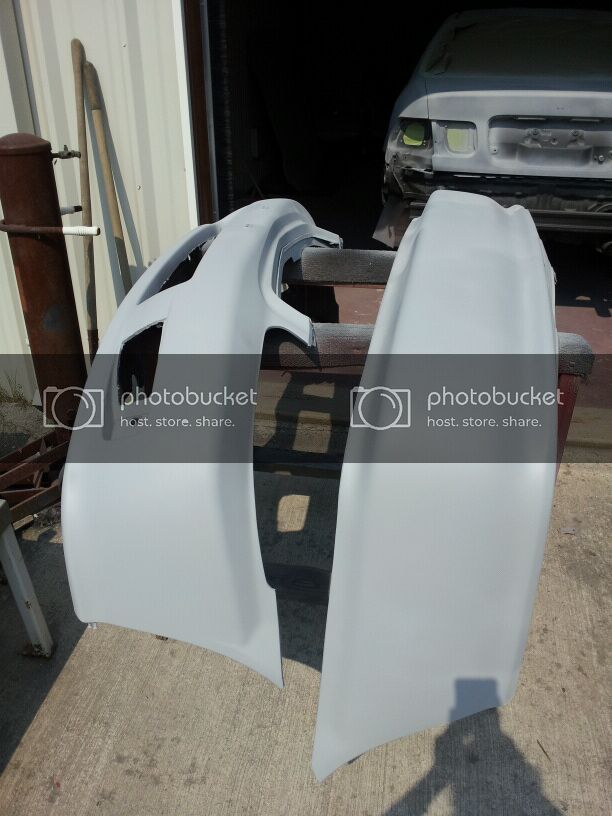
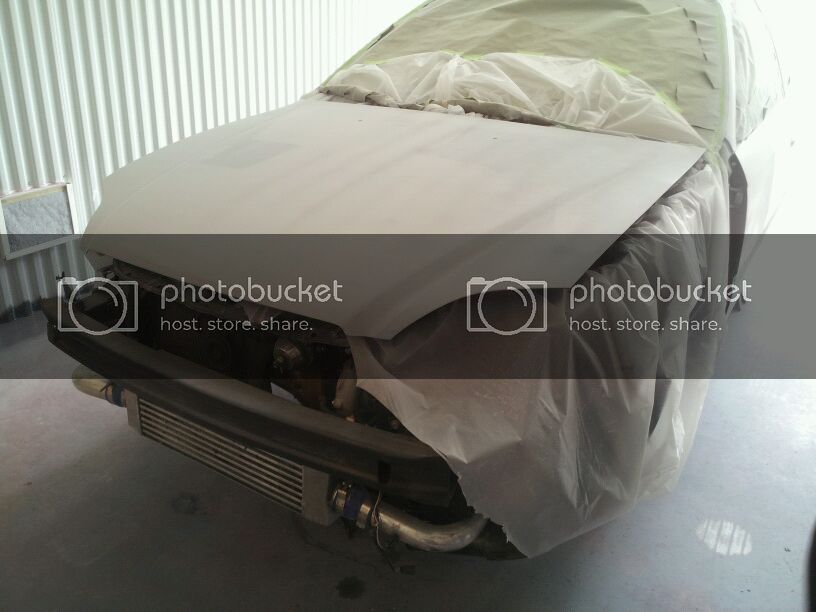
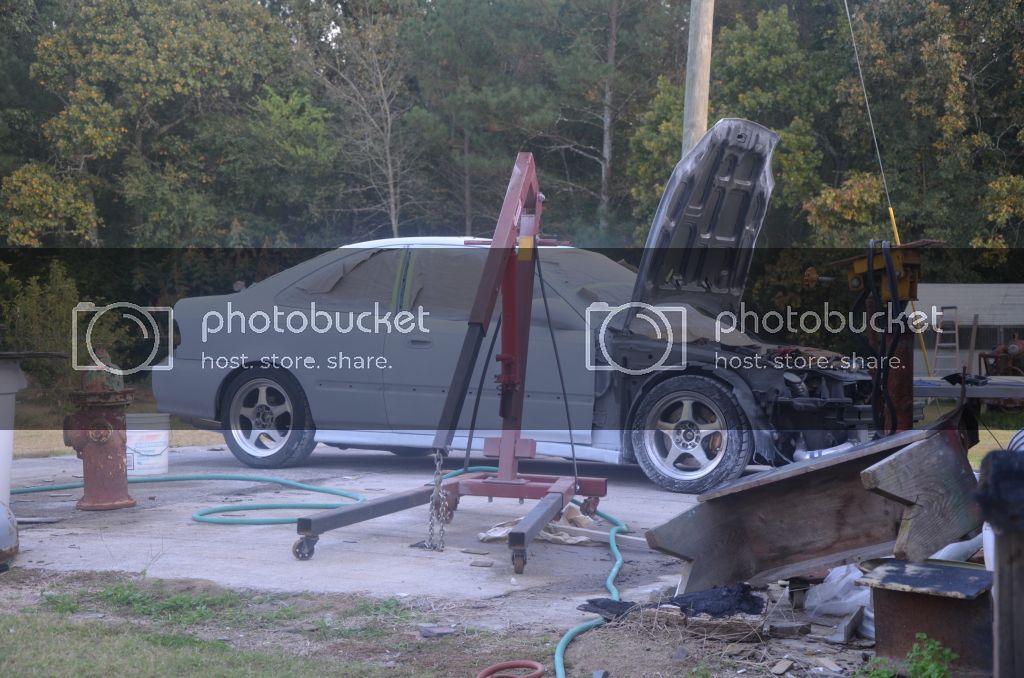
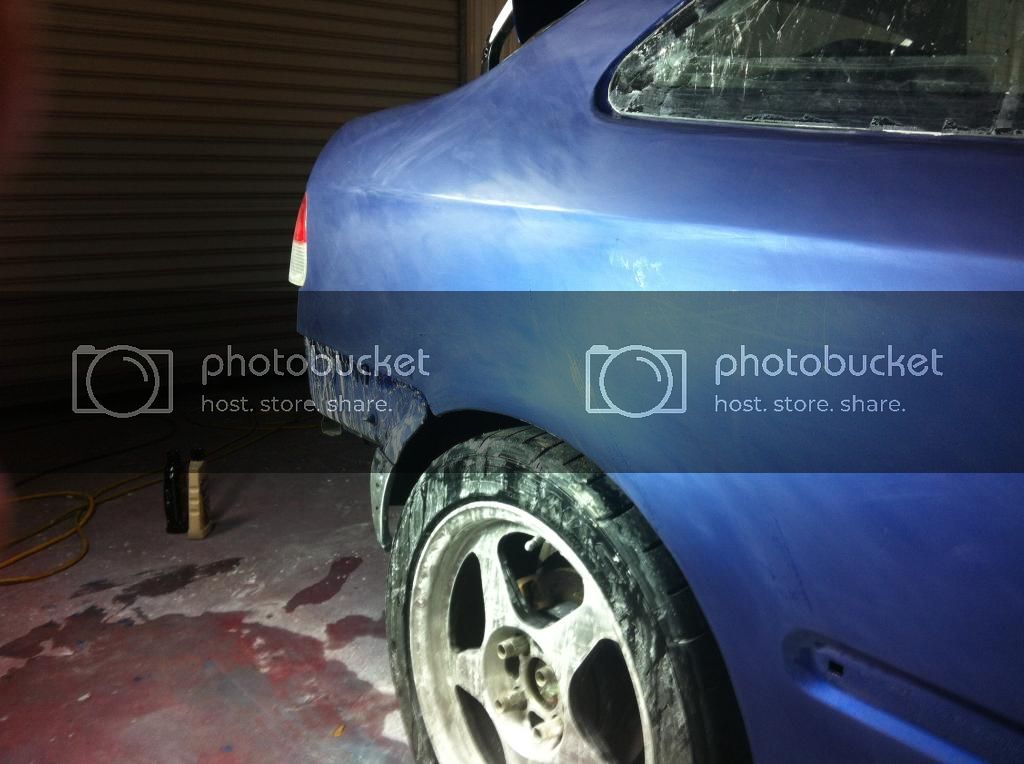
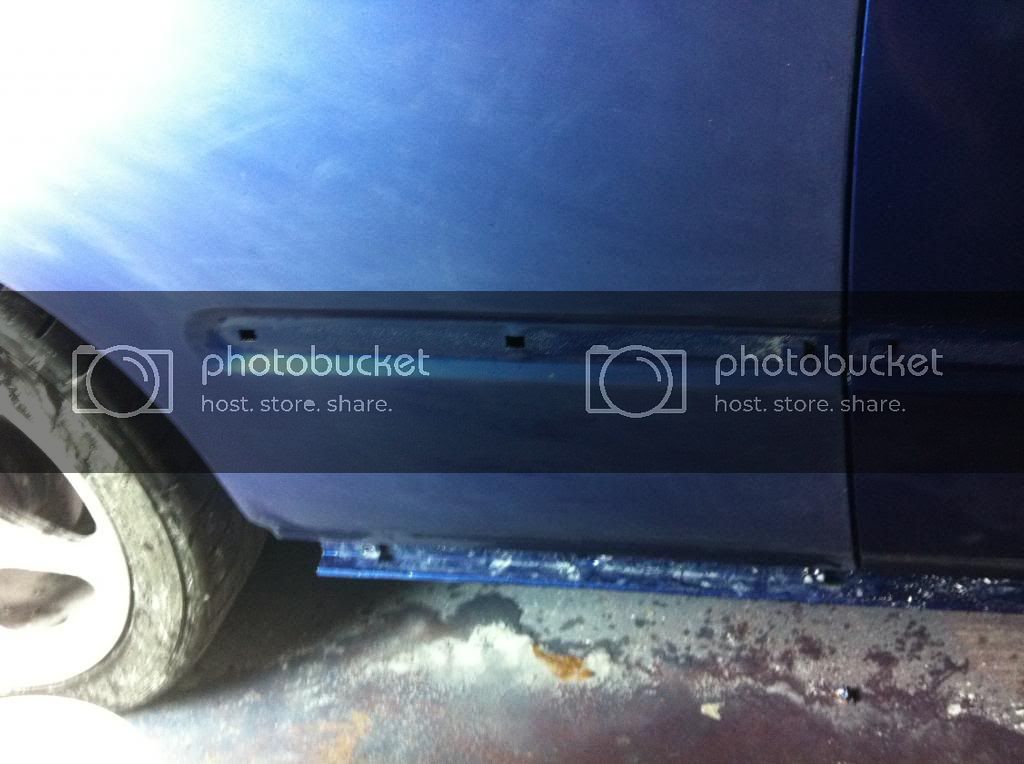
Ok so still making some good progress, the body work is about 90% done. Yesterday I was able to finish the driver's side, roof, both fenders and the front bumper. Because my tires are a little over sized I was having some issues with the front tires making contact with the fenders. Solution: I ended up trimming about a 1/2 inch from the passenger side and about 3/4 of an inch from the driver's side. I trimmed more on the driver's side to allow for the suspension settle when I'm in the car. I still have to remove all the trim, side view mirrors and the area under both tail lights. After this all the body work should be done and the car should be primed early Tuesday morning. I plan on blocking the car down throughout the week in preparation to spray the base coat and clear next weekend. Here's some updated photos.

TFS_2244.jpg


TFS_2241.jpg


TFS_2239.jpg


TFS_2238.jpg


TFS_2232.jpg


TFS_2224.jpg
 
Originally posted on 6-30-2012

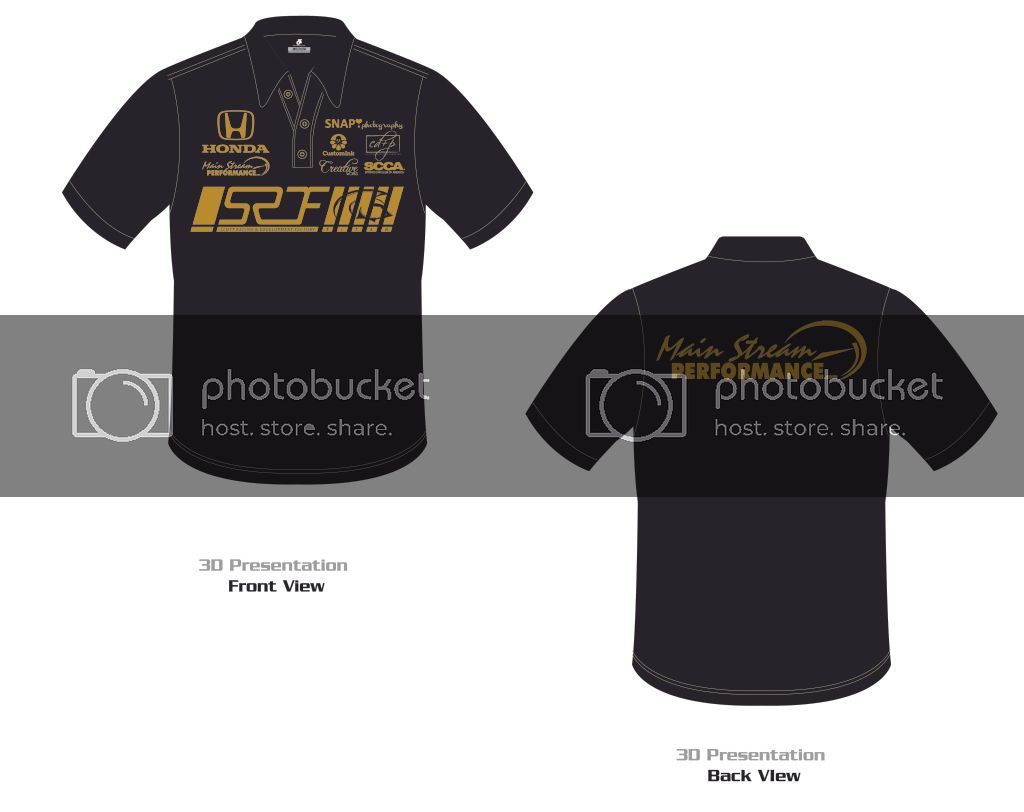
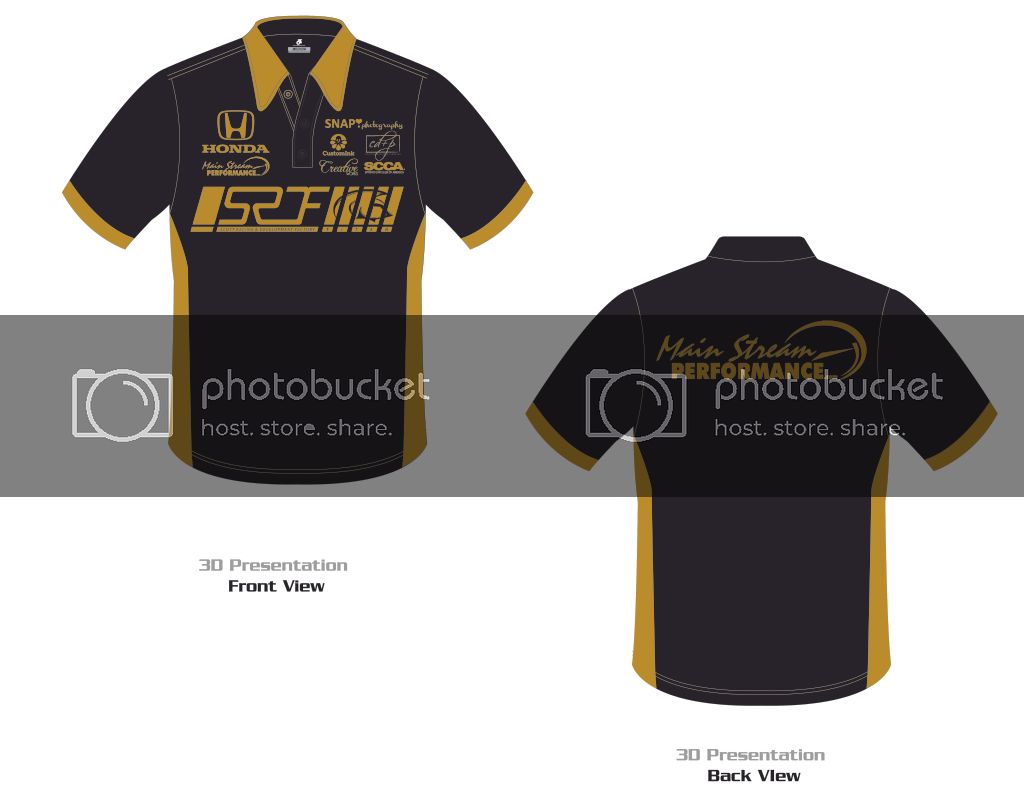
I'm not sure if I mentioned it earlier about me and the wife using this car to auto cross and road race, but I know I failed to post our new Scott Racing & Development Factory Shirts that my wife just designed. They look freakin awesome, as they should because she's a graphic designer lol!! As we move up in road racing she is going to design all of our pit crew shirts, race suits and even the design/graphics on the race car. She has some kind of 3D program where she is currently designing the graphics that are going to go on the side of the car!! When she's done with the 3D image I'll be able to view the car with the graphics on it from any angle!! I know, I know I'm lucky as hell!! Check em out and let me know what you think, she did two designs, one all black shirt with gold lettering and one black and gold shirt with gold lettering. What you guys think?

shirttemplate-03.jpg


shirttemplate-02.jpg
 
Originally posted on 7-2-2012

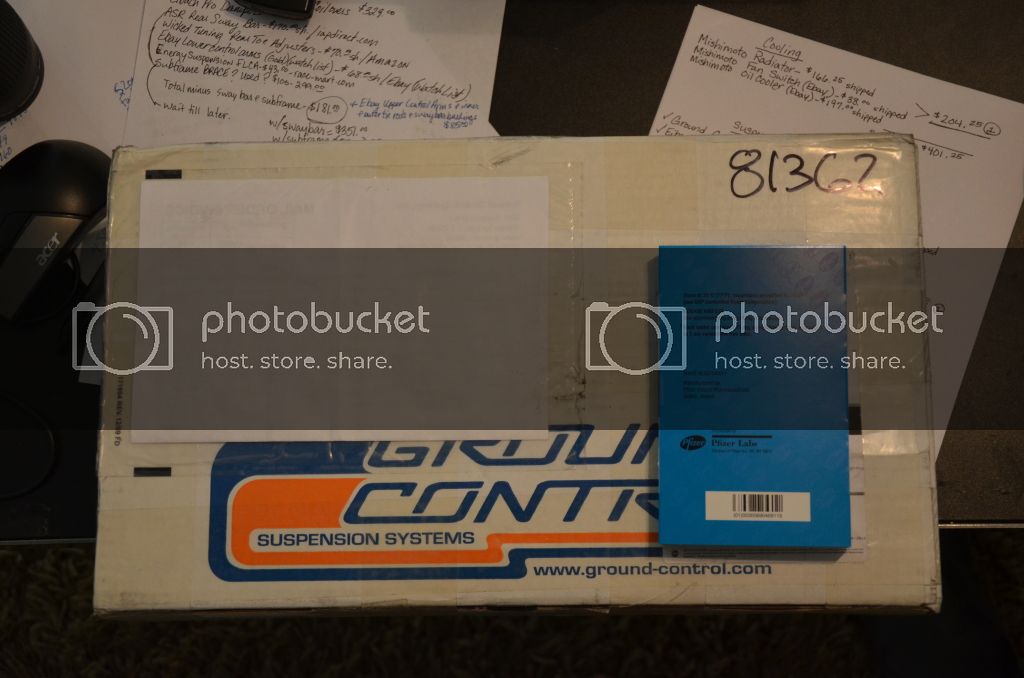
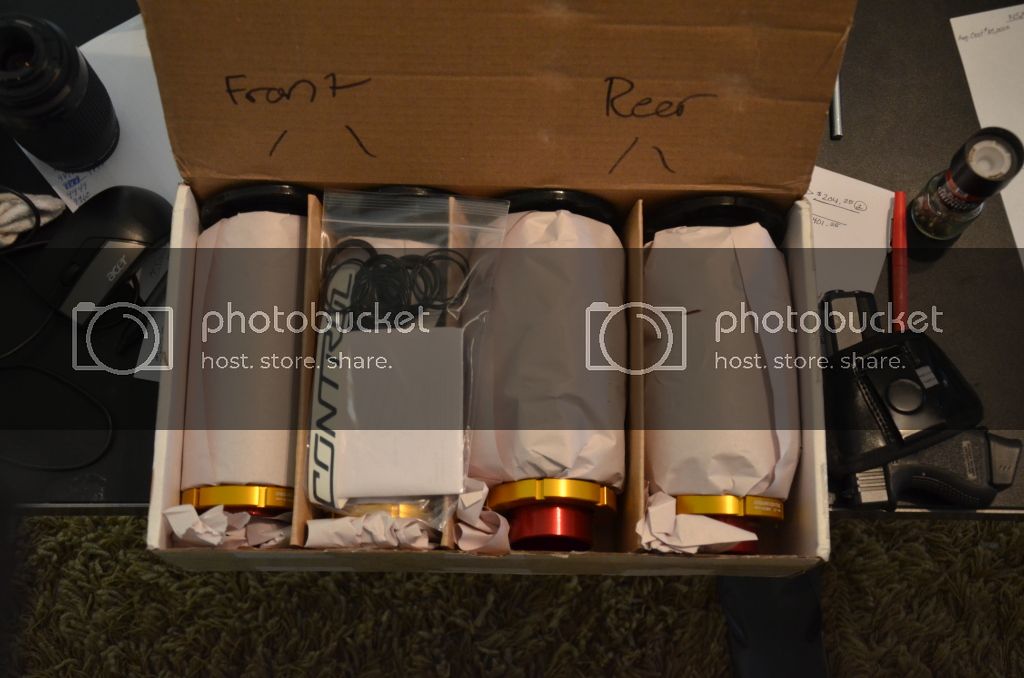
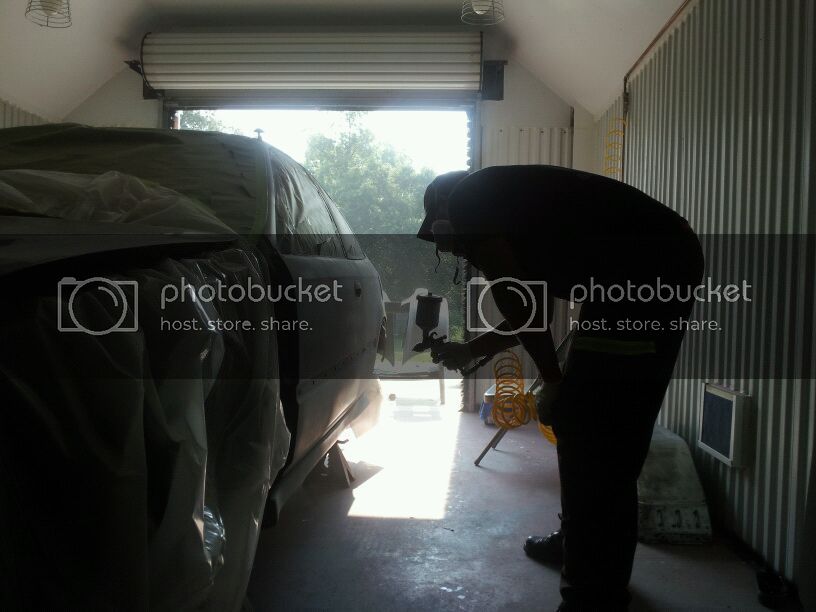
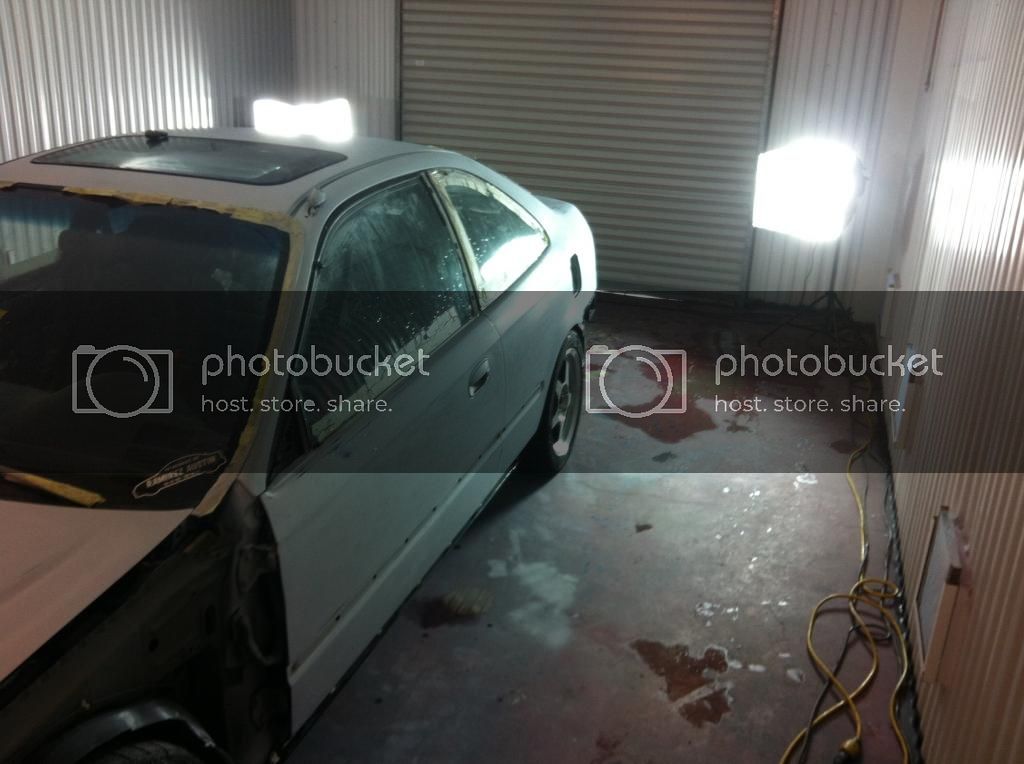
Ok so today got a lot accomplished on the car (body work wise). The car is sitting in the paint booth as we speak!! All I have to do in the morning is tape a couple of things off, wipe down with a de-greaser and spray. When I got home I had a present sitting at the door....

TFS_2246.jpg


TFS_2249.jpg


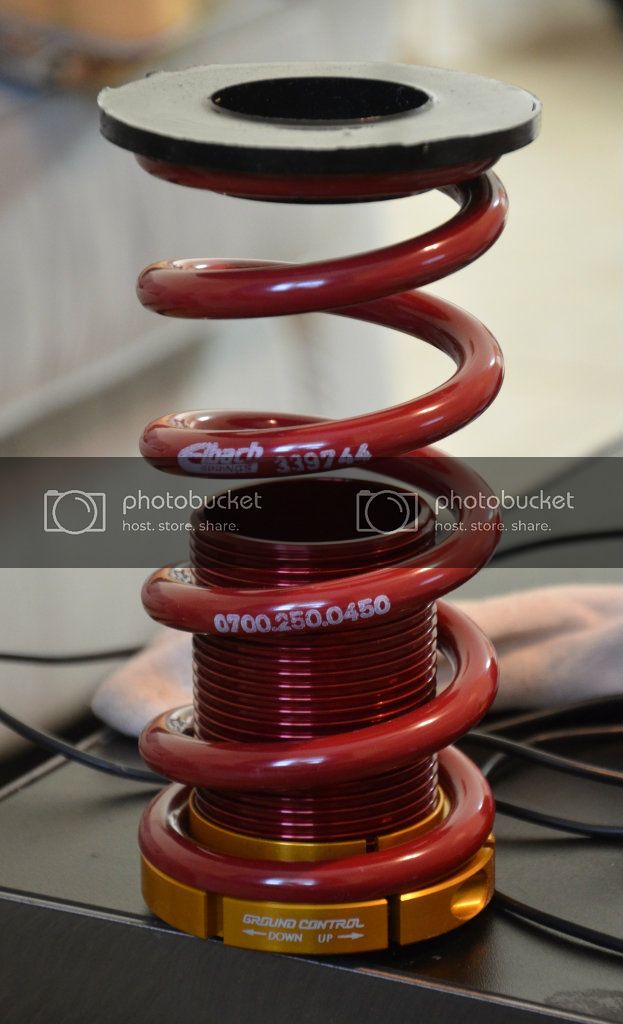
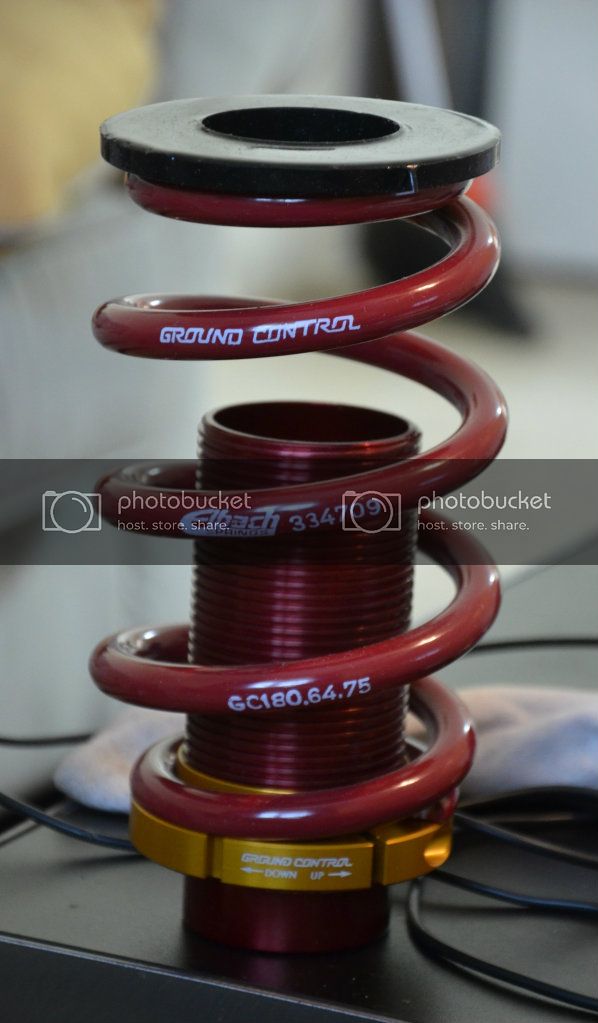
Front springs @ 450lbs/inch
TFS_2252.jpg


Rear springs @ 430lbs/inch
TFS_2251.jpg


Very excited, now just have to wait on all the other stuff so I can do everything at the same time. Comments welcome!
 
Originally posted on 7-4-2012

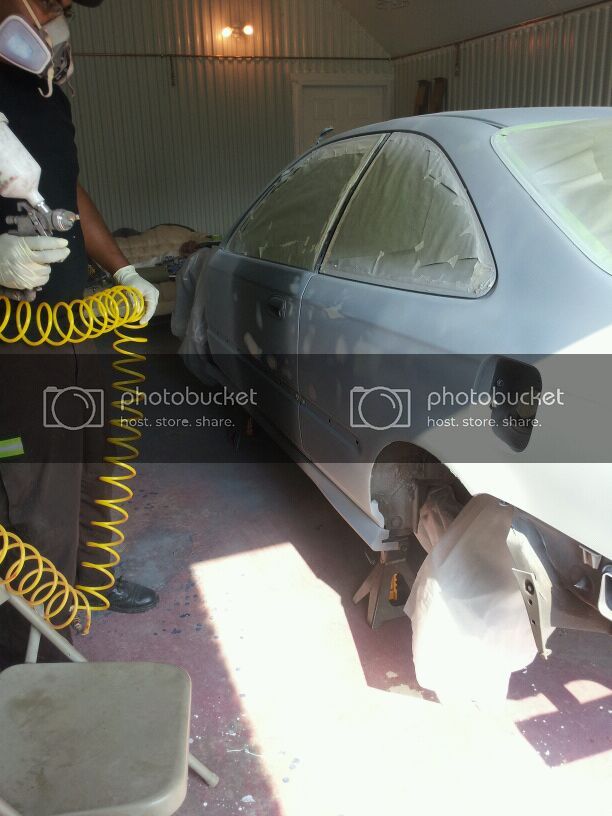
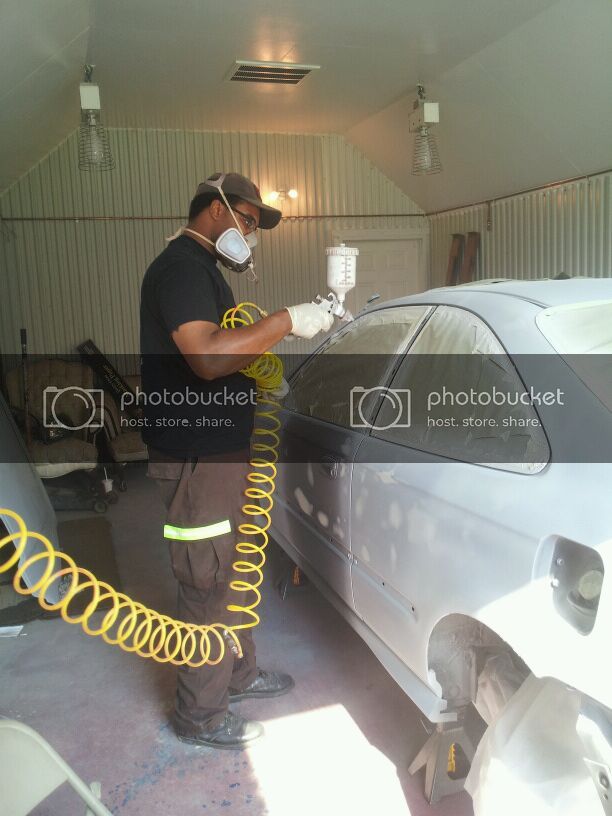
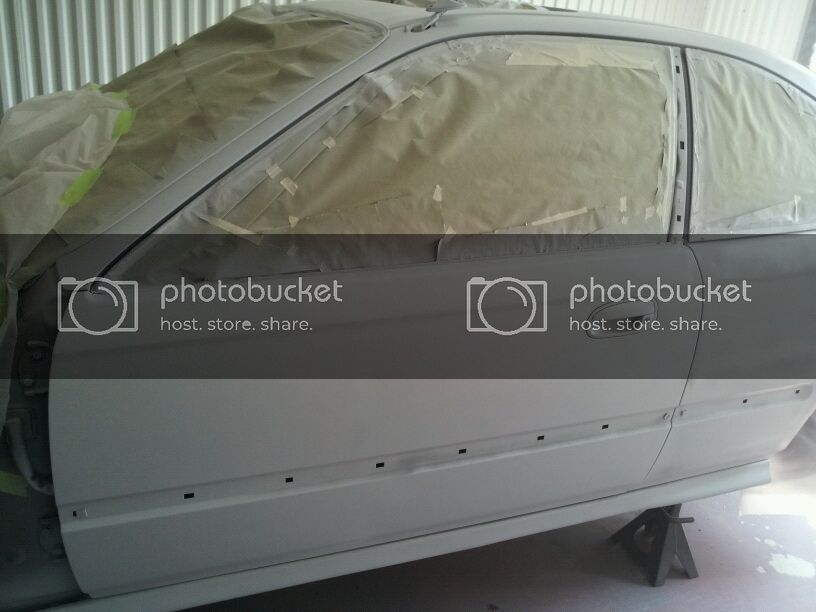
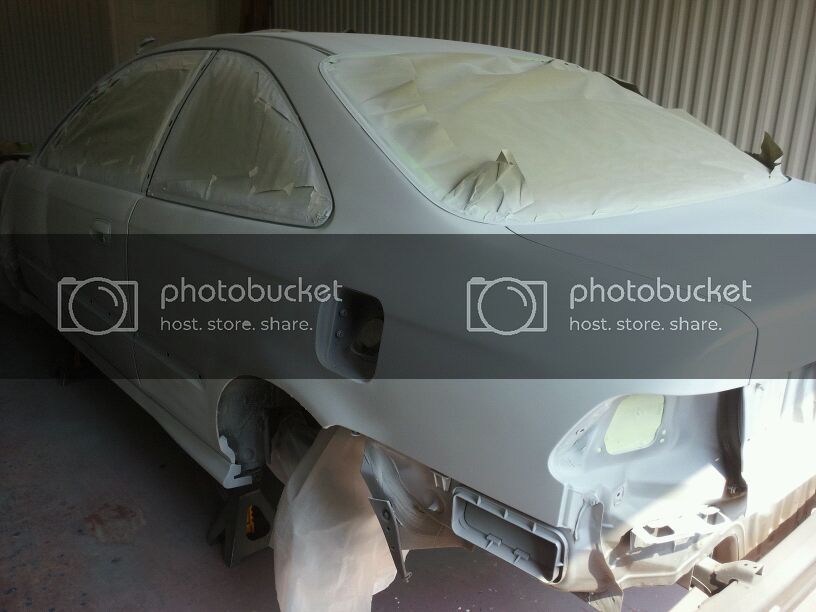
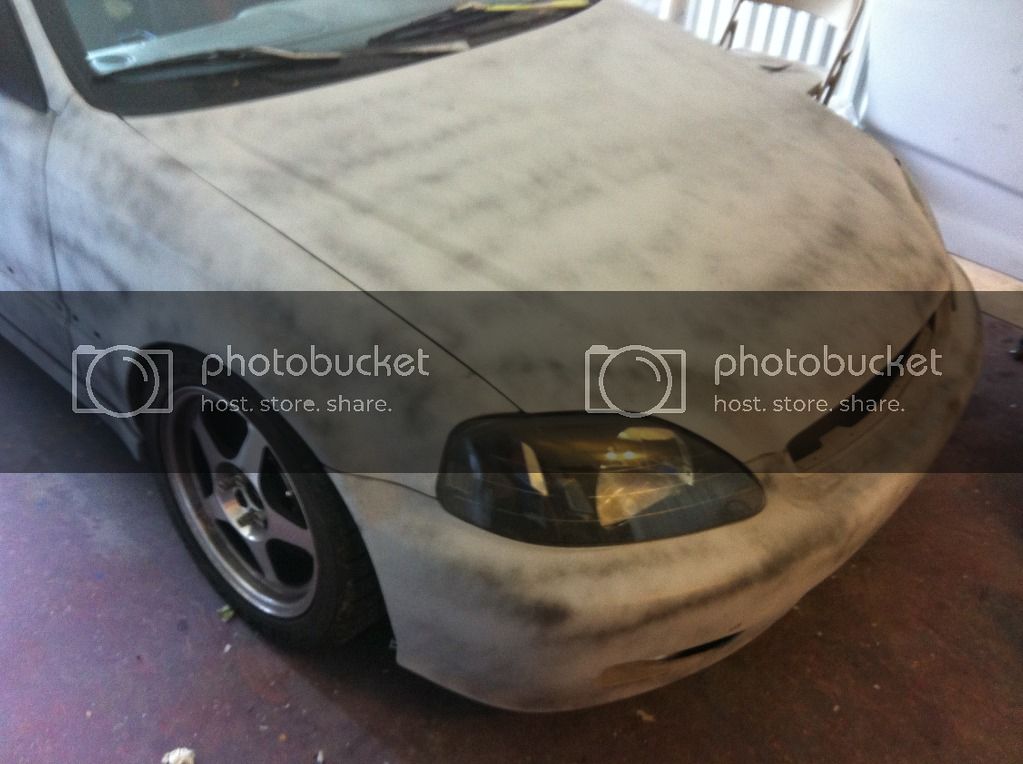
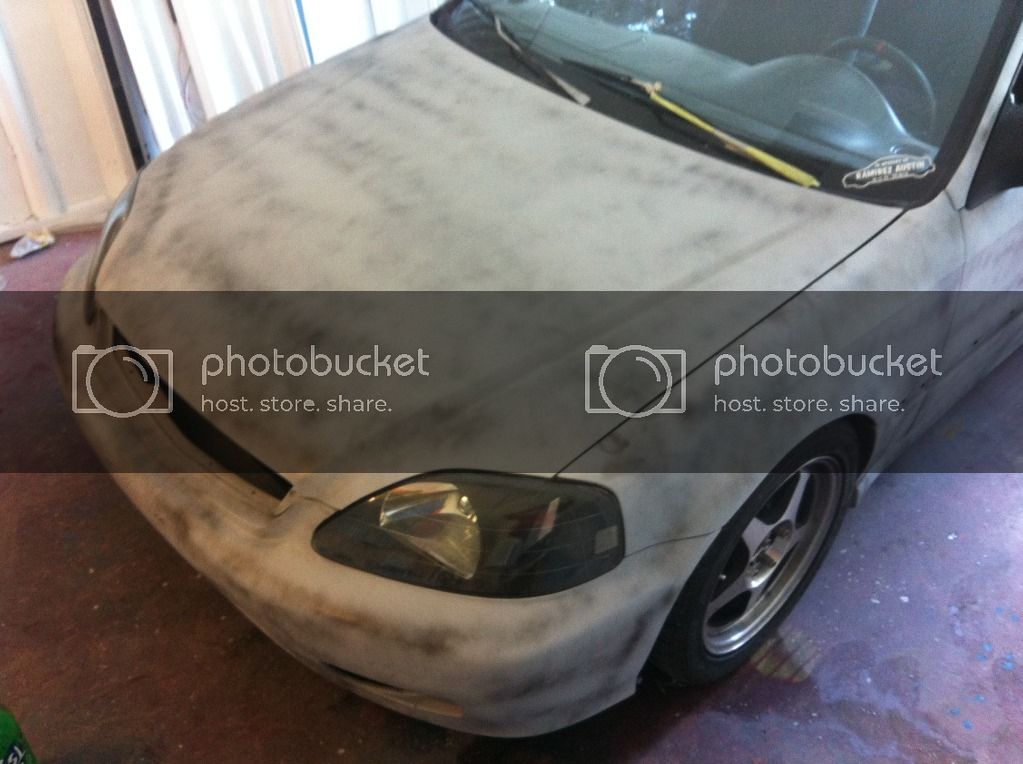
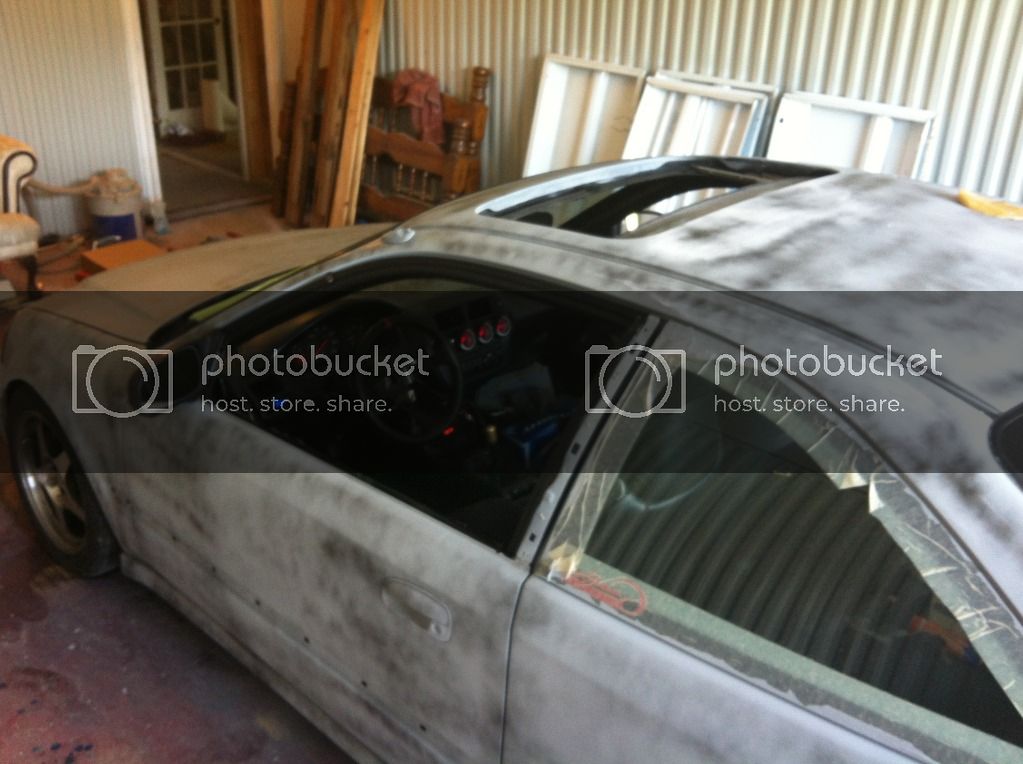
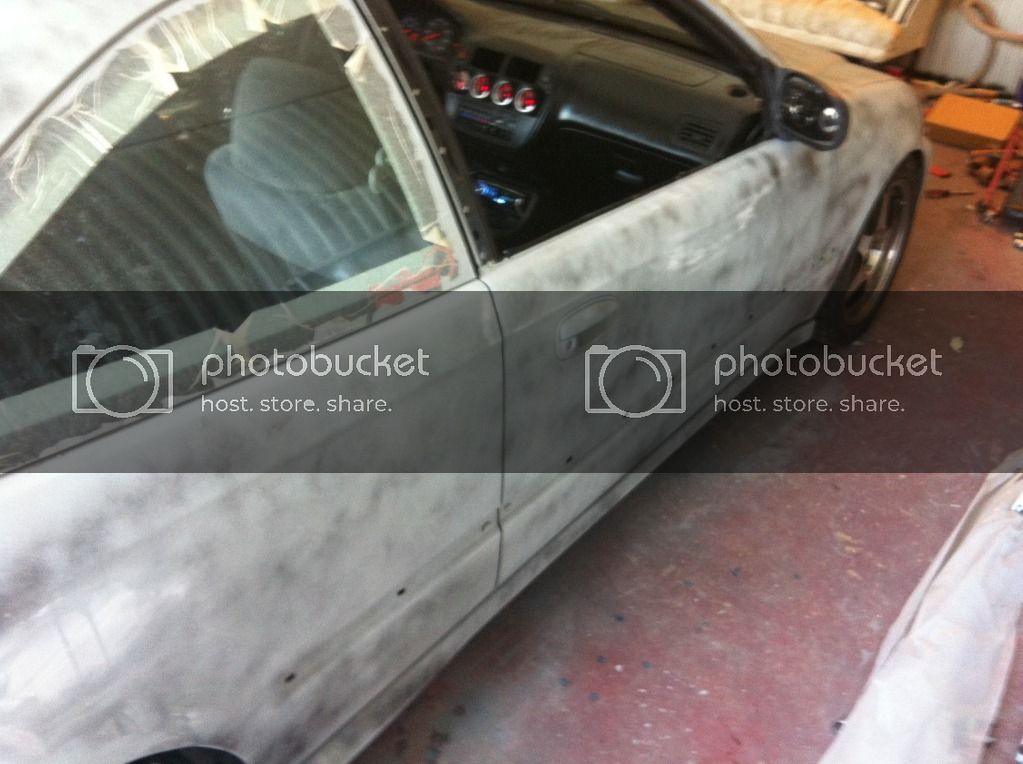
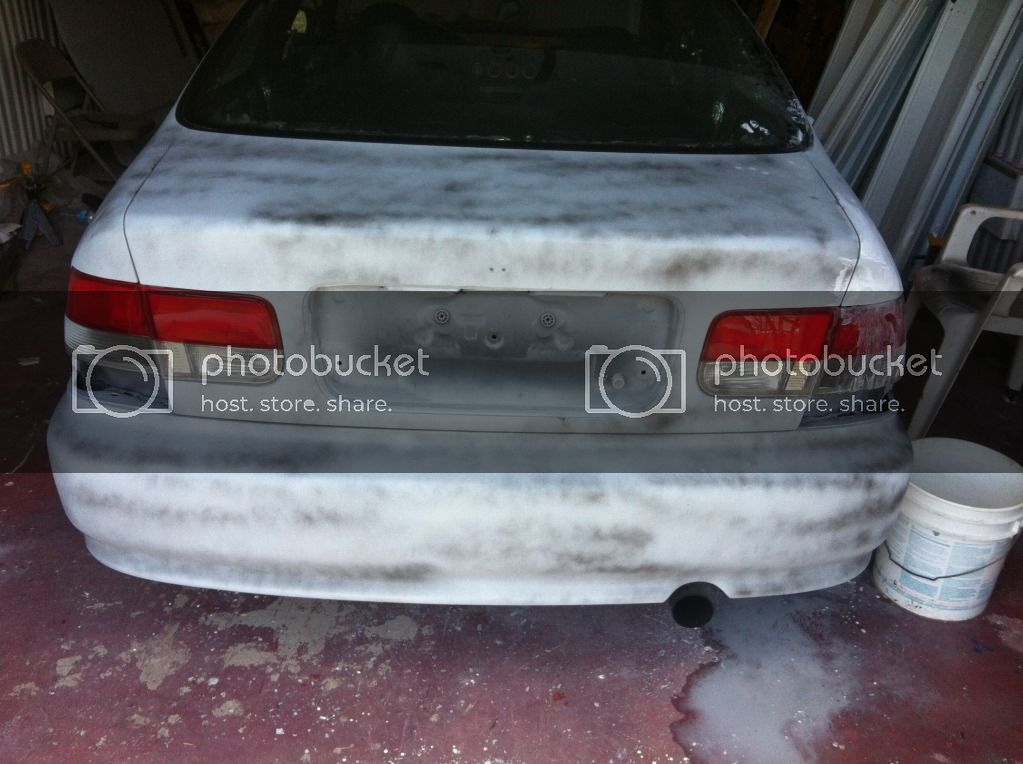
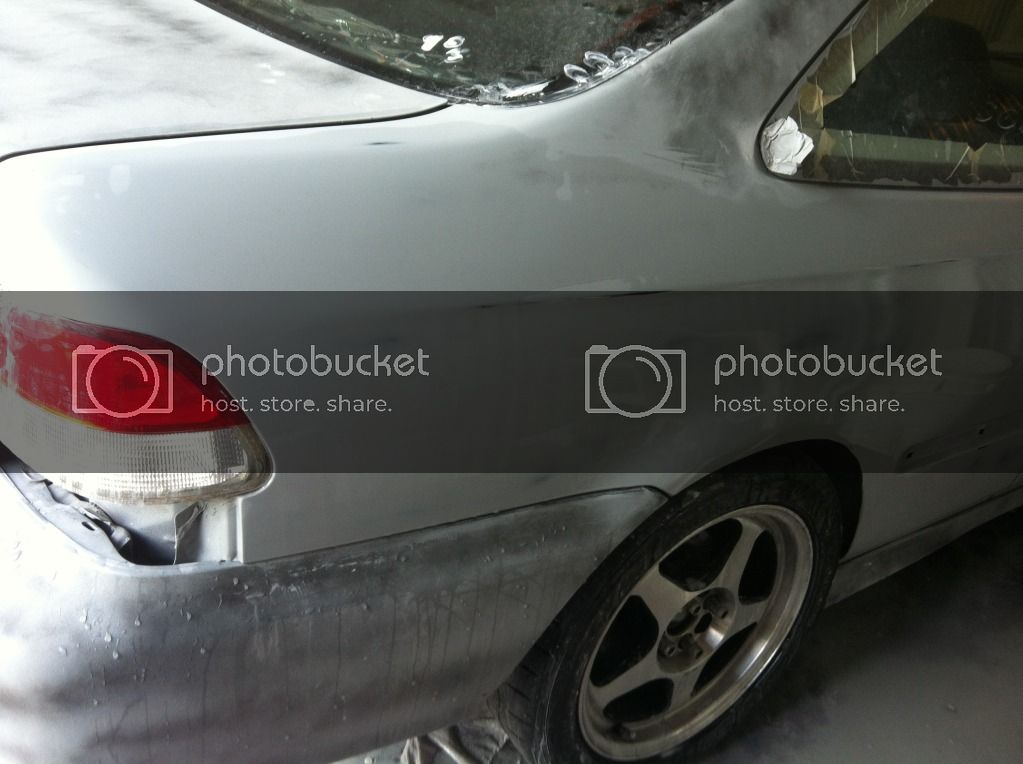
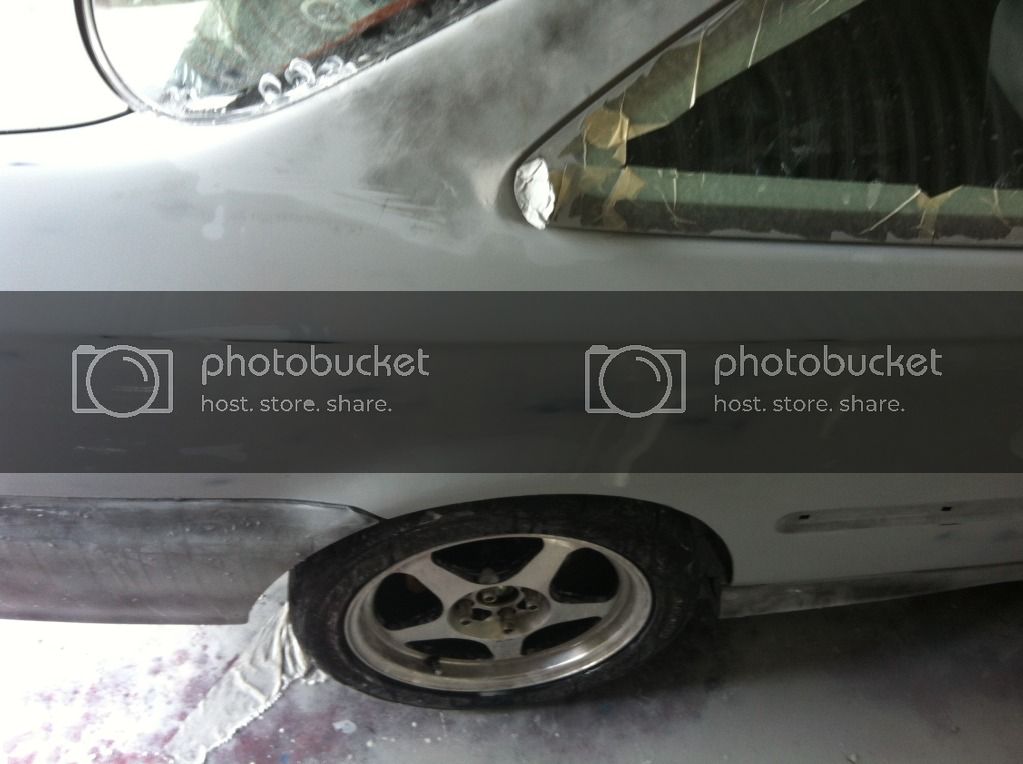
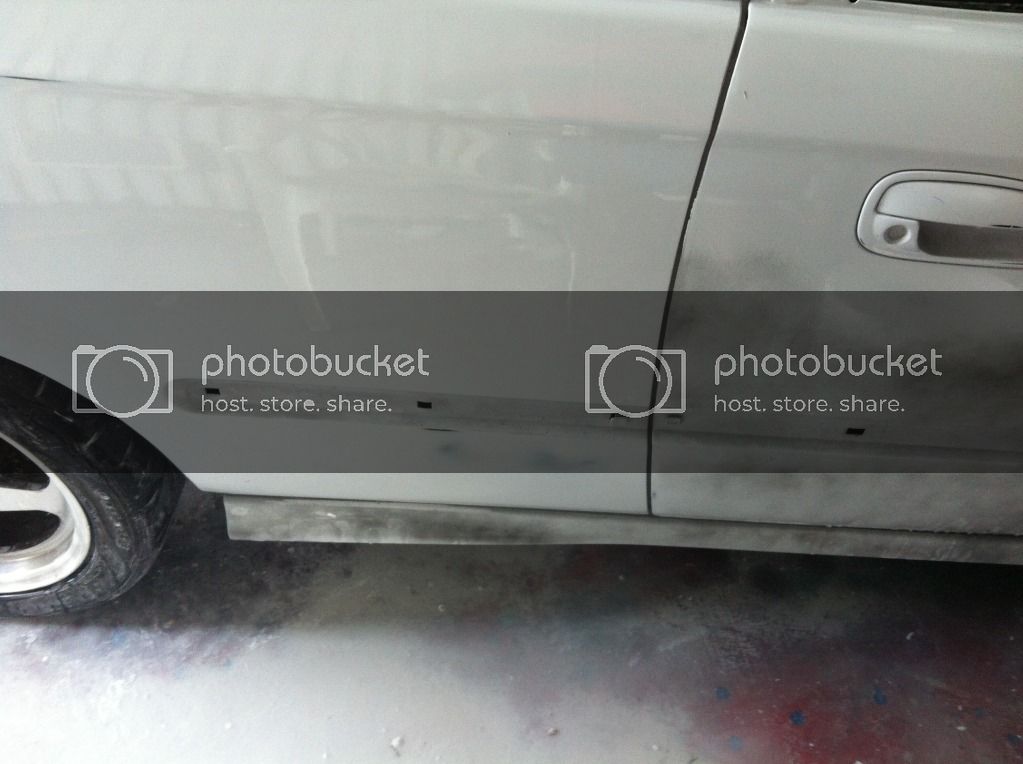
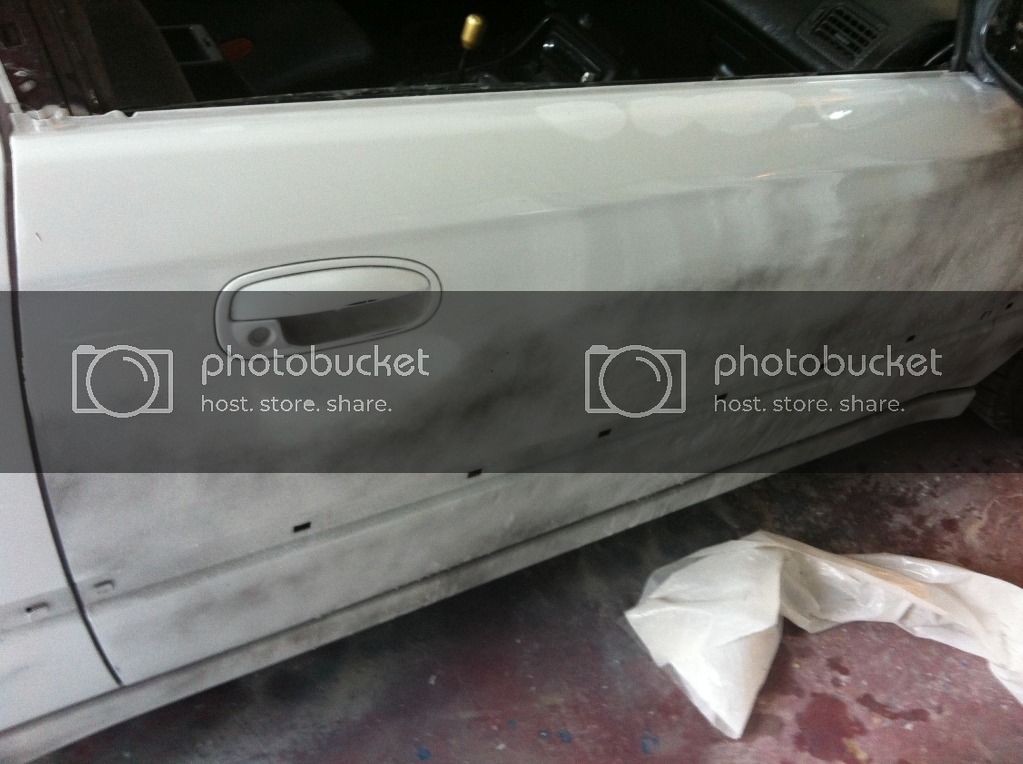
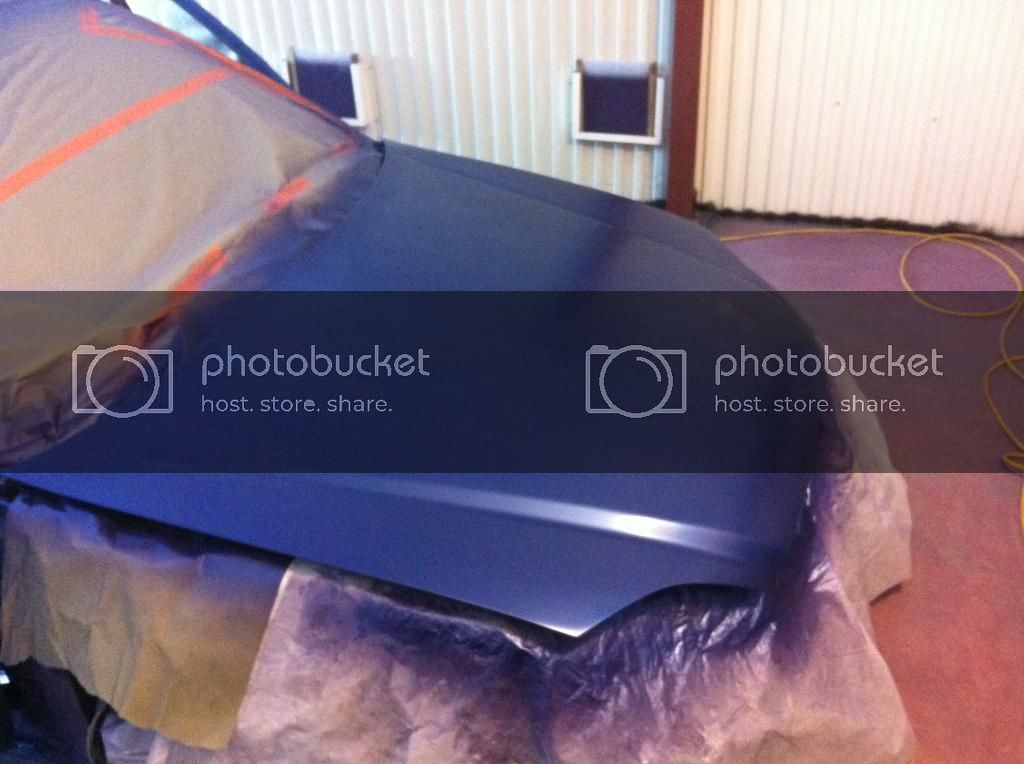
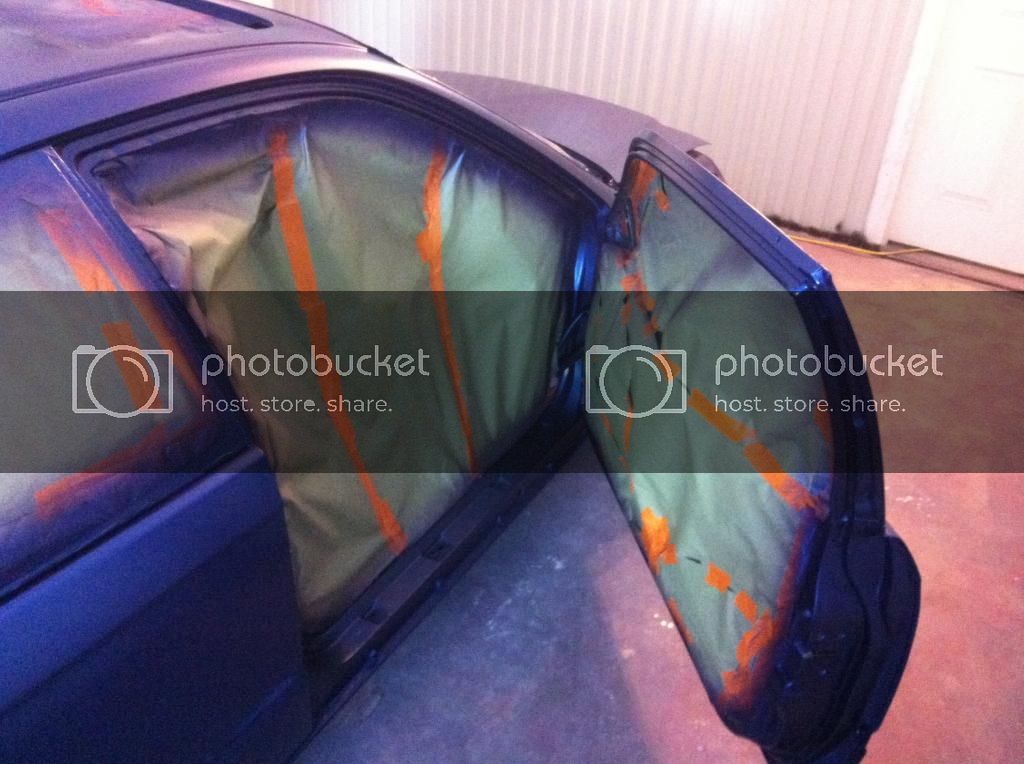
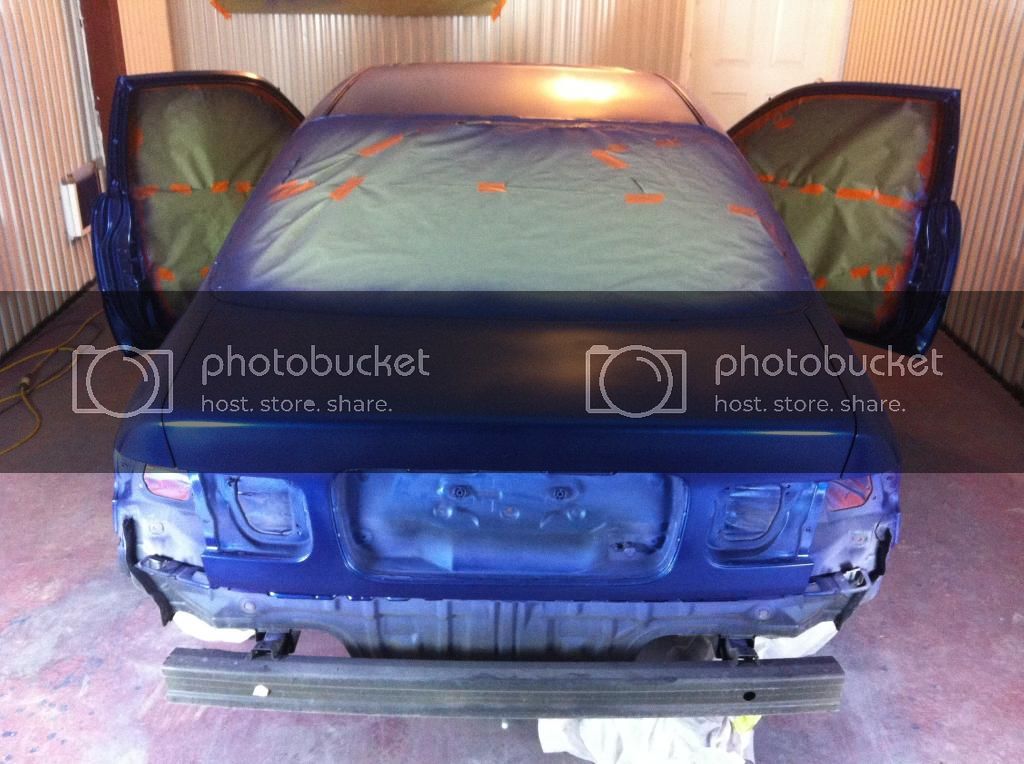
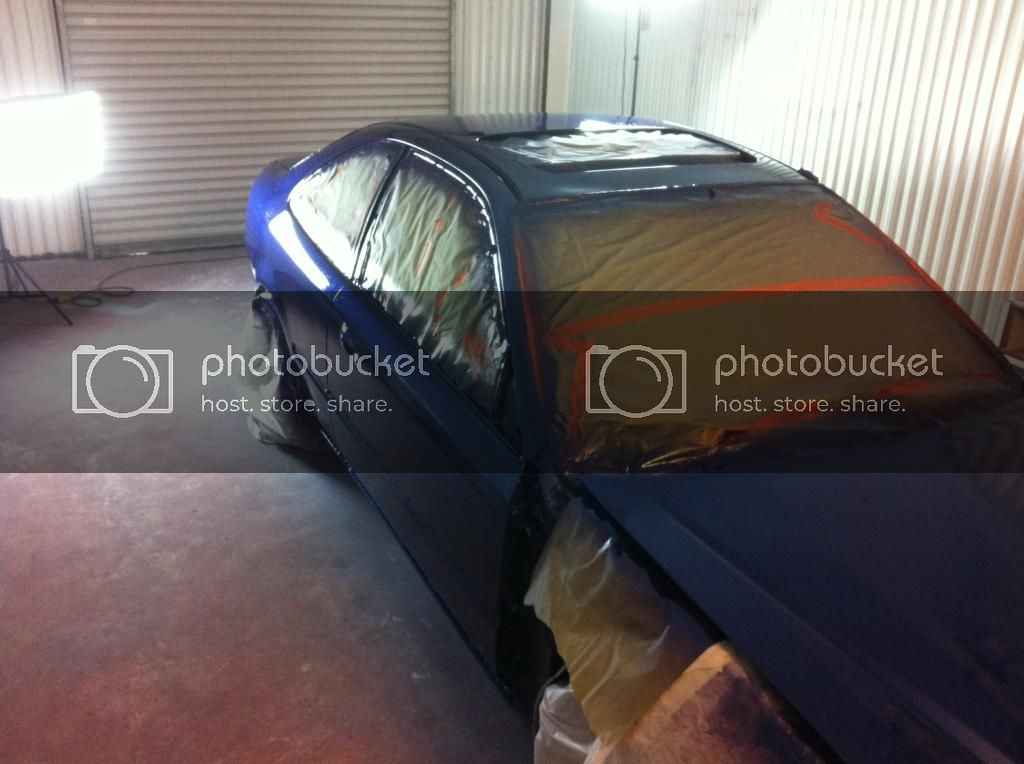
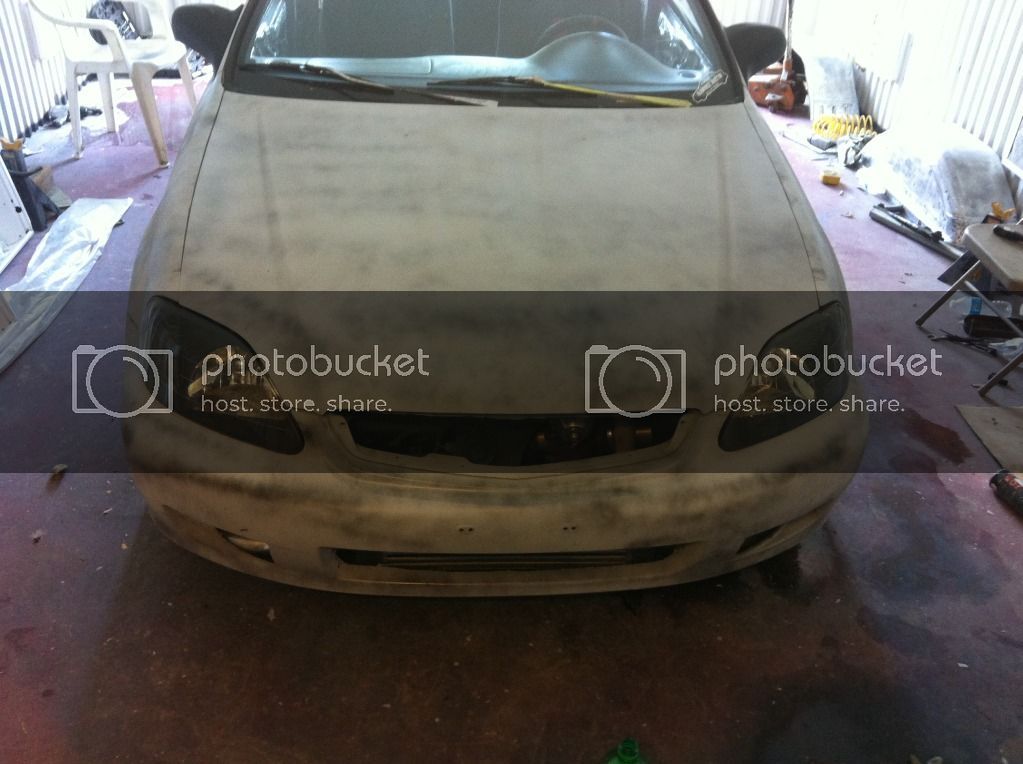
Ok got the car primered yesterday, everything turned out pretty good. Everyone was right though, you won't notice any blemishes or spots you missed until you shoot some primer on it!! I'm still pretty pleased with it, I think I counted over 130 dings/dents in the beginning, yesterday after shooting the primer I have 8 spots that need to be addressed during the blocking phase.

IMG_1595.jpg


IMG_1596.jpg


IMG_1597.jpg


IMG_1598.jpg


IMG_1599.jpg


IMG_1600.jpg


IMG_1601.jpg


IMG_1602.jpg


IMG_1604.jpg


IMG_1605.jpg


IMG_1606.jpg


As always all comments are welcomed. Feel free to leave any tips about blocking that may help me, I've hear that its the most important part of the process.
 
Originally posted on 7-28-2012

Ok it's been a while but wanted to give a little update. Started doing a little sanding on the car today as well as ordering of several parts. I guess I'm trying to finish the engine, suspension, brakes and interior before I continue with the final step of paint (base coat/clear coat).

Ordered today:
Suspension:
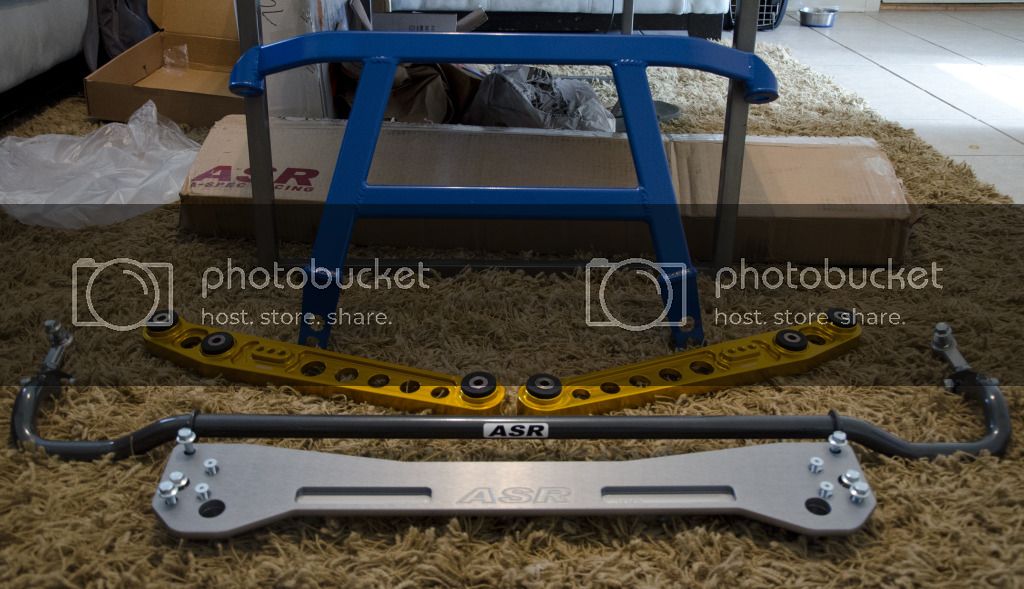
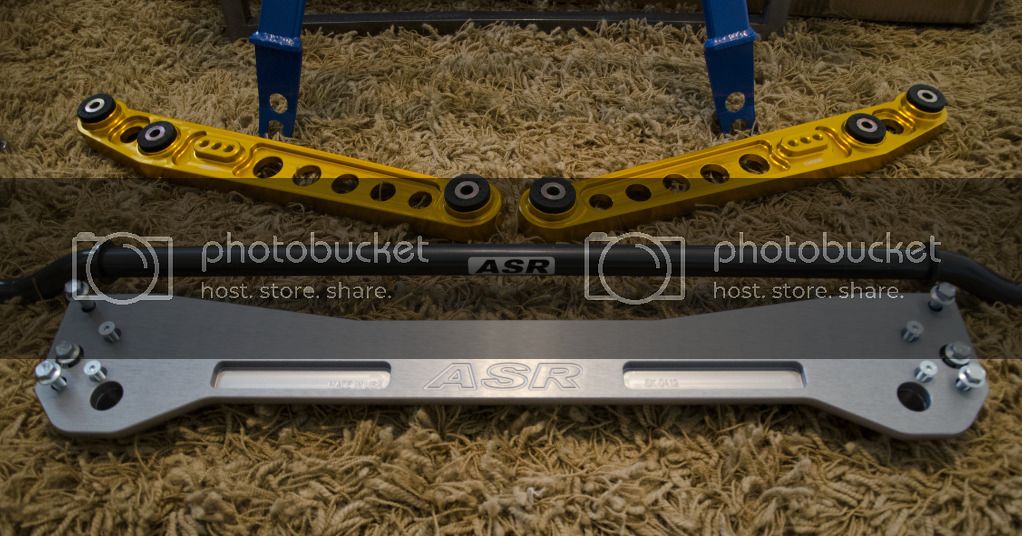
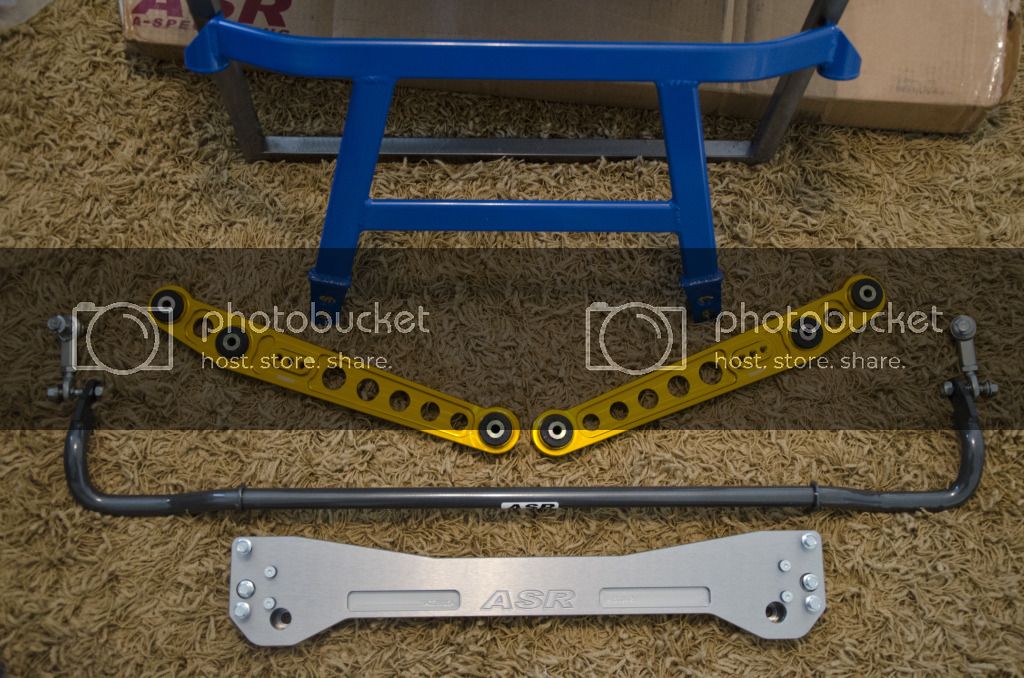
ASR 24mm sway bar
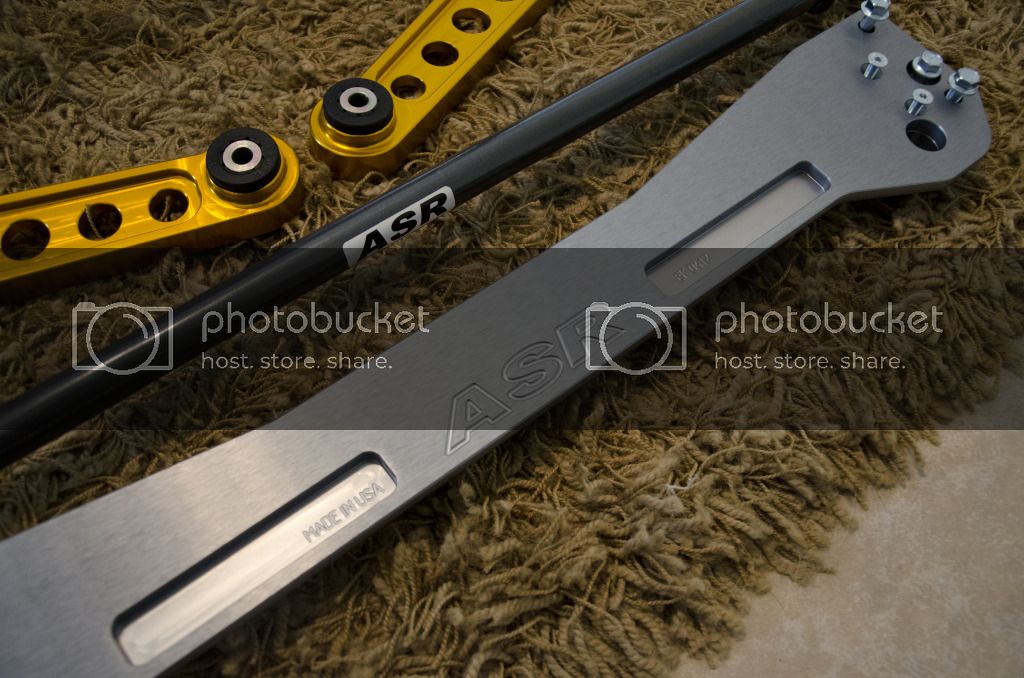
ASR Subframe Brace
ASR spherical end links
New ball joints (upper and lower)
Inner tie rods
Outer tie rods
Energy Suspension end link kit
Energy Suspension front lower control arm bushings
Wicked Tuning toe adjusters
Wicked Tuning rear camber kit
New rear lower control arms

Brakes:
Fastbrakes 12.2" replacement front rotors
Fastbrakes 11.1" rear disc upgrade
Hawk HPS rear pads (ep3)
Russell steel braided lines (all four)
Motul 660 brake fluid (3 bottles)

Cooling:
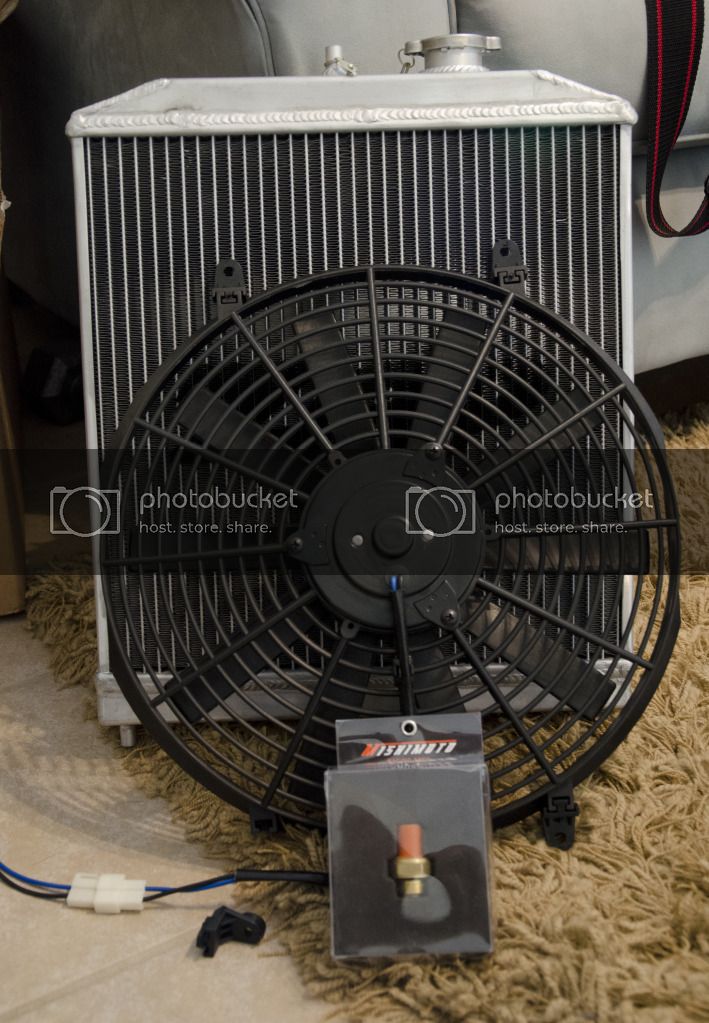
Zap dual core radiator
14" 1900cfm radiator fan
Mishimoto Fan switch
Oil cooler with filter relocation

Now its time to do a little research on the following:
Traction bars
H brace
3 point strut tower brace (front upper)
Strut tower brace (rear upper)
Mugen pedals
Dual valve springs and retainers (to go with my pro 1 cams)
Re-tune


Hopefully I can have the research for the above items done soon so it can get ordered. Its crunch time!!
 
Originally posted on 8-3-2012

Just a little update:

Parts are starting to show up in the mail already. Need to get all the suspension stuff on tonight as I have an appointment at Honda tomorrow morning to get a 4 wheel alignment.

5.jpg


4.jpg


3.jpg


2.jpg


1.jpg


Stay tuned!!
 
Originally posted on 8-4-2012

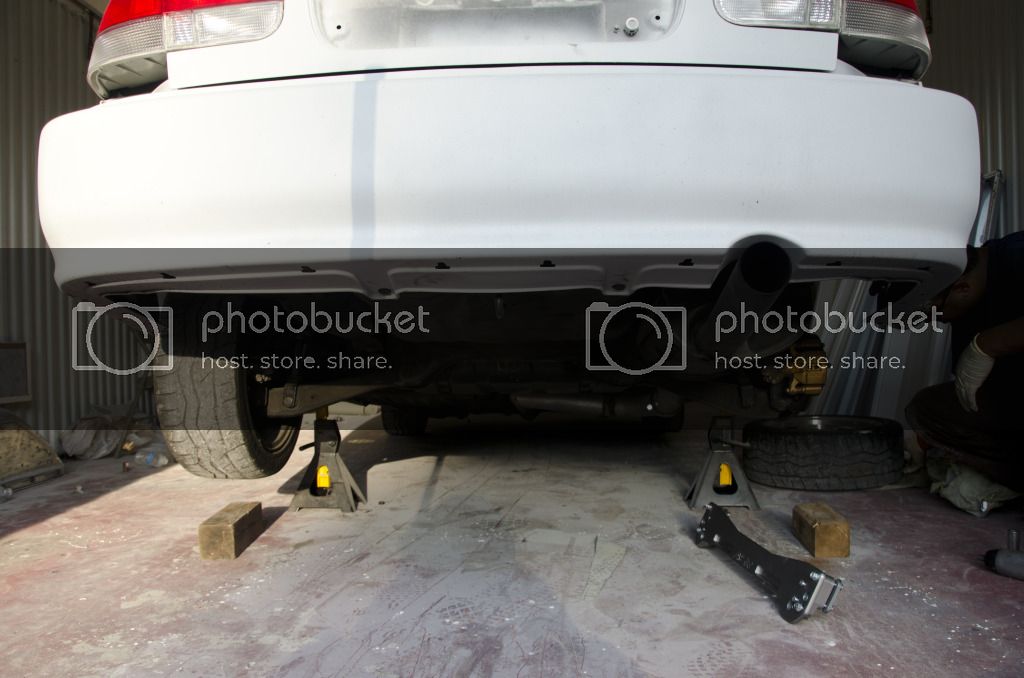
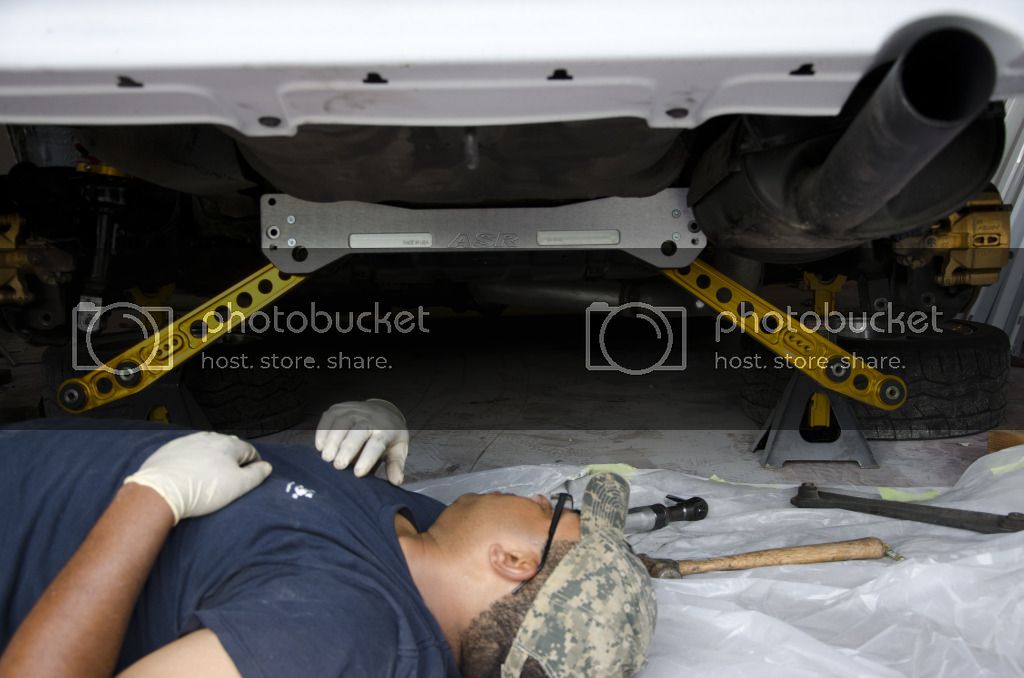
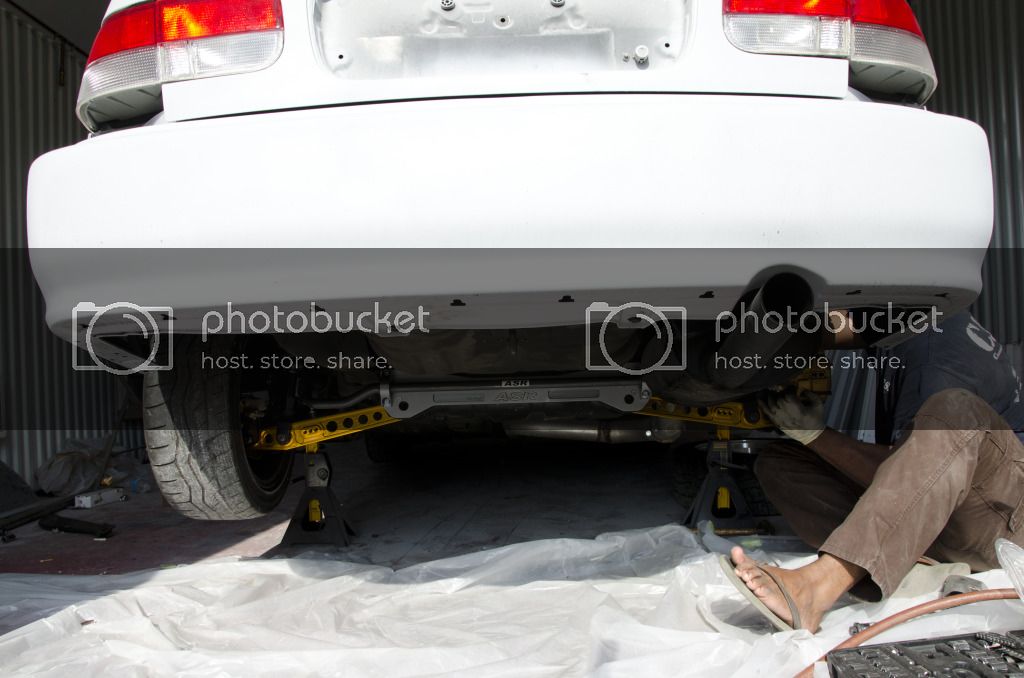
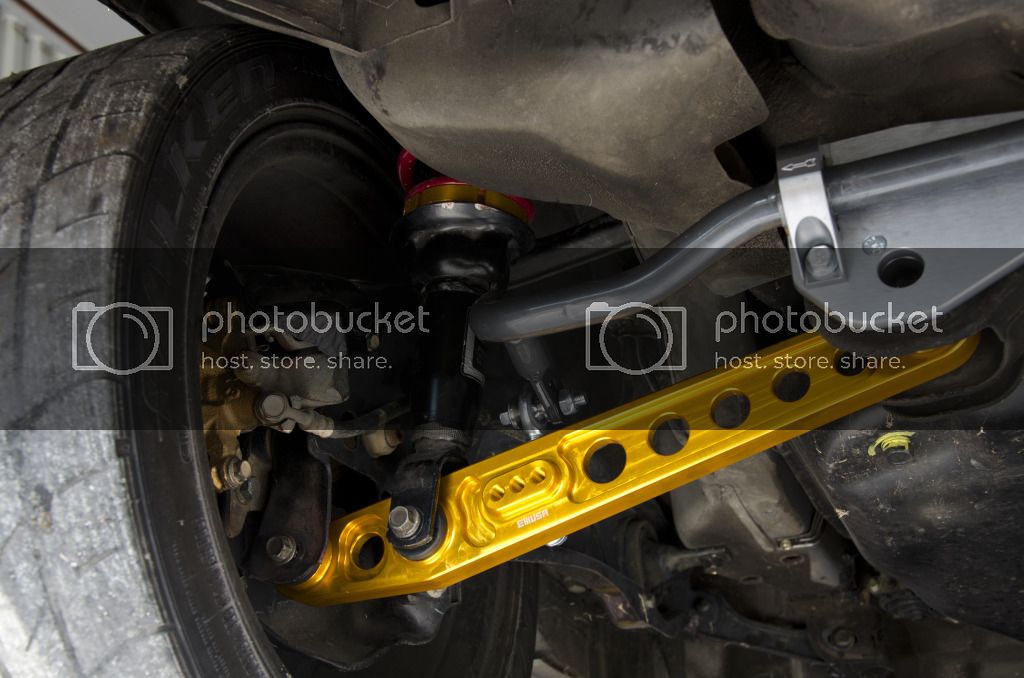
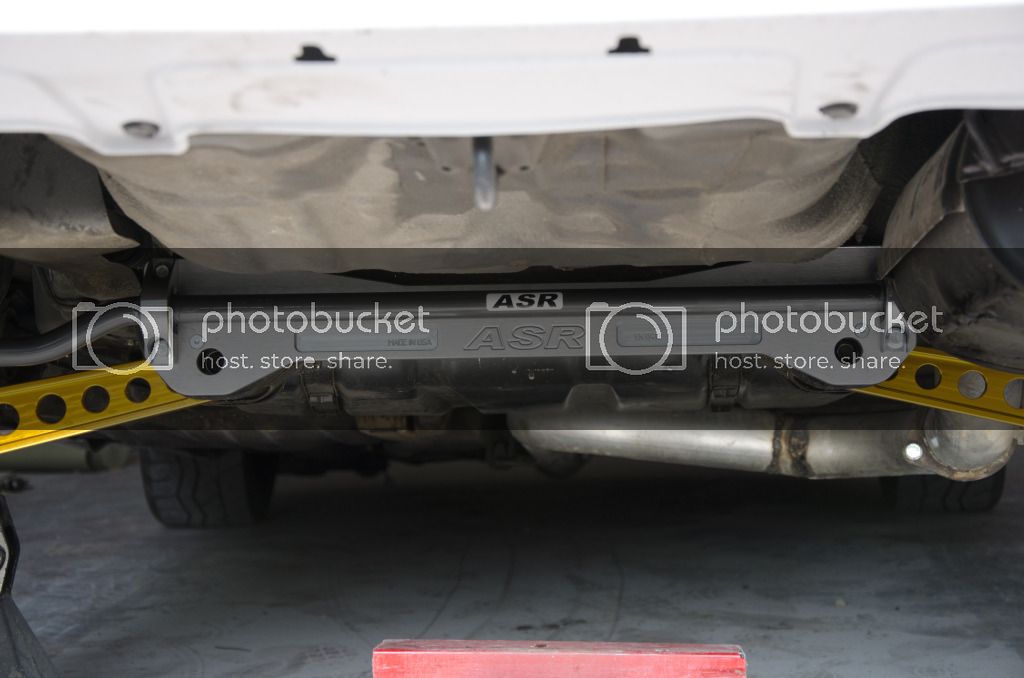
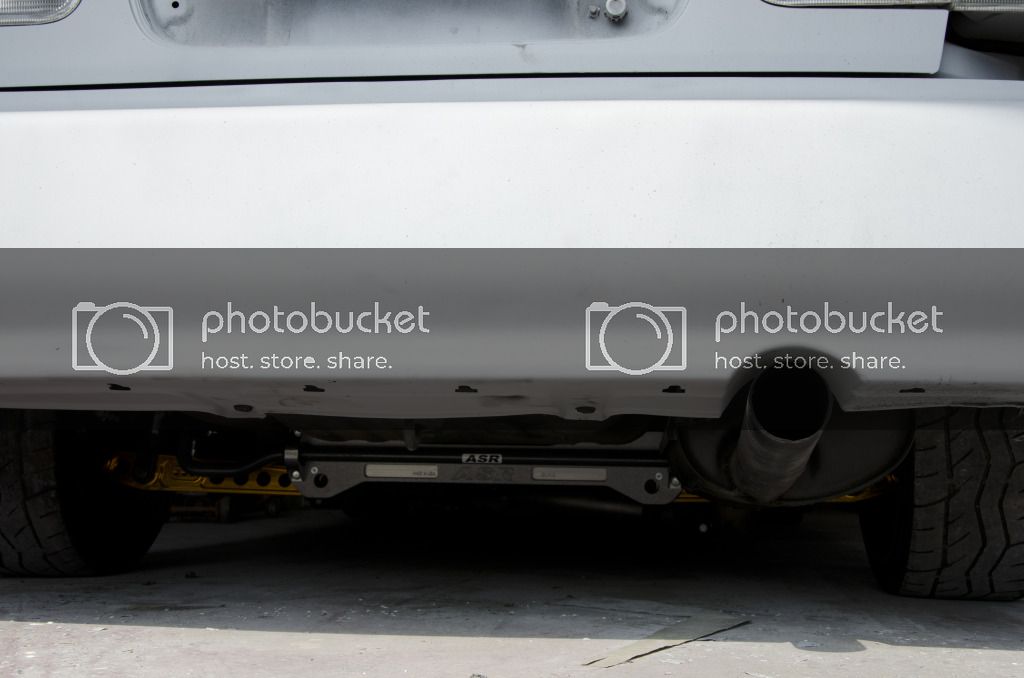
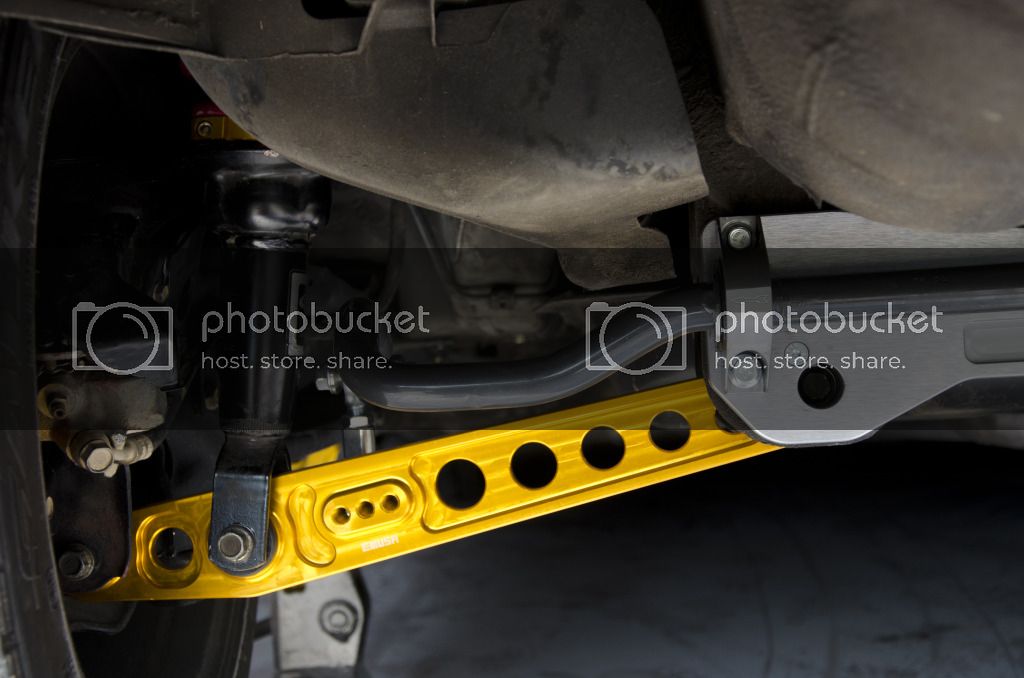
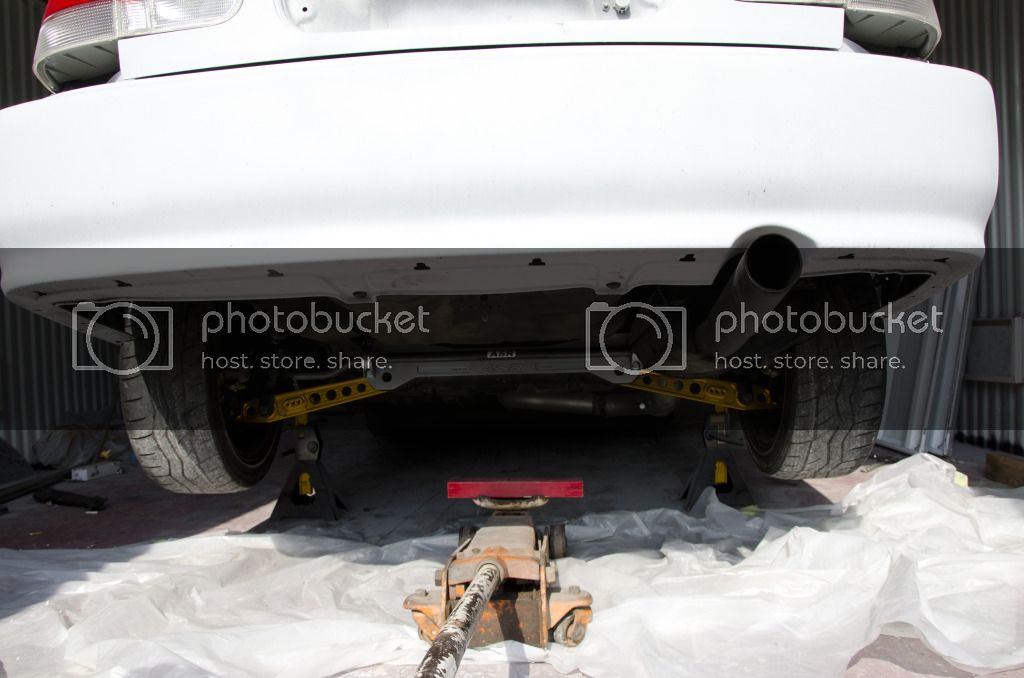
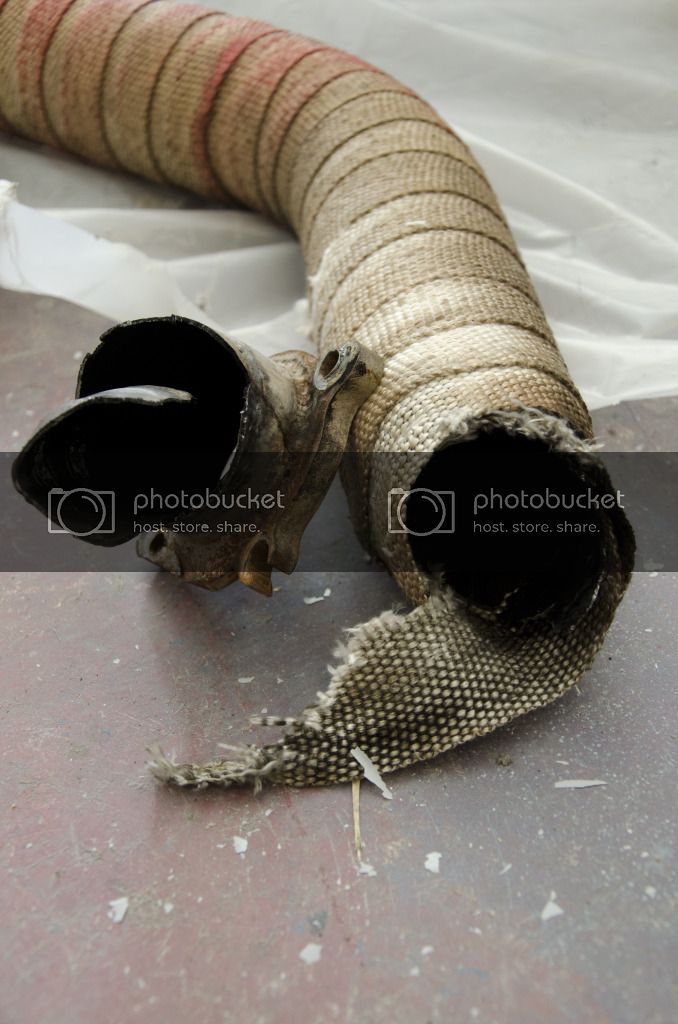
Ok today have a little update for everyone. Got the ASR sub frame brace, ASR sway bar and rear lower control arms in. Everything was running pretty smoothly until I crawled underneath the front of the car and discovered that my down pipe was cracked almost all the way around it. So the H brace, radiator, radiator fan, fan switch and alignment is going to have to wait until I can get the down pipe fixed. I was however able to get a lot of negative camber out of the back with my lower control arms and the good ole washer trick!! Anyway here is some pics, keep the comments coming.

7.jpg


8.jpg


9.jpg


10.jpg


11.jpg


12.jpg


13.jpg


14.jpg


The carnage!!!

15.jpg
 
Originally posted on 8-12-2012

Got a little update:
Was able to get access to a welder and fix my down pipe. Got back to the shop and it bolted back up with no problems. I then had to make a new oil return line gasket to stop a leak that I've had for a while. After this I finally was able to test drive the car with the new suspension setup and all I can say is ......SIMPLY AMAZING!!! Its very nice and predictable/nuetral. Will be taking it to get an alignment hopefully on Tuesday at Honda and then I will be able to feel the full benefits of the newly added suspension components. After I got back from the test drive I checked my coolant levels again to make sure there was no air in the system, the new radiator, fan and fan switch are working out great!! I then turned my attention back to the body and started wet block sanding with guide coat. I started on the passenger side quarter panel and made my way up to the passenger door before quitting lol. I will say that the body is surprisingly straighter then I thought it was going to be, especially since this is my first time. I am very pleased with the results so far and look forward to getting the block sanding done by this weekend. Hopefully if everything turns out right I'll be posting some pics of the car with the base coat and clear sprayed on in the next couple of weeks, just have to see how everything works out. Anyway enjoy the pics and comment.

IMG_1649.jpg


IMG_1650.jpg


IMG_1648.jpg


IMG_1647.jpg


IMG_1645.jpg


IMG_1643.jpg


IMG_1654.jpg


IMG_1655.jpg


IMG_1652.jpg


IMG_1653.jpg
 
Originally posted on 8-29-2012

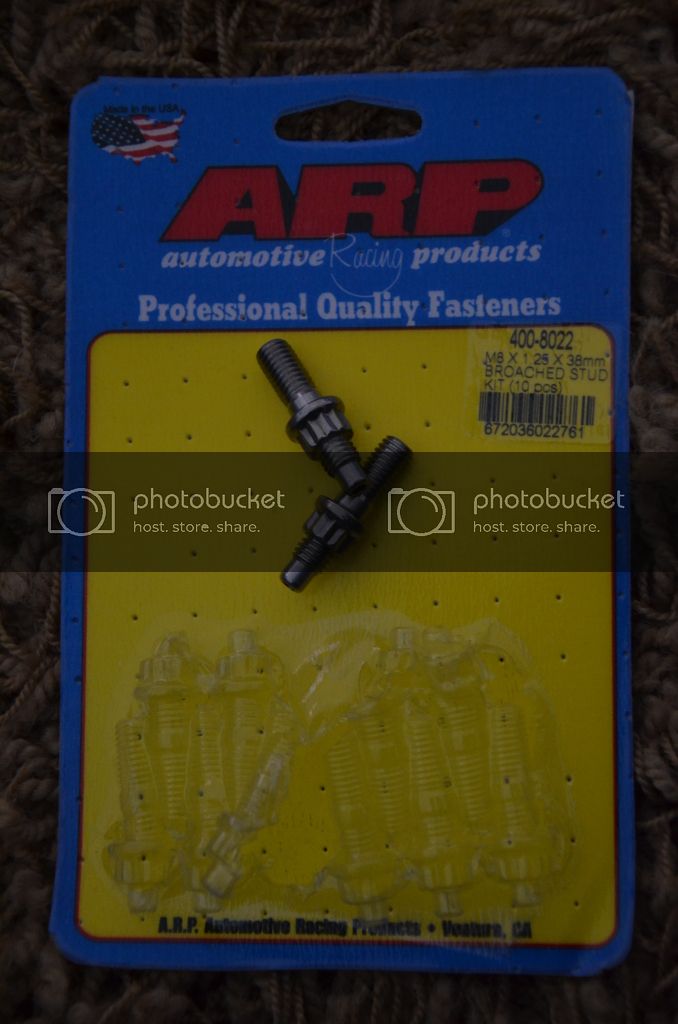
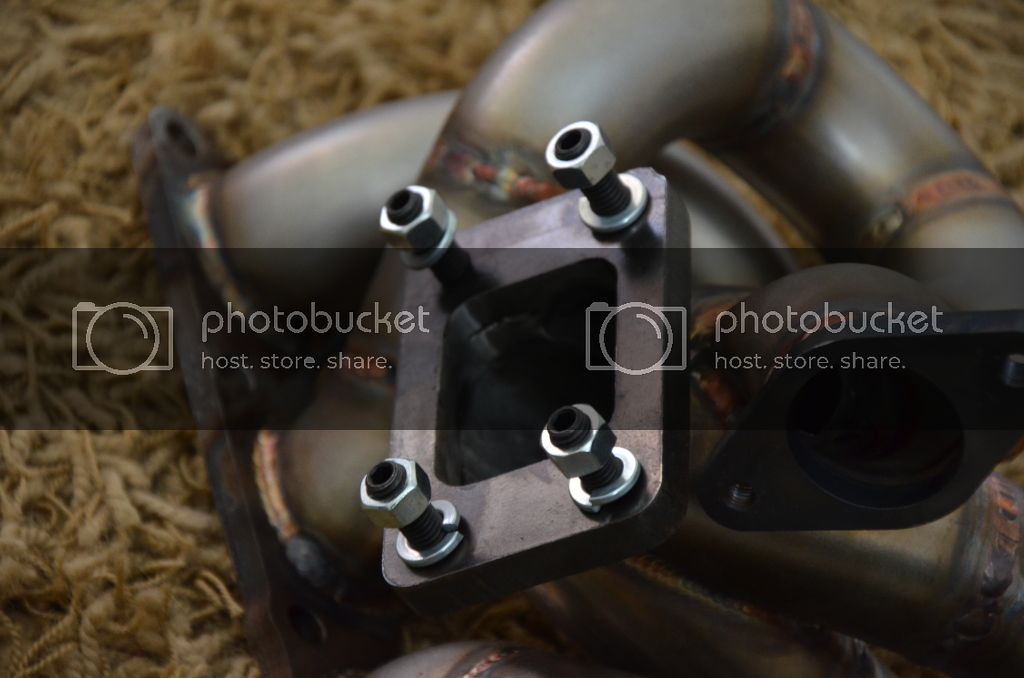
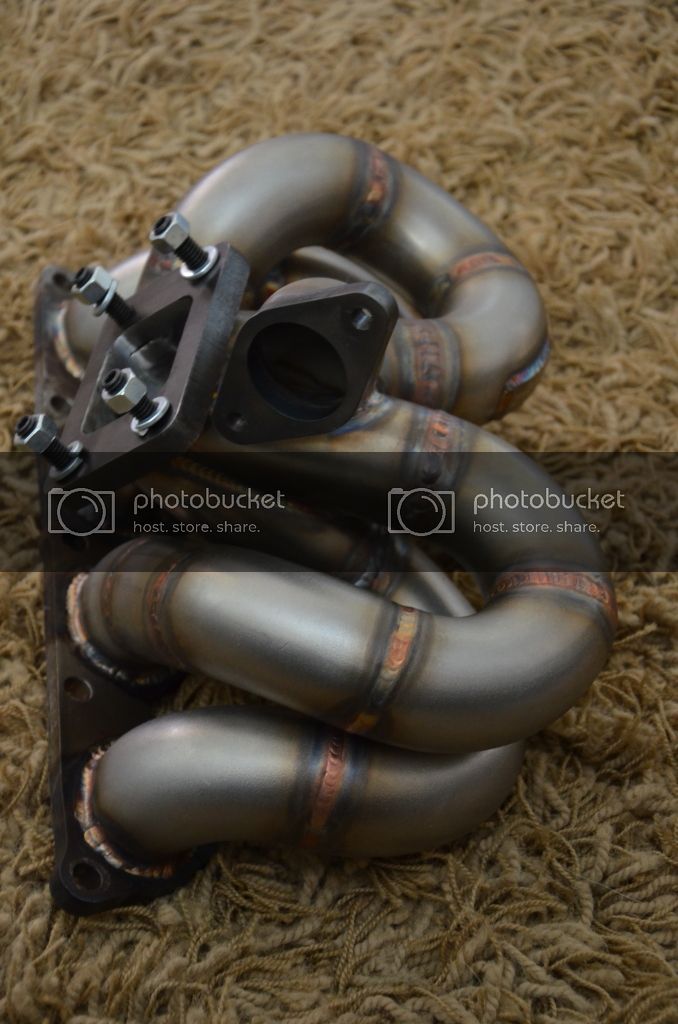
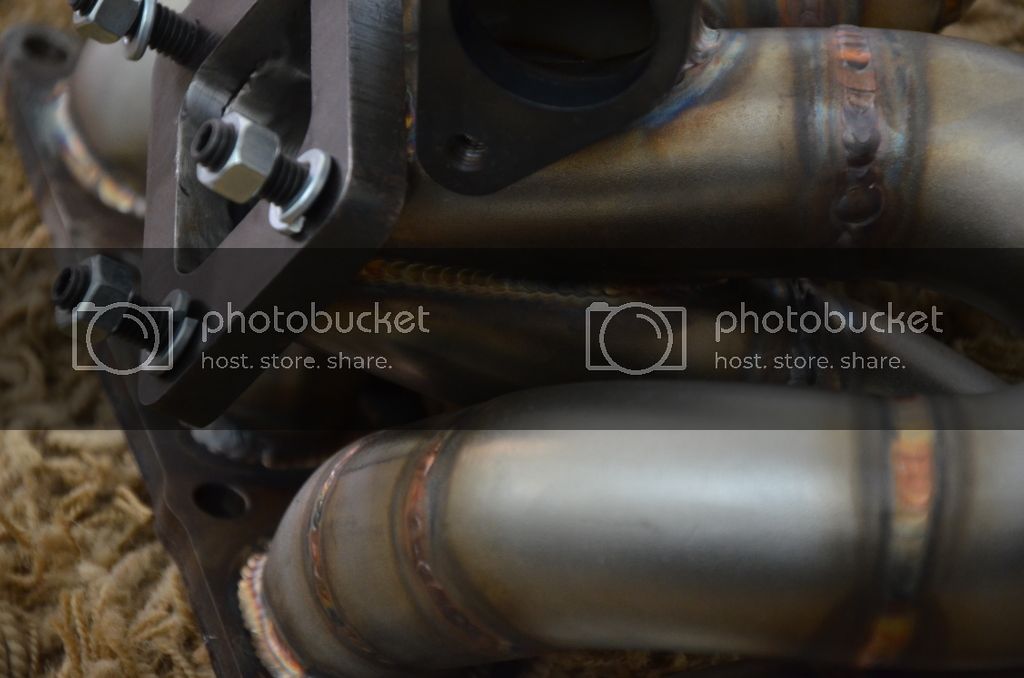
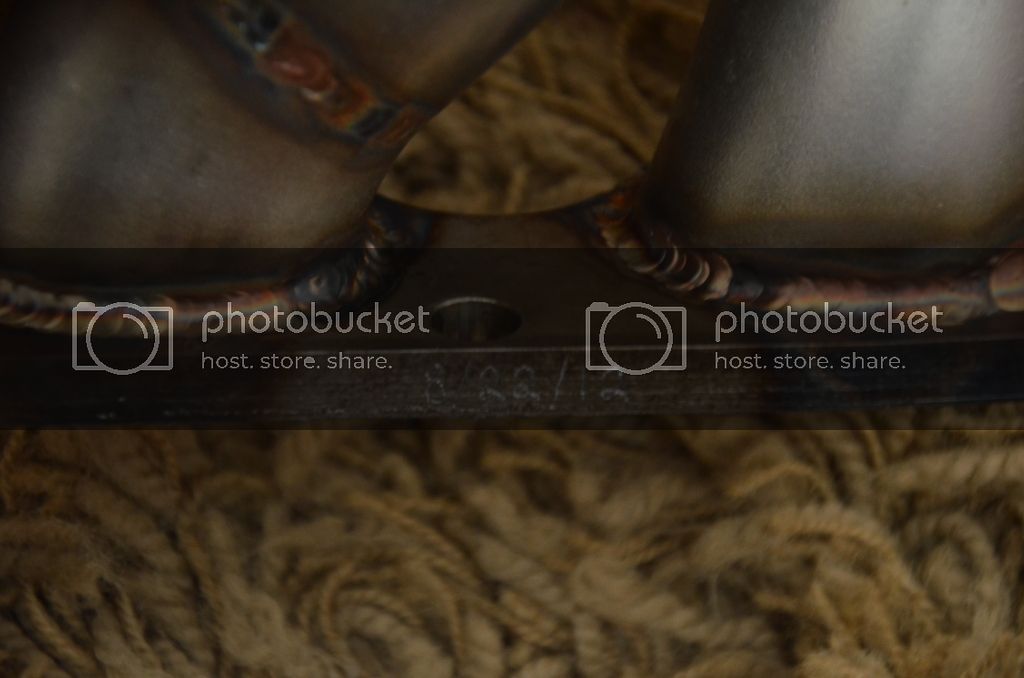
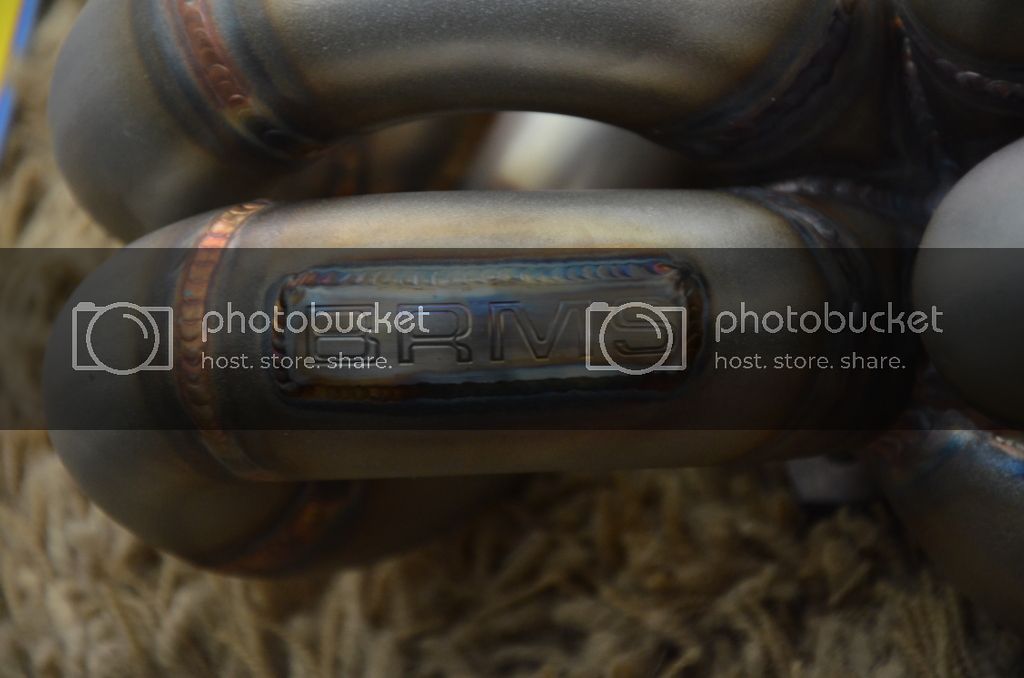
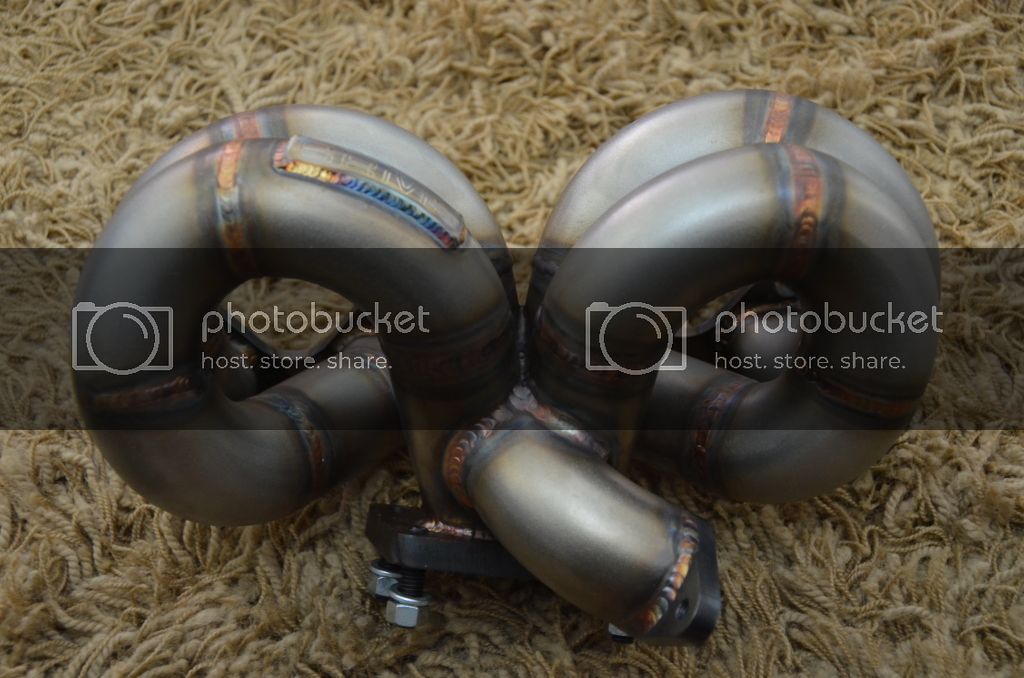
Ok been a long time but been pretty busy at work. Well about two weeks ago I noticed that I was breaking exhaust studs. I searched locally at some hardware stores with no luck on any replacements. I didn't want to just go back with oem so I started looking for the best price on the ARP exhaust studs. I think that the cheapest that I could find was around $120.00 plus shipping. Well I ended up finding them a little cheaper on accident! I was placing an order with Blueridge Motorsports for a a/c compatible ram horn turbo manifold and just thought that I'd ask. Well they beat the best price I could find on the net by ten dollars!! I didn't even have to pay for shipping!!

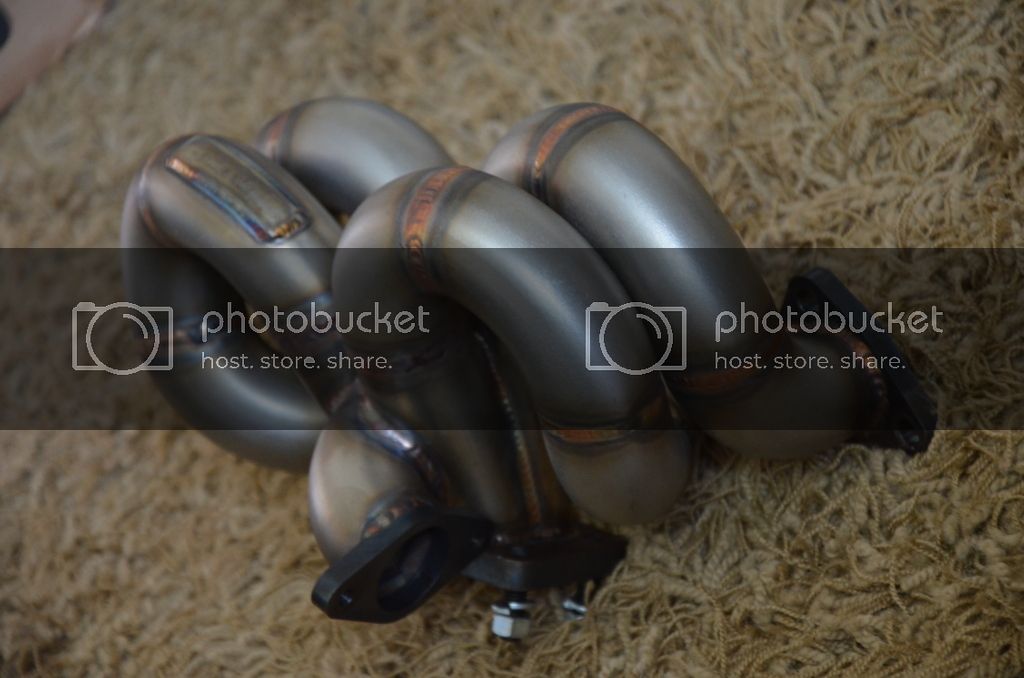
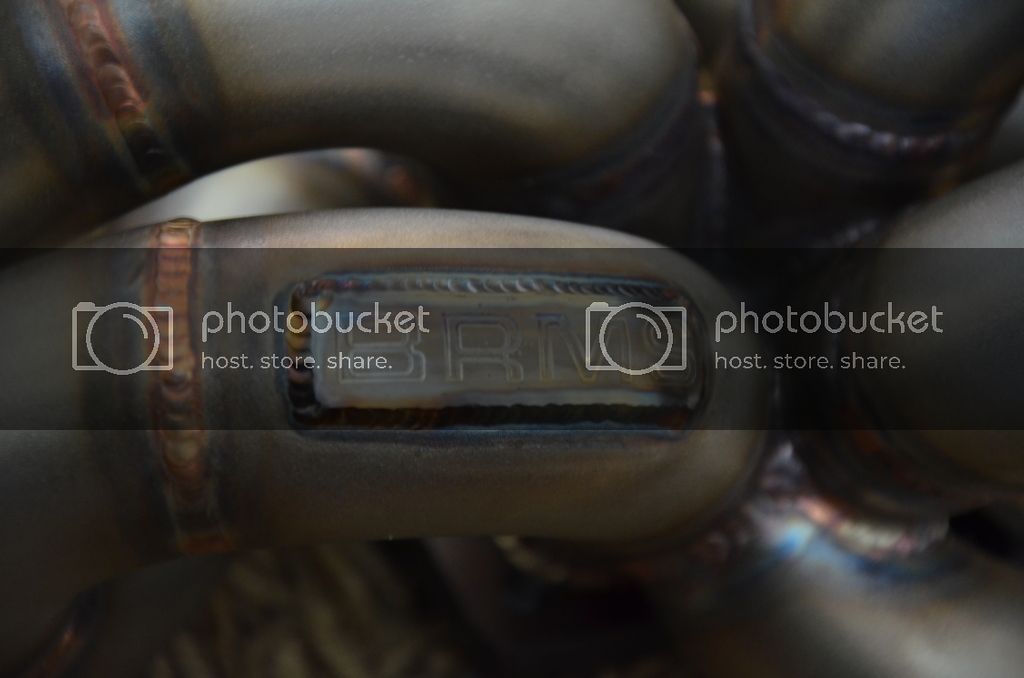
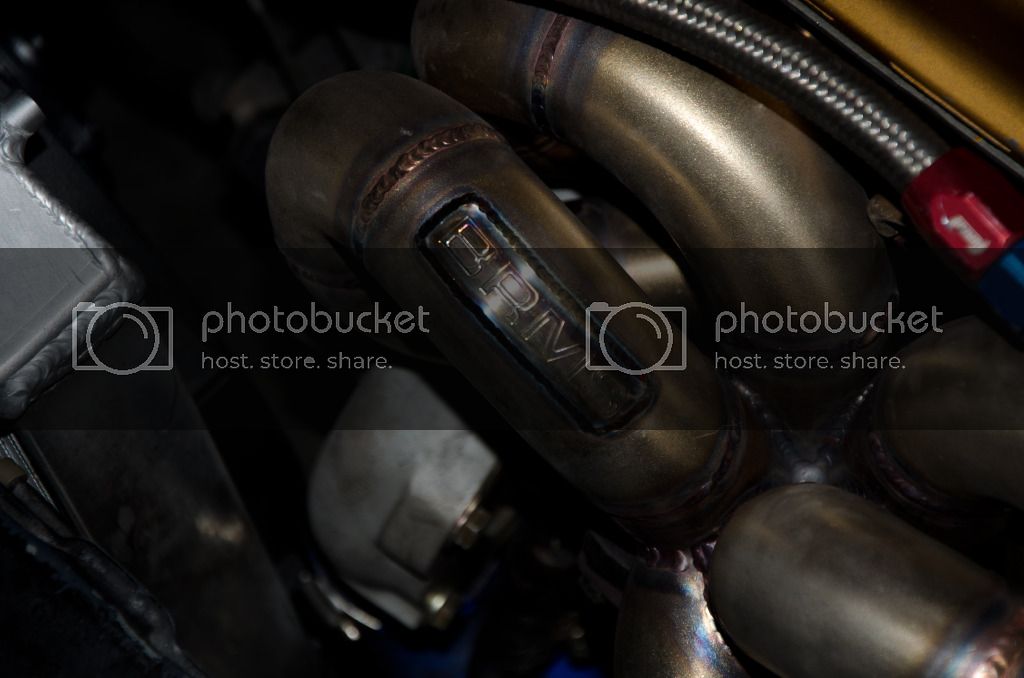
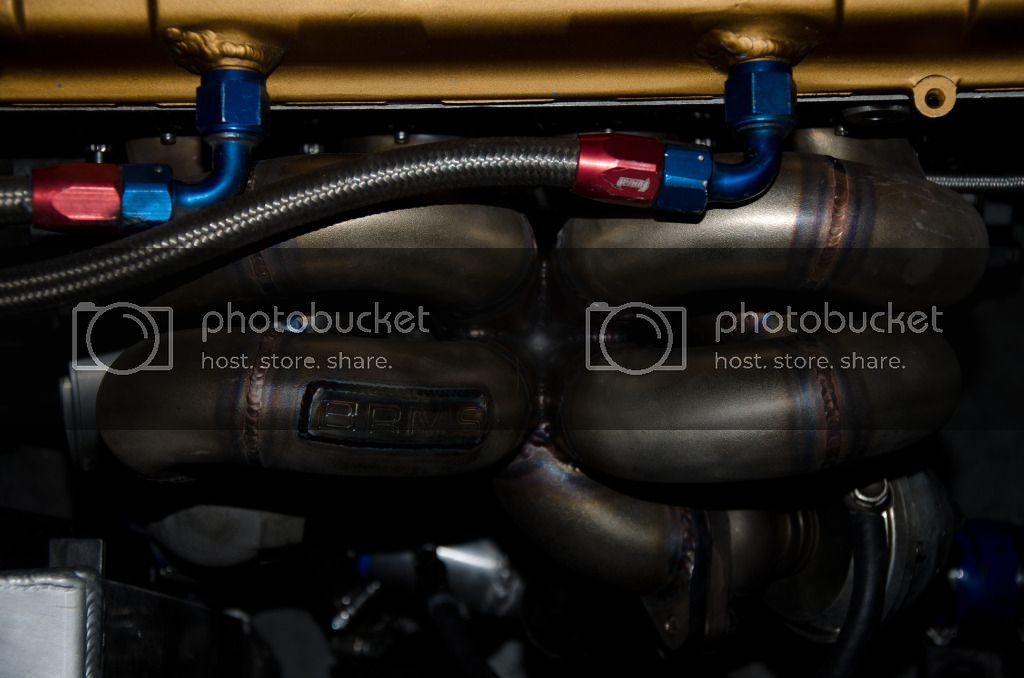
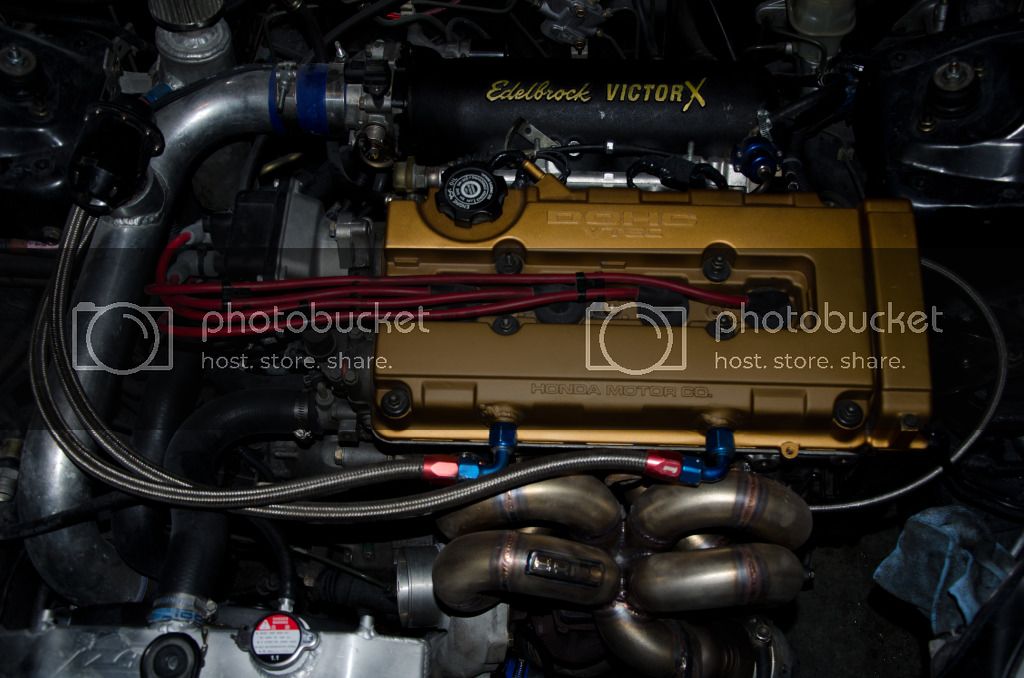
Well my manifold and studs arrived in the mail a couple days later and I couldn't be any happier. The quality and craftsmanship of this manifold is just simply superior!! I just can't believe the price point for the quality, Blueridge Motorsports could simply be just like everyone else and charge upwards of $1,000.00 very easily. I ended up catching them on sale and I paid $527.00 shipped. If you are remotely interested in a ram horn manifold, make sure you check Blueridge Motorsports out first!!

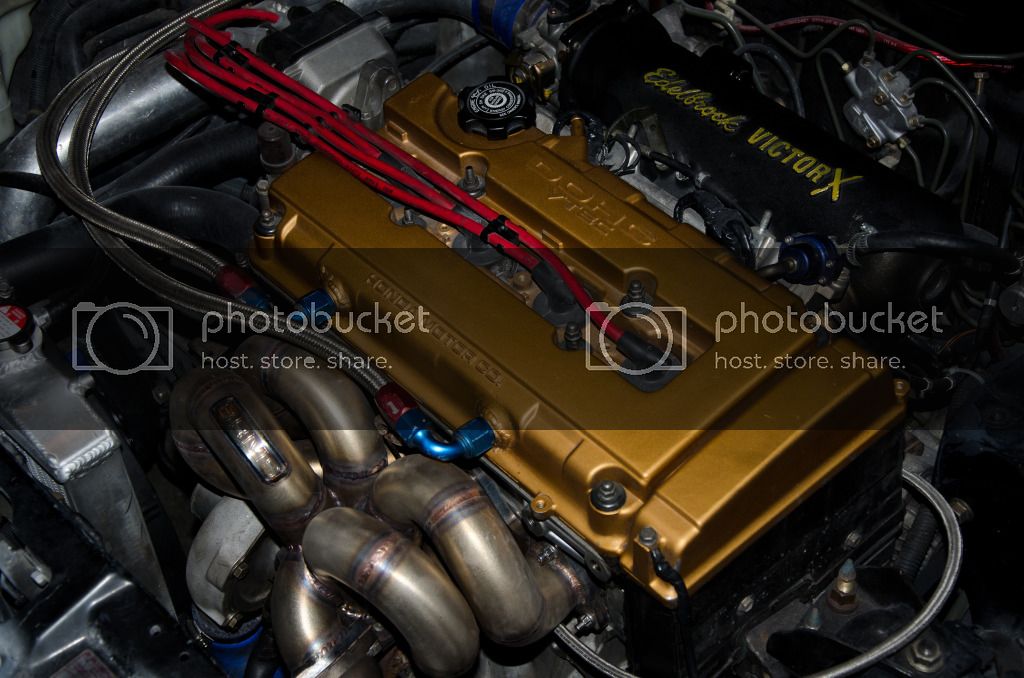
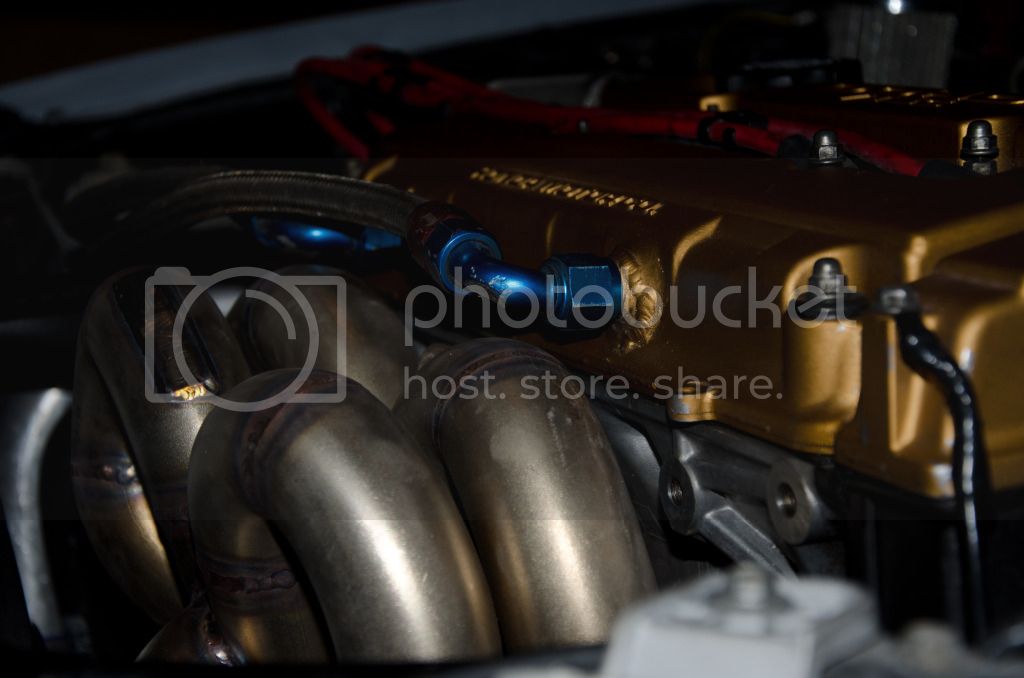
Now I'm sure everyone's thinking "just wait until you have to install that thing", especially since it's an a/c compatible manifold, bound to be some fitment issues. Well I have to tell you I was thinking the exact same thing. Well to my surprise I was wrong, it took some wiggling to get everything past my fittings that stick out from my valve cover (lazy ass), but once I got it past that it went right in. Now I did have to clock my turbo a little and played hell trying to get my oil feed line in but the fit is really, really good, like a glove. The only things I really had to change was a new fitting for my oil feed line, a longer oil return line and some minor changes with my charge piping. Got everything together including my new ARP studs and everything looks good. Oh by the way I used the two nut trick to get my old studs out and I would recommend getting them out before the engine cools all the way down.

TFS_4173.jpg


TFS_4170.jpg


TFS_4160.jpg


TFS_4158.jpg


TFS_4144.jpg


TFS_4143.jpg


TFS_4142.jpg


TFS_4139.jpg


TFS_4129.jpg


TFS_4126.jpg


More pics of manifold installed coming very soon!!

Quick paint and body update: Was planning on purchasing and spraying my base coat and clear by this weekend but got set back by the above manifold. Anyway the entire car has been blocked (what a pain) and all I have to do now is another coat of primer and then paint!!!
 
Originally posted 10-4-2012

Well finally got some pics of the new manifold setup on the car. Like I said before I'm really pleased with the outcome. The car feels more responsive and I'm at full spool about 300-400 sooner which was a plus. Like I said before, if your in the market for a manifold check out Blueridge Motorsports, ask for Brandon.

KensCar-10.jpg


KensCar-8.jpg


KensCar-7.jpg


KensCar-5.jpg


KensCar-4.jpg
 
Originally posted on 10-12-2012

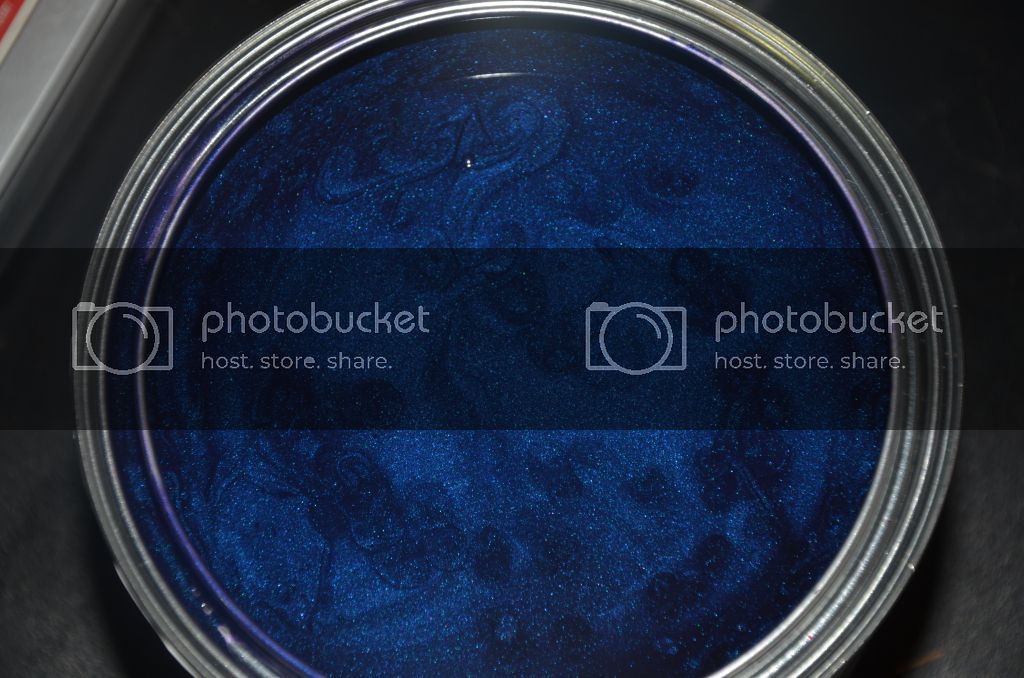
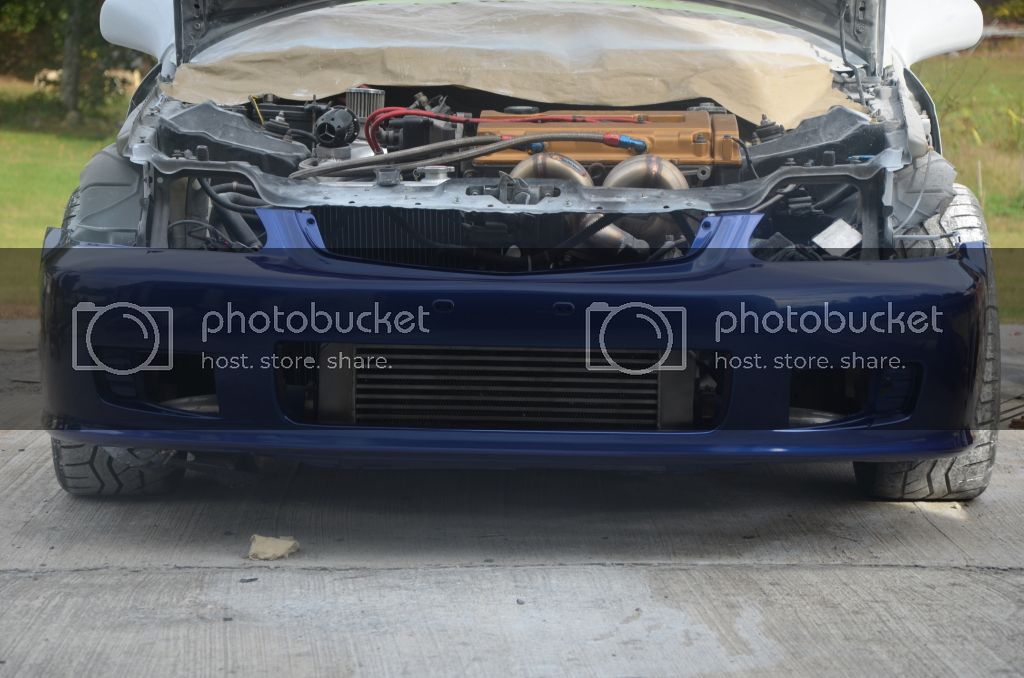
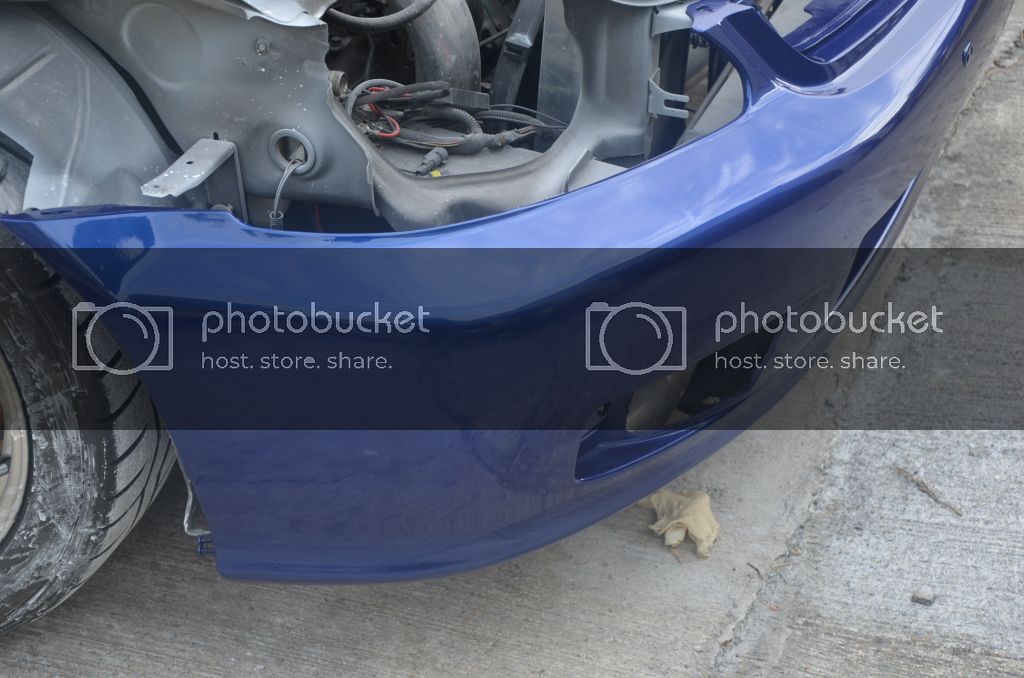
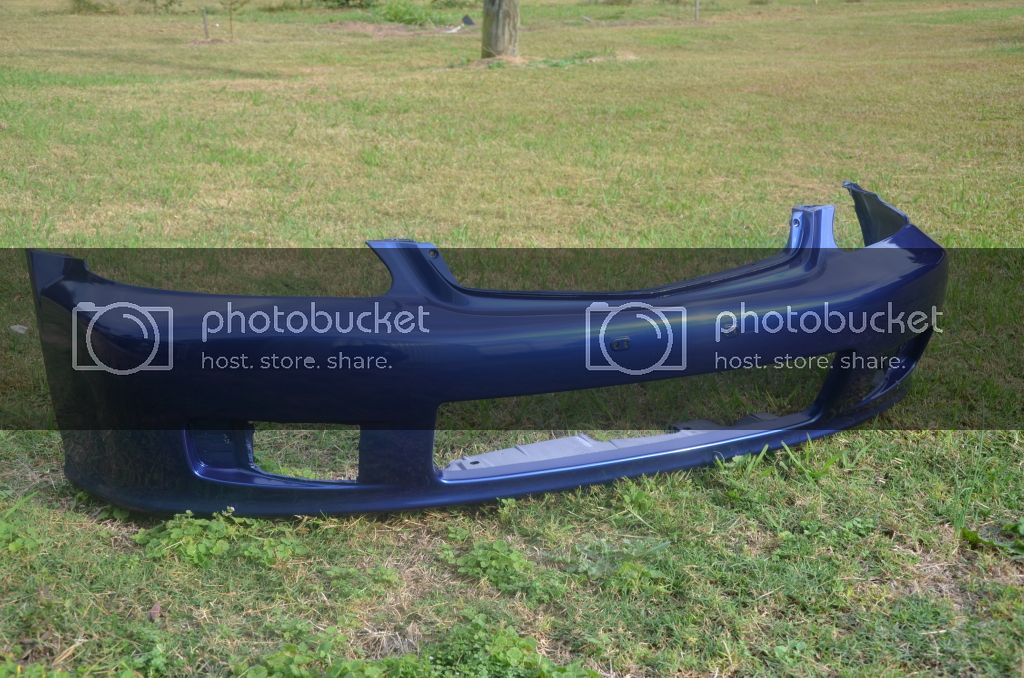
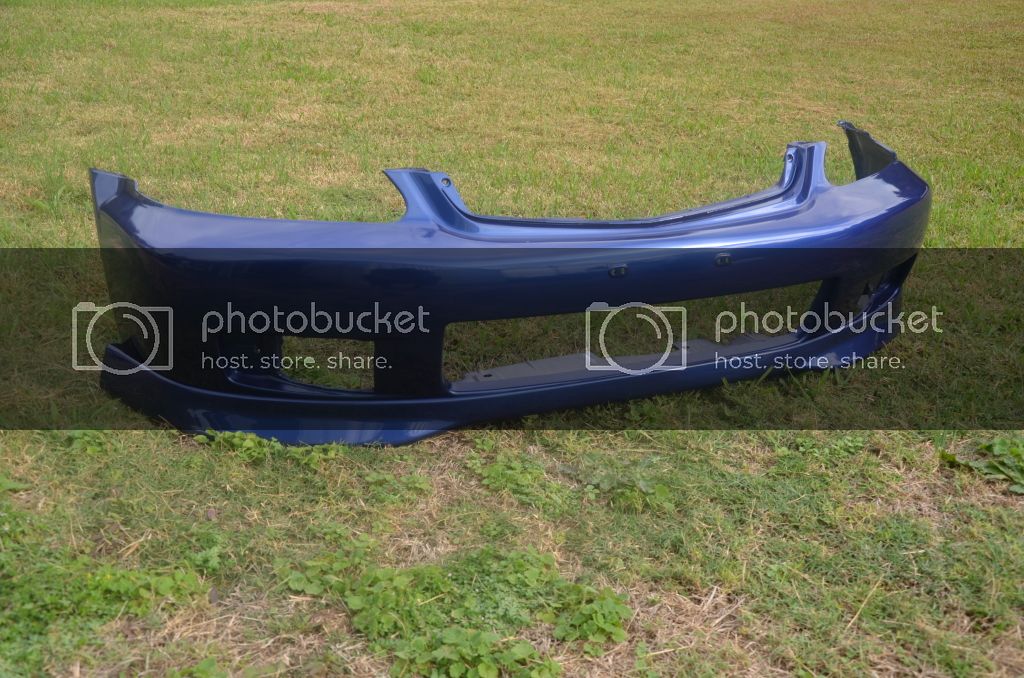
Ok well tomorrow is the big day. Was able to pick up my paint today. I don't think I ever told anyone which paint choice I picked out of the two that I posted.....I'll let the pics give the answer.

TFS_4296.jpg


TFS_4291.jpg


TFS_4302.jpg


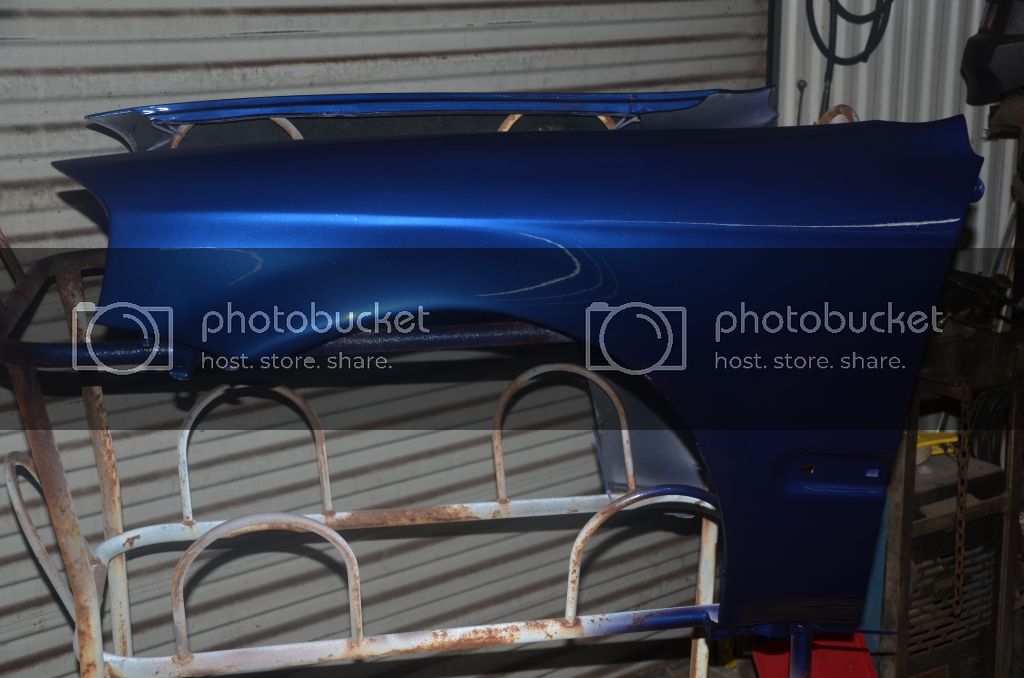
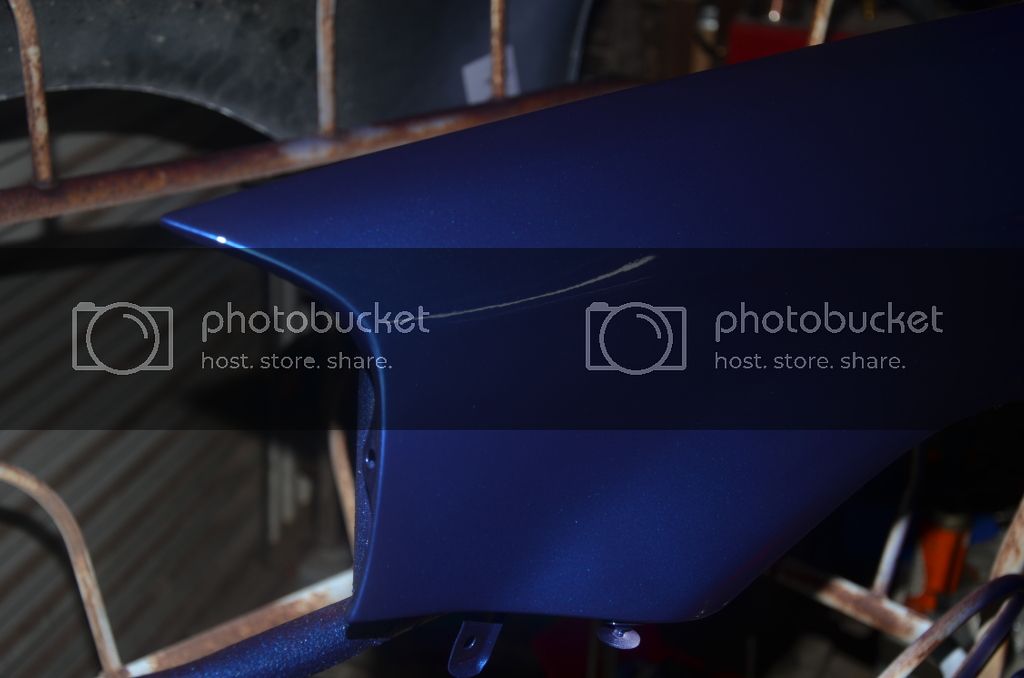
I absolutely love this color and tomorrow morning I'm going to start spraying the fenders, hood and front bumper. I wanted to start on some smaller pieces so that if I messed something up I won't have to start over on a larger panel. I think everything should work out ok! Wish me luck and check back tomorrow evening for some updates!
 
Originally posted on 10-14-2012

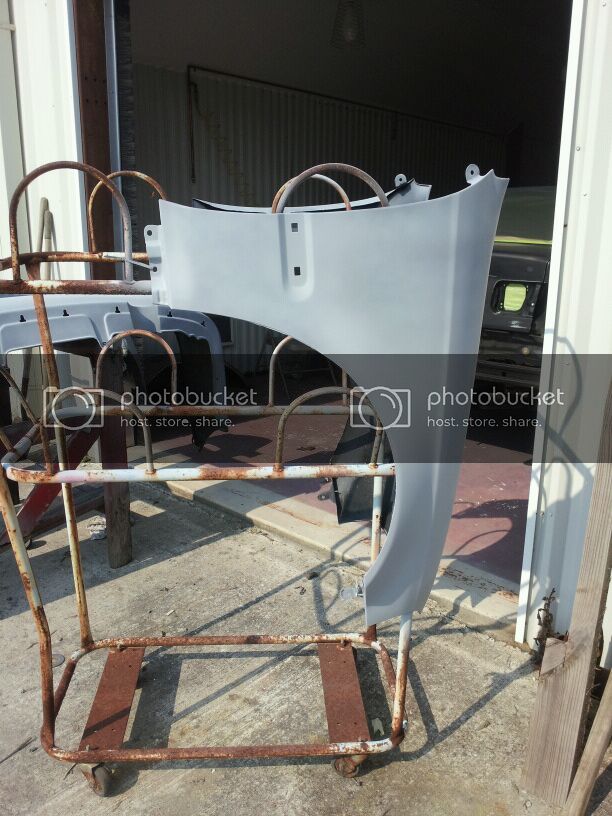
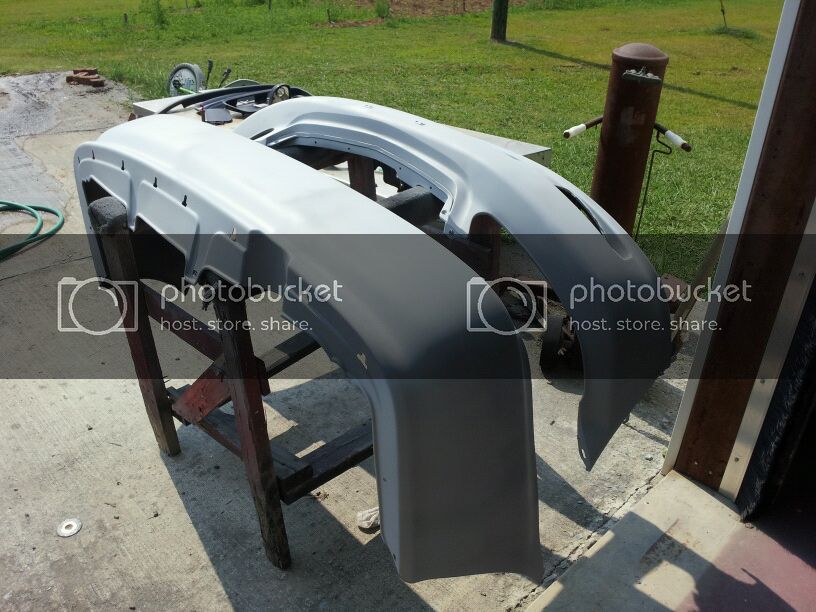
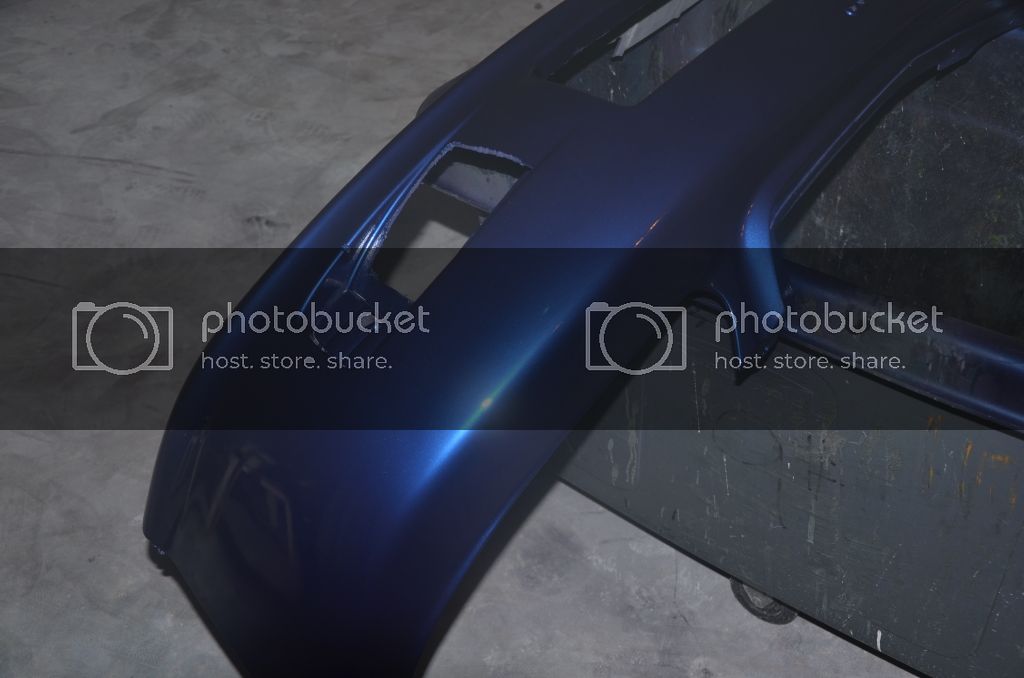
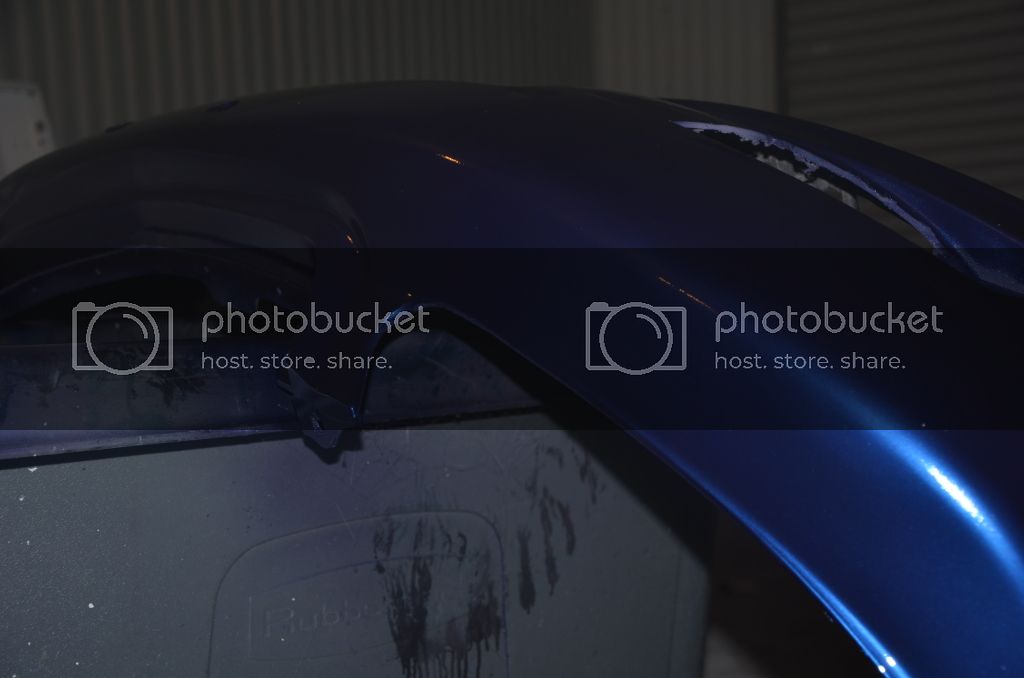
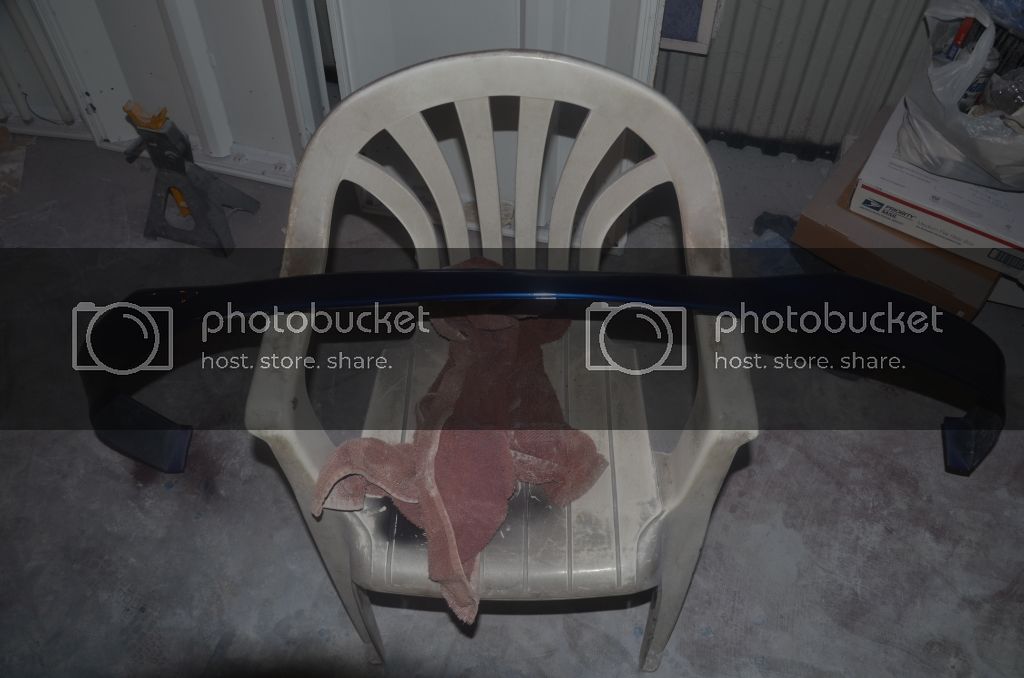
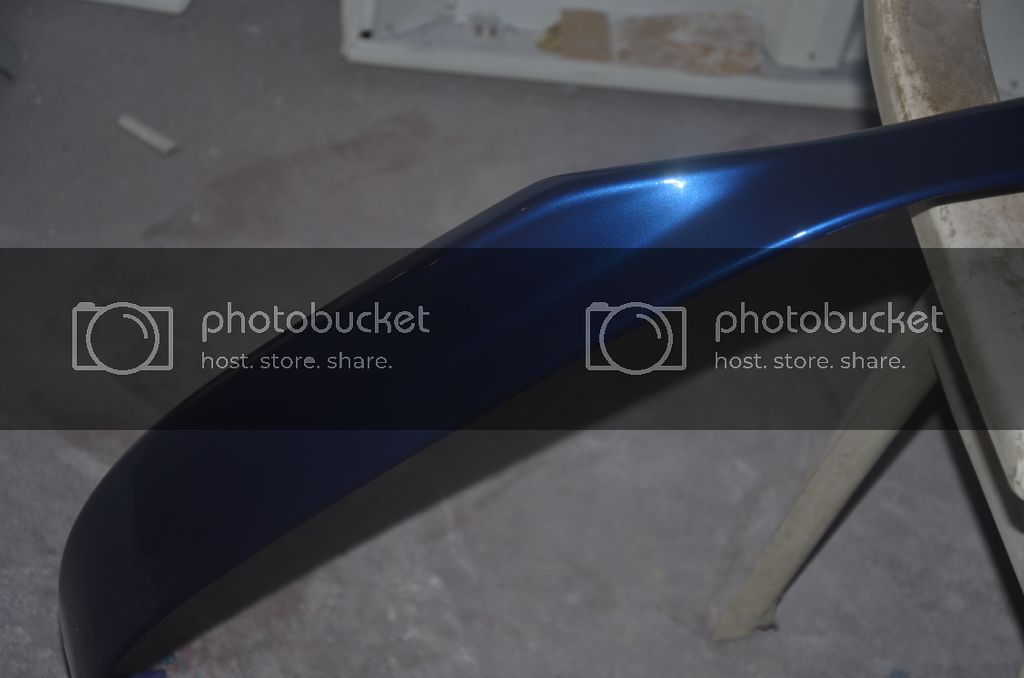
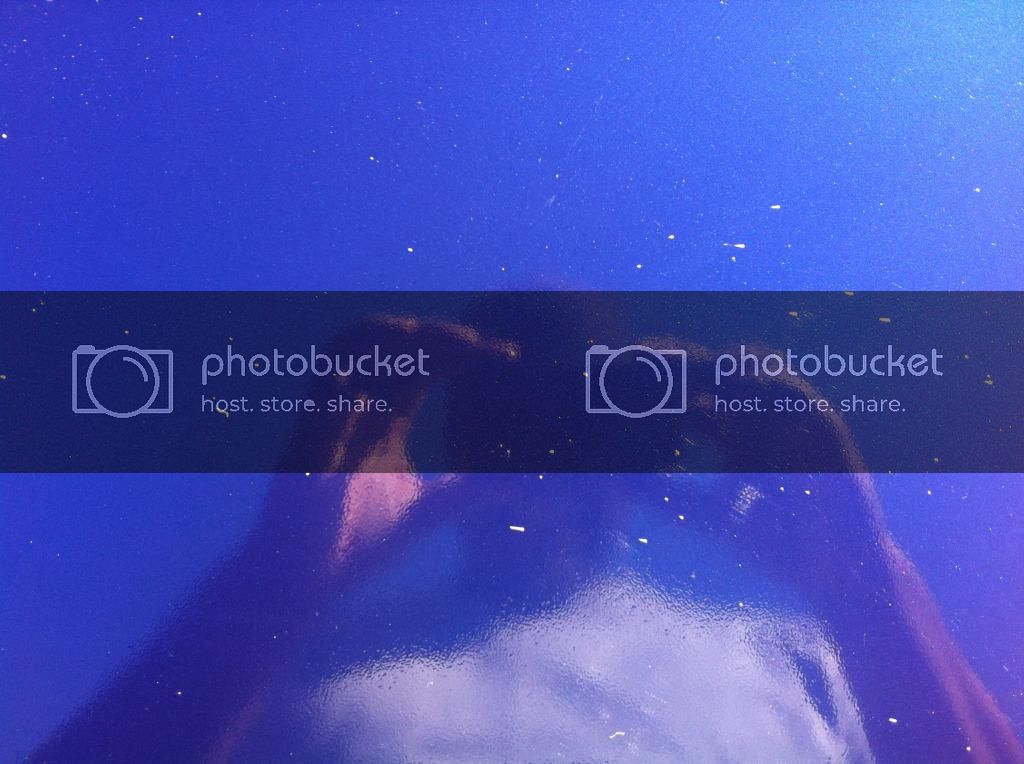
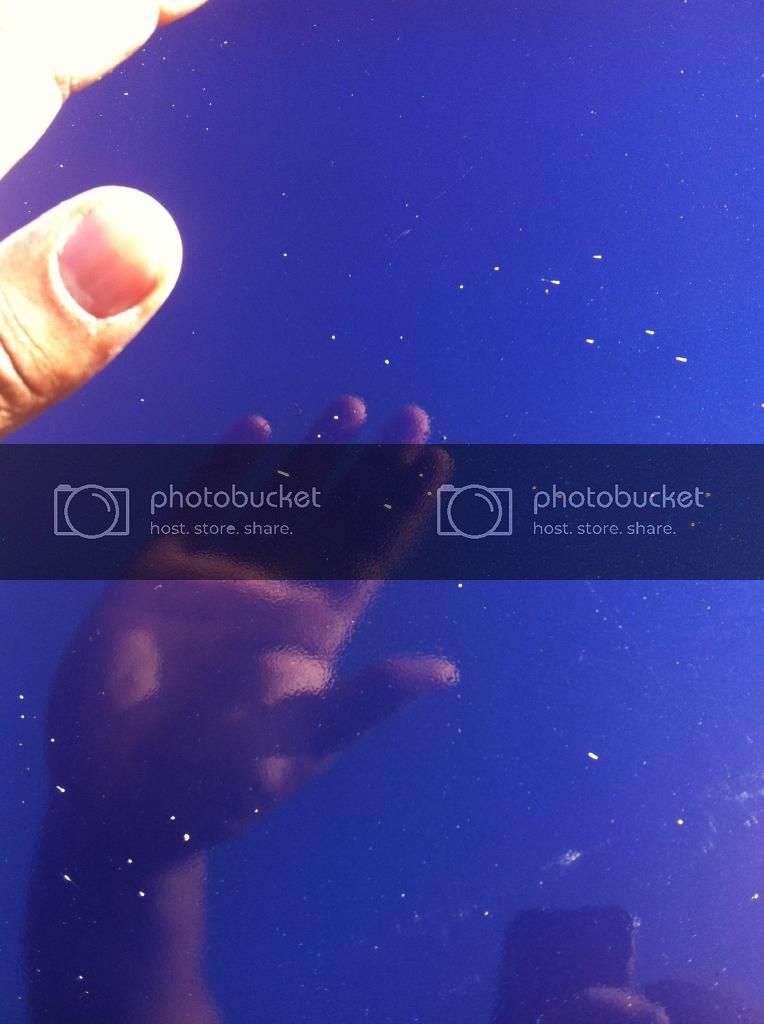
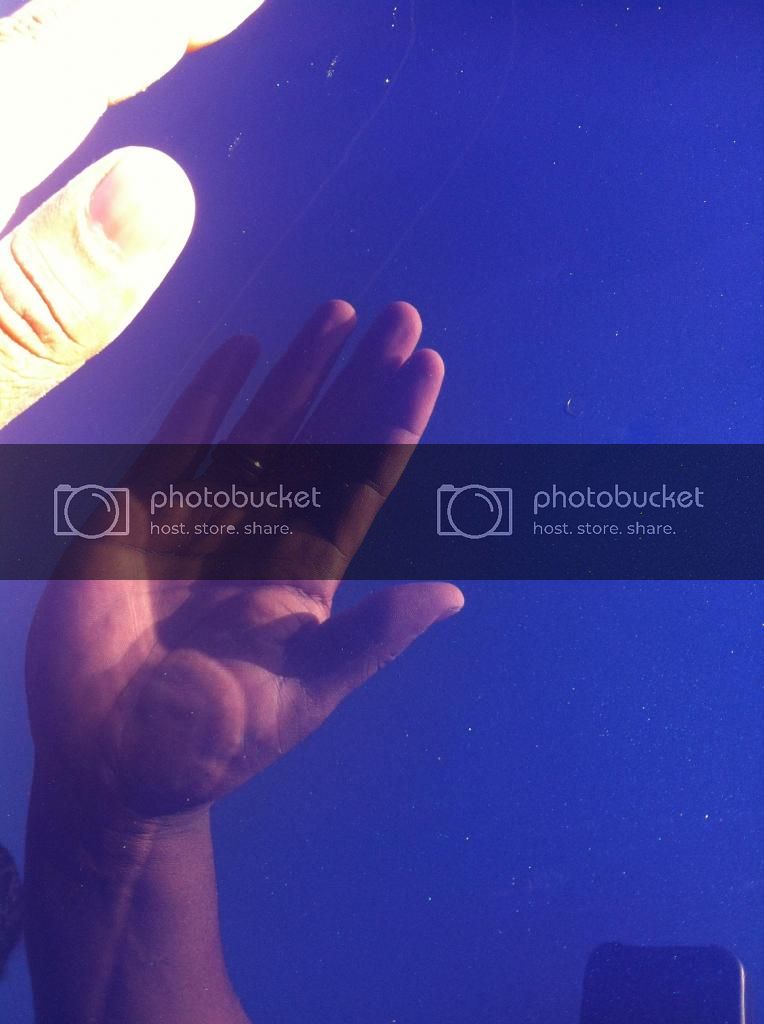
Got my fenders, front bumper and front lip sprayed. I'm very pleased with the results. Only problem I had was trash in the paint. I should be able to wet sand most of it out. I didn't have any runs anywhere in the paint. Came out awesome!!

TFS_4303.jpg


TFS_4308.jpg


TFS_4307.jpg


TFS_4319.jpg


TFS_4322.jpg


TFS_4317.jpg


TFS_4316.jpg


I'll try to get better pics today. Comments welcome, I'm really glad that I chose this color!!
 
Originally posted on 10-14-2012

Got a couple more pics today, was planning on doing some more work on the car but drank just a little to much last night lol. I'll be working on it all week though.
TFS_4324.jpg


TFS_4326.jpg


TFS_4328.jpg


TFS_4332.jpg
 
Items obtained for body work:

Body Filler (gallon)
Hardener (for body filler)
Sand Paper (40,80,120,180,220,400)
Primer (gallon)
Thinner (gallon for primer)
Sanding block
DA Sander (free, borrowed from buddy)
Air File (free, borrowed from buddy)
Masking Tape (free)
Masking Paper (free)

Total: about $300.00

Items obtained for actual painting:

Base Coat (gallon)
Thinner for base coat (gallon)
Clear Coat (gallon)
Hardener for clear coat
HVLP Spray guns (2) (Husky brand, bought at Home Depot)

Total: about $380.00

Grand Total of: $680.00 give or take a dollar lol!!
 
Originally posted on 11-12-2012

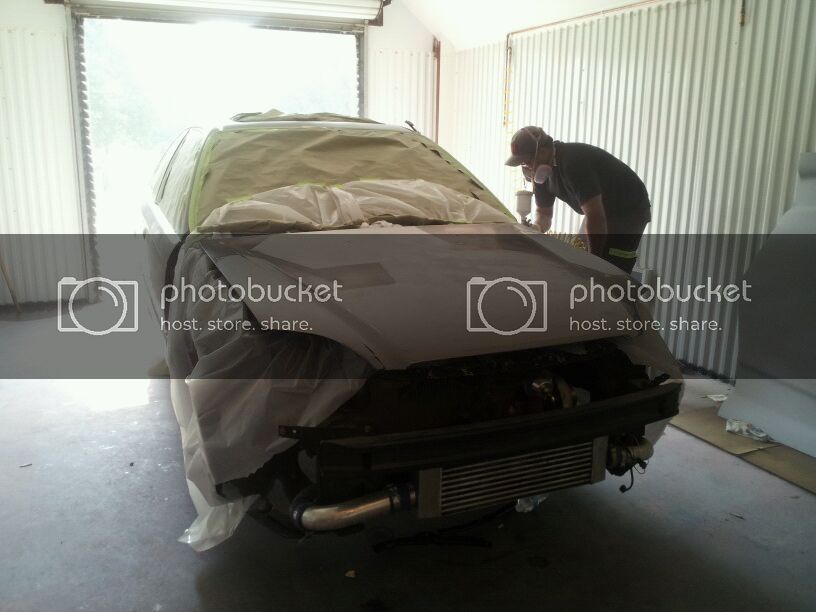
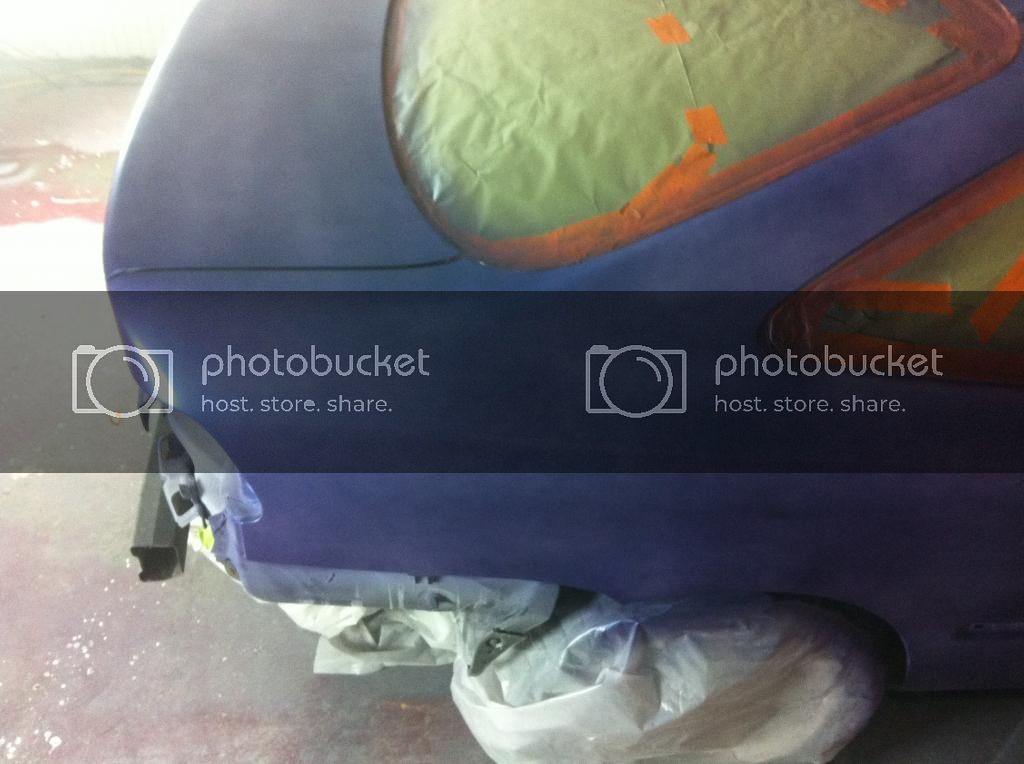
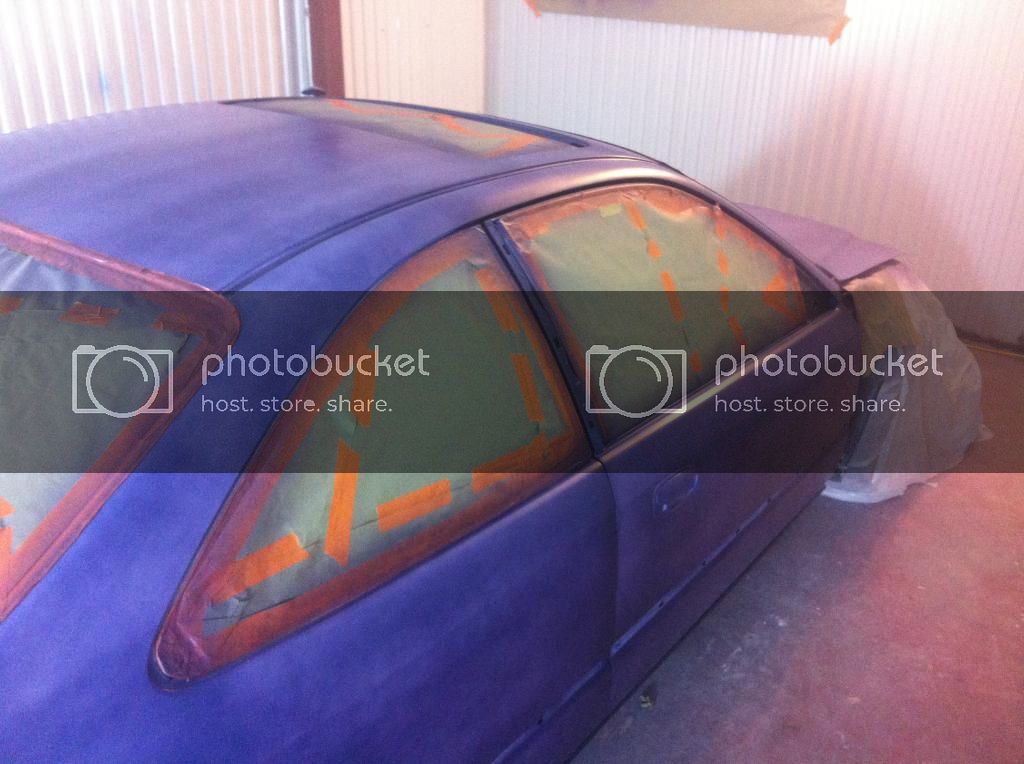
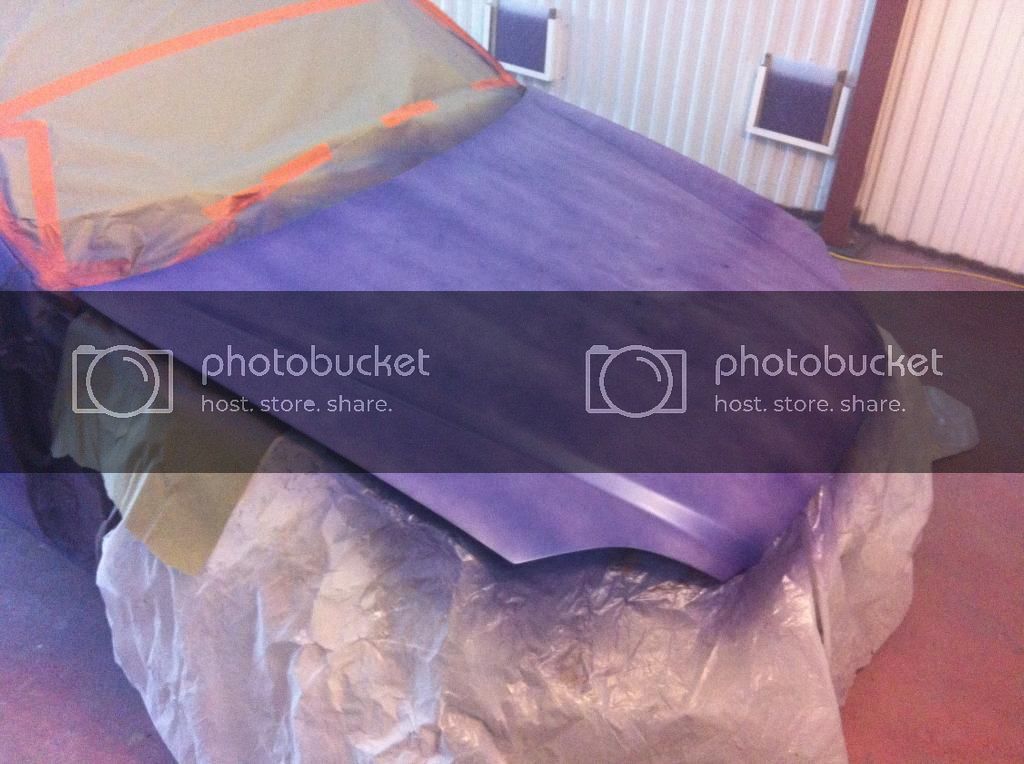
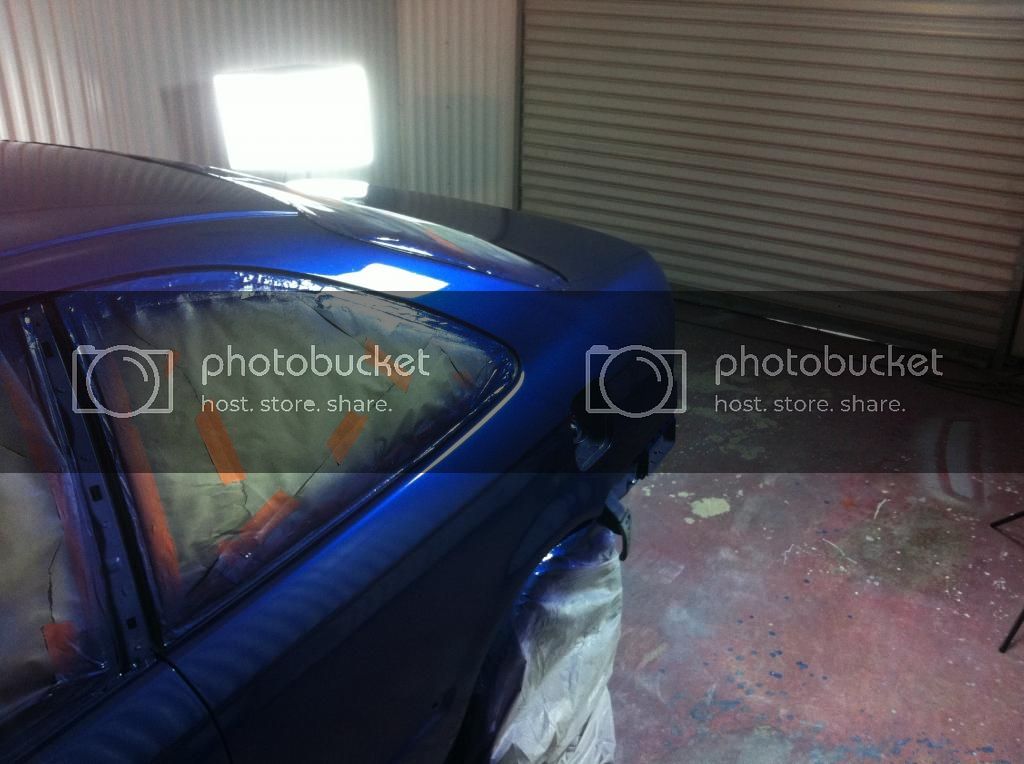
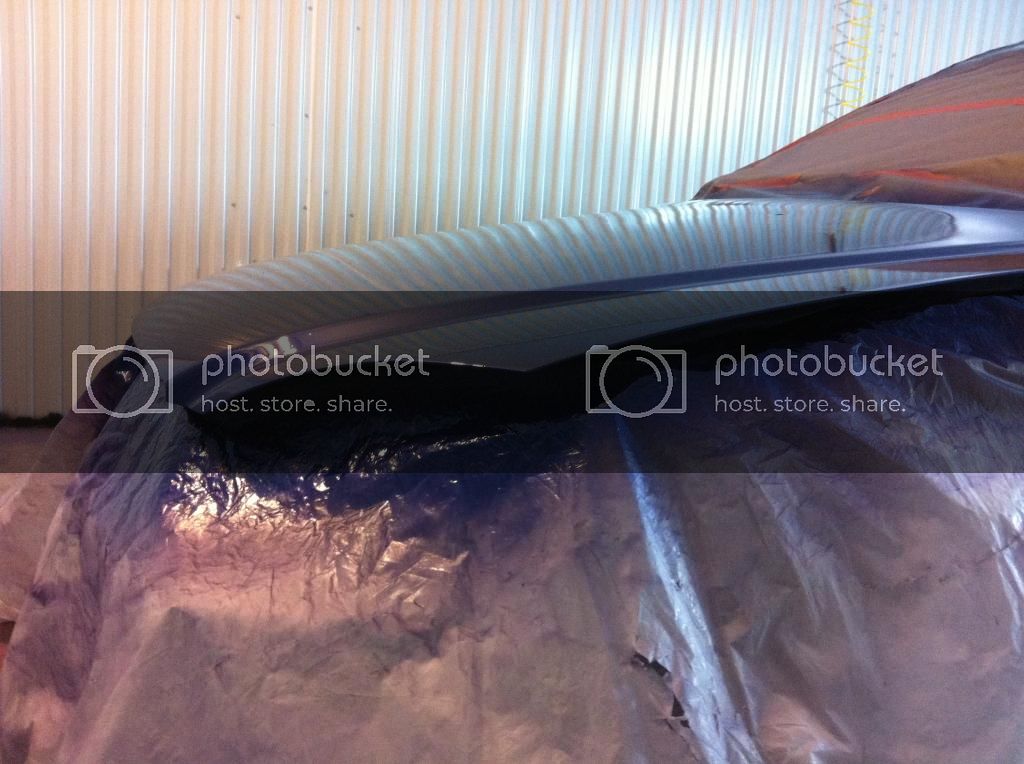
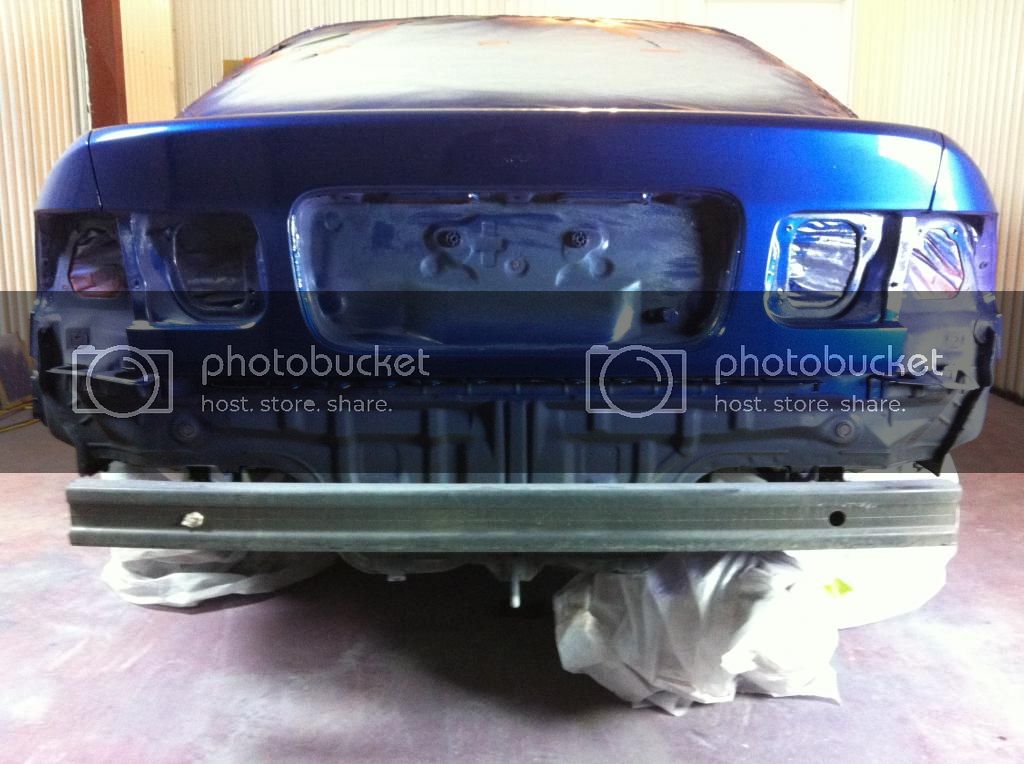
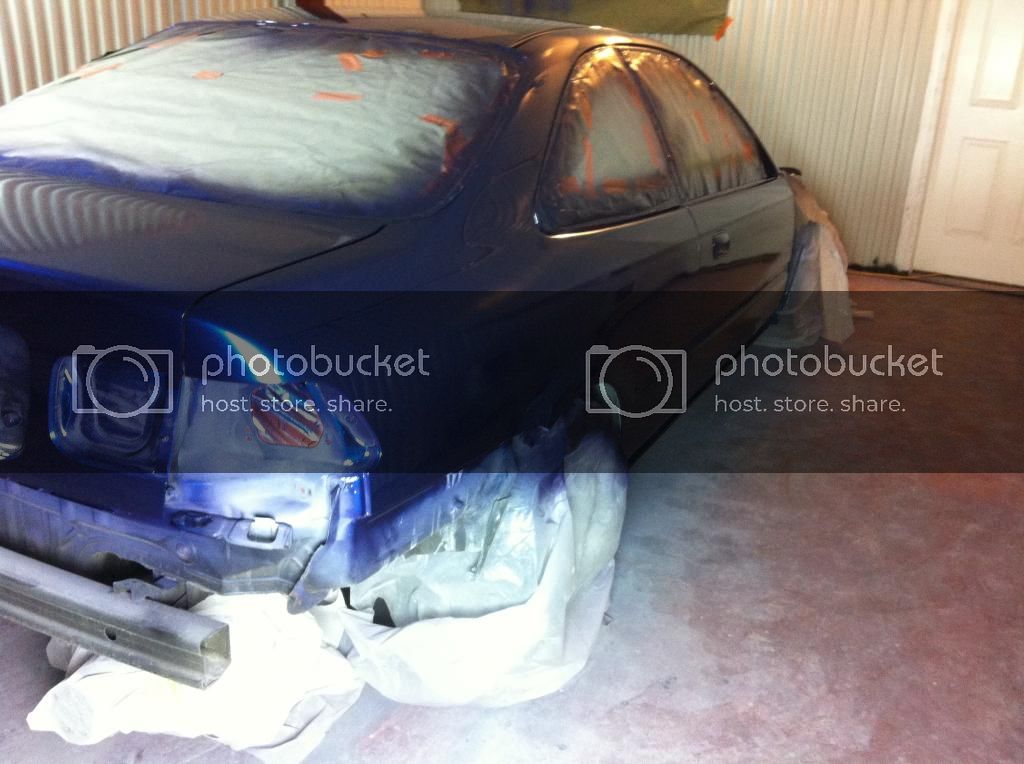
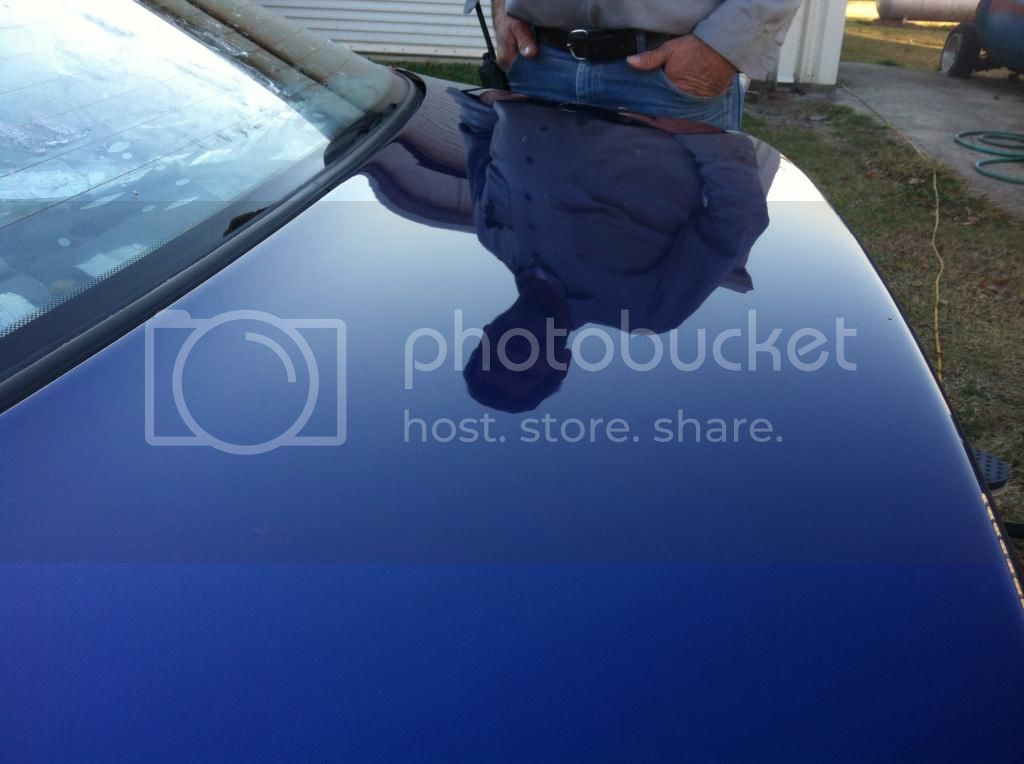
Alright finally got some updates to share with you guys. I was able to get the rest of the car painted and cleared. I think everything turned out pretty good, no runs or sagging anywhere and it appears the the metallics were spread evenly. I'm going to wait for a sunny day so I can pull the car out and get a good look at it.

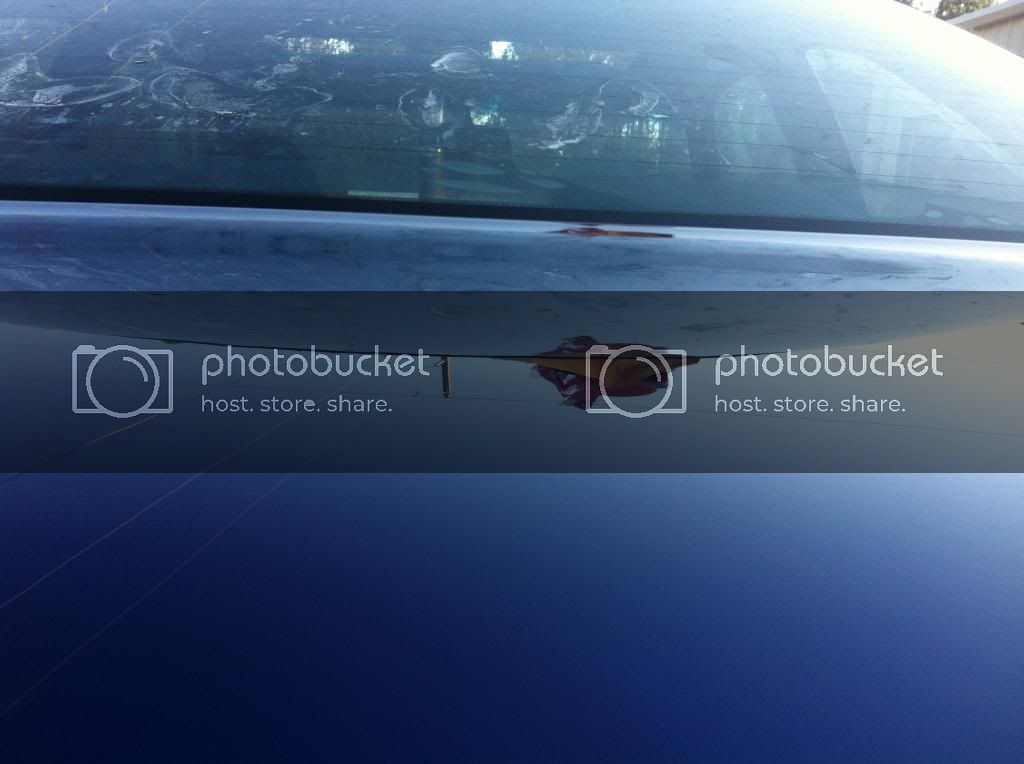
I was able to spray the base coat on Sunday and had to wait until today to spray the clear coat. It got too cold to fast when the sun went down on Sunday so I figured it would have been better to wait. The only problem that I found was I had the air lines that run to the paint booth hooked up to the wrong side of the air compressor. This made it to where there was way to much pressure coming to the spray gun. Because of this a lot of trash ended up in my clear coat, as all the dust was being stirred up. I've been doing a lot of research on color sanding and I've decided that I'm going to start with 1500 grit and work my way up in 500 grit increments all the way up to 3000 grit. Let me know what you guys think, I think that I should be able to get most of the trash out with color sanding and buffing. Thanks for the comments so far and I welcome any advice. Try to ignore the quality of the photos, I used my cell phone to take the pictures and there was still quite a bit of clear coat still floating around the paint booth lol.
IMG_1816.jpg


IMG_1818.jpg


IMG_1819.jpg


IMG_1821.jpg


IMG_1825.jpg


IMG_1826.jpg


IMG_1827.jpg


IMG_1829.jpg


IMG_1832.jpg


IMG_1831.jpg


IMG_1833.jpg


IMG_1834.jpg


IMG_1835.jpg


IMG_1836.jpg
 
Originally posted on 11-17-2012

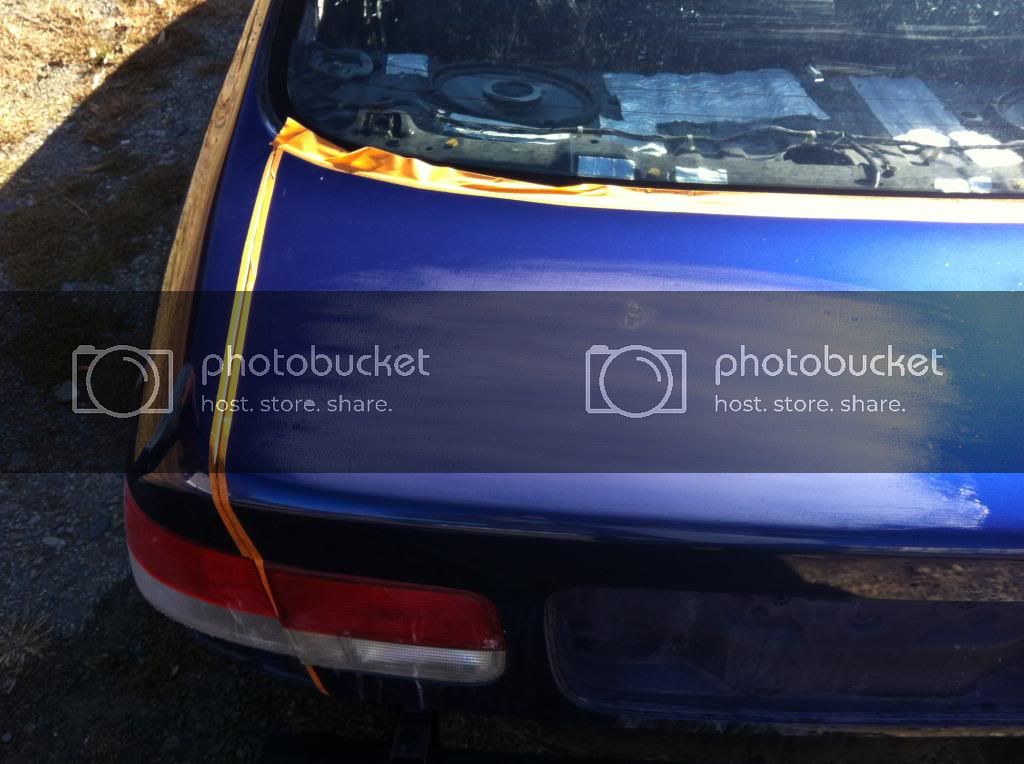
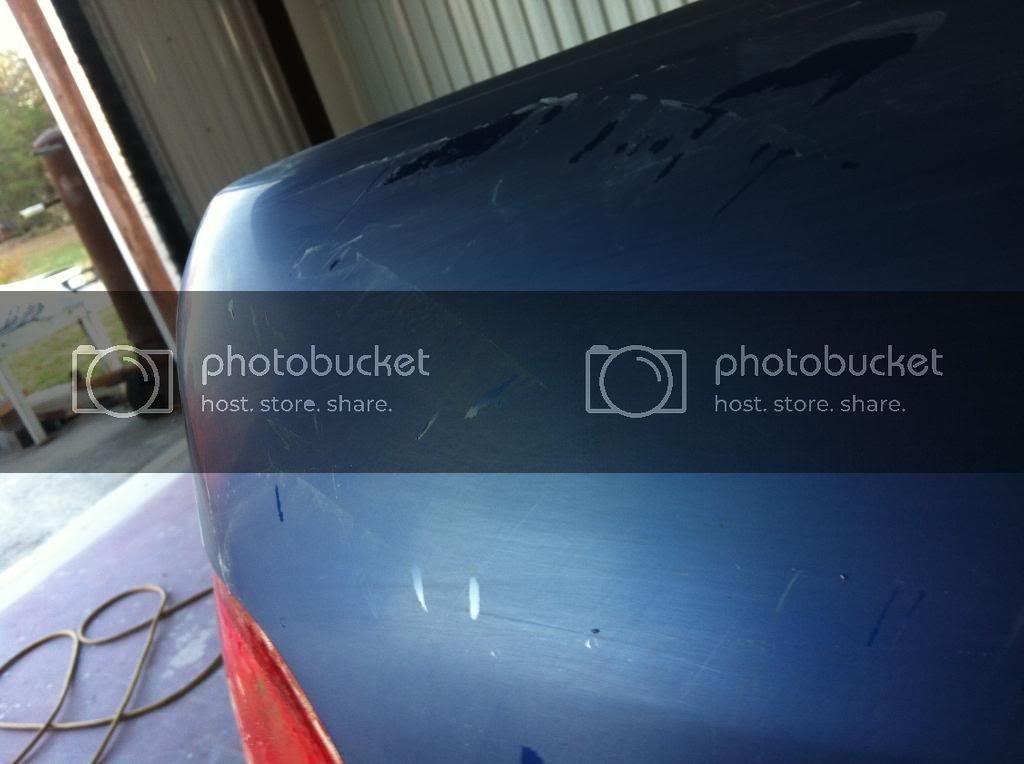
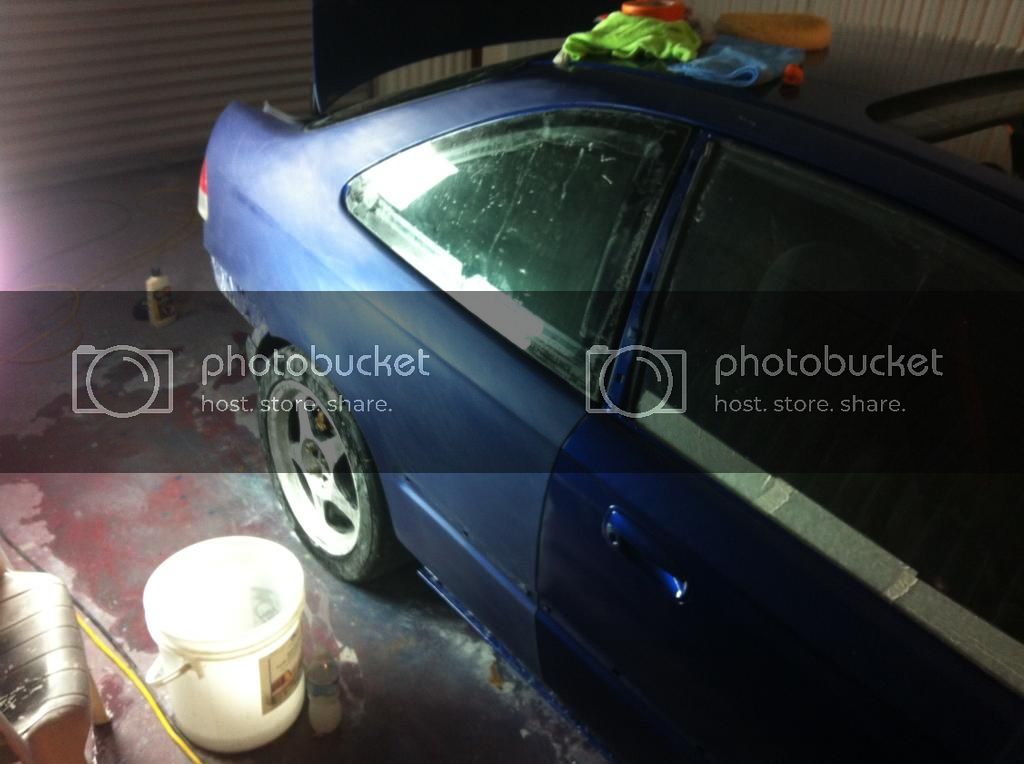
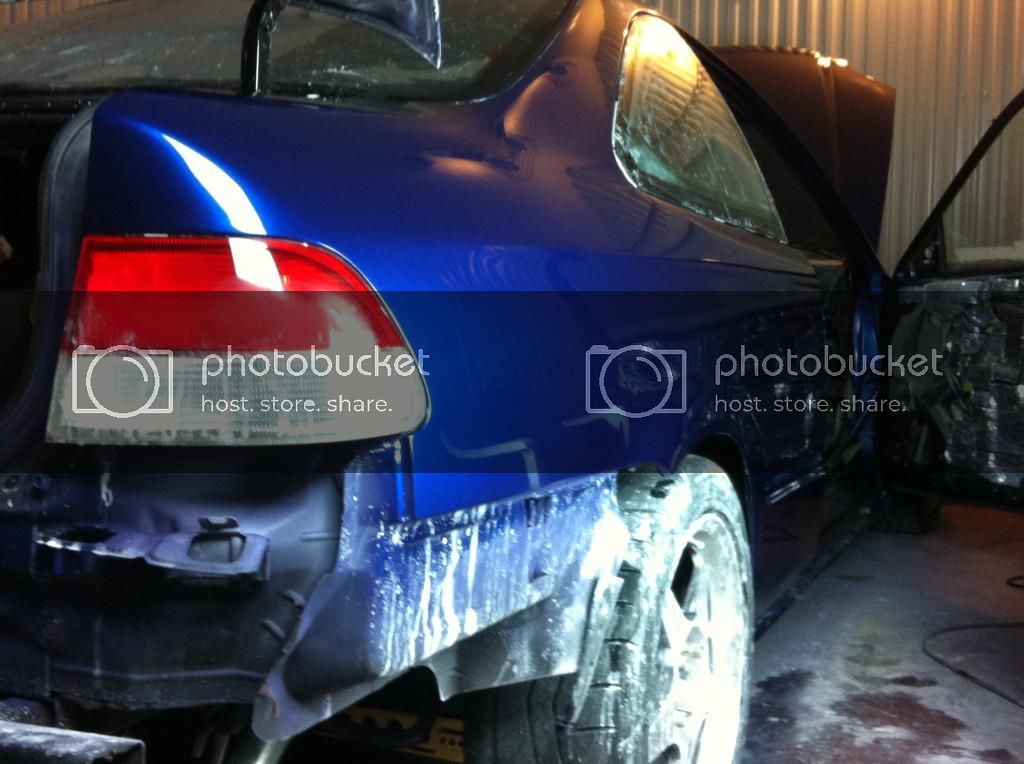
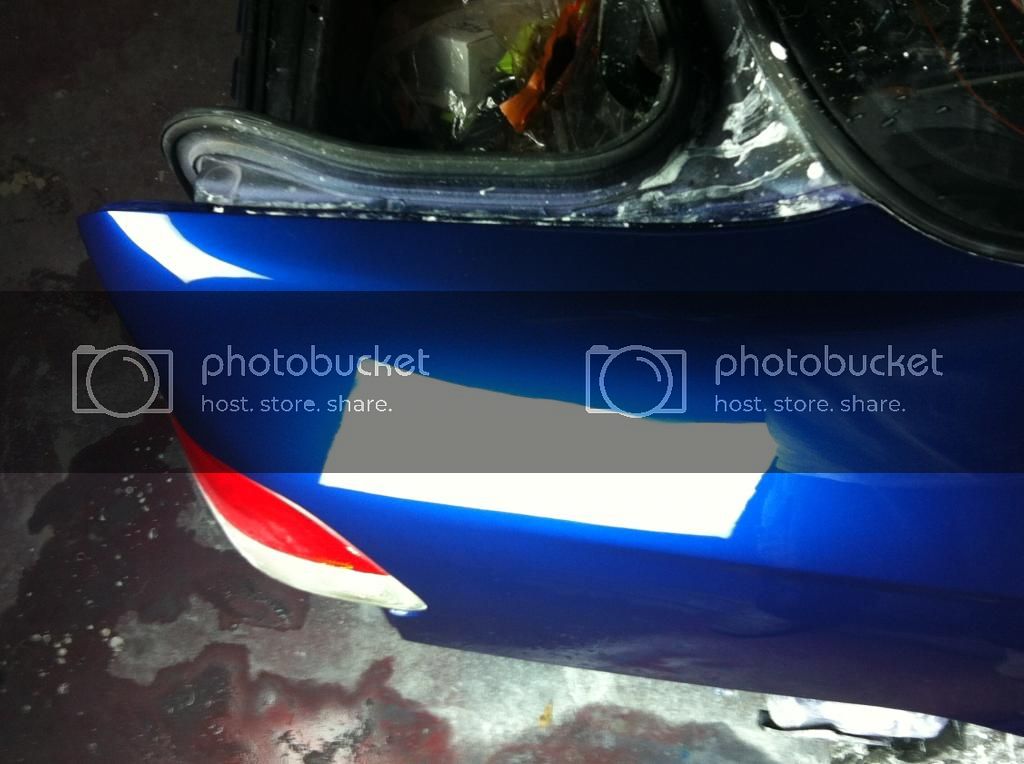
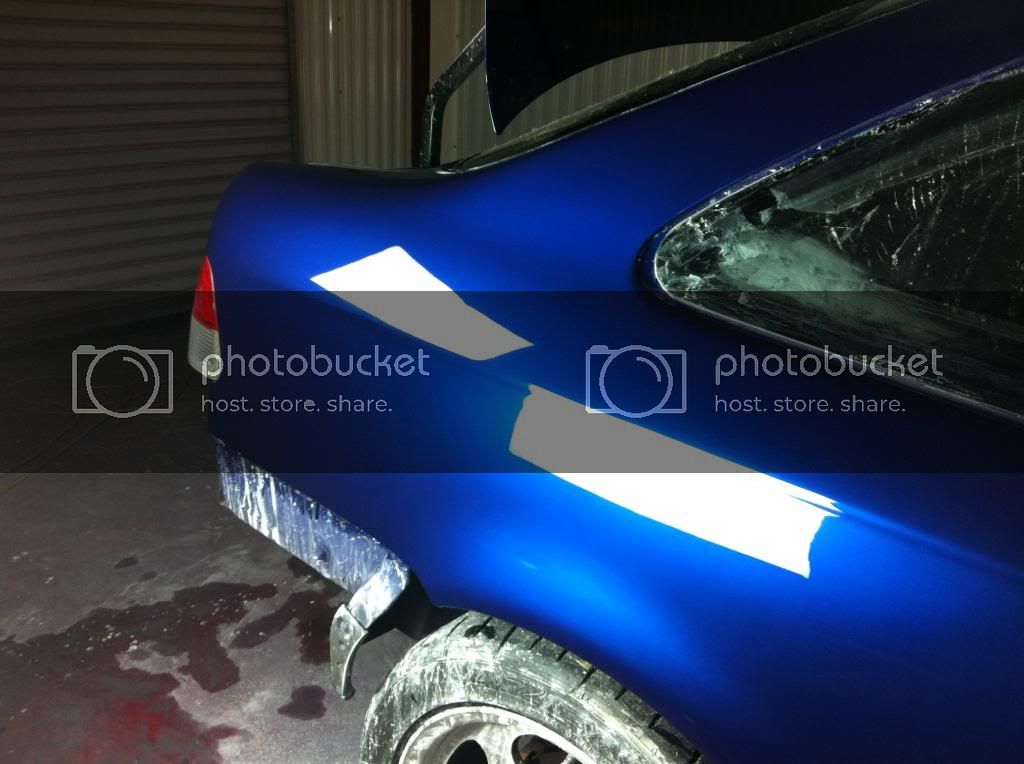
Well started doing some wet sanding and buffing. So far I've got the trunk and passenger side quarter panel done. It's coming out really nice so far. I started with 1500 grit and then on to 2000 grit. I spoke with a friend of mine and was told that 2000 grit was more then enough before buffing. Let me know what you think. I would like to have the entire passenger side done by tomorrow, we'll see.

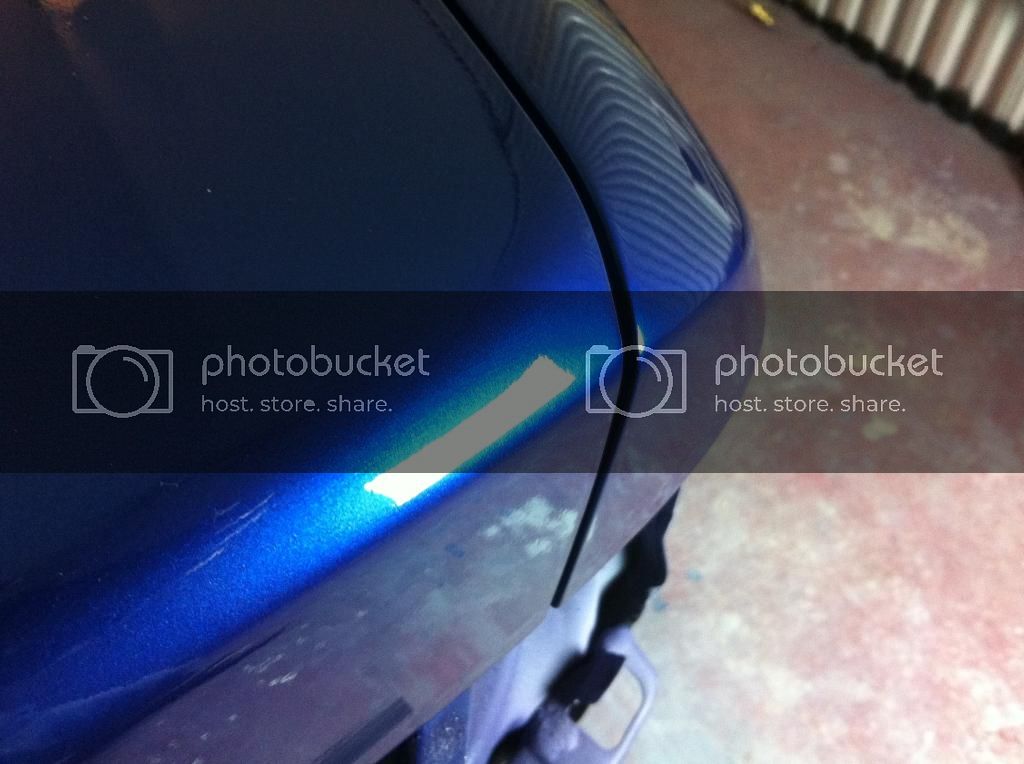
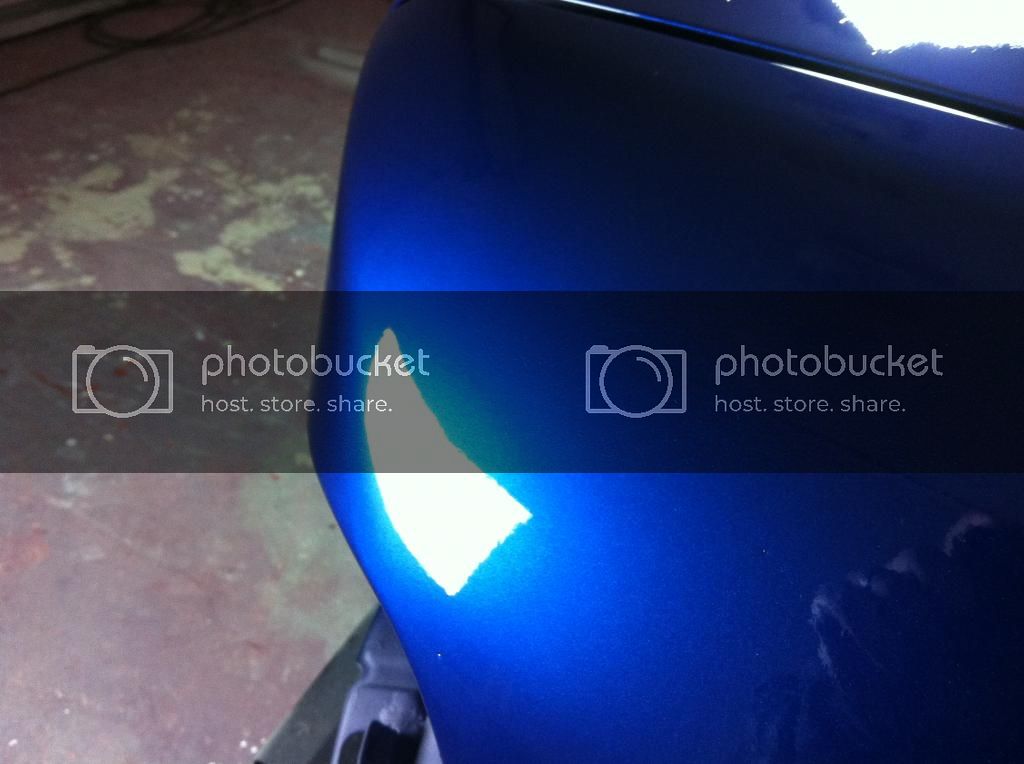
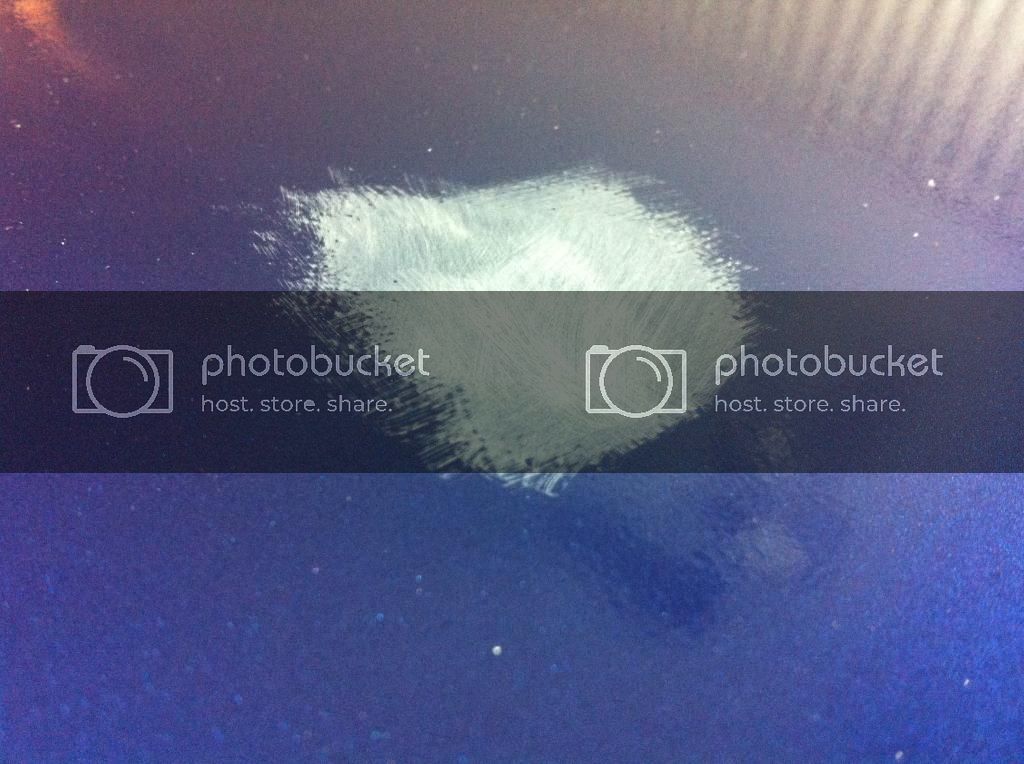
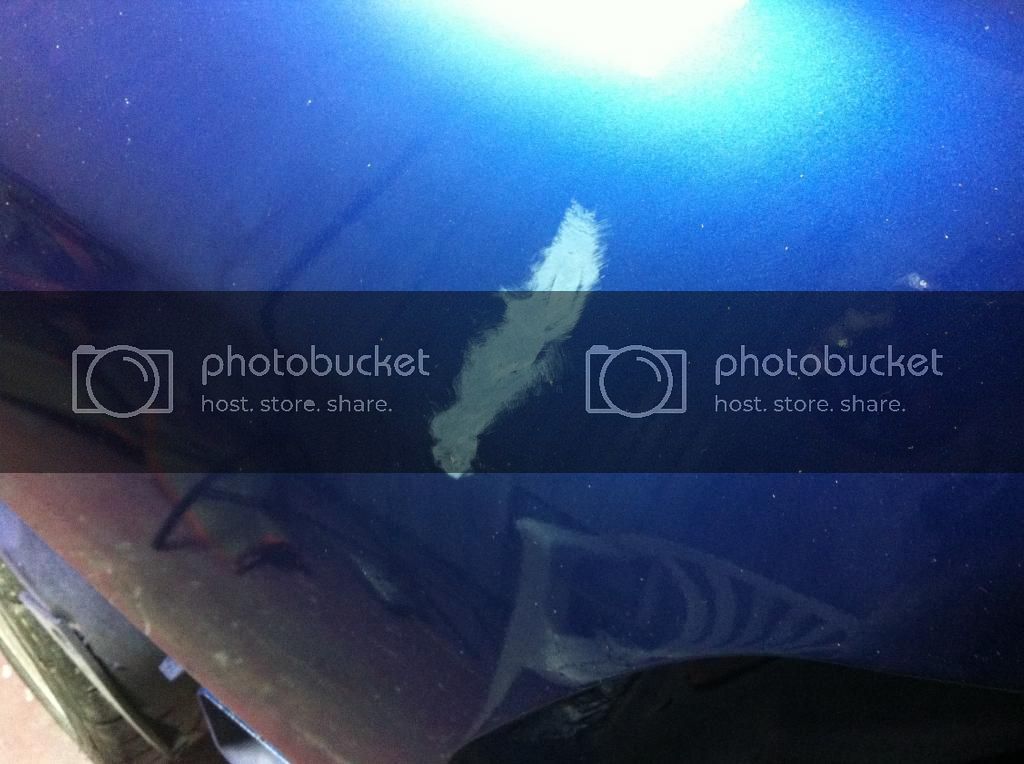
Had to do some leveling of the clear coat with a razor blade, had a couple of drips in the clear coat.
IMG_1845.jpg


IMG_1844.jpg


Taped the edges off and started sanding.
IMG_1848.jpg


A little before and after of the trunk:
IMG_1850.jpg


IMG_1851.jpg


IMG_1852.jpg


IMG_1853.jpg


IMG_1858.jpg


IMG_1860.jpg
 
Originally posted on 11-17-2012

Now on to the quarter panel. It started getting dark so I had to move the operation inside lol!
IMG_1863.jpg


IMG_1866.jpg


IMG_1867.jpg


IMG_1870.jpg


IMG_1873.jpg


IMG_1875.jpg


My favorite:

IMG_1872.jpg


Well that is all for today, I will post more tomorrow when I get the rest of the passenger side done. Comments are welcome!
 
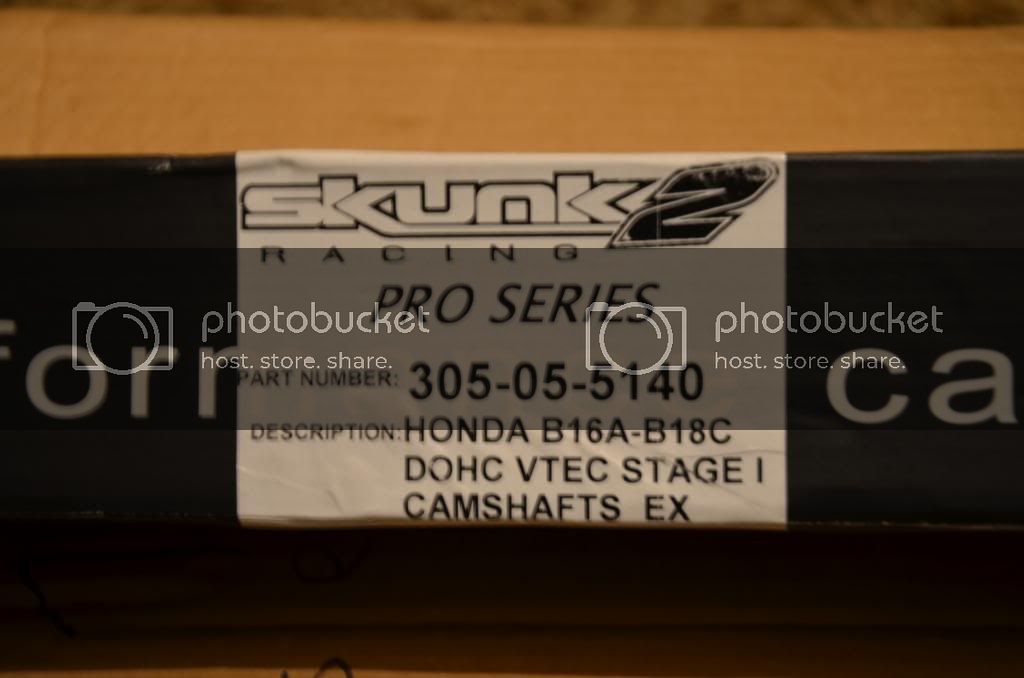
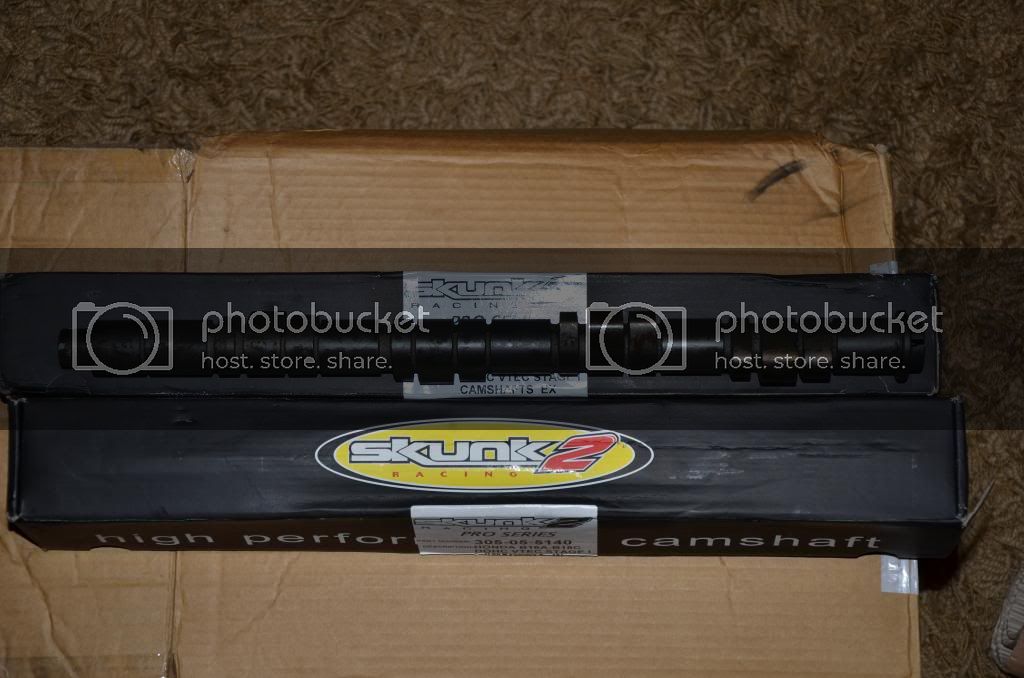
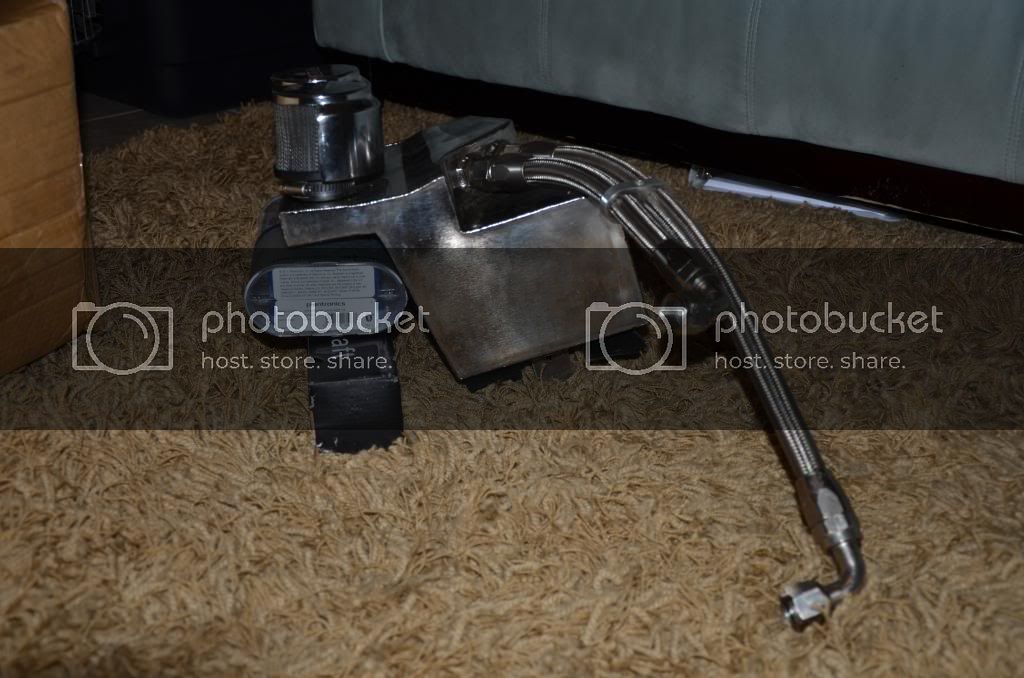
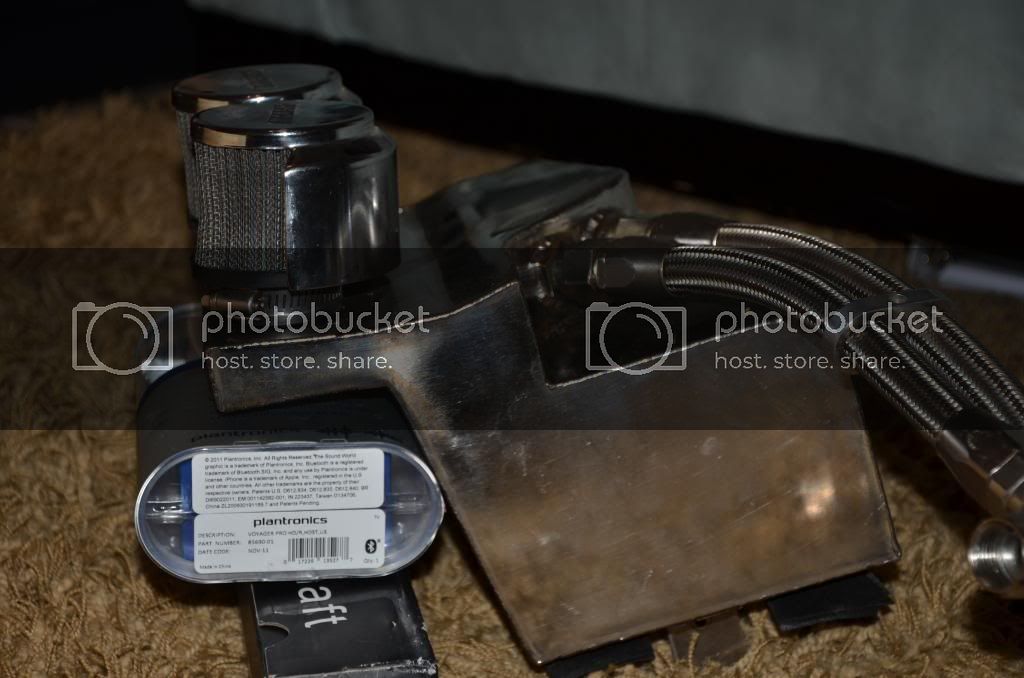
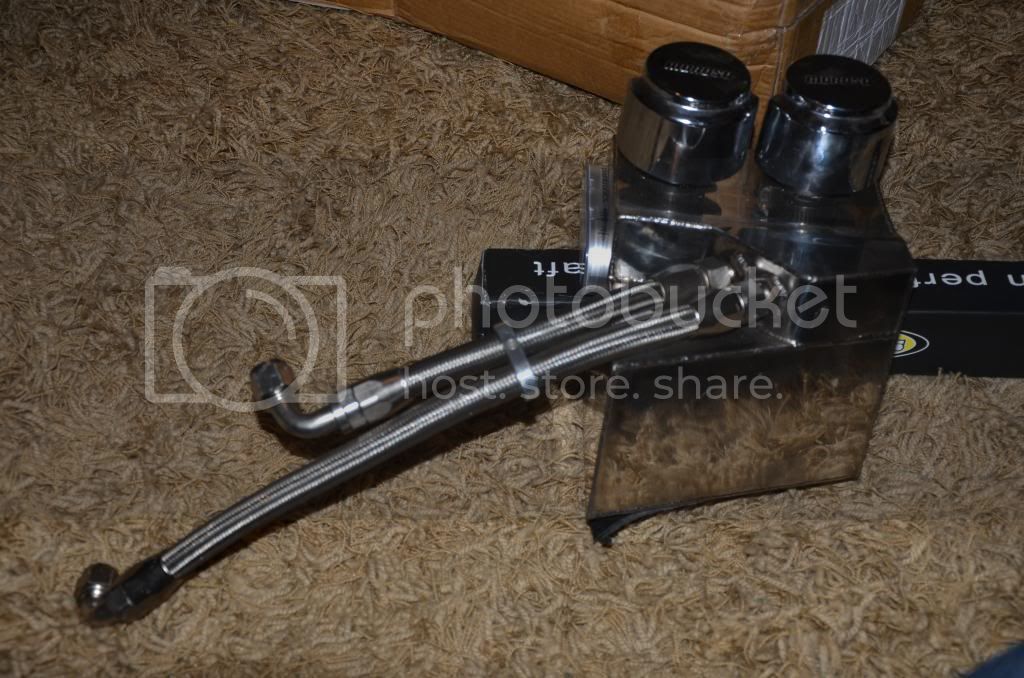
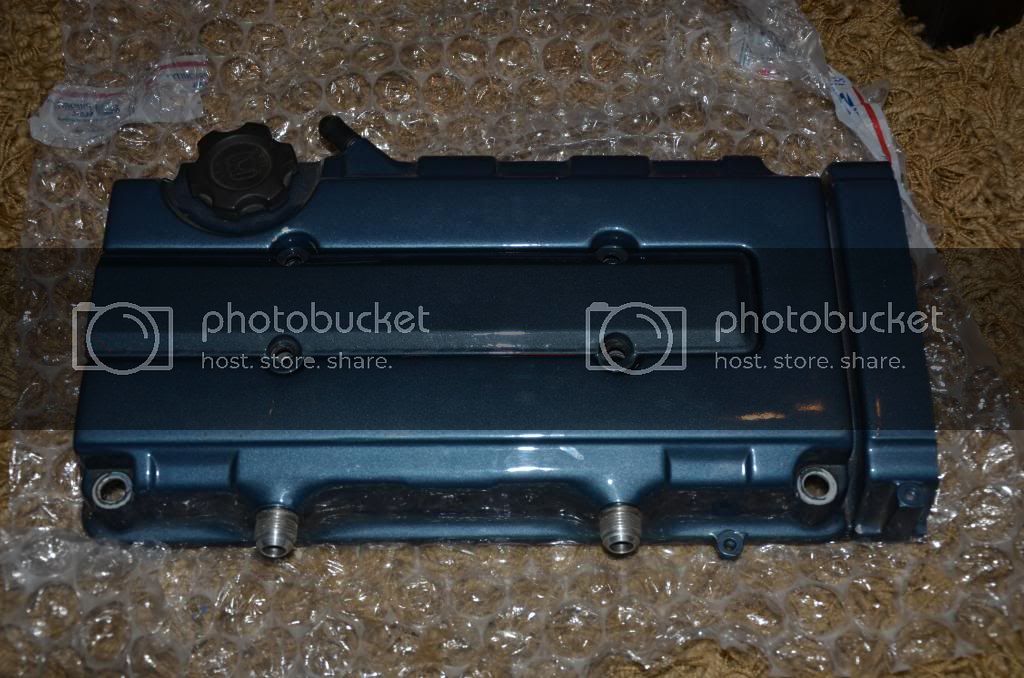
Well I have a few updates. Picked up my Skunk2 Pro1 cams, a new (to me) catch can/valve cover setup, supertech heavy duty valve springs (on order) and a Neptune RTP Engine Management System in a P28. Will have more updates tomorrow.
TFS_4571.jpg


TFS_4575.jpg


TFS_4578.jpg


TFS_4568.jpg


TFS_4567.jpg


TFS_4566.jpg


TFS_4559.jpg
 
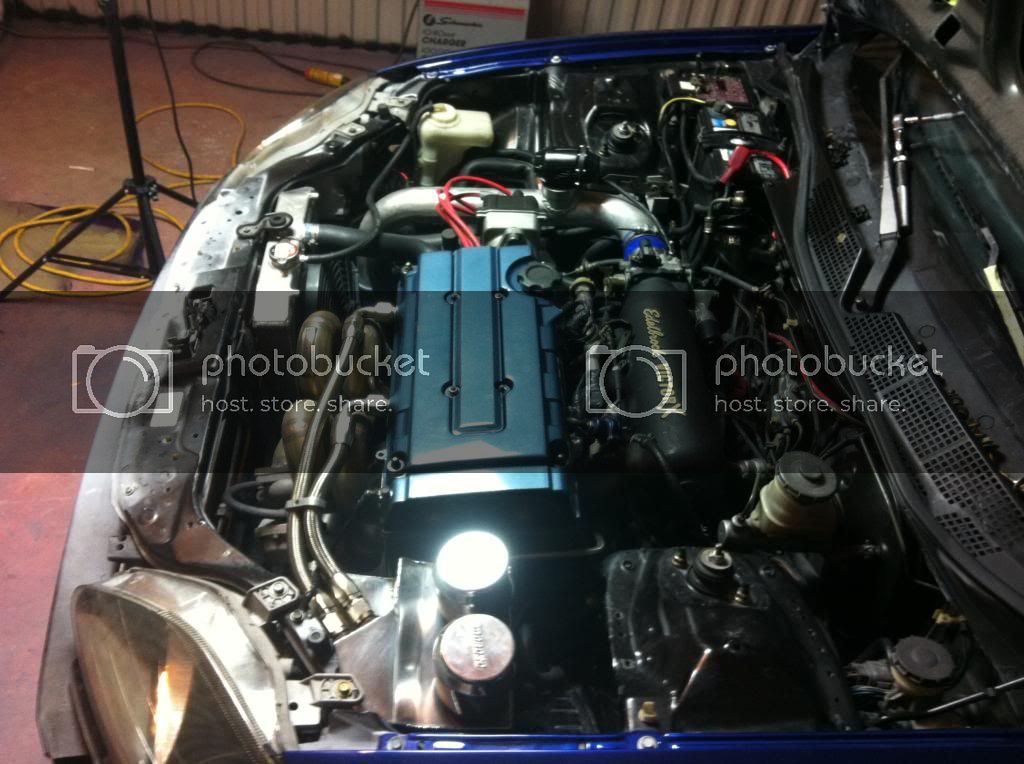
Got a little sanding done today on the rest of the passenger side. Hopefully tomorrow I can finish the sanding and move on to buffing the rest of the car. Also installed my new catch can setup. Had to do a little modifying as the setup was intended for a eg shell, but everything came together nicely. Also installed some spacers on my hood, everything was going well until my hood fell, creasing one of the edges of the hood. No sweat though, if I have to get another hood its no big deal cause I think I striped it anyway when painting. Anyway on to the pics.

IMG_1920.jpg


IMG_1919.jpg


Will have another update tomorrow and hopefully better pics, I keep forgetting to bring my camera and have to result to the shitty iphone camera!! lol
 
Back
Top