mac_24_seven
@pump_upp - best crypto pumps on telegram !
You know it mang...
And, even though ppel havn't been asking on here.. I've got over 8000 hits on my thread n Honda-tech... Here's a lil DIY that I wrote for the plethora of pple who don't understand:
#1- How to purchase something online
#2- How to follwo directions without pictures
#3- Use their brain.
Enj0y.
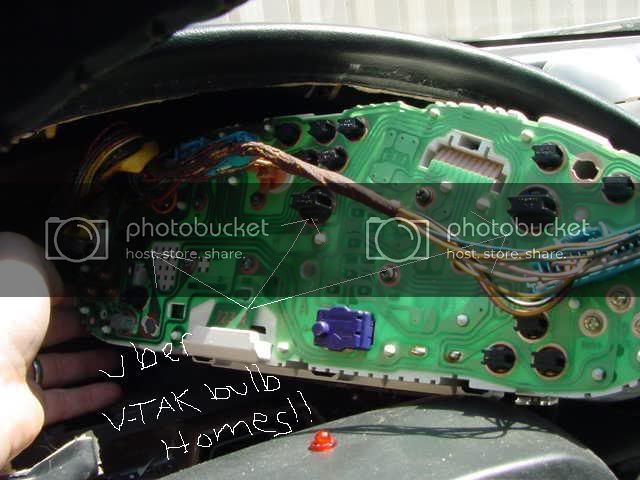
I've had more PM's and questions about my gauge cluster than anything else.. SO, this is about as detailed of a walkthrough as you can get on buying these bulbs and the installation (which will be up shortly).
Step 1:
Click on this link..Single LED Wedge Base Bulbs
You'll go this the page...
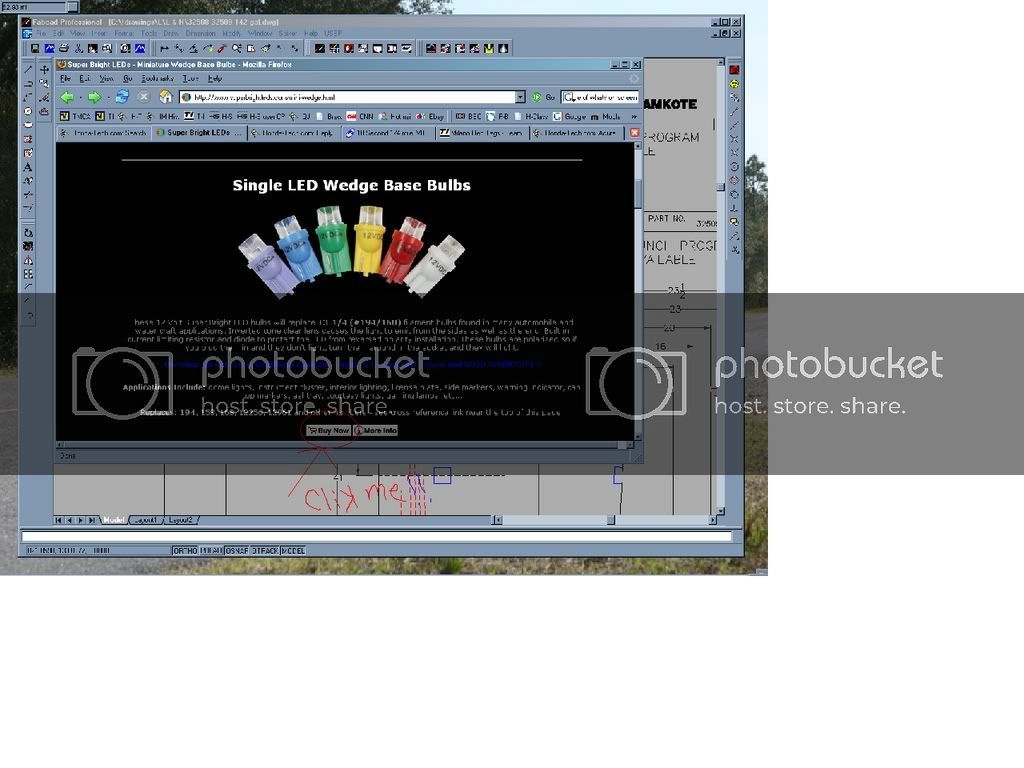
If you can't figure out where to click from looking at the above pic, please, punch yourself in the face and repeat the above step.
Step 2:
Hopefully the face punchers will have figured out where to go after a few times. For the more intellegent ones in the populous, you were rewarded with the below page. Now, this is after some scrollage to the bottom, so don't panic of you don't see this right away.. Scroll to the bottom and your next step will be waiting.
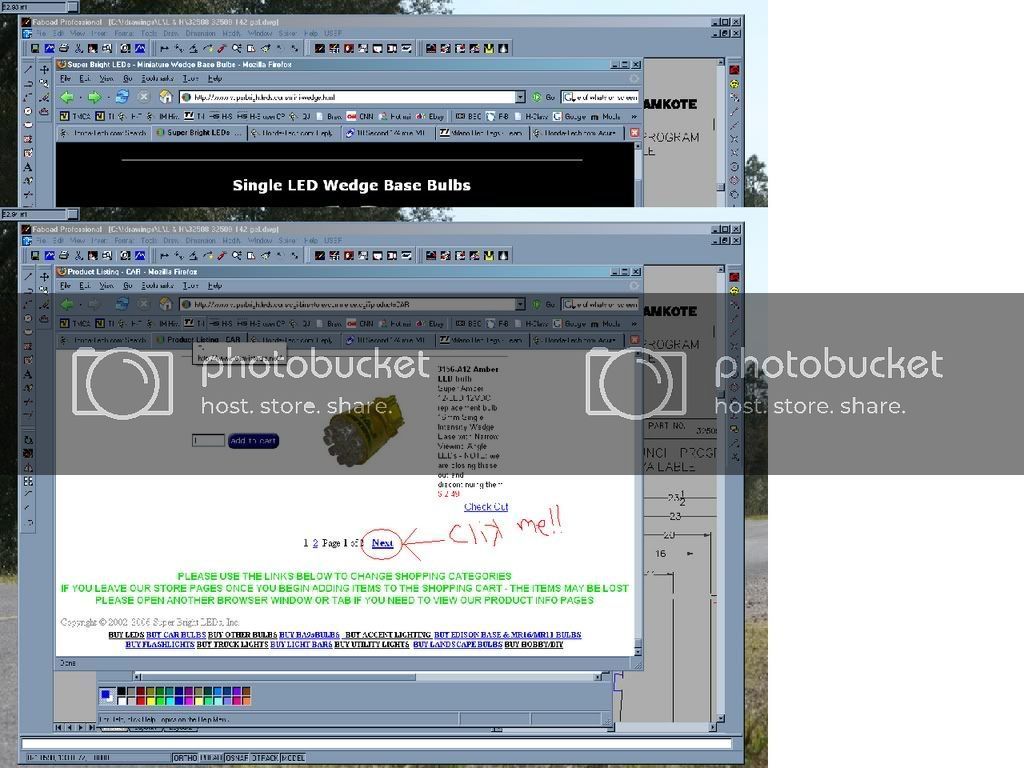
If you can't figure out where to go on this page, call a friend, get him/her to come over and give them the honor/joy/pleasure of punching you in the face.
Step 3:
If your face isn't sore from getting hit, your doing good! If it is, well... Life is tough sometimes, but chicks dig scars and bruses heal
You'll be on this page by now (hopefully):
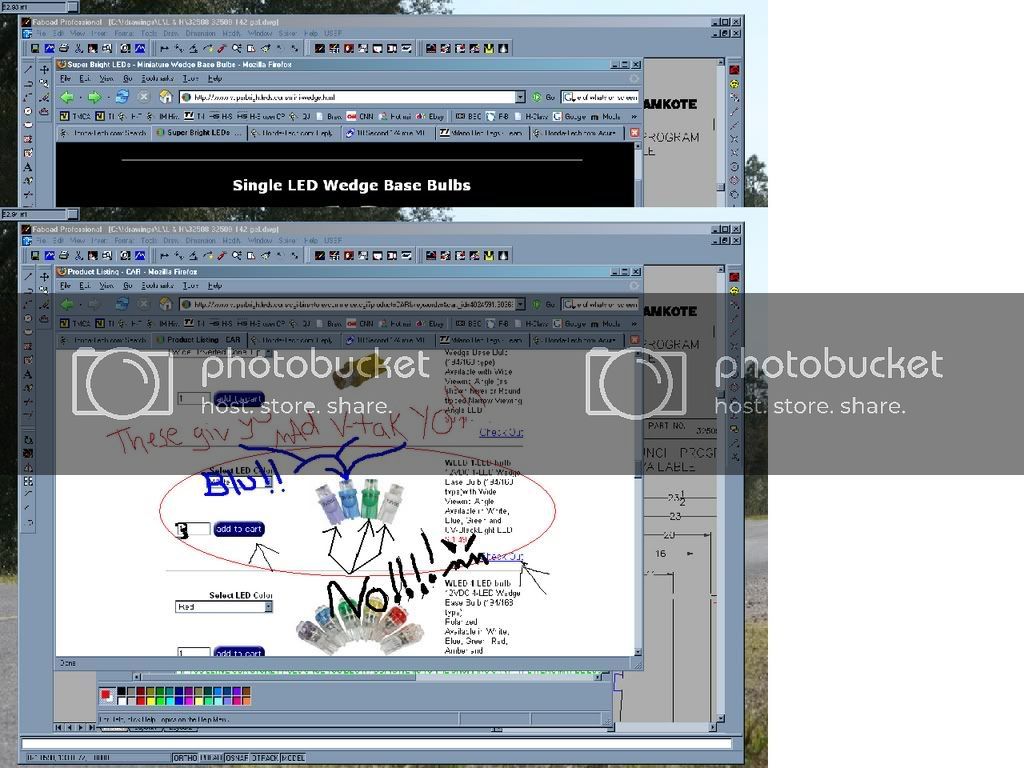
--Scroll down 13 items (the are item # 13)
--Click on the quantity.
--Type in 3
--Click on Add to cart
--If your done buying bulbs, pat yourself on the back and click on Check Out
If your still having trouble, go back to step one and repeat all face puncing. Call another friend if needed to help out.
Step 4:
Have your CC ready (must be 18 or older to order, have yor parents permission, blah blah blah) You will be on this page.
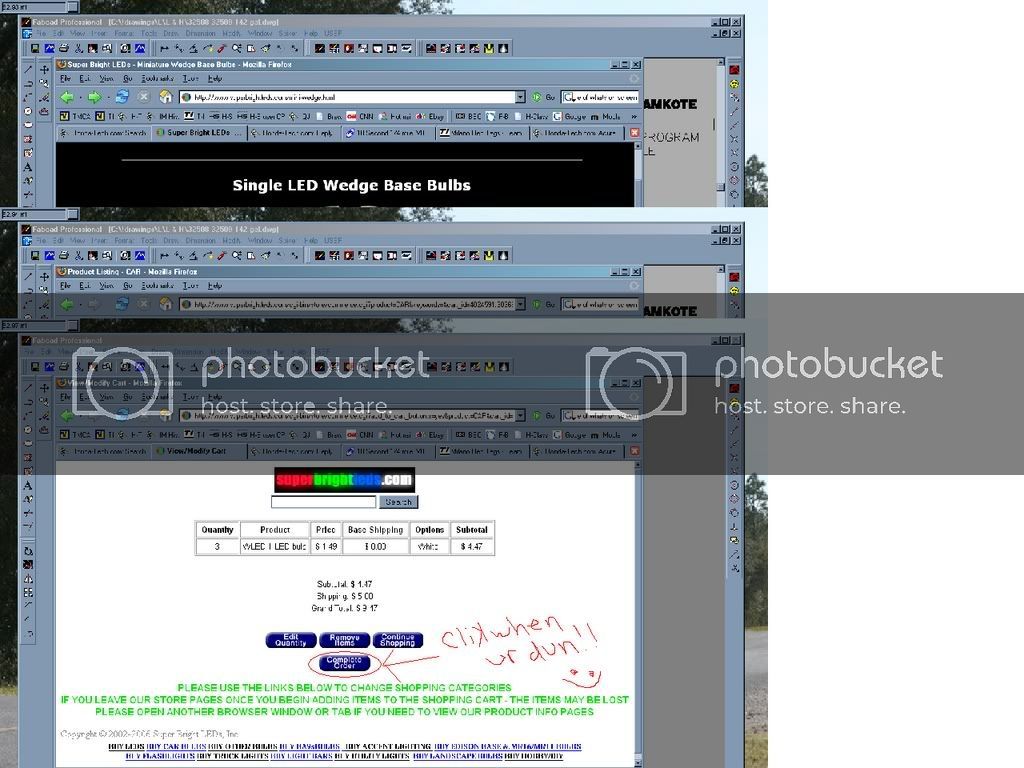
If everything looks good and again, your done buying LED's, click on the highlighted area in the pic. Unfortunately, if you don't know where to click, no amount of getting hit in the face will help you. Just go and die quietly in a lonely corner somewhere dark, damp and cold. But please, try not to make it messy. Think of the guy who's gotta clean it up, ok? Thanks.
Step 5:
You'll end up here:
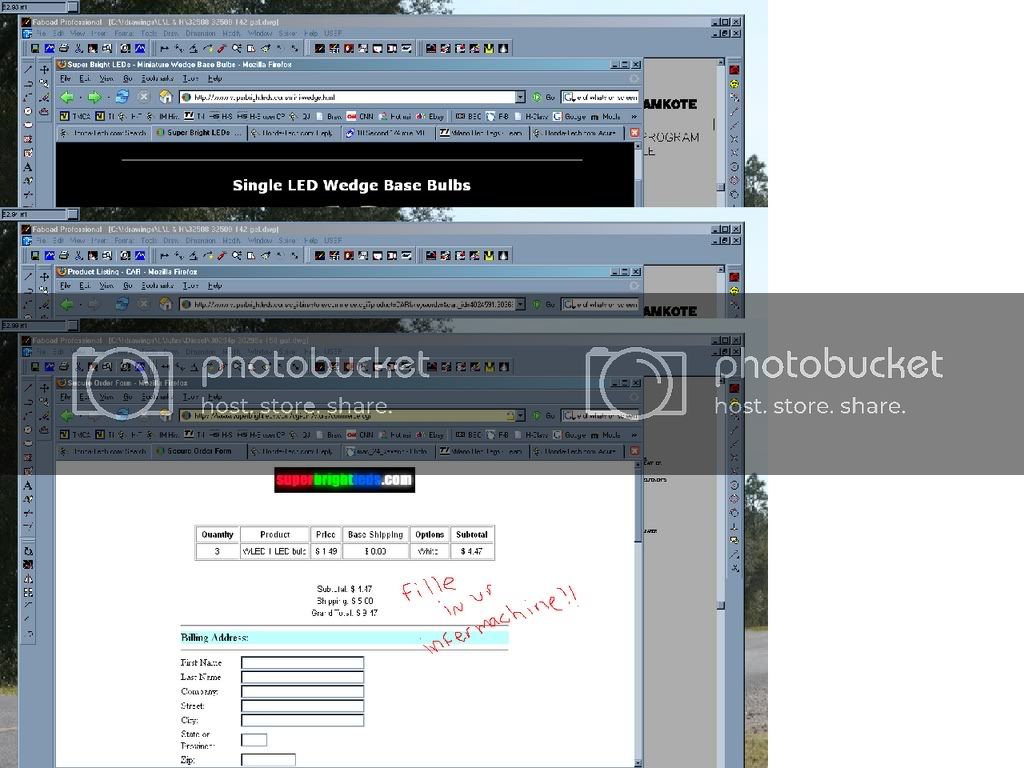
Fill in the information and click verify order. You'll go to a confirmation page (if memory serves me correct). If evrything is good, hit process order or whatever to place your order. I think you've been trained well enough now to recognize what to click on. If directions were followed, only the elite have made it this far and all face punches are decaying quietly and without creating a mess.
Congrats! You've just bought you some Vtak LED's!!
The write up on the installation will come later this morning. Maybe 1 or 2 of you will be amused by my twisted humor.. I dunno I was bored =)
Enj0y!
And, even though ppel havn't been asking on here.. I've got over 8000 hits on my thread n Honda-tech... Here's a lil DIY that I wrote for the plethora of pple who don't understand:
#1- How to purchase something online
#2- How to follwo directions without pictures
#3- Use their brain.
Enj0y.
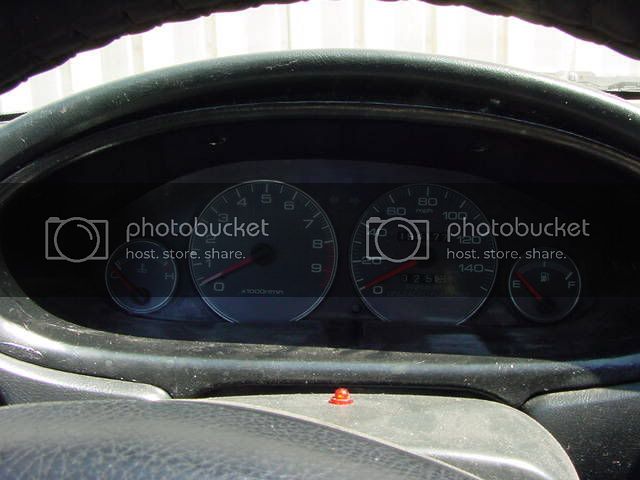
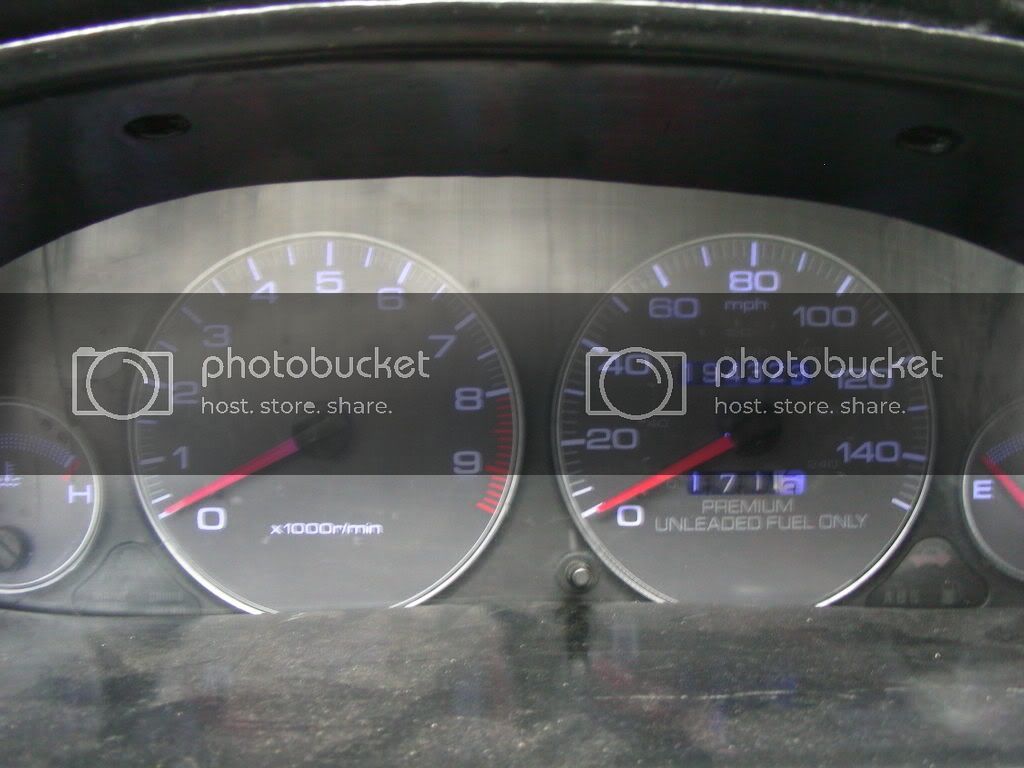
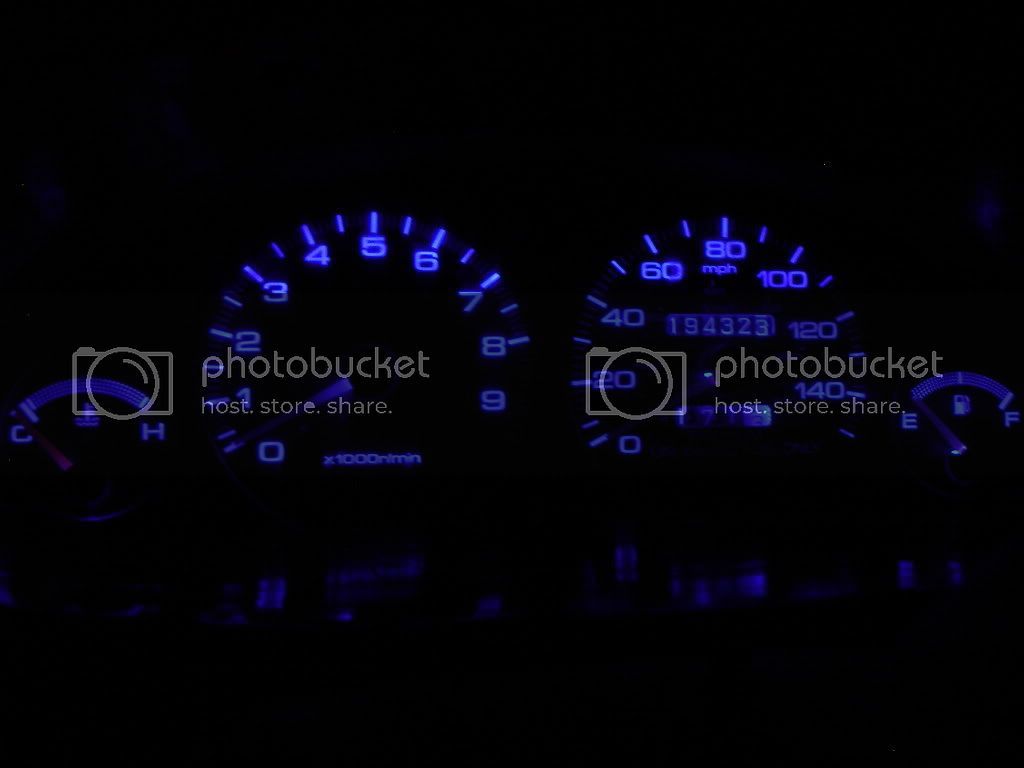
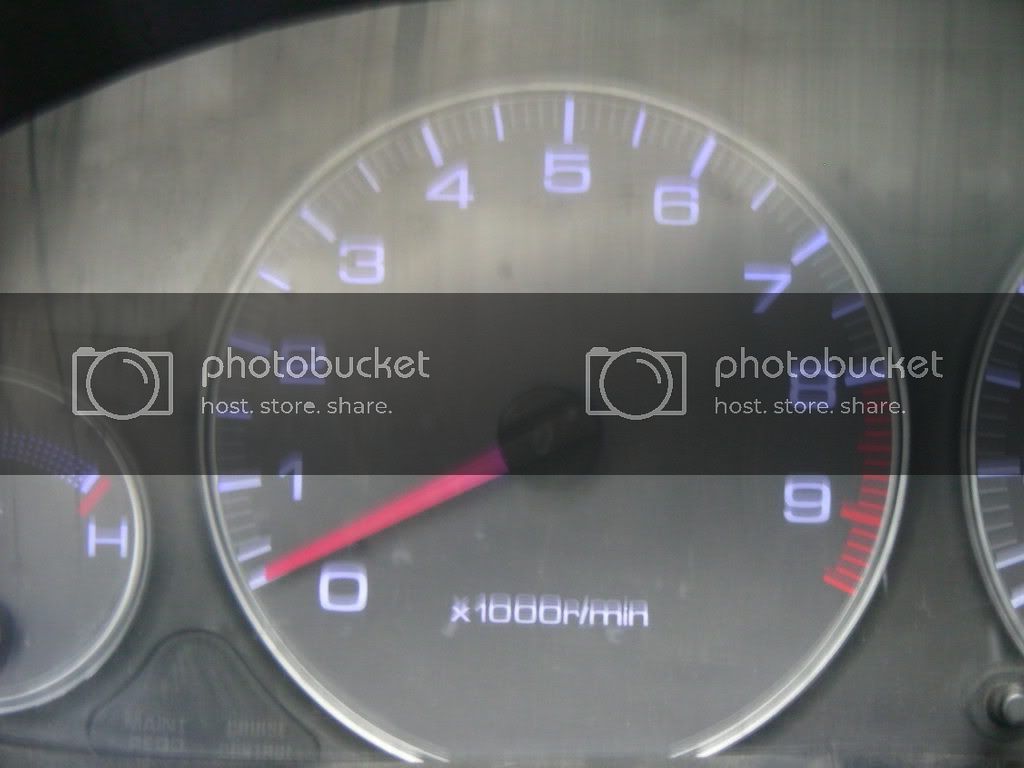
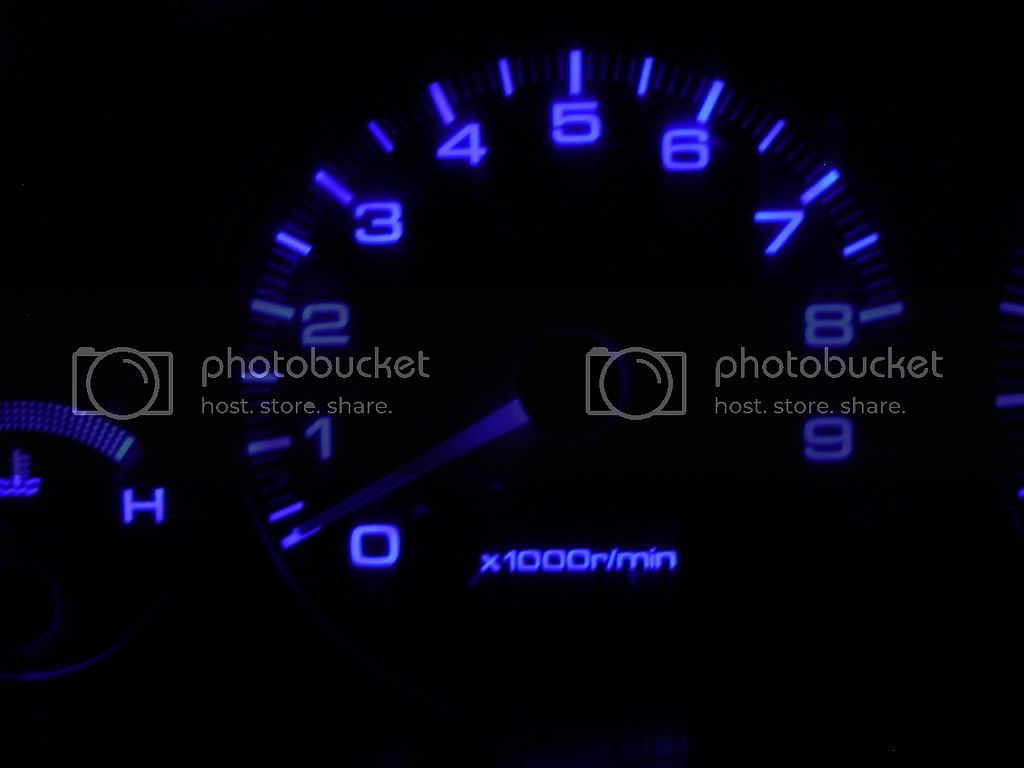
**Edit**mac_24_seven said:As promised.. the pic of my gauge cluster. Sorry it's blurry.. It was taken w/a very nice canon digital SLR but I'm not the photographer in the family and I can;t take pics w/it at night.
So this'll have to do. Again, sorry it's blurry. This was the best out of five
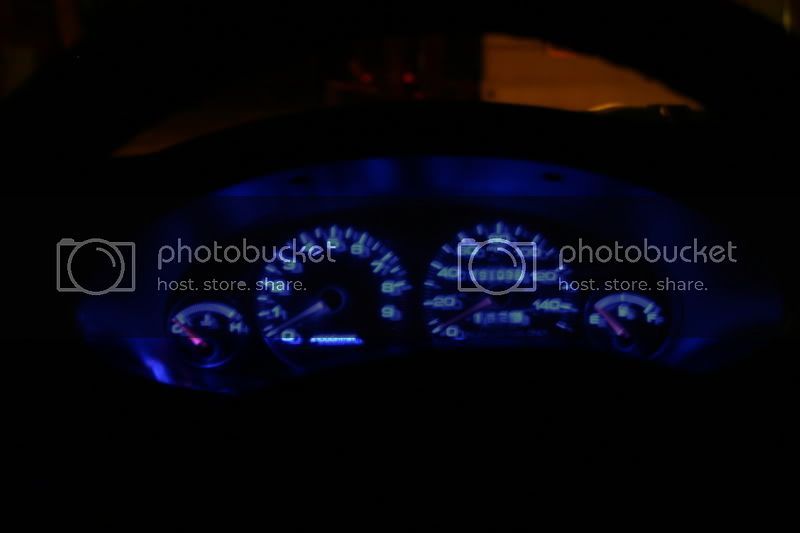
I'll get better pics when I get my gauges installed ( I'll have my wife do it =) )
I've had more PM's and questions about my gauge cluster than anything else.. SO, this is about as detailed of a walkthrough as you can get on buying these bulbs and the installation (which will be up shortly).
Step 1:
Click on this link..Single LED Wedge Base Bulbs
You'll go this the page...
If you can't figure out where to click from looking at the above pic, please, punch yourself in the face and repeat the above step.
Step 2:
Hopefully the face punchers will have figured out where to go after a few times. For the more intellegent ones in the populous, you were rewarded with the below page. Now, this is after some scrollage to the bottom, so don't panic of you don't see this right away.. Scroll to the bottom and your next step will be waiting.
If you can't figure out where to go on this page, call a friend, get him/her to come over and give them the honor/joy/pleasure of punching you in the face.
Step 3:
If your face isn't sore from getting hit, your doing good! If it is, well... Life is tough sometimes, but chicks dig scars and bruses heal
You'll be on this page by now (hopefully):
--Scroll down 13 items (the are item # 13)
--Click on the quantity.
--Type in 3
--Click on Add to cart
--If your done buying bulbs, pat yourself on the back and click on Check Out
If your still having trouble, go back to step one and repeat all face puncing. Call another friend if needed to help out.
Step 4:
Have your CC ready (must be 18 or older to order, have yor parents permission, blah blah blah) You will be on this page.
If everything looks good and again, your done buying LED's, click on the highlighted area in the pic. Unfortunately, if you don't know where to click, no amount of getting hit in the face will help you. Just go and die quietly in a lonely corner somewhere dark, damp and cold. But please, try not to make it messy. Think of the guy who's gotta clean it up, ok? Thanks.
Step 5:
You'll end up here:
Fill in the information and click verify order. You'll go to a confirmation page (if memory serves me correct). If evrything is good, hit process order or whatever to place your order. I think you've been trained well enough now to recognize what to click on. If directions were followed, only the elite have made it this far and all face punches are decaying quietly and without creating a mess.
Congrats! You've just bought you some Vtak LED's!!
The write up on the installation will come later this morning. Maybe 1 or 2 of you will be amused by my twisted humor.. I dunno
I was bored =)Enj0y!
Last edited:


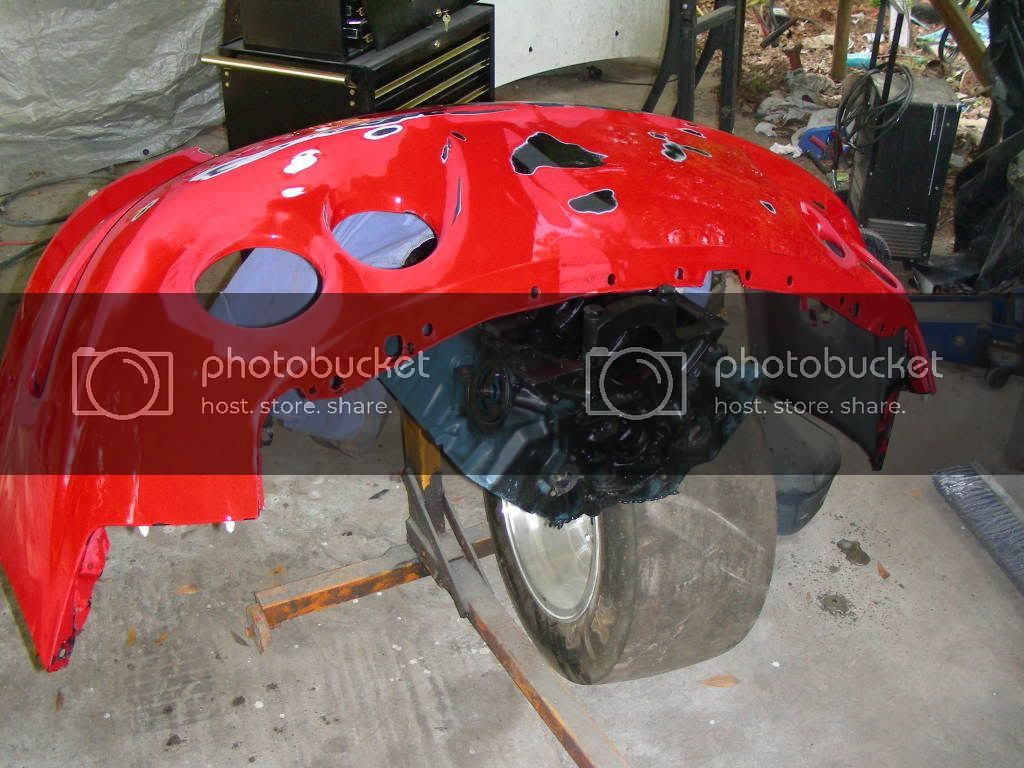
 The engine is the old 351 windsor that was in my truck w/an ET Drag keeping the engine stand from moving